List what the room must hold before drawing a beautiful front.
Start with the people who will use the wardrobe and the objects they want to reach. Separate long-hanging garments, short-hanging garments, folded pieces, shoes, bags and small accessories. Note which items are used every day, which are seasonal, and which should be visible rather than hidden. The room list becomes the reason for each internal zone.
Do not infer a rail height or shelf spacing from an attractive photograph. Measure the actual garments, collection and room, then check the selected storage system and the user’s reach. A full-height door elevation alone cannot answer those questions.
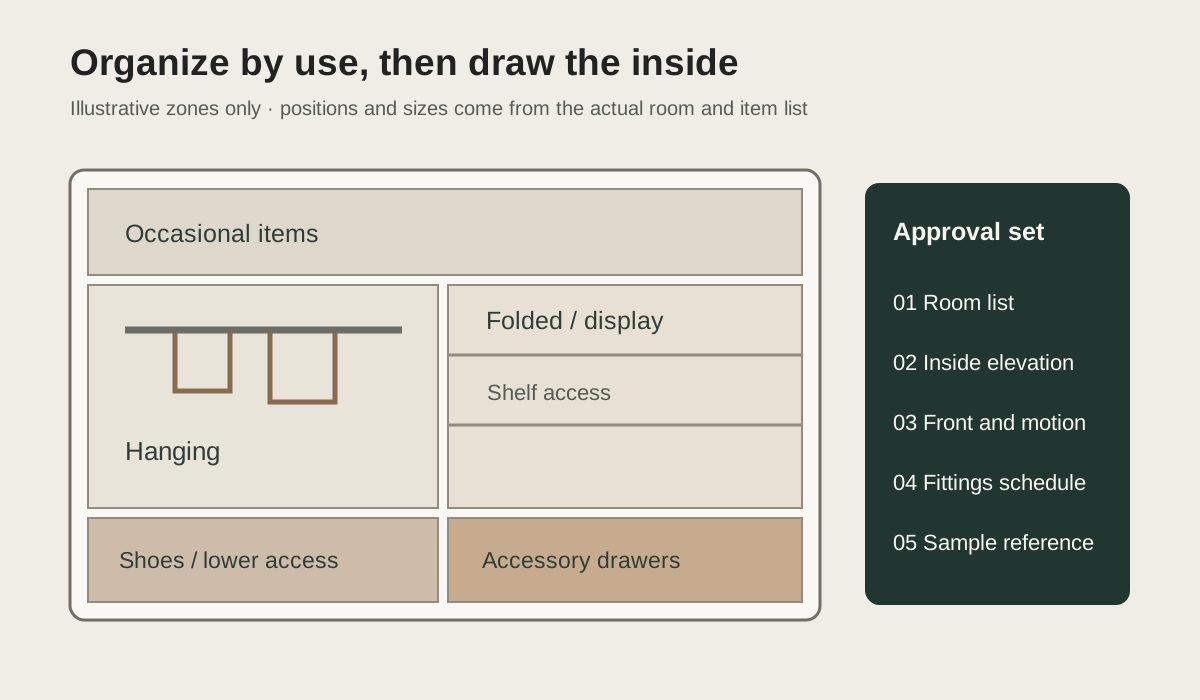
Translate the inventory into visible zones.
Use a numbered internal elevation to locate hanging, shelving, drawers, shoes and occasional storage. The plan should also show how a person approaches each zone. Upper or deep compartments may serve less frequently used items; the everyday mix should be decided around the real user and the opening method, not copied from a catalog module.
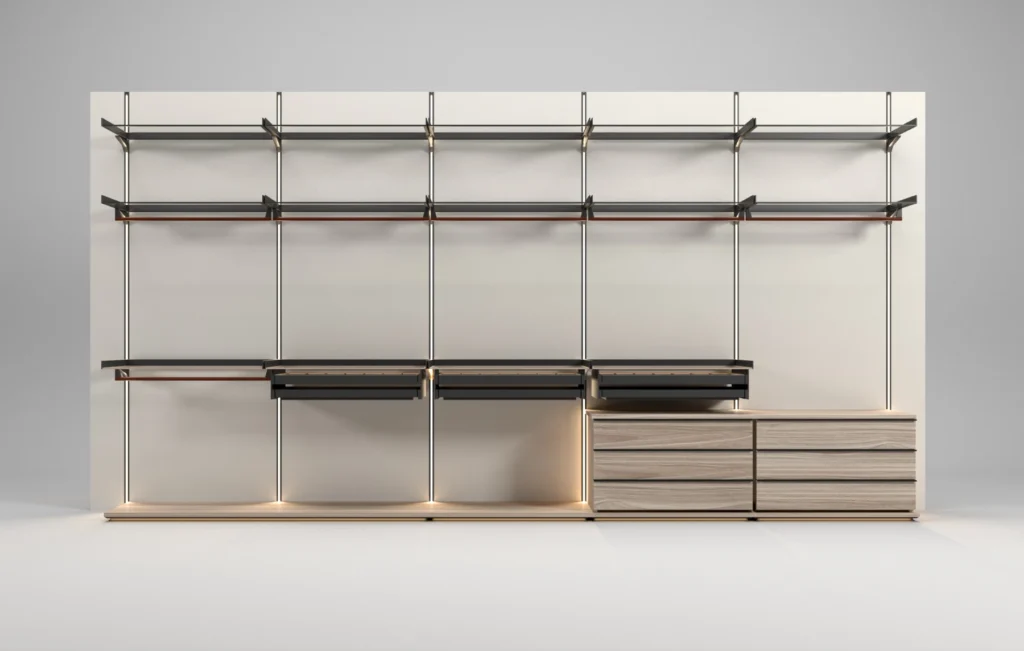
Choose an accessory for the action it solves.
Open shelf
Useful for visible folded items or display; review dust, sightlines and how far the back of the shelf can be reached.
Closed drawer
Hides mixed small items and changes how much space the front needs when fully open. Specify the actual slide and internal organizer separately.
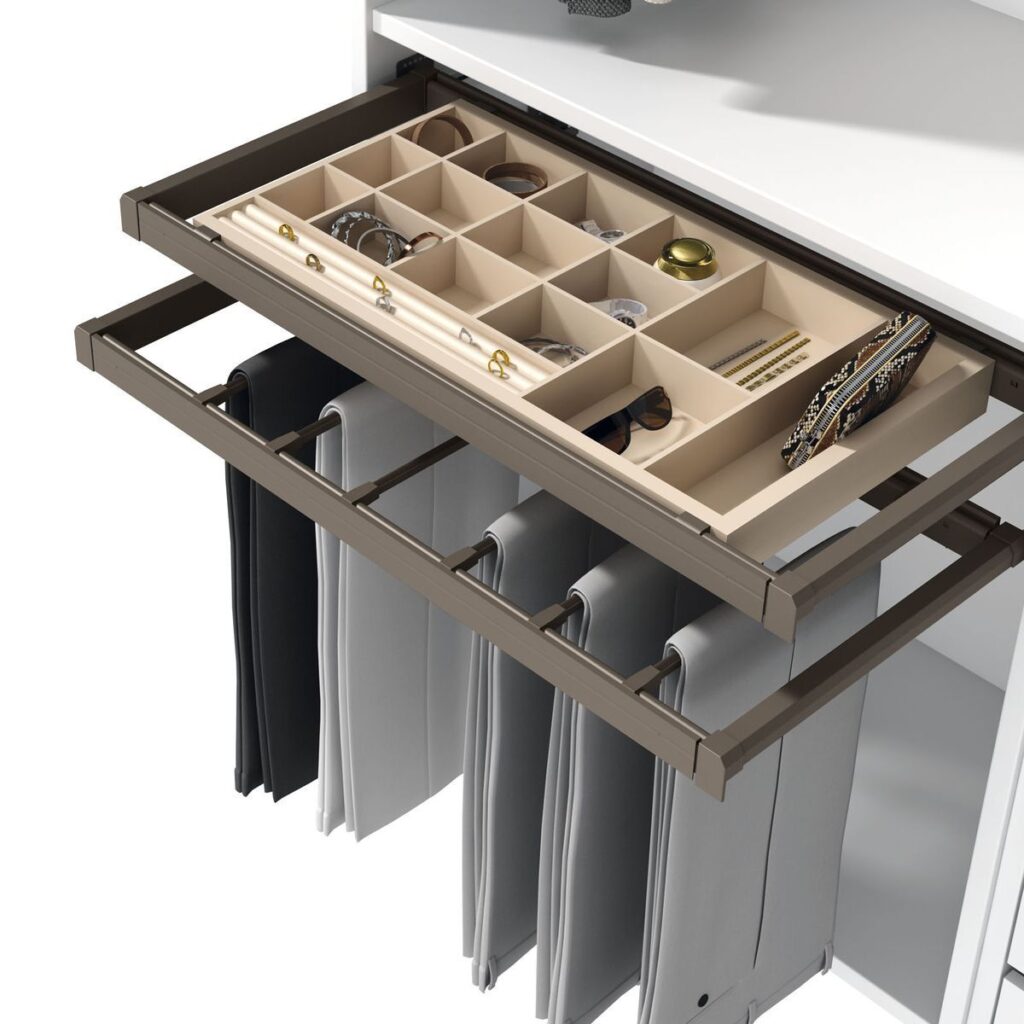
Accessory tray
Shallow compartments help organize watches, glasses or jewelry. Approve the contents and divider layout with a real sample.
Pull-out specialist fitting
A trouser rack or similar accessory is one possible system-specific option. Check the current manufacturer's mounting, travel and load information.

Draw the light, its control and its service route on the same elevation.
Cabinet lighting starts with a purpose: finding garments, showing a collection or helping with a task. A photograph shows an effect, but it cannot select a fixture, driver or electrical method for another room. Locate the proposed lit area on the same numbered elevation as the shelves, rails, doors and drawers. Show the adjacent glass, wall finish and room lights so the visual decision can be reviewed in context.
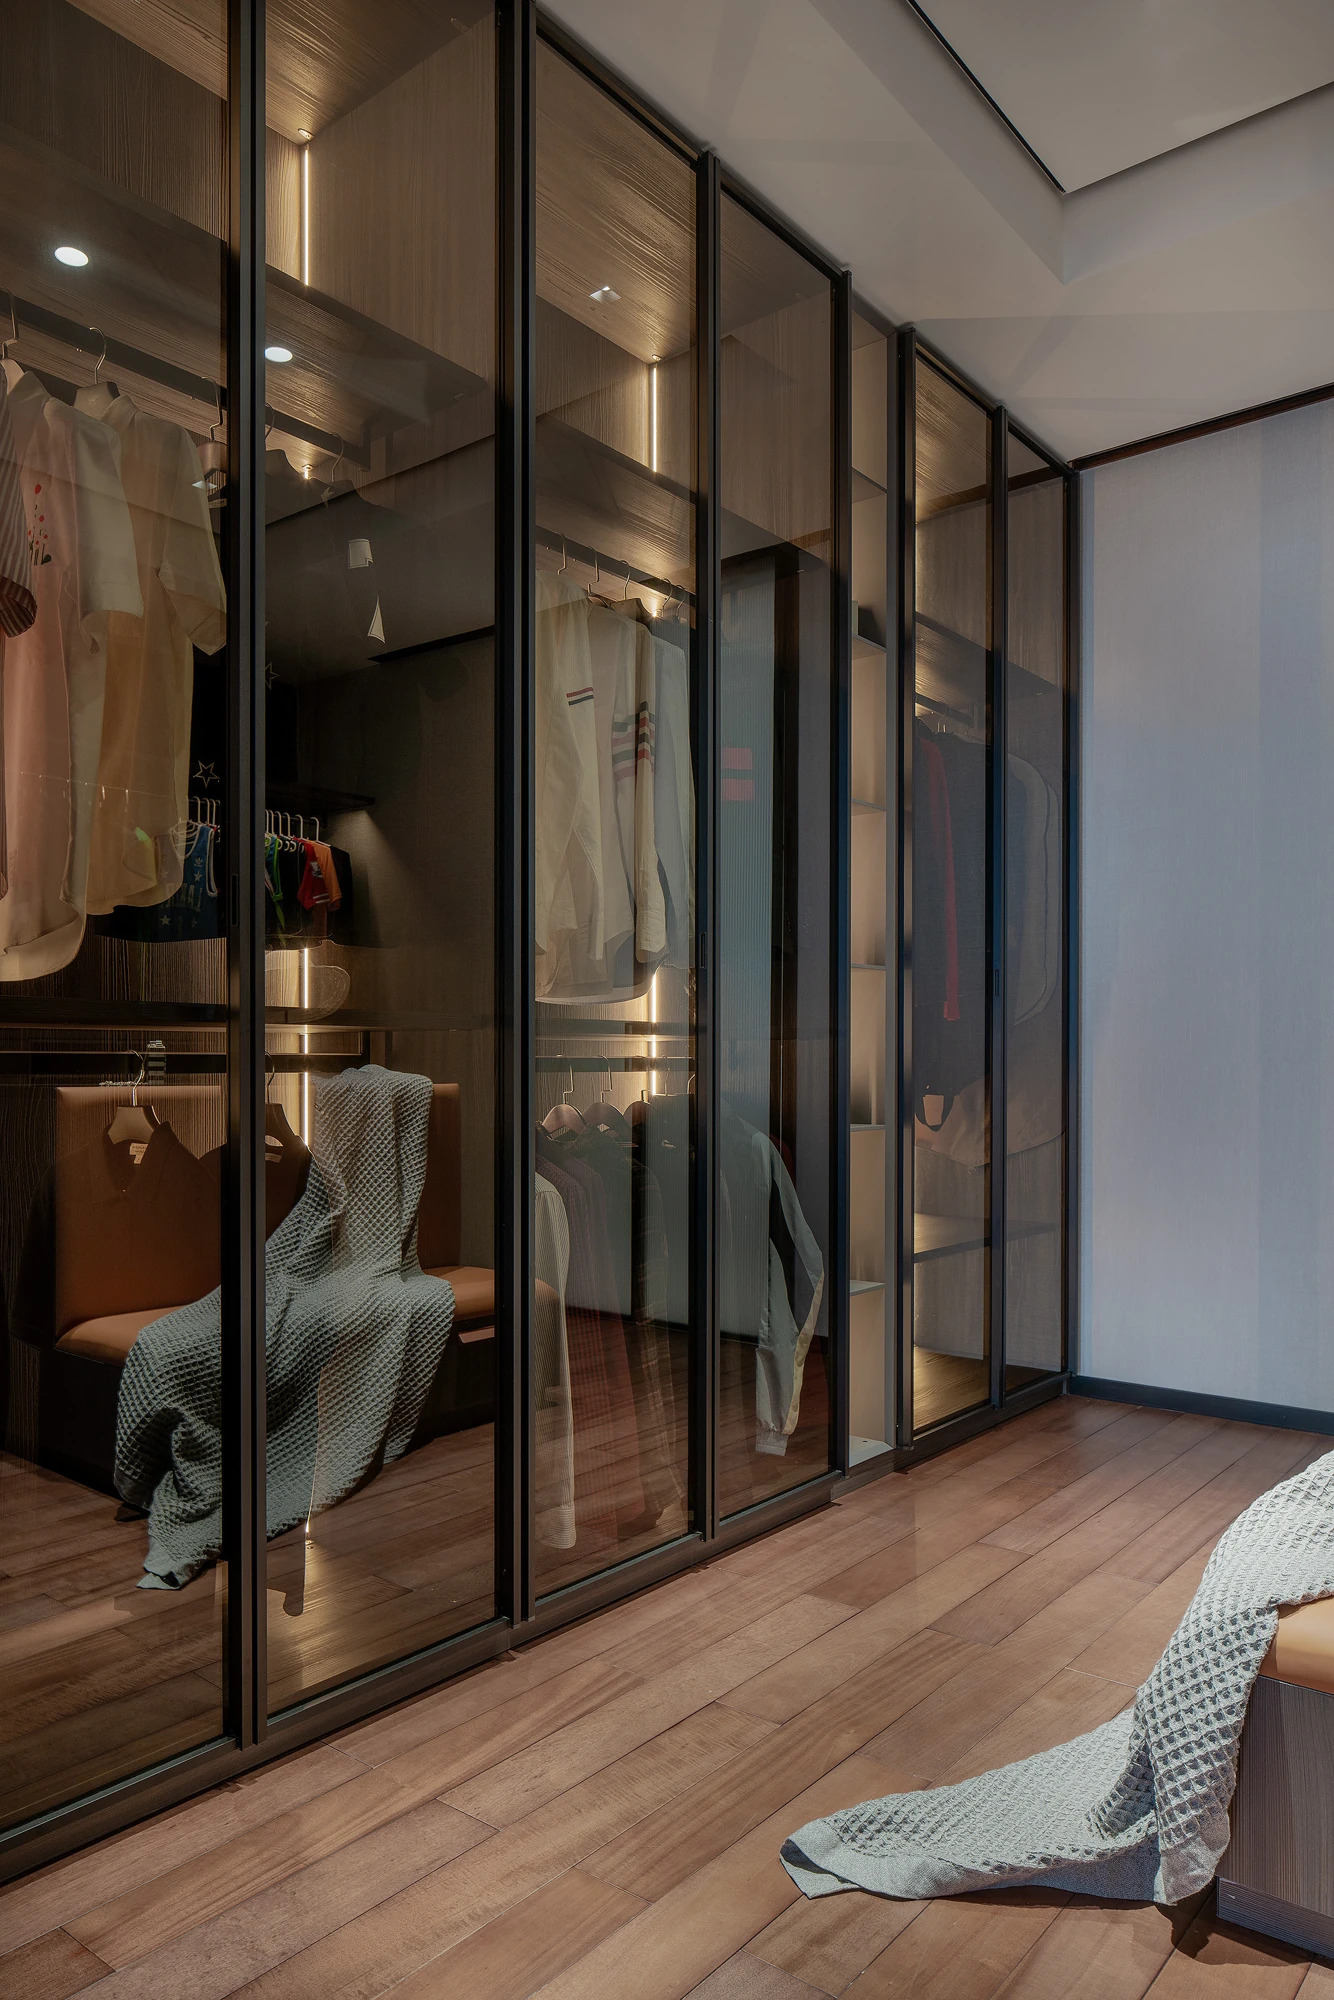


Different effects need different questions.
- Glazed hanging bay
- Can the user see the garments without a distracting reflection in the front? Check the light with the selected glass, door position and room lighting.
- Open display niche
- Should the light pick out an object, wash the back panel or define a shelf edge? A dramatic display photograph is not an access-lighting specification.
- Closed cabinet wall
- Will a small illuminated opening provide enough visual emphasis, or does the room need a broader lighting plan? Review the cabinet from the normal entrance and seating positions.
- Controls and maintenance
- Agree what happens when a door opens, when several bays share a room and when a control needs replacement. Ask where the selected driver and control parts remain accessible after installation.
Request a lighting layer in the approval set: intended effect, fixture position, control behavior, service access, responsibility for power and current supplier documentation. Electrical design and destination-specific requirements belong to the qualified project team. Partner-factory lighting manuals informed the questions here; confirm wiring, component codes, wattage, cut-outs and installation sequence for the system you select.
Check service access in cabinet construction Share a room plan and visual references
Draw the open drawer and the person beside it.
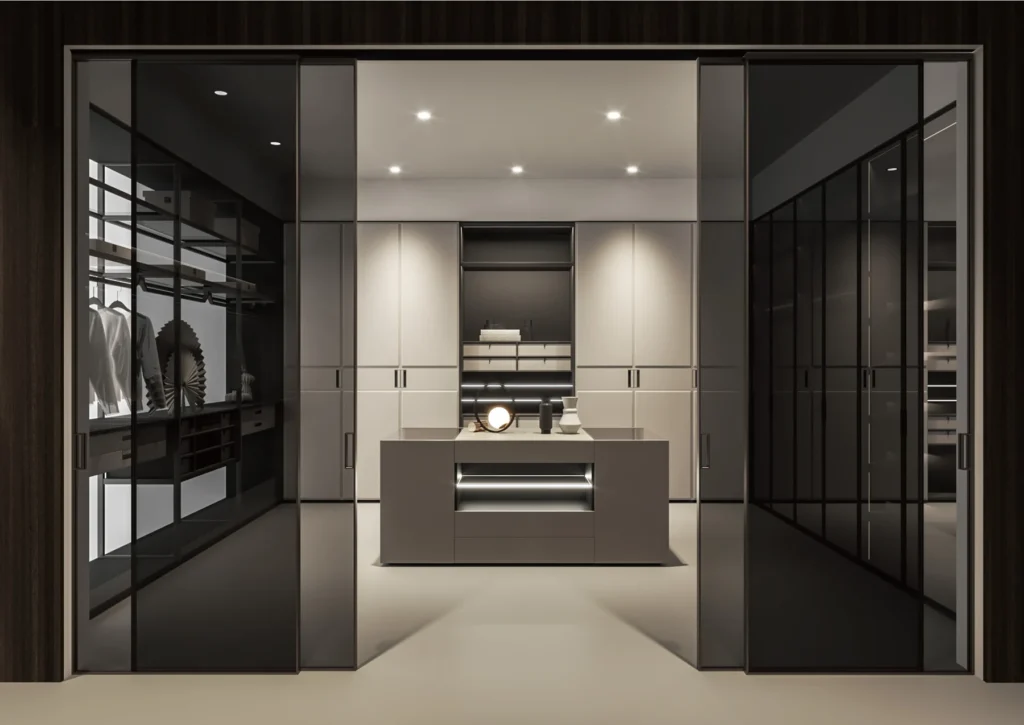
An island is valuable when its top, drawers and walk-around route serve the daily routine. Put the island, fully extended drawers, wardrobe doors and neighboring room door on the same plan. A glass front can display the interior but also exposes it to view; a solid front may conceal accessories while limiting immediate visual access.

Project dimensions should come from a site survey and the chosen fittings. For a constrained room, resolve the movement before selecting decorative handles or a drawer insert.
Ask for documents that connect the contents to the room.
- Room and item list
- Who uses each run; what hangs, folds, displays or needs a drawer; what stays seasonal.
- Numbered inside elevation
- The internal zones and their relationship to the outside front and the room plan.
- Movement and interface plan
- Open doors, extended drawers, island and adjacent work on the same drawing revision.
- Current fittings and sample set
- Actual selected rails, slides, organizers, lighting access and finish samples, with manufacturer information where required.
Do I need drawers inside every wardrobe?
No. Start with the item list and daily actions. A drawer is useful only if it improves access and can open in the actual room.
Can a catalog module decide my hanging length?
No universal length follows from a catalog. Measure the garments and user reach, then approve a project-specific elevation.
How do I compare an island with more wall storage?
Draw both arrangements with open doors and drawers, the intended circulation and the items each zone must hold.
Source and scope. Historical third-party hanging-system and lighting diagrams informed the questions in this guide; their models, measurements, load assumptions and mounting details have not been adopted as Arcaya specifications. Existing wardrobe images are design or product references, not evidence of an Arcaya completed project. The English zone diagram is explanatory rather than an engineering drawing.