Match the approved cabinet schedule to a dated site survey.
Use the same room and cabinet identifiers on the plan, elevations, part list and site mark-up. Check that the measured condition and the drawing revision describe the same wall, opening and service locations. A drawing dimension is not a substitute for site verification; record differences before cutting, fixing or concealing adjacent work.
Identify the revision
Record drawing issue, room identifier, cabinet number, responsible designer and selected supplier documentation.
Measure the receiving space
Check wall alignment, clear opening, floor and ceiling conditions, and the route by which units or panels reach the room.
Locate the services
Mark electrical, plumbing, ventilation, appliances and any lighting-driver access relevant to the cabinet.
Log a discrepancy
Show what differs, who decides, the agreed change and the updated drawing before proceeding.
Five-document specification package Blank room and cabinet schedule
Clear each interface before the cabinet conceals it.
A wall backing detail, a service point or a floor transition may be hidden once the visible finish is installed. Ask the responsible trade to confirm these conditions on the current project drawing. The sequence below is an editorial planning aid, not a universal clearance, fixing or safety specification.

- Structure and backing
- Identify the actual support and the party approving wall or floor preparation.
- Services
- Check access to valves, sockets, drivers and ventilation before panels or cabinetry close over them.
- Adjacent trades
- Agree the order of flooring, ceiling, panel, door and countertop work on the same marked revision.
Receive by room and part identity, then protect the approved finish.
Before moving packages into the final room, reconcile the delivery list with room and cabinet identifiers and inspect visible package condition. Keep a record of shortages or damage and agree the resolution path. The handling and storage instructions for the actual product govern; do not infer a universal unpacking method from a reference article.
Count and identify
Compare labels, quantities and accessories with the latest approved list; separate look-alike parts by room.
Record condition
Photograph package damage and protect exposed finishes while the discrepancy is resolved.
Stage accessibly
Leave safe routes for installers and other trades; keep needed hardware and instructions with the relevant unit.
Hold uncertain items
Do not fit a substitute front, fitting or finish before the responsible parties approve it.
Follow the selected system and inspect concealed access.
Cabinet boxes share familiar components—top, sides, shelves, back and base—but not a single joint or installation method. Confirm the current part identification, fixing, adjustment and safety instructions for the specified system. When a step will hide a connection, service point or inspection area, record that check before closing the assembly.


Cabinet anatomy and assembly questions Hardware selection and access
Check movement, joints and service access in the same elevation.
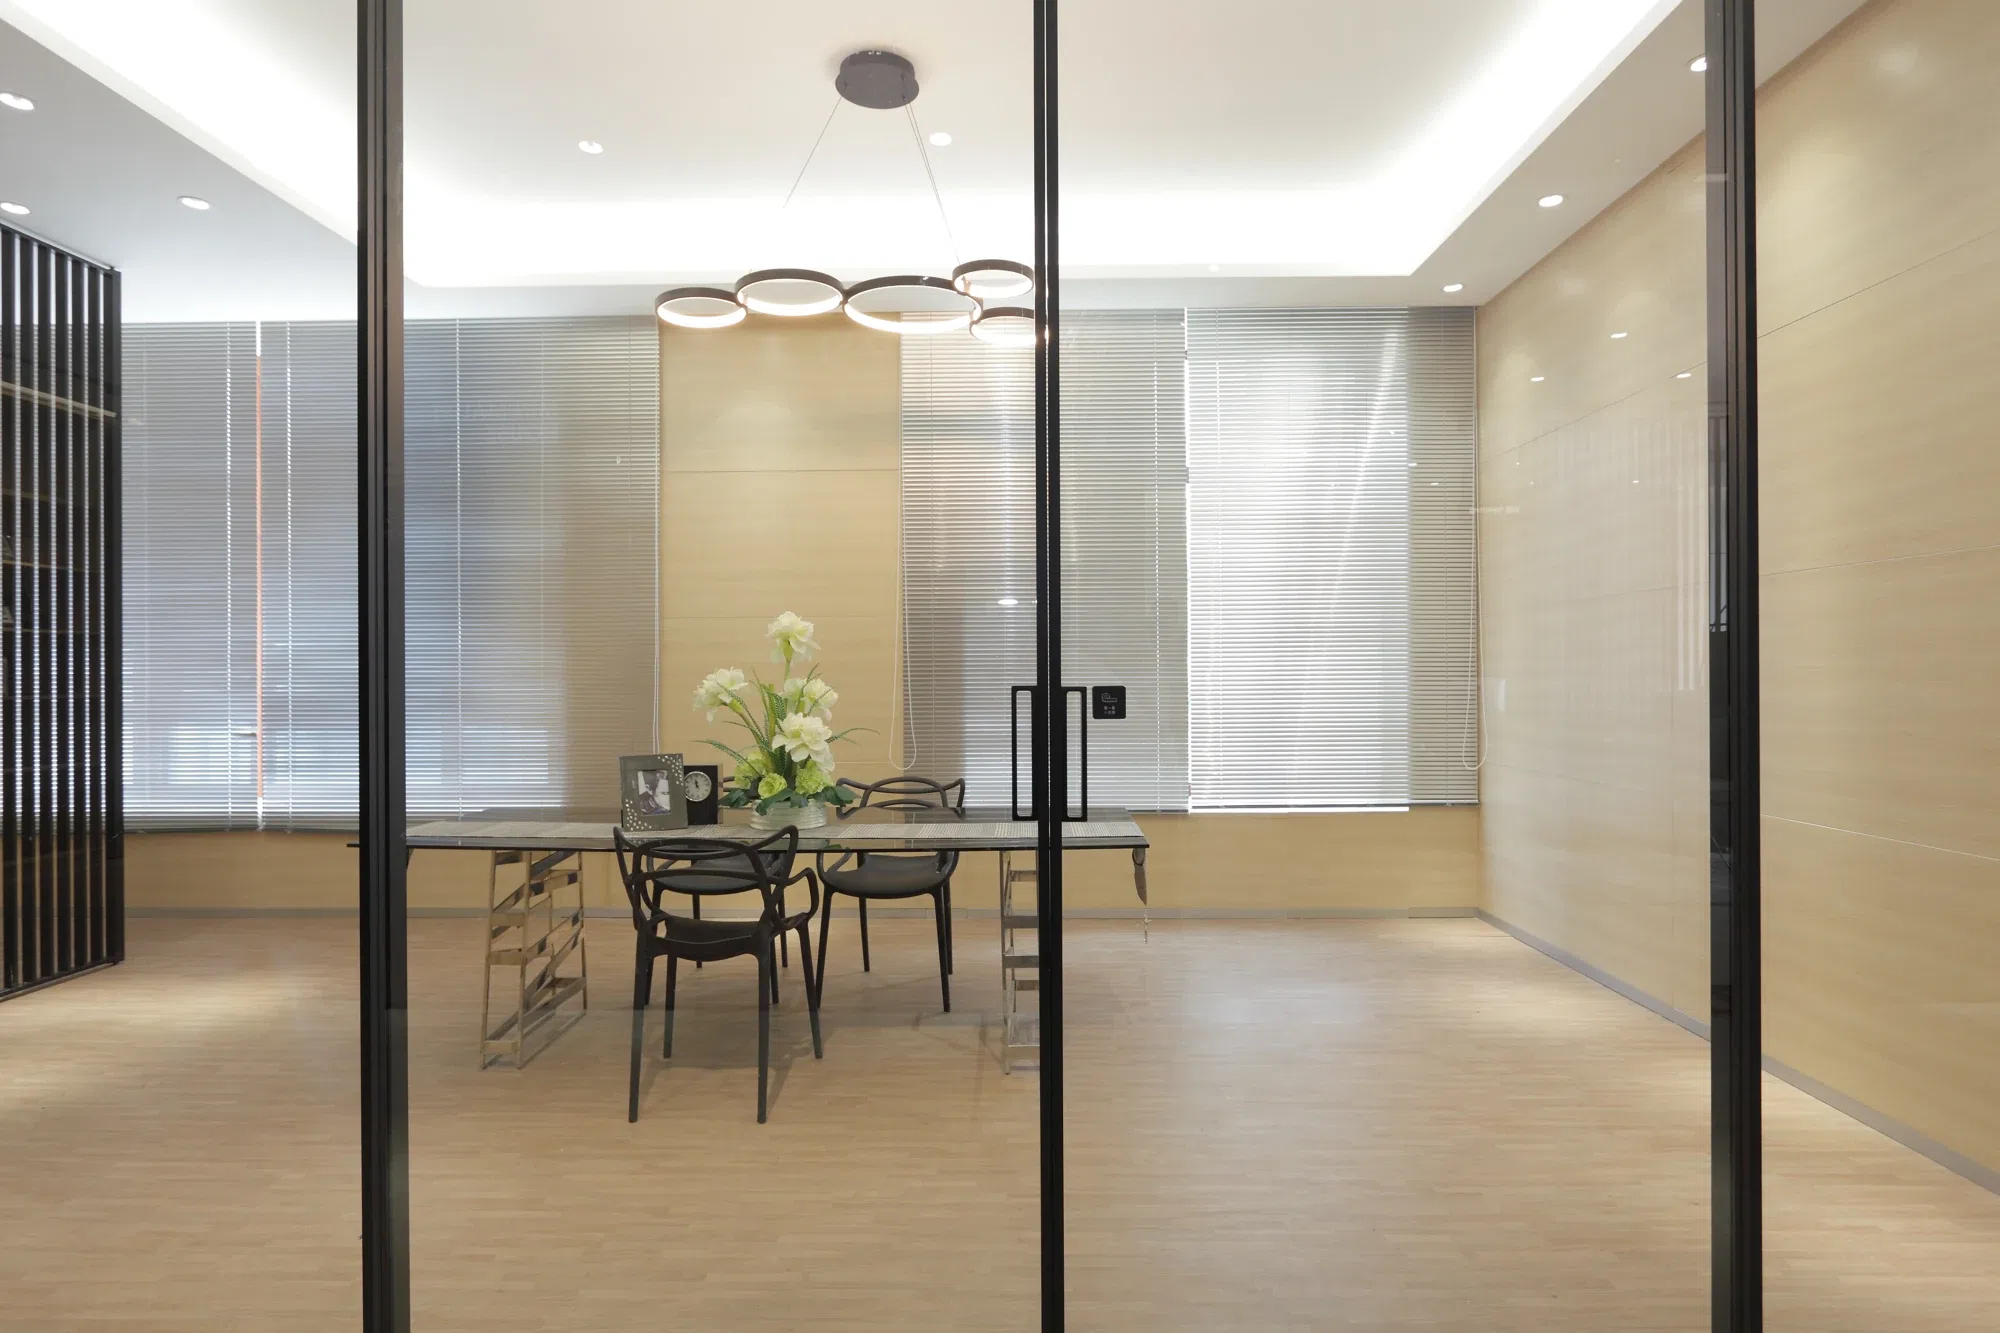
A nearly flush door, wall panel and cabinet front may appear continuous in a photograph. On site, the leaf sweep, frame fixing, panel joint, baseboard, ceiling return and access for lighting or services still need their own coordination. Mark the interface and responsible trade rather than assuming the photographed detail belongs to the proposed system.

Wall panel systems Door and partition directions Whole-room option decisions
Hand over what was checked, changed and still open.
Walk each numbered cabinet against the approved room schedule. Record front movement, adjustable fittings, visible finishes, exposed edges, access panels and neighboring work as applicable. Report defects and unresolved interfaces in a snag list with a location and responsible owner. Any commissioning or adjustment must follow the actual fitting and electrical documentation.
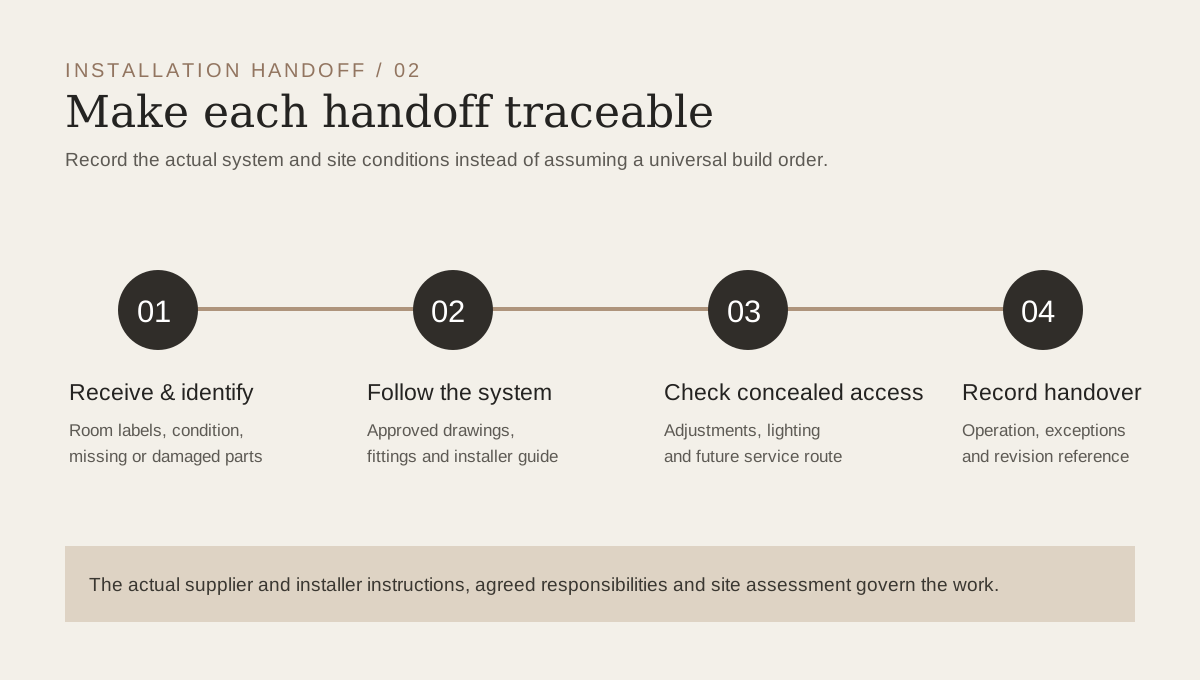
As-built change
Mark approved changes from the issue drawing and retain the final room and cabinet identifiers.
Visible inspection
Check agreed faces, edges, joints and opening operation against the approved sample and drawing.
Service information
Pass on applicable adjustment, care and access information supplied for the actual selected components.
Open issue log
Name the remaining item, its location, owner, action and close-out evidence before final acceptance.
Source and scope. The two photographs come from Arcaya partner showrooms in Foshan and Wuxi. The three diagrams are Arcaya editorial explanations. None supplies a current fixing method, engineering approval, certification, dimension or performance claim. Use the current manufacturer instructions and responsible project team for actual work.