A surface that brings
the kitchen together.
The countertop links preparation, seating and storage in one continuous composition. Start with the way the kitchen will be used, then connect its appearance to the cabinet fronts, edges, appliances and support below.
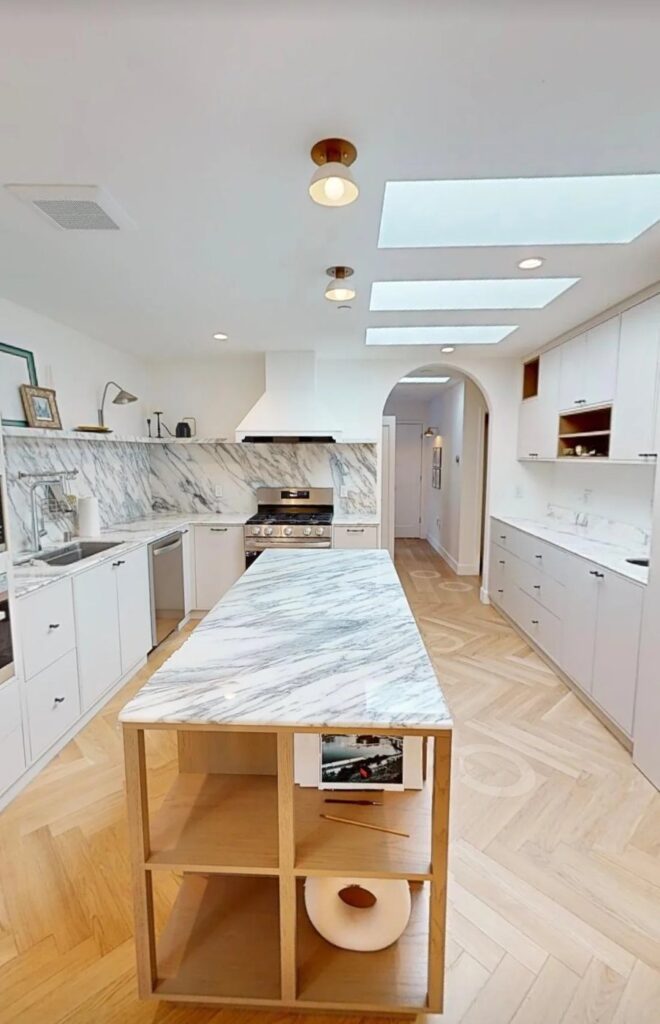

Two surface levels.
One coordinated island.
This catalog reference separates a pale working surface from a raised dark veined bar. The taller panel gives the seating side a distinct face, while the lower countertop follows the rounded cabinet ends. It is a useful starting point for discussing how people cook, gather and see the kitchen.
- Separate the activities
- Show the preparation area, sink and seating on the same plan. A raised bar can create a visual division; chair height, access and sight lines still need a project-specific layout.
- Draw the meeting point
- Resolve the junction between the low countertop and the higher bar, including exposed ends, the inside corner and cleaning access.
- Coordinate the pattern
- Decide where a veined surface continues onto a vertical face. Approve the seam and slab or sheet allocation rather than leaving pattern direction to the final cut.
Compare the questions each surface brings.
Use the material family to begin the discussion, then identify the exact product. A stone-like pattern does not tell you the composition, fabrication method or care requirements.
Select the actual slab or an agreed selection method; decide how variation and veining should appear across runs and returns.
Identify the stone, finish and slab references. Ask for product-appropriate fabrication, sealing and care advice rather than using one rule for every stone.
Compare the product-specific color, pattern and finish; check the visible edge as well as the face.
Record the actual product and composition. Confirm its heat, cleaning, seam and edge guidance; different products should not share assumed performance limits.
Agree the face pattern, exposed edge and the treatment of mitred or waterfall returns.
Confirm thickness, cutting, corner, support and handling requirements with the selected product and fabricator. Do not infer these from a photograph.
Review decor, texture, edge treatment and how joints will appear on the layout.
State whether the construction is laminate over a wood-based core or a compact product. Ask how exposed cuts, joints and penetrations will be finished and sealed.
Discuss the color, joins, edge build-up and any integrated elements as a complete fabricated assembly.
Use the selected product guidance for support, cut-outs, expansion allowances, finishing and care; a surface should not be assumed to support itself.

Leave room for what happens underneath.
The visible edge is only the first layer. Beneath it, the cabinet rails, opening channel, drawer boxes and any lighting must fit together. A thin-looking top can still require support or build-up, so the appearance and the assembly should be resolved on the same section drawing.
- Sink and faucet
- Include model information, mounting type, bowl depth, cut-out information and access for fittings. Check these against cabinet rails, drawers and plumbing space.
- Cooking and appliances
- Use the appliance installation information to coordinate openings, clearances, ventilation and adjacent cabinet components.
- Seating and overhangs
- Show intended seating, unsupported areas and any cut-outs on the same plan. Support requirements depend on the actual material, thickness and geometry.
- Waterfall ends and upstands
- Coordinate floor and wall conditions, seams, return dimensions and access. Decide how the surface pattern should meet at each change of direction.
Resolve these decisions before fabrication.
Assign each task to the project team or appointed specialist. Confirm whether countertops are part of the cabinetry supply scope or coordinated with a separate fabricator.
- 01Confirm the layout and site informationAgree who measures, who checks the cabinets and walls, and when final dimensions can be released. Record the drawing revision used for the countertop.
- 02Approve the seam and pattern planMark slab or sheet allocation, grain or vein direction, seams and visible returns. Review transport and access constraints alongside the desired appearance.
- 03Coordinate cut-outs and supportSupply final appliance and sink information. Have the responsible fabricator resolve cut-out geometry, clearances, joints and support using the applicable product guidance.
- 04Agree handling and handoverRecord packaging, site access, installation responsibility and handover documents. Provide product-specific cleaning and care instructions with the completed work.
A useful countertop brief is more than a color name.
Include a dimensioned layout, the surface or reference you prefer, edge appearance, sink and appliance models, intended seating, destination and project stage. Note whether an installer or stone fabricator is already appointed.
Clarify the surface and the delivery scope.
Is a countertop included with every cabinetry project?
The project scope should state this explicitly. Identify who supplies, measures, fabricates, transports and fits the countertop, including cut-outs and final connections. Share any appointed local fabricator details with the cabinetry brief.
Can I choose an island size before the material?
Begin with the layout, then review the selected material, slab or sheet format, thickness, seams, cut-outs, support and access. These decisions should be coordinated before committing to fabrication dimensions.
Will the vein continue through a waterfall or thick edge?
Ask for the layout and edge detail for the exact selected product. Surface pattern, through-body appearance, slab allocation and the chosen joint affect the result. A small sample does not establish a continuous pattern across the whole island.
Can I use one cleaning or heat rule for all countertops?
Use the care instructions for the exact surface and finish. Heat resistance and suitable cleaning products differ; a claim about one branded product should not be applied to another. Agree the care information as part of the handover.
Connect the countertop to the cabinetry brief.
Send the room layout, surface preference and appliance information. Include your measurement and installation arrangements so the interfaces can be discussed together.
Start a project brief