Kitchen islands,
planned from every side.
An island brings working space, storage and gathering into the center of a kitchen. Decide what belongs on the surface, what sits beneath it and how people move around it. Then connect the cabinetry, countertop, seating and services in one project brief.
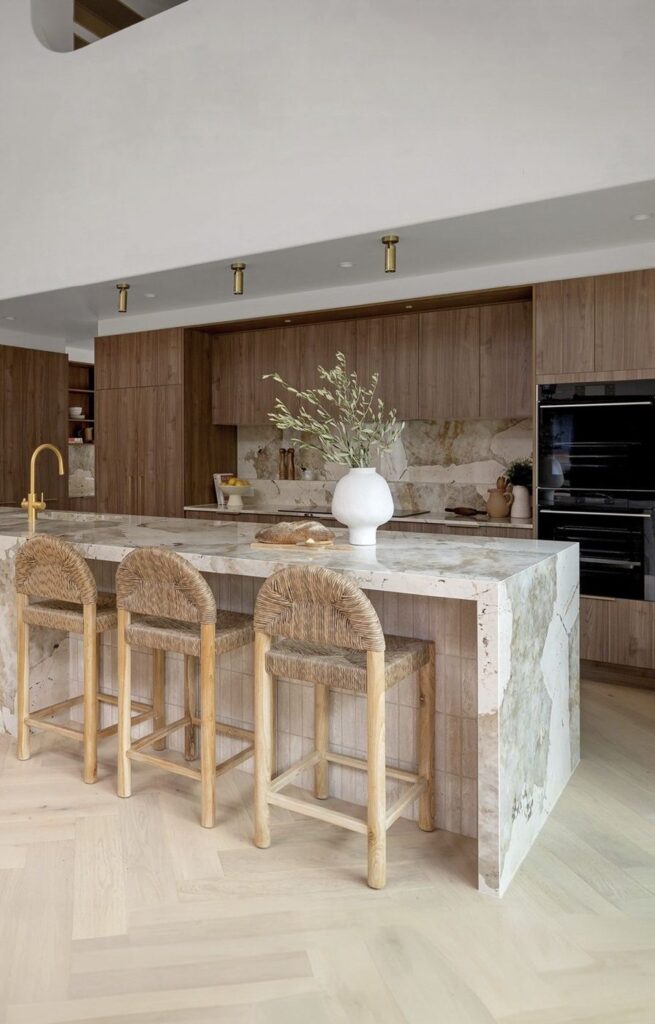
Start with the activities the island needs to support.
These starting points can be combined. Give each activity a place before adding finishes or accessories.
Keep a clear working surface and organize drawers around preparation tools, serving pieces or everyday cookware. Decide which side provides access.
Locate seating in relation to preparation and circulation. Show stools in use, the intended knee space and the proposed countertop support.
Coordinate the sink, faucet, waste storage and any dishwasher with cabinet interiors, plumbing routes and access for maintenance.
Start with the selected appliance information. Coordinate openings, ventilation, service routes, surrounding surfaces and the space needed beneath the top.
Give each side a purpose.
The working face, the room-facing side and the ends can do different jobs. Combine preparation, storage and gathering without treating the island as one uninterrupted block.

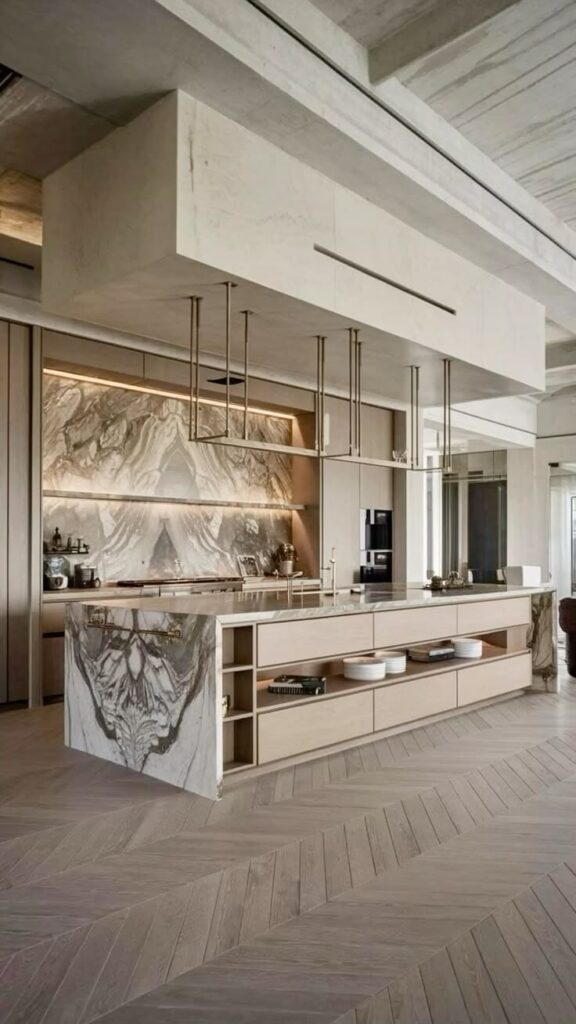

Product and design references from the supplied image library. Dimensions, hardware and finishes are developed for each project.
Organize the island from the inside out.
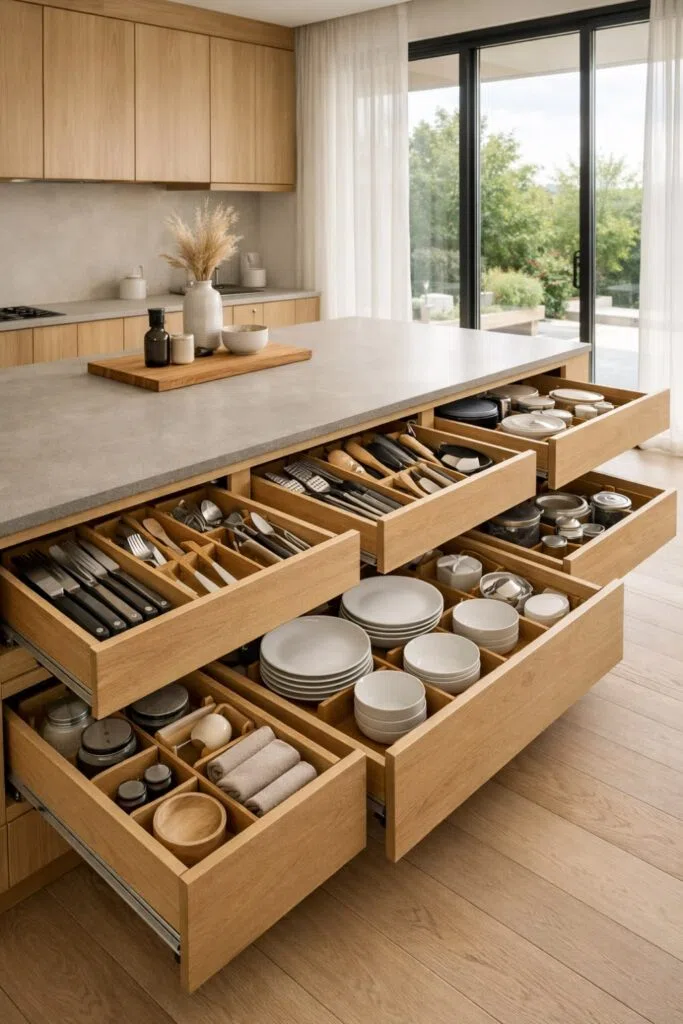
Design references showing how drawers can separate dishes, utensils and cookware. Confirm usable dimensions and the selected hardware with the cabinet schedule.

Draw the activity around the island.
Place the island on the complete kitchen plan. Include open doors, drawers, appliance access and occupied seating, as well as the route through the room. The useful footprint is more than the outline of the countertop.
- Check the adjoining runs
- Review the island alongside the sink, cooking area, tall cabinets and pantry. Record any competing opening paths.
- Confirm site information
- Identify walls, structural elements and service locations before committing to the island position. Keep unresolved dimensions visible on the drawing.
Store for the task, then choose the access.
List the objects first: preparation tools, pans, dishes, serving pieces or cleaning supplies. Separate working-side storage from items reached by seated guests, and coordinate the interior with every sink, appliance and support member.
- Drawers and internal organization
- Record the items to accommodate, useful internal dimensions and the selected drawer system. Dividers and organizers belong in the schedule with their applicable drawer.
- Door access and loose components
- Show shelf access, door swing and any removable service panel. Locate waste storage and spare components where they can be reached without dismantling unrelated cabinetry.
Specify the surface and the structure together.
An edge appearance does not define the complete countertop assembly. Agree the exact product, fabrication detail and responsibility for measurement, support and fitting.
Record the surface reference, slab or sheet arrangement, seam positions and pattern direction across the island.
Draw exposed edges, corners and waterfall ends. Review the intended appearance with a sample and section detail.
Coordinate seating overhangs, cut-outs and support with the material, appliance information and responsible fabricator.
Choose a design direction for the whole volume.
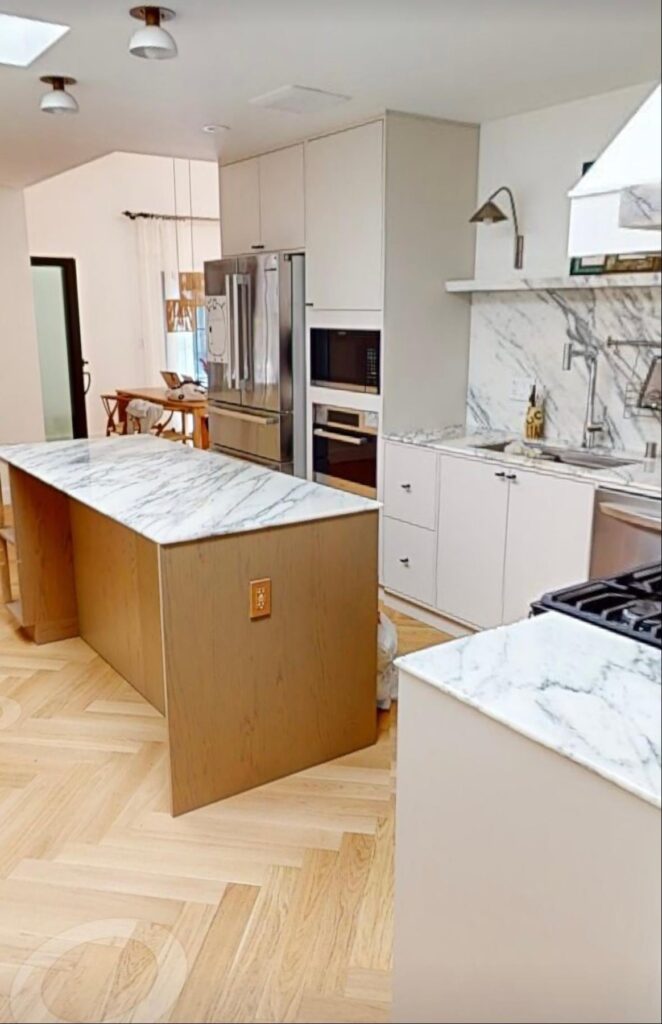
A quiet slab front, a framed door or a wood-led surface changes how the island relates to the room. Review the working face, seating back, end panels and toe kick together. An island may repeat the perimeter finish or introduce a deliberate contrast.
Make the interfaces visible before quotation.
Share a dimensioned room plan, the intended island activities, seating needs and reference images. Include selected sink and appliance models, finish preferences and the destination. State who will measure the site, fabricate the countertop, install the cabinetry and complete the services.
A few useful starting points.
Can the island combine seating and a sink?
Plan their positions together, including sink depth, plumbing, storage and the seating-side support. Review how preparation and cleaning will work while people are seated.
Does a waterfall end replace support beneath the top?
Ask the fabricator to confirm the structural arrangement for the chosen material and geometry. A photograph of a waterfall detail does not establish how another island should be supported.
Should the island match the kitchen cabinets?
Matching can create continuity; contrasting fronts can give the island a separate role. Compare the actual face, edge and countertop samples together before approving the combination.
Check the numbers before you specify.
Bring the island into the kitchen brief.
Send the room plan, activities, appliance information and design references. These inputs help turn an island idea into a coordinated specification.
Start a project brief