Custom cabinetry, specified for professional projectsSpecification guideFor the tradeStart a project
ARCAYACABINETRY
Start a project
MenuClose
Arcaya / Whole-home systems

Wall panel systems

Explore veneer, textured, framed and functional wall systems. Compare grain, molding profiles, classic panel proportions and integrated storage as part of the whole elevation.

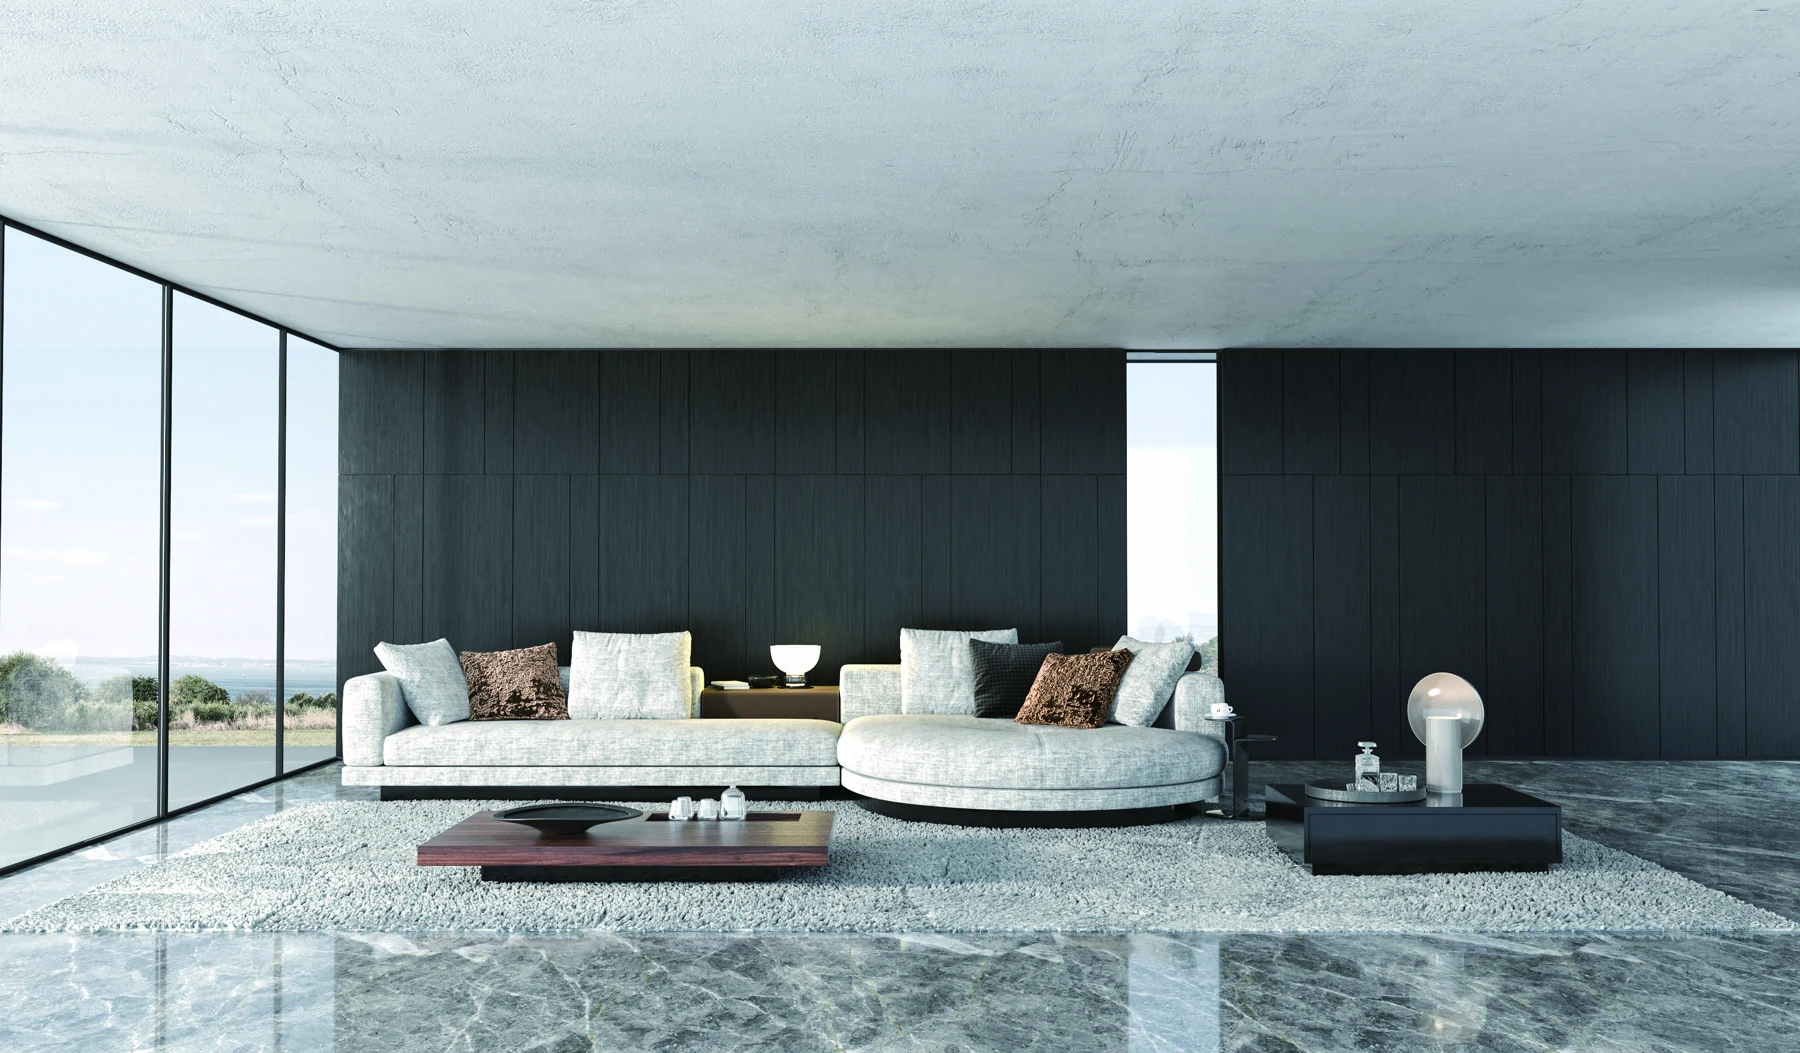
Dark timber wall panels extending across a contemporary living room
Design study / a continuous wood-led wall composed with the living-room furniture.
01 / More than a surface

Give the wall
a role in the room.

A decorative panel, a textured feature and a functional wall system answer different needs. Start with the purpose, then resolve the finish and connections.

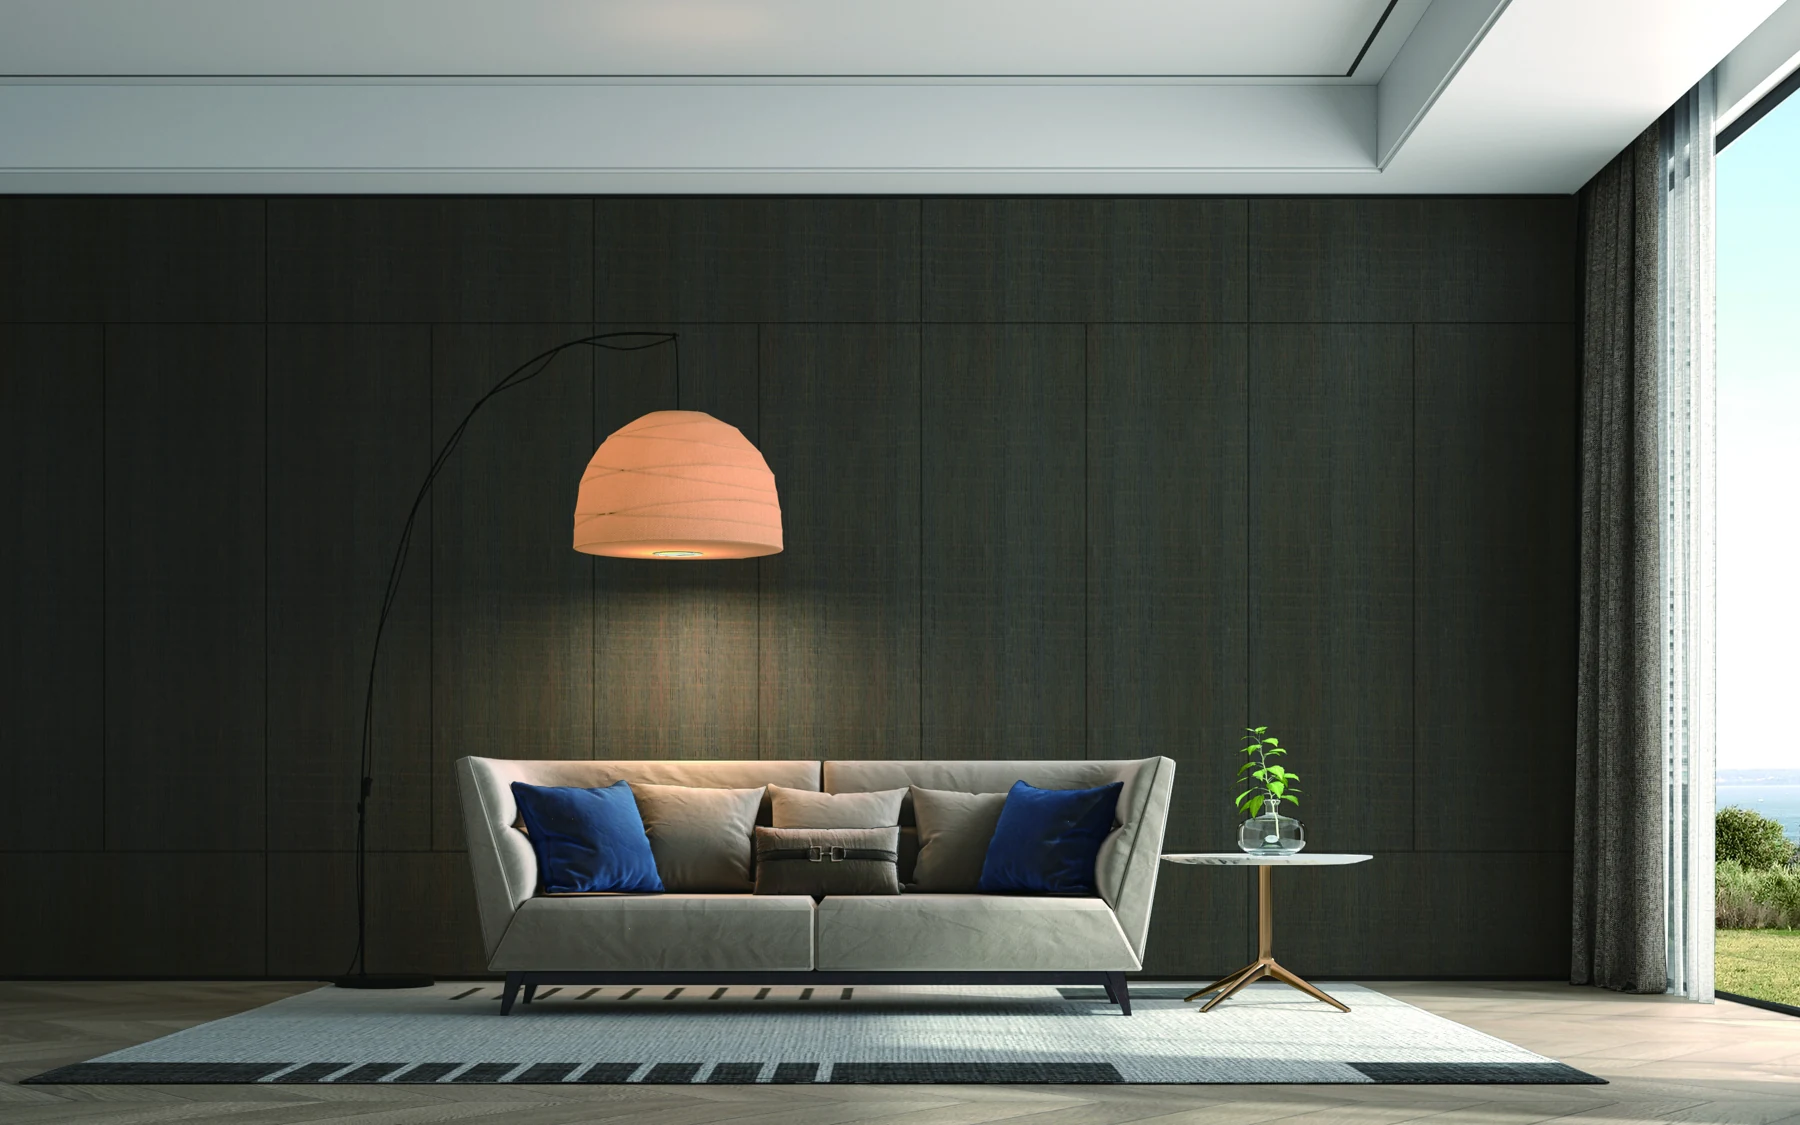
A dark wood wall behind a sofa with a warm pendant light
Design study / a timber wall used as a continuous background to a living area.
01 / Design direction

Veneer wall panels

Treat the wall as a composed surface. Panel width, grain direction and the rhythm of the joints matter as much as the timber tone.

Visual character
Broad wood-led surfaces with deliberate vertical or horizontal divisions.
Choose the surface
Name real veneer, a decorative wood-effect surface and the supporting substrate separately. Appearance alone does not identify the construction.
Resolve the junction
Set out corners, ends, door openings, baseboard and service points before the panels are made. Approve the actual surface on a physical sample.

Design language: Natural Linear

Discuss this direction
Fine vertical surface texture and aligned panel joints on a timber wall
Design study / fine vertical texture and a consistent wall-panel grid.
02 / Design direction

Textured wood wall panels

Bring a finer rhythm to a feature wall. The texture should be legible at close range and remain composed across the full elevation.

Visual character
Linear texture or grooved surfaces, distinguished from a plain, flat decorative panel.
Compare the scale
Look at the groove spacing, depth, surface finish and response to light on a representative sample. Keep door and cabinet lines legible beside the texture.
Resolve the termination
Decide how the pattern ends at corners, door edges, sockets and adjoining flat panels. Decorative texture does not by itself establish acoustic performance.

Design language: Sculpt Natural

Discuss this direction
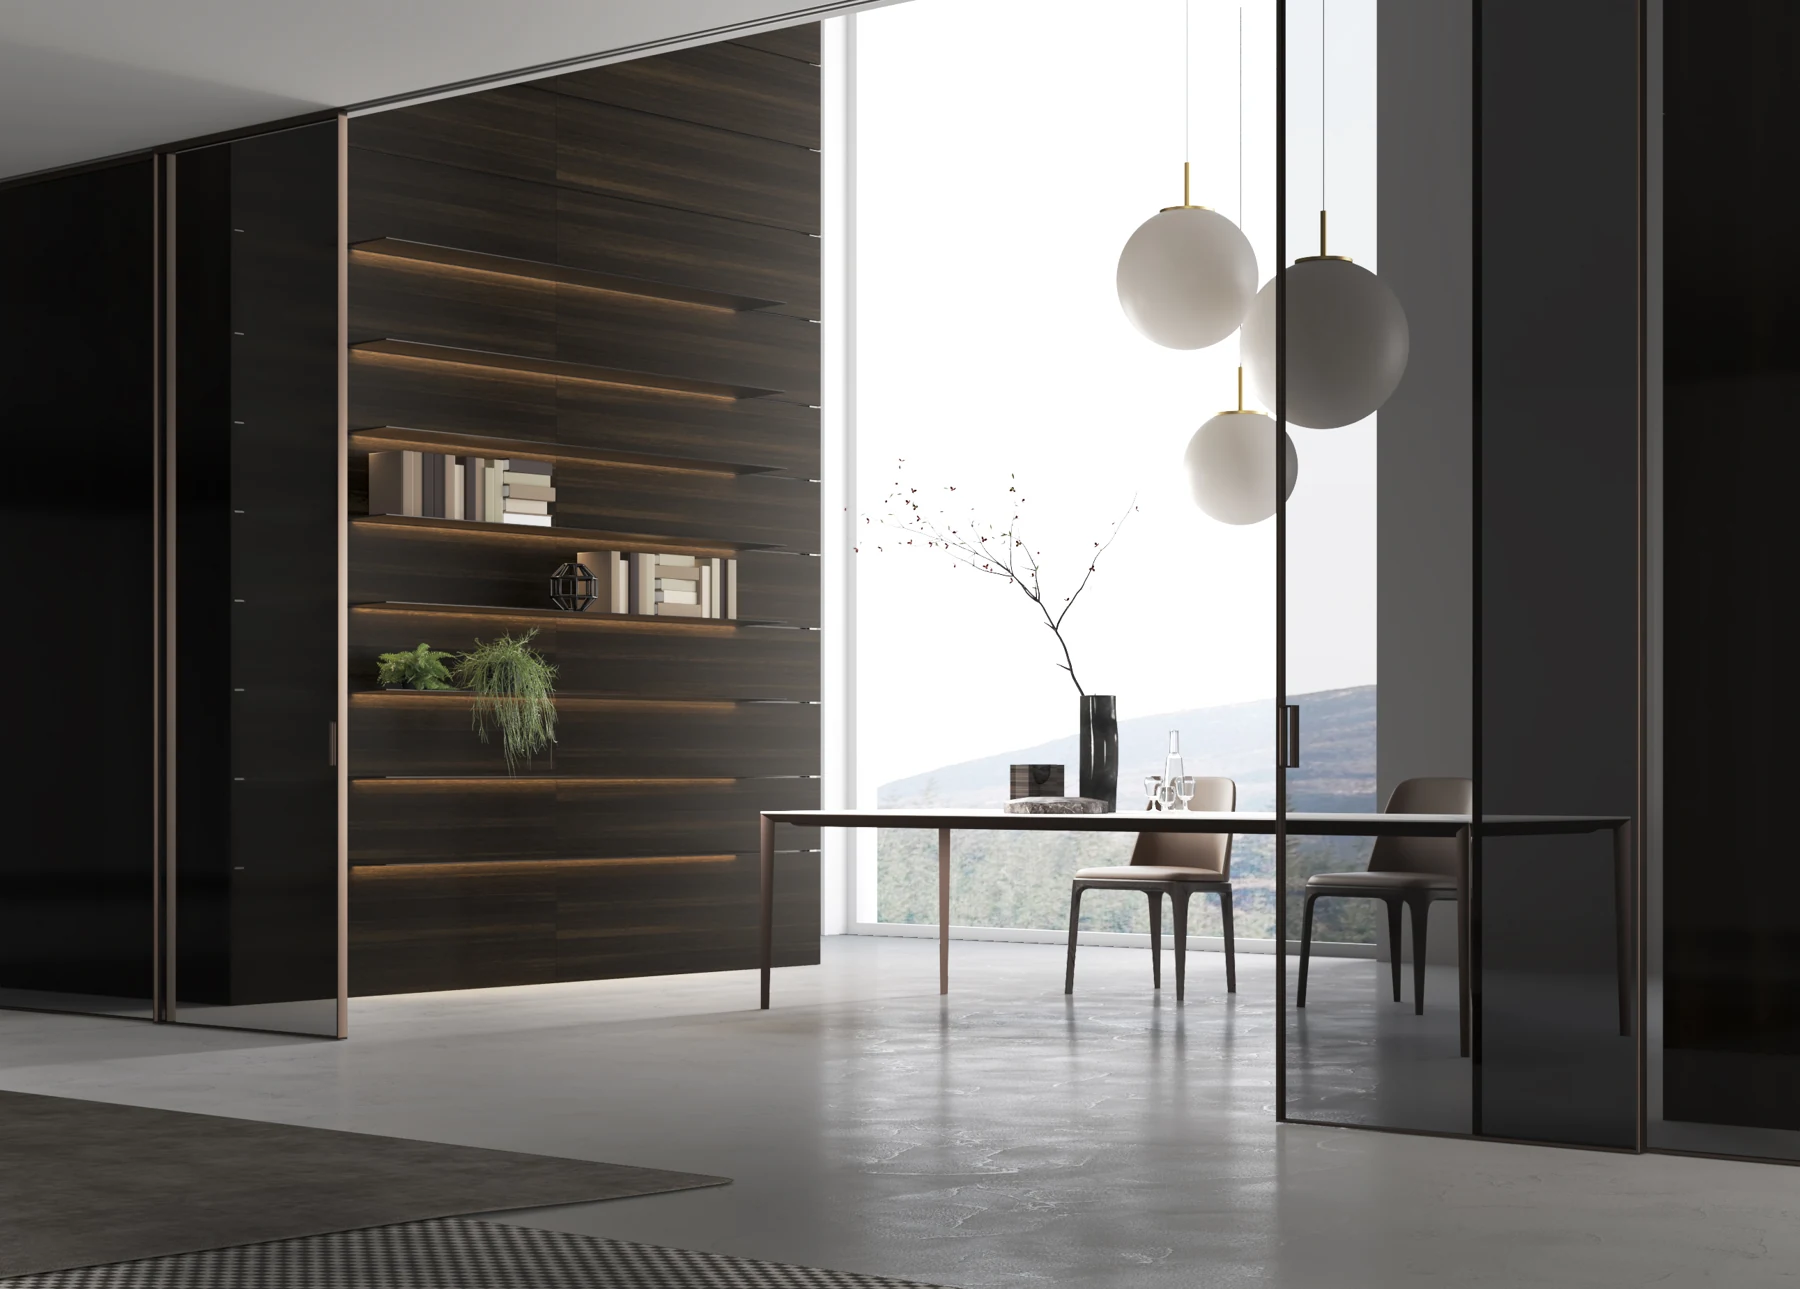
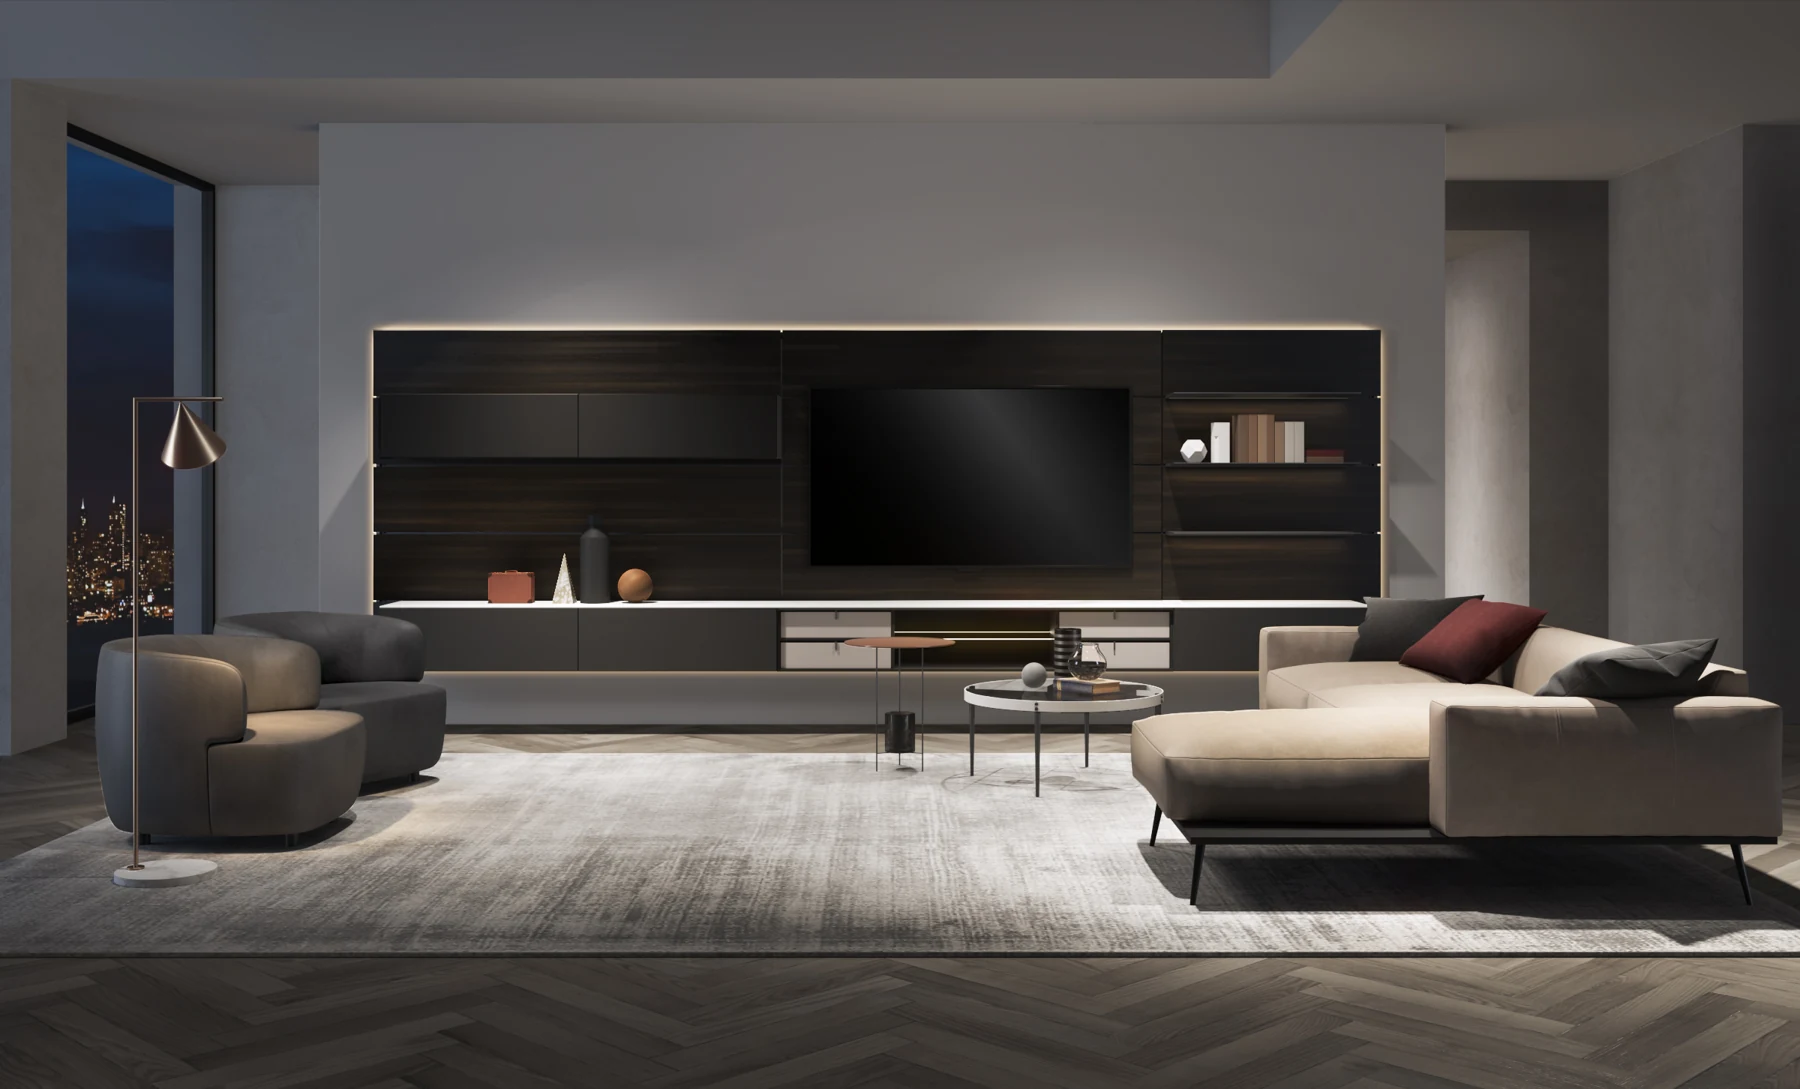
A media wall combining timber panels, floating drawers, shelves and integrated lighting
Design study / panels, drawers, shelving and lighting composed as one media wall.
03 / Design direction

Modular wall storage systems

Give the wall an everyday purpose. Shelves, drawers, a desk or bedside storage can be composed with the panels, rather than added as unrelated furniture.

Visual character
A paneled background carrying functional storage and a coordinated lighting layout.
Choose the modules
Start with the objects, equipment and tasks. Compare open shelves with drawers, closed storage and a work surface.
Resolve support and services
Confirm wall construction, fixing design, module loading, cable routes and driver access with the selected system. A floating appearance is not a claim of unsupported construction.

Design language: Linear Natural

Discuss this direction
04 / Framed wall paneling

A frame gives the wall
its own proportions.

Paneled wall systems use framed fields and moldings to organize an elevation. Compare simple rectangular frames with more ornamental profiles, then align the composition with openings, furniture and adjoining cabinetry.

Pale framed wall paneling behind open shelves and a bench in a modern classic living room
Modern classic design study / pale framed fields form the background to open shelves and a bench.
Dark green framed wall paneling with a dado line behind a bed and timber bedside furniture
Separate bedroom study / a dado line and repeated rectangular frames organize the wall behind the bed.

Restrained frames, a clear rhythm.

Start with the full wall elevation. Compare frame widths, margins, upper and lower fields, and the height of the dado against furniture and openings. Use Frame as a related cabinet language.

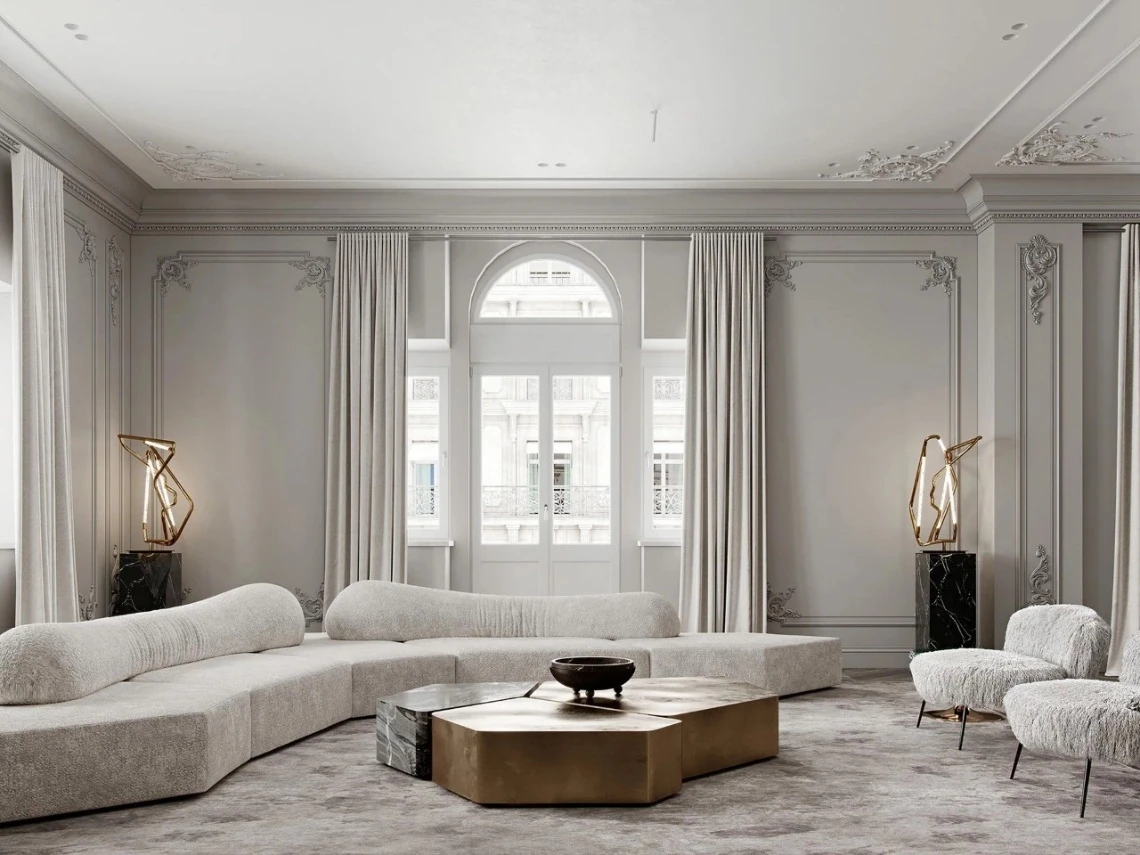
French-inspired living room with ornamental framed wall panels, cornice details and an arched window
French-inspired design study / ornamental wall fields coordinated with an arched window and cornice.

Ornament, placed deliberately.

Review the scale of corner decorations, the cornice and the distance between framed fields. Keep the surrounding elevation legible; Heritage offers a related direction for more expressive cabinetry.

Decorative wall moldings with scrollwork ornaments at the corners of pale rectangular frames
Wall detail reference / rectangular moldings with scrollwork at the corners.

The profile and its corners.

Approve a physical section and a representative corner. The photograph establishes a visual direction, not the molding material, applied or routed construction, finish system or panel thickness.

Coordinating joinery reference showing a molded framed cabinet front above three drawers
Separate joinery detail / a framed cabinet front and drawers, shown for wall-and-cabinet coordination.

Carry the frame into the joinery.

This is a cabinet reference, not a wall installation. Compare the frame language, drawer lines and handles beside the wall elevation. Keep door swing, reveal and accessible hardware clear of decorative profiles.

Resolve the whole elevation

Proportions first.
Junctions next.

Doors and corners
Show every opening, return, architrave, baseboard and ceiling change. Decide where the frame continues and where it should end.
Services and support
Set out switches, sockets, lighting and access panels. Confirm the substrate, fixing or bonding method, backing and any relevant performance documents for the actual assembly.
Color and finish
Compare real samples together under the project lighting. Similar paint tones in separate photographs are not a matched finish specification.
Compare the expression

Simple frame or ornamental field?

These are two visual directions within framed wall paneling. Construction and performance are separate specification decisions.

Simple frameLet proportion lead

Best starting point

A modern classic background with rectangular fields and quieter profiles.

Decision to resolve

Margins, dado position, profile width, furniture height and the meeting with adjacent doors.

Ornamental frameUse detail as an accent

Best starting point

A French-inspired wall with deliberate corner ornaments and cornice relationships.

Decision to resolve

Ornament scale, corner samples, profile transitions, cleaning access and the actual finish.

The photographs are separate design studies. Confirm the product range and material composition for your project.

Coordinate the door opening · Compare facing materials · Plan the adjoining cabinetry

02 / Compare the systems

Surface, texture or storage.

The visible face is only one part of the decision. The panel layout, supporting construction and adjoining details determine how the system fits the room.

VeneerA broad, wood-led composition

Best starting point

A calm background where grain direction and panel divisions establish the visual rhythm.

Decision to resolve

Surface identity, matching approach, corner treatment and the relationship to door openings.

TextureA finer linear rhythm

Best starting point

A feature area where grooves or surface texture should be visible from both near and far.

Decision to resolve

Sample the texture and light together, then resolve pattern ends, sockets and adjoining flat panels.

StorageA wall with a daily function

Best starting point

A media wall, work area or bedroom background with shelves, drawers and integrated services.

Decision to resolve

Define the modules, supporting wall, fixings, equipment ventilation and service access.

03 / Carry the language through

One background.
Several ways to live.

These separate studies connect timber surfaces, storage and openings. They show coordination strategies rather than a matched project or a fixed product package.

Door, wall and cabinet junctions

Set out panel divisions in elevation. Check how a concealed door, a cabinet side, a ceiling line and the baseboard meet. Refer to interior doors and partitions for opening choices.

Classic paneling as another direction

Review framed wall paneling for simple rectangular fields and ornamental profiles. The frame proportions can relate to Frame or Heritage cabinetry; coordinate its profiles with the flat surfaces, textures and functional systems shown here.

How is a wall system different from a decorative panel?

A decorative panel describes a visible surface. A wall system also resolves panel layout, attachment, edges, openings and any functional modules or services.

Does a wood-look wall always use real veneer?

No. Real veneer and decorative wood-effect surfaces can look similar in a room photograph. Confirm the decorative layer, substrate and finish on the actual specification and sample.

Can shelves and drawers be added to the wall?

This is a functional system choice, not an automatic feature of every panel. Review the supporting wall, fixing system, loading and module arrangement before adding storage.

Is framed wall paneling the same as a framed cabinet door?

No. They can share a visual language, but the wall panel, molding and cabinet front have different construction and fixing requirements. Compare actual samples and resolve their proportions in elevation.

Can a classic framed wall include a concealed door?

That is an interface to design around the actual frame, leaf, reveal, handle and opening movement. Decorative moldings must end or continue in a way that leaves the door usable. Review a detail drawing and sample before approval.

What should I send for a wall-panel inquiry?

Send the room plan, wall elevations, photographs, reference images and known service positions. Identify corners, doors, ceiling changes and any shelves, drawers or lighting in scope.

Technical reading / Wall to face

Plan the fixing before the finish.

A coherent wall elevation needs a substrate, setting-out and access decision behind the visible surface. These are questions to resolve for a real project, not a stock mounting detail.

01

Record the existing wall

Survey the substrate, flatness, openings and services. The finish photograph cannot tell a designer what the wall can safely support.

02

Set out the visible fields

Draw every panel break, corner, door edge, socket and lighting line on one wall elevation. Compare how the divisions continue into adjacent cabinetry.

03

Choose a real fixing system

Match the actual wall, backing and selected panel to manufacturer information and project engineering. A decorative face and a suspended shelf or cabinet may need different support.

04

Resolve the last panel

Decide the starting and finishing edges, how the final piece closes and which elements must be removable. Historic clip examples show why installation order matters, not a universal clip pattern.

05

Keep access and junctions clear

Locate switches, concealed services, doors and inspection access before covering the wall. Record who supplies each interface and who can later reach it.

06

Approve the evidence set

Request a numbered elevation, panel and edge sample, selected fixing details and the current system instructions. Keep open questions on the drawing revision.

Two surface directions

Different rhythms. Hidden support still matters.

The two partner showrooms show what a client can judge visually: panel lines, door adjacency and framed fields. Neither photograph reveals the fixing, structural capacity or service access behind the finish.

Source and scope. Historical A8 wall-panel and hanging-system slides informed the decision sequence above, but their product codes, dimensions, installation steps and load statements are not Arcaya specifications. The actual wall and selected supplier system determine the engineering and installation detail.

Foshan partner showroom · Wuxi partner showroom · Cabinet connections guide

Your project / From reference to specification

Start with the whole elevation.

Show where the wall begins and ends, what it meets and what it needs to hold. The surface sample and the setting-out drawing should be reviewed together.

01

Share the room

Send a floor plan, elevations, room photographs and the project destination. Identify the openings, services and adjoining cabinetry.

02

Choose the direction

Name the product form, opening or storage needs, visual references and preferred collection. Include the details you want to compare.

03

Resolve the specification

Review construction, samples, hardware, installation interfaces and project scope before a quotation or technical approval.

All images on this page are design studies. They illustrate design directions and are not presented as Arcaya completed projects or confirmed stock models. Available configurations and project suitability are reviewed individually.

Keep the home in conversation

Connect the wall, the opening and the furniture.

Interior doors & partitions · Materials & finishes · Whole-home cabinetry

Start a project brief