Explore natural, colored, smoked, reconstituted, figured and burl veneer directions. Compare a surface sample with the complete elevation and room, then approve the actual face, panel, edges and finish together.
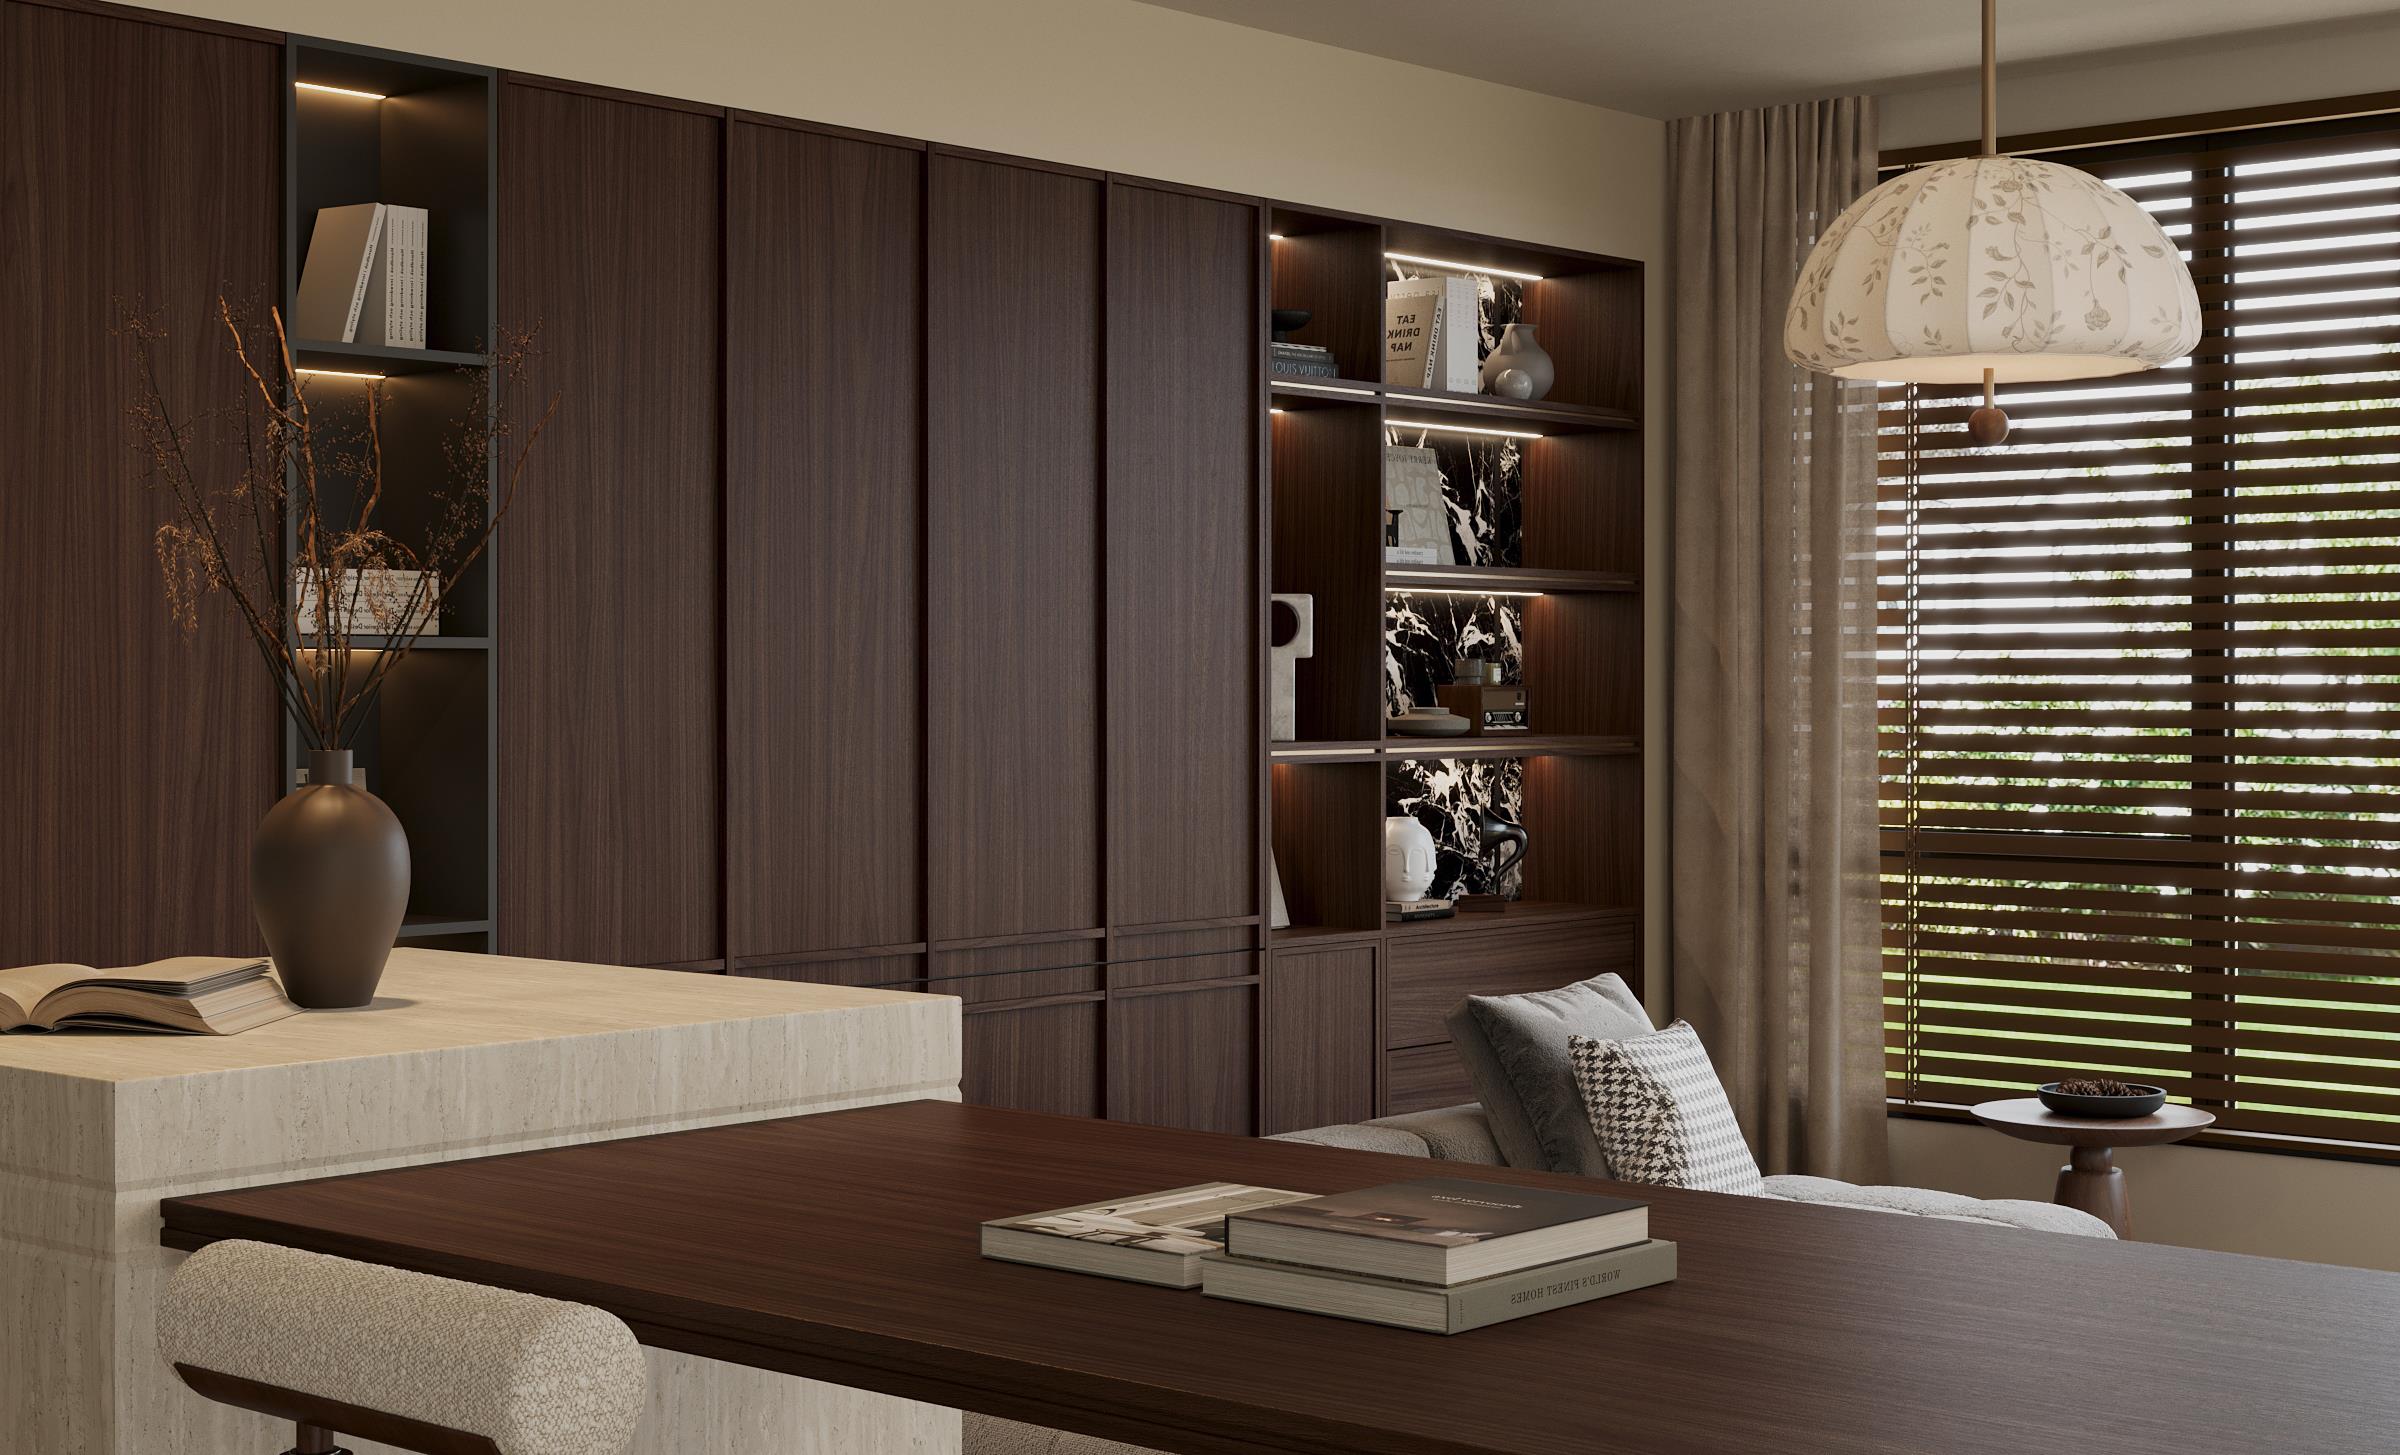
Design study / a wood-led storage elevation; species, treatment and final tone are established by the project sample.
Veneer / Three material families
Choose the character. Then control the detail.
Material sample photographs and application references show different decisions. They are design references, not current stock models or guaranteed sample-to-room color matches.
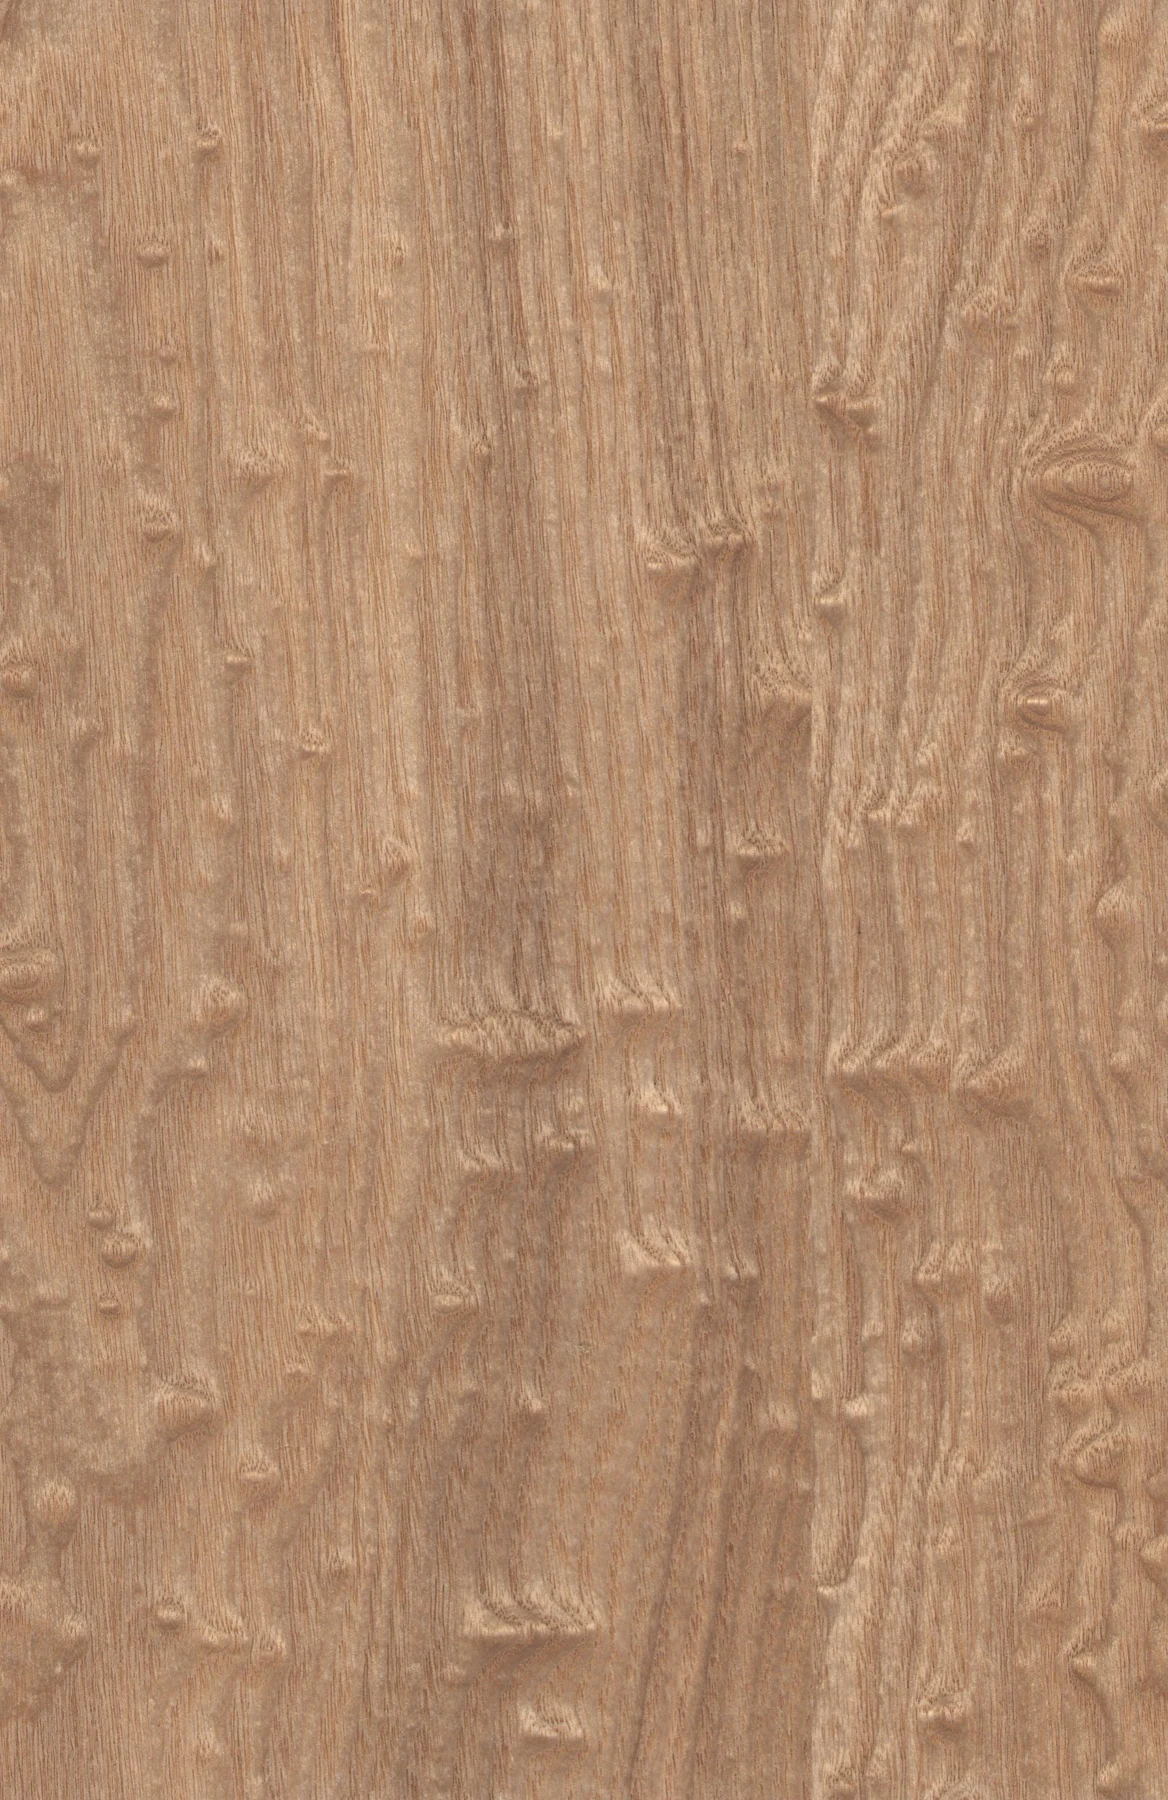
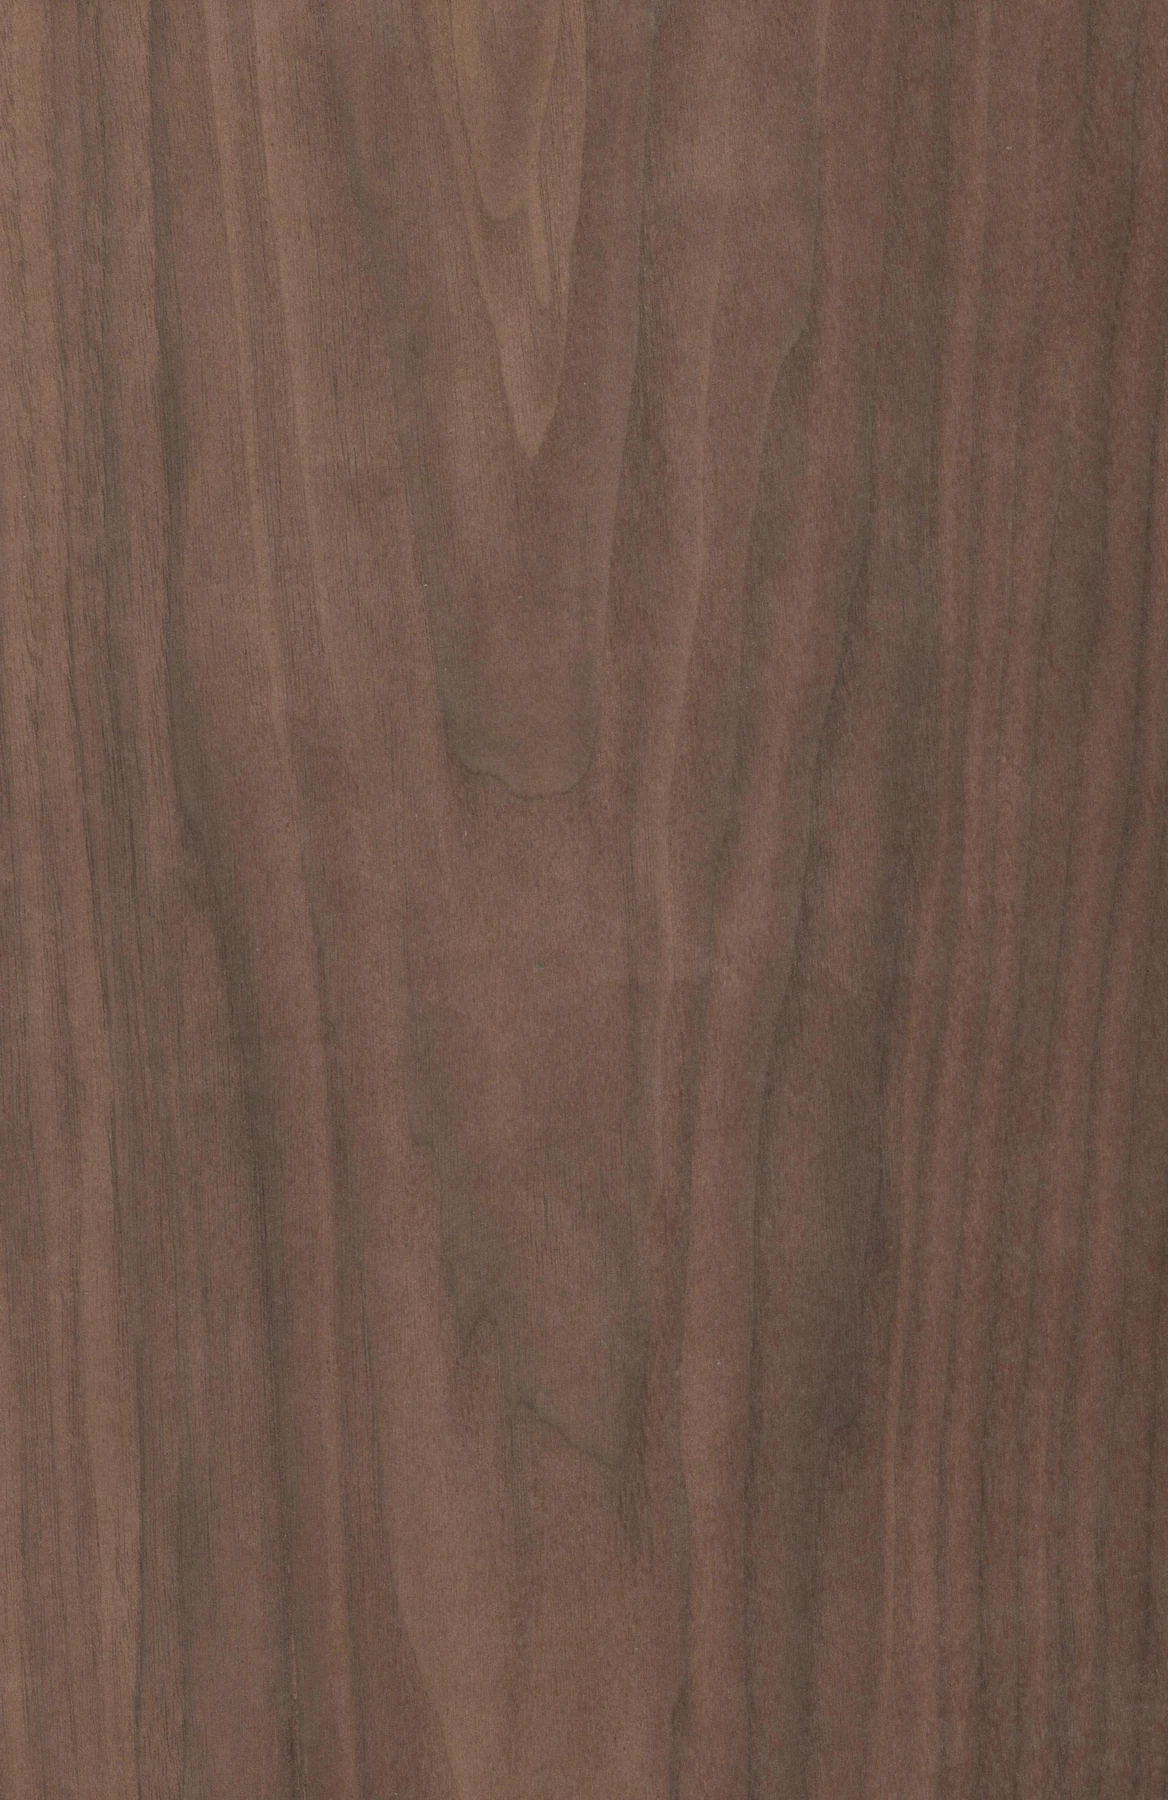
Natural veneer / light-toned grain reference.Natural veneer / deeper brown grain reference.
01 / Design direction
Natural veneers
Choose the character of the wood first: the grain, its variation and how adjacent pieces are arranged. A natural veneer face is a decorative layer of real wood; the panel behind it remains a separate choice.
Read the samples
Compare the light and deep-brown references below for grain character. They are catalog examples, not a confirmed species list or a current stock chart.
Design the sequence
Mark grain direction and the relationship between doors, drawers, return panels and open shelves. Approve the sequence across the elevation rather than one isolated swatch.
Approve the assembly
Record species, cut, veneer matching, substrate, edge treatment, coating and sample reference together. The chosen coating can change the appearance of the wood.
Colored veneer palette / separate catalog samples.
Application study / gray-toned cabinetry and wall panels.Gray veneer / separate sample reference.
02 / Design direction
Dyed and stained veneers
Keep the visible grain while exploring a wider color palette. Cool gray, muted green or deeper brown can connect a timber-led surface to plain fronts, glass and metal.
Name the process
Dyed and stained are finish descriptions that need a supplier specification. Record the actual treatment and coating; a color name alone does not identify the construction.
Compare under project lighting
Review a physical sample with the adjoining wall, floor and lighting. The palette and bedroom below are separate references, not a guaranteed color match.
Control the batch
Identify the approved sample and production batch, acceptable grain variation, edges and future replacement expectations before final approval.
Explore the deeper brown and charcoal tones shown in the smoked-veneer catalog family. Broad fronts can read as a quiet background while open shelves and illuminated interiors break up the darker elevation.
Start from the family
The samples and dressing composition are classified as smoked veneer in the partner factory's catalog. Confirm the available species, treatment and finish with a current product sample.
Balance solid and open
Compare the depth of the tall fronts with the lighter hanging compartment and open shelving. Specify interior surfaces separately from the visible veneer face.
Resolve the finish
Approve sheen, grain sequence, edges and care instructions for the actual coated component. A smoked appearance alone establishes no durability or environmental rating.
Start with an intentionally arranged grain. This family brings a regular linear appearance to quiet wall fields and cabinetry, with pale, gray-brown and warm brown directions to compare.
Design study / repeated vertical wood fields frame a bedroom composition.Separate application study / a wood-led dressing wall and a circular mirror.
Read the surface
Pale linear grain / catalog reference, not an available-stock code.Warm brown linear grain / catalog reference, not an available-stock code.Gray-brown linear grain / catalog reference, not an available-stock code.
Open a sample to inspect its original detail; screen color is indicative.
Identify the actual veneer
Reconstituted veneer uses reconstructed wood to create an arranged grain. It is different from a printed wood-look face. Request the actual material description, supplier reference and finished sample.
Plan the sheet sequence
A regular appearance still needs a layout: grain direction, joints, adjacent fronts, returns and replacement pieces. Agree the acceptable variation and batch reference rather than assuming every sheet will be identical.
Approve the complete component
Record the veneer face, substrate, reverse face, edges and coating together. The reference family establishes no strength, moisture, fire or environmental rating.
The samples and room studies belong to the reconstituted-veneer family in the partner factory's catalog. They are separate references, not a matched color, a specific wood species or a confirmed Arcaya model.
Give expressive grain a deliberate place. Compare a broad golden figure with clustered brown burl, then see how a feature panel reads beside quieter walls, glazing and cabinetry.
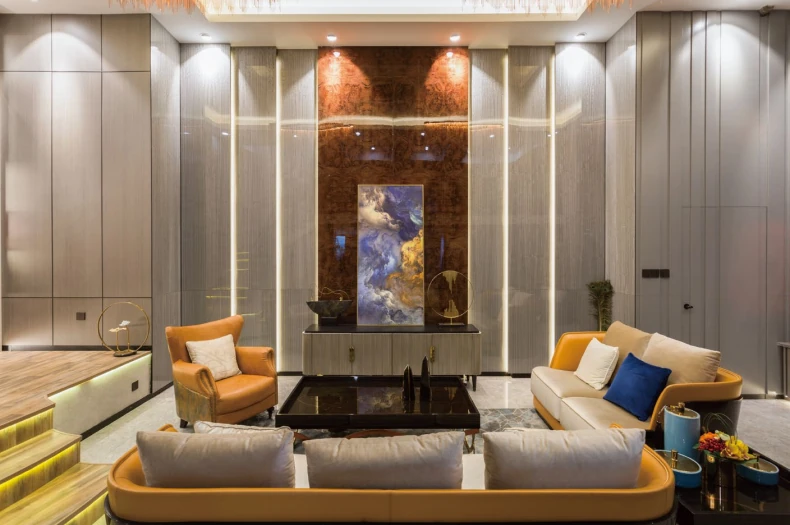
Design study / a tall figured feature wall beside glazed storage and plain panels.Separate feature-wall study / expressive grain framed by quiet gray panels.
Read the surface
Golden figured panel / catalog reference, not an available-stock code.Brown burl sample / catalog reference, not an available-stock code.
Open a sample to inspect its original detail; screen color is indicative.
Distinguish the grain character
Figured is a broad visual description; burl is one specific direction with clustered, swirling grain. The two sample images are different studies, not the same species, finish or panel at different scales.
Review the full panel arrangement
Mark the panel boundaries, matching, focal area and joints on an elevation. A small sample cannot show the whole composition; request an appropriate panel or sequence review for the actual selection.
Keep the surrounding palette clear
Compare the expressive face beside the plain panels, metal frame, glass and countertop under the intended lighting. Resolve edging, coating, maintenance and placement with product-specific information.
These are catalog design studies. The sample panels and applications are separate references; exact species, matching, color, supply and project suitability require a current approved sample.
Catalog design studies illustrate material families and possible applications. Species, color, treatment, supply and project suitability are confirmed individually. Photographs and screens do not replace physical samples.
Compare / The questions that change
A clear shortlist for the sample review.
Start with the appearance you want, then ask for the product evidence that identifies it.
NaturalWood character and matching
Best starting point
A project led by the natural grain and variation of a selected veneer.
Decision to resolve
Species, cut, matching sequence and the final coated sample.
ColoredGrain with a selected tone
Best starting point
A palette that needs a controlled gray, green, brown or another agreed tone.
Decision to resolve
Actual dye or stain process, coating, sample and batch reference.
SmokedDepth and tonal variation
Best starting point
A darker wood-led composition with deliberate solid and open areas.
Decision to resolve
Available species, treatment, sheen and approved variation.
ReconstitutedArranged linear character
Best starting point
A quieter, more regular grain across broad fronts or a wall field.
Decision to resolve
Actual veneer construction, sheet sequence, batch, edges and coating.
Figured and burlExpressive grain as a focal surface
Best starting point
A feature panel or selected furniture face with deliberately expressive grain.
Decision to resolve
Full-panel matching, grain placement, joints, sample approval and the adjoining palette.
Veneer surface illustration from the supplied material catalog.
Understand the material
Wood on the face. A panel behind it.
Natural wood veneer is a wood decorative layer applied to a supporting substrate. It differs from a solid-wood frame and from a printed wood-look face. The coating and any stain also contribute to the final color and sheen.
A veneer-front cabinet combines a wood decorative face, a supporting panel, a reverse face, edges and a coating. Record those layers together so the visual choice and the construction stay aligned.
Decorative layer
Actual veneer family and material description; supplier reference and approved sample
Substrate
MDF, plywood or another documented compatible substrate
Grain & matching
Cut, direction and sequence across adjacent fronts
Finish
Coating type, sheen, stain and approved sample reference
Edges & reverse
Edge treatment, balancing and reverse-face specification
Thickness & sizes
Product-specific dimensions and fabrication limits
Application
Doors, panels or other approved components
Evidence
Supplier technical sheet and product-specific test documentationUse documentation for the selected panel and intended destination market.
02 / Choosing the look
Give the grain a role in the room.
The same wood-led direction can feel different on tall doors, a broad wall or a bedroom composition. Choose the tone and grain character, then decide where it continues, changes direction or meets a plain finish.
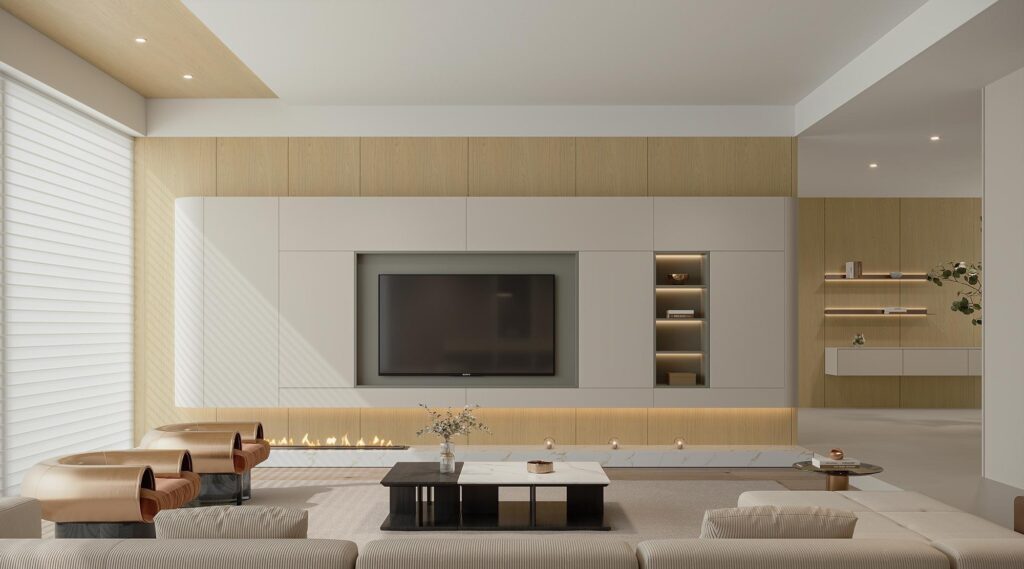
Light wood & plain frontsA broad field of light wood frames the media cabinet. Plain fronts create a quieter center, and slim shelves continue the horizontal lines.
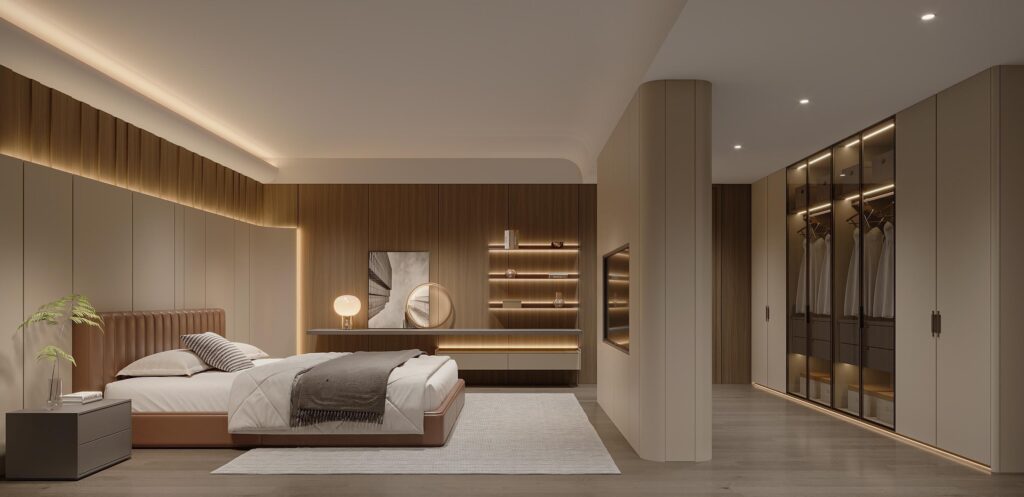
One palette across zonesWood-grain wall panels connect the bed and dressing area. Plain cabinet fronts and glass bring variation without introducing another strong grain.
Catalog design references illustrate grain, proportion and finish combinations. A project sample establishes the actual species, tone, texture and matching approach.
03 / Questions to resolve
Approve the surface at three scales.
A close sample identifies grain character; an elevation shows matching and joints; a room review places that surface beside the floor, light and other materials. Use all three before confirming a decorative face.
Does the material description identify natural, reconstituted or another actual veneer construction?
Which sample, sheet sequence and batch define the approved face?
How do the grain and panel joints continue across doors, fillers and returns?
Which substrate, reverse face, coating and edge treatment complete the component?
Which product-specific care and test documents apply to the chosen assembly?
Approve the grain relationship and the room conditions.
A hand sample can show tone and texture, but it cannot show how two fronts meet or how the finished elevation will read under the room lighting. Agree the visual arrangement, retain the approved sample, and document the acceptable range of color and grain variation for the material actually selected.
Original Arcaya editorial diagram. The lines show possible visual relationships, not a particular veneer sheet, cutting plan or guaranteed match.
This checklist is a design-process reference, not an Arcaya stock list, coating specification or performance test. Ask for current supplier information for the actual material and project conditions.
The adjacent fronts
Choose a mirrored or same-direction visual arrangement where relevant. Mark the sheet sequence, center joint, end panels, fillers and returns on an elevation.
The approved reference
Record the physical sample identifier, supplier, finish, batch or selection range, and who approved it. Keep a retained sample for comparison.
The room light
Review the proposed sample beside adjacent materials under representative daylight and the planned artificial light. Confirm what visual difference the client accepts; do not infer a fade rating from a photograph.
The actual assembly
Confirm substrate, reverse face, edge and coating with current supplier documents. Request material-specific care and exposure information before making performance claims.
Analytics cookiesWe would like to measure how this site is used (pages, forms, campaigns) with PostHog. Essential cookies are always on; analytics cookies are optional.