
Compare the two finishes on the same veneer
Open-grain and filled-grain describe how the wood pores are treated, not whether the cabinet has a protective finish. An open-grain system can still include sealer and topcoat; it simply leaves the larger pores visually and physically legible. A filled-grain system uses filler and coating steps to level those pores before the final surface is built.
That distinction matters because a showroom comparison can be misleading. If one sample is white oak and the other is walnut, or one is matte and the other is gloss, the viewer cannot tell which change comes from the veneer and which comes from the pore treatment. Ask the supplier for a matched pair made from the same veneer cut, stain or color system, sheen and topcoat.
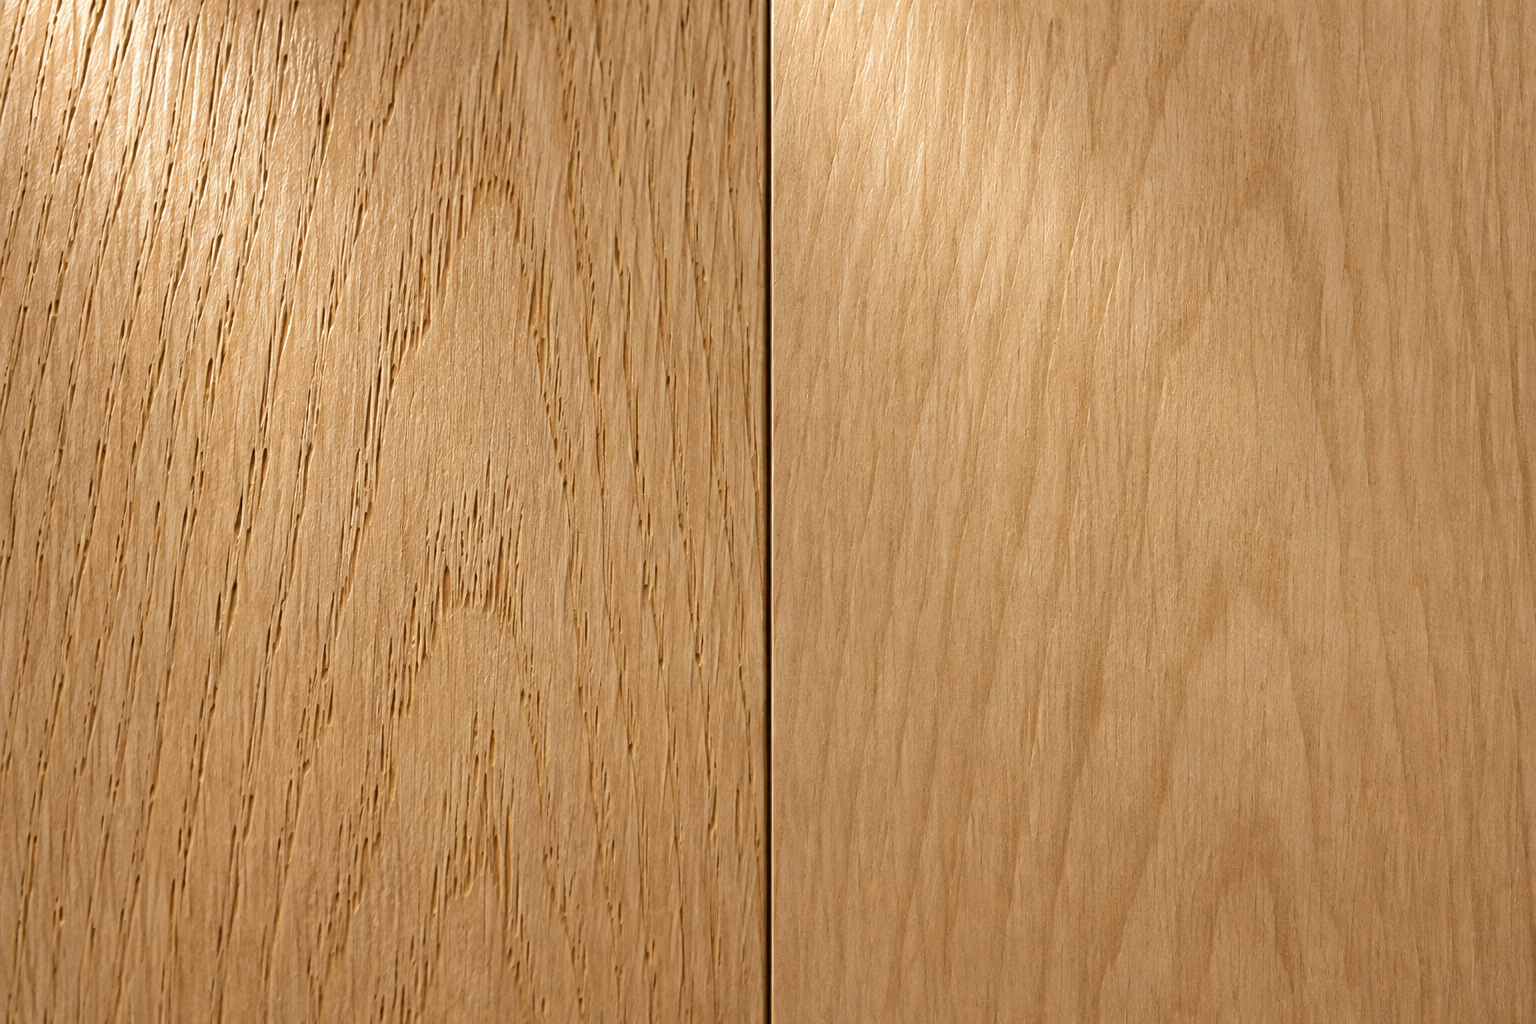
Approve pore fill, color and sheen as separate decisions. If they change at the same time, the sample cannot explain the result.
Check the texture in daylight and under kitchen lighting
Wood texture is not read from color alone. Light arriving across the door face reveals pore depth by shadow; light arriving straight on can flatten the same surface. A small sample held under a showroom spotlight may look more dramatic than a full cabinet wall in diffuse daylight, while a grazing LED strip can make every pore and sanding mark more visible.

Review the samples in the room whenever possible. Hold them vertically in the intended grain direction and move them between the window, ceiling light and under-cabinet light. Look from the normal standing position, then from the side. The question is not which sample looks richer at one angle; it is whether the texture remains appropriate across the views the kitchen will actually create.
Color also shifts with light and surrounding finishes. Place the samples beside the worktop, floor, wall color and metal finish instead of judging them on a white desk. Compare in morning and evening conditions if the kitchen receives strong daylight. Photographs can document the review, but the physical sample remains the approval reference.
Use a raking-light check
Place a lamp to the side of the sample so light travels across the grain. This exposes pore shadows, filler residue, sanding scratches and inconsistent sheen that front lighting can hide. Repeat the check on the sample edge and on any moulded profile.
Check how the cabinet door feels
Run a clean fingertip across the grain and then along it. The open-grain sample should have a deliberate, repeatable texture rather than random roughness. The filled-grain sample should feel level without obscuring the intended veneer figure. Check the centre field, edges, corners and recessed details because pore fill and sanding can change at transitions.
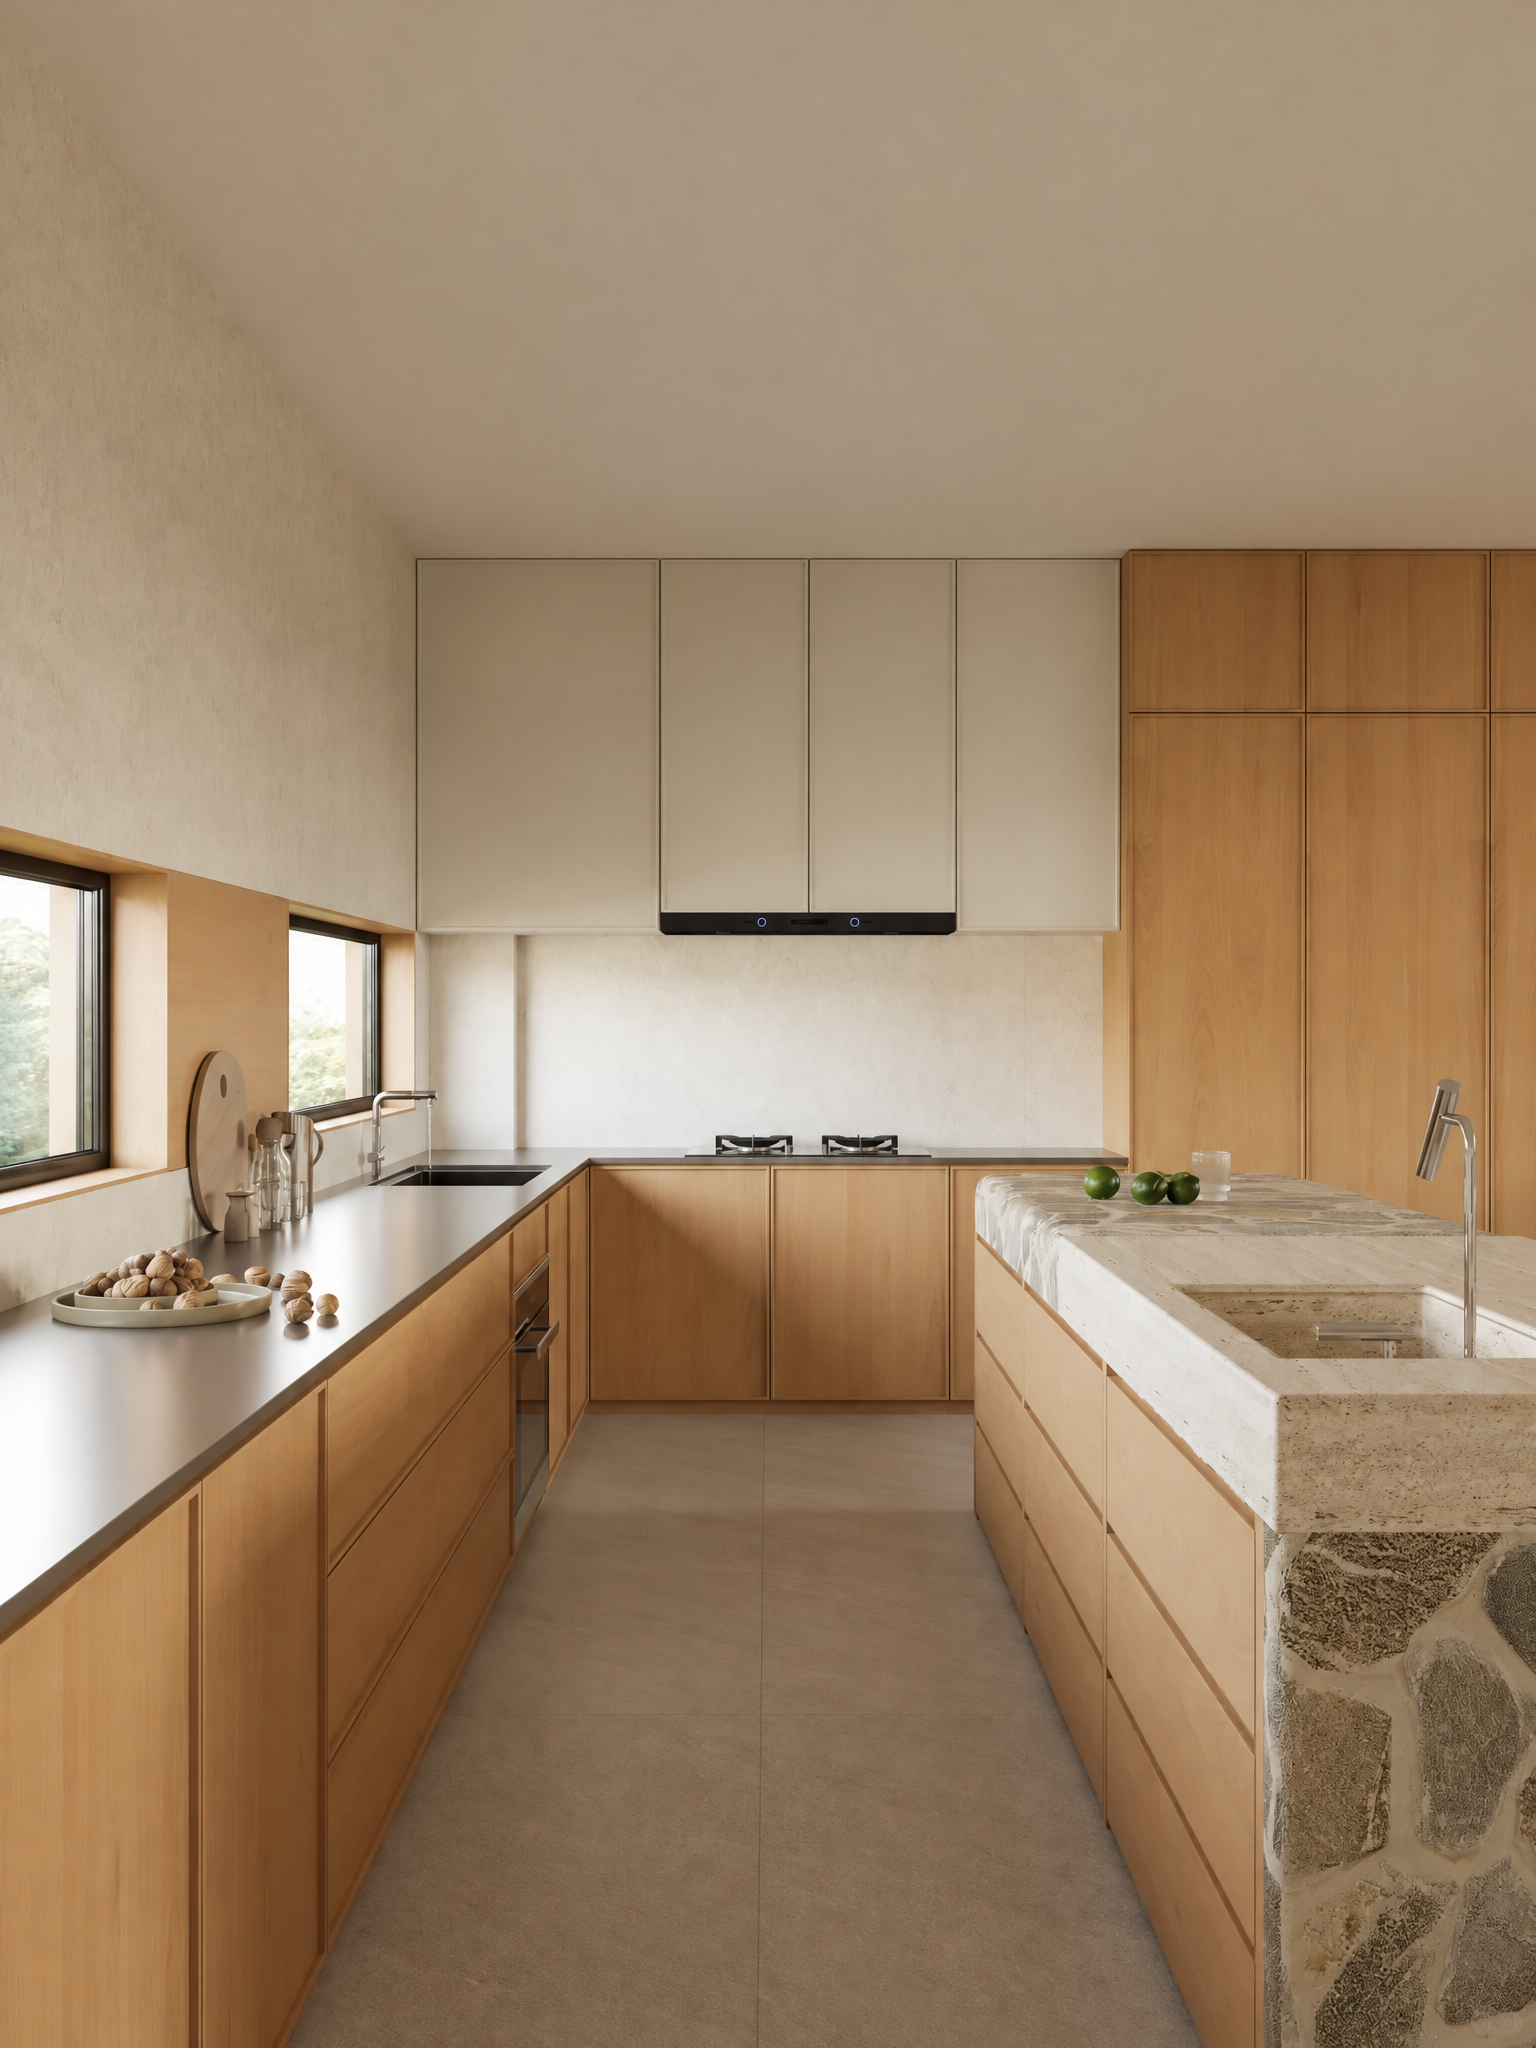

Next, use the sample as a door. Touch the area around the pull, the lower edge of a handleless front and the corner used to close it. These are the places where skin oils and wiping pressure concentrate. A finish that looks convincing in the middle of a sample may feel different at an edge or become visibly marked around a grip.
Do not infer durability from texture alone. Scratch, chemical and moisture resistance depend on the complete coating system, curing and maintenance instructions. Ask the cabinetmaker to identify the finish system and provide its care sheet. If a project requires a particular stain or household cleaner, the supplier should confirm compatibility on the approved coating rather than on unfinished veneer.
Clean both samples with the cabinetmaker’s method
Open pores can make crumbs, dust or pale residue easier to see, while a smooth surface may show fingerprints or broad wiping marks more readily. Which issue matters more depends on color, sheen, pore depth and the coating chemistry. The useful test is a controlled cleaning trial, not a generic claim that one finish is always easier to maintain.
Ask for the permitted cloth, cleaner and drying method. Apply the same small amount of a representative kitchen soil to both cured samples, clean them exactly as instructed and inspect the surface under side light. Check whether residue remains in the grain, whether the cloth catches on the texture and whether repeated wiping changes the sheen.

| Test | Keep constant | Record |
|---|---|---|
| Dry dusting | Same cloth, pressure and number of passes | Visible residue in pores, snagging and remaining streaks |
| Food residue | Same soil, contact time and approved cleaner | Removal result after the supplier’s stated method |
| Repeated wiping | Same cured samples and wiping route | Any change in sheen, color or tactile consistency |
| Edge cleaning | Same edge construction and finish build | Residue at profiles, corners and handle locations |
The sample test does not replace the manufacturer’s performance data. It helps the client understand everyday appearance and cleaning effort. Record any cleaner that is prohibited and keep the care sheet with the project handover documents.
Approve a door-size finish sample
A small color chip is not enough. It may show the general color, but it cannot show the grain across a full door, the finish at the edges or how the surface looks from different angles. Ask for a full sample door or the largest panel the supplier can provide.
Place the open-grain and filled-grain samples next to each other. Check that both use the same wood, grain direction, color and sheen. Label every sample clearly so the factory knows exactly which version was approved.
Real wood naturally varies. Before approving the sample, agree on how much variation in color, grain pattern and pore contrast is acceptable across the finished kitchen. The approved sample should show the target appearance without suggesting that every door must look identical.
| Sample field | What to write |
|---|---|
| Veneer | Species, cut, grade or selection basis, grain direction and sequence requirements |
| Pore treatment | Open-grain, semi-filled or filled-grain, with the approved tactile and visual target |
| Color and sheen | Supplier reference, sample revision and measured or named sheen range if provided |
| Edges and profiles | How the finish continues over edges, grooves, frames and mouldings |
| Variation | Accepted color, grain and pore-contrast range across doors and panels |
| Care | Approved cleaning method, prohibited products and cure condition before use |
Put the approved texture on the cabinet drawings
The finish should not survive only as a showroom sample or an email adjective. Add the approved sample code to the door schedule, end panels, fillers, plinths, appliance panels and visible cabinet interiors where the same treatment is expected. If some elements use a different substrate or finish, mark the transition explicitly.
Write the pore treatment in plain language. “Oak veneer, matte” does not say whether the pores remain open. “Natural finish” is also insufficient. A useful specification identifies the veneer, color, sheen, open- or filled-grain target, edge treatment, reference sample and revision. The production team should know which sample controls appearance and where it is stored.
Before full production, review a control door or first-off panel made with the actual process. Compare it with the signed sample under the same lighting and at the intended orientation. Confirm grain direction, pore visibility, color, sheen, edge consistency and cleaning instructions. Record approval, rejection or required correction in writing.
For an Arcaya custom-kitchen discussion, send photographs of the room materials and both matched finish samples. We can help turn the chosen texture into a door schedule and sample-approval record that follows the project into production.