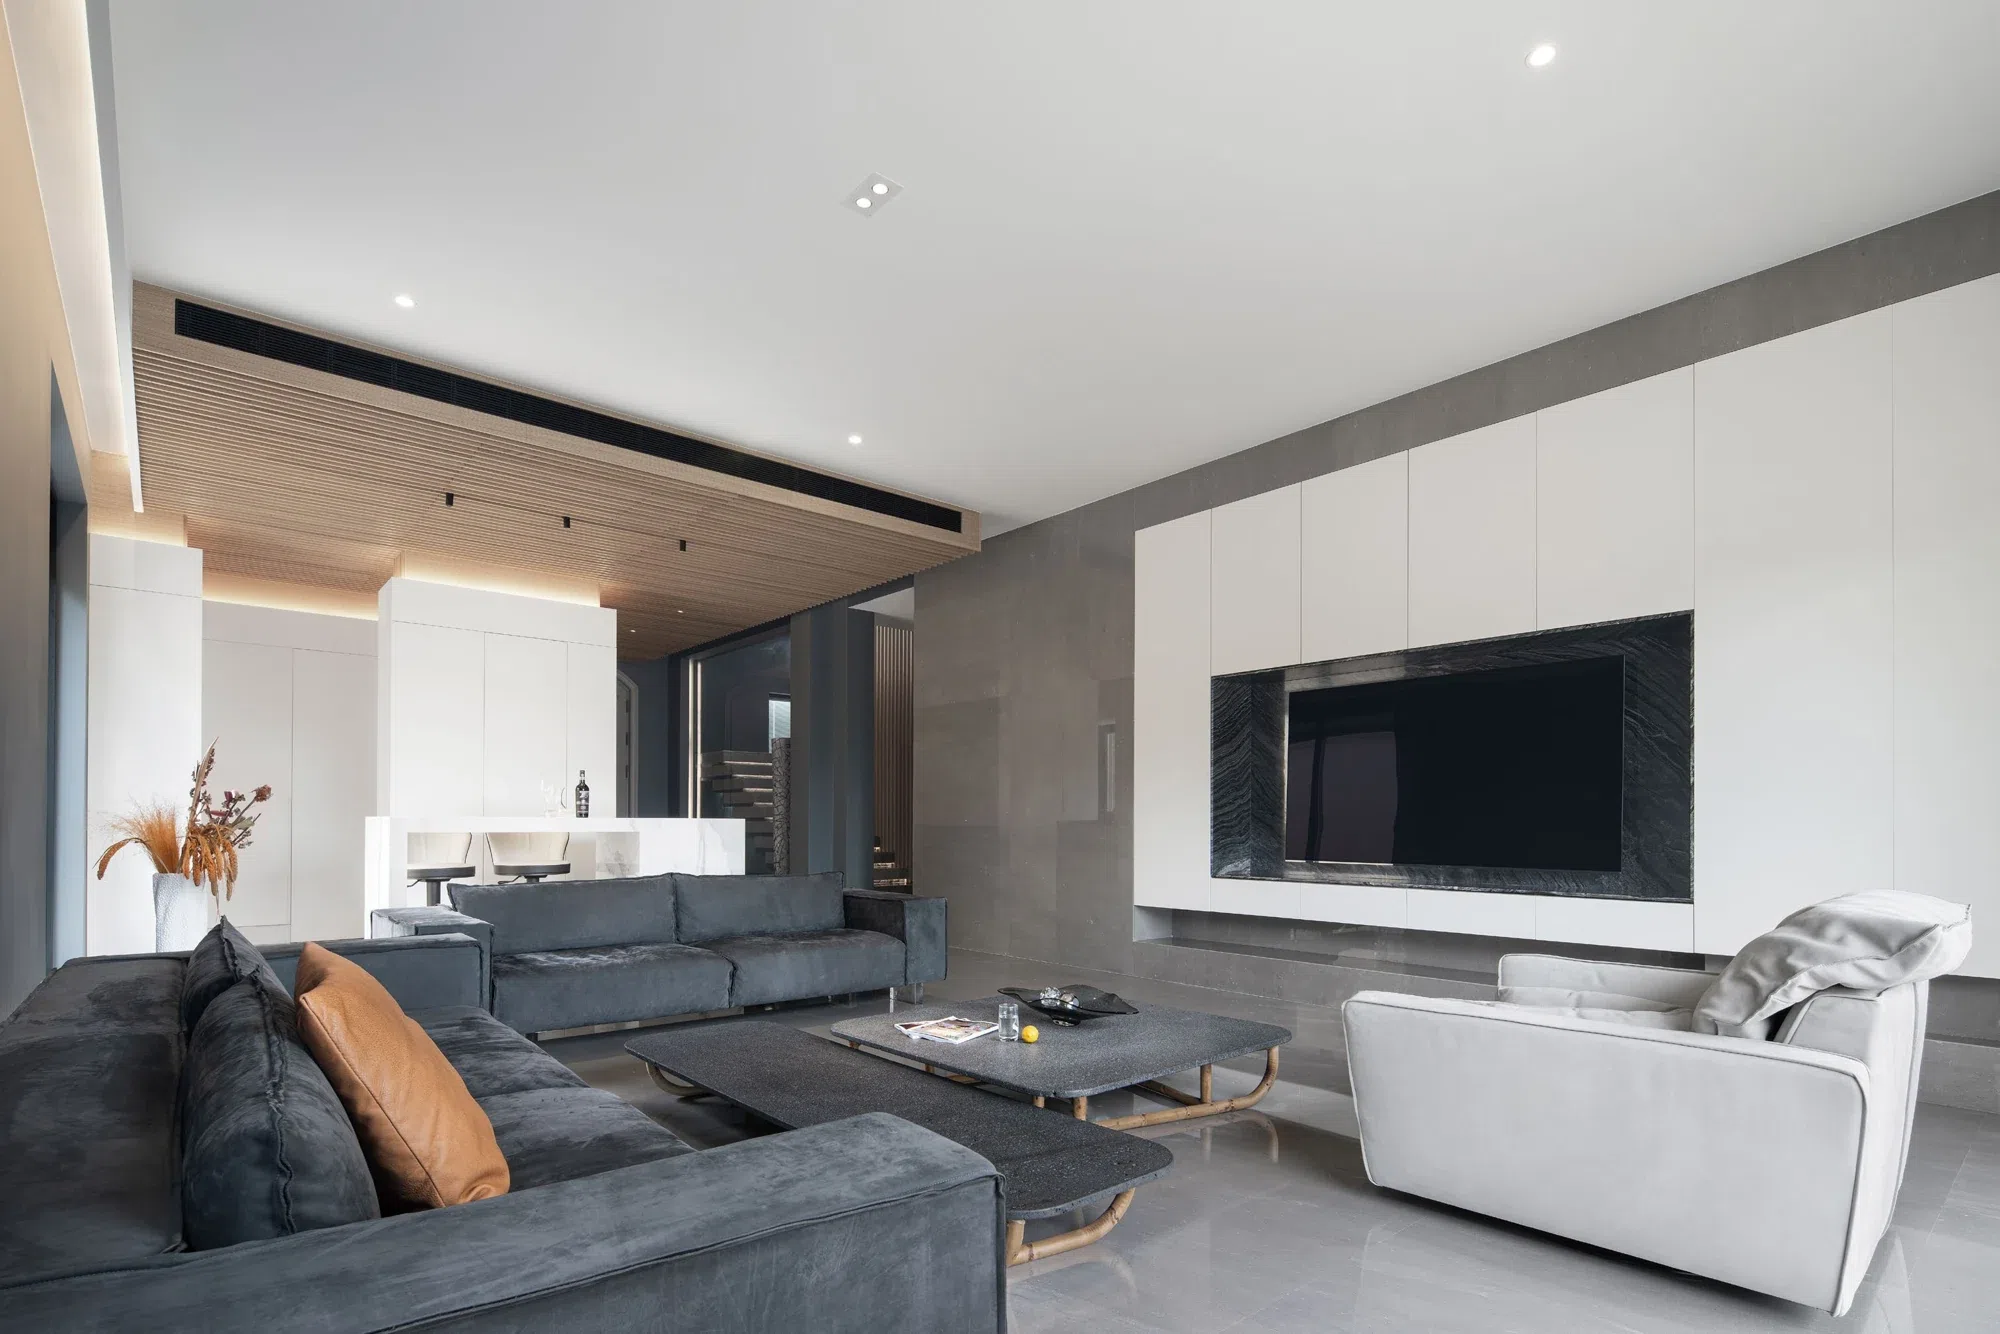
Start with the spatial arrangement.
The project includes three drawings: level one, level two and a lower level. Read the stair first, then trace the rooms it connects. The photographs show social spaces with kitchen and dining functions, a timber-lined circulation route and separate sleeping and bathroom compositions. The three plans explain the overall stacking; the images help identify the material language used along the route.
Original floor labels are retained. The page compares spatial relationships, not verified construction dimensions or a current product specification.


English room guide
Living room, kitchen, dining room, stair, bedrooms, wardrobe and bathrooms
The source drawing is retained so that walls, doors, stairs and dimension notes remain traceable. Open each image to inspect the original. Use the English analysis alongside it; these archive drawings are not issued for construction.
Read the evidence together.
Three plans connected by a stair
Look for in the photographs
Slatted screen and continuous timber ceiling route
Carry into a new brief
Review the levels together before fixing cabinet and panel heights.
Social rooms arranged around cooking and dining
Look for in the photographs
Island, kitchen wall and dining cabinet photographs
Carry into a new brief
Separate cooking storage, dining storage and circulation.
Private-room and bathroom zones
Look for in the photographs
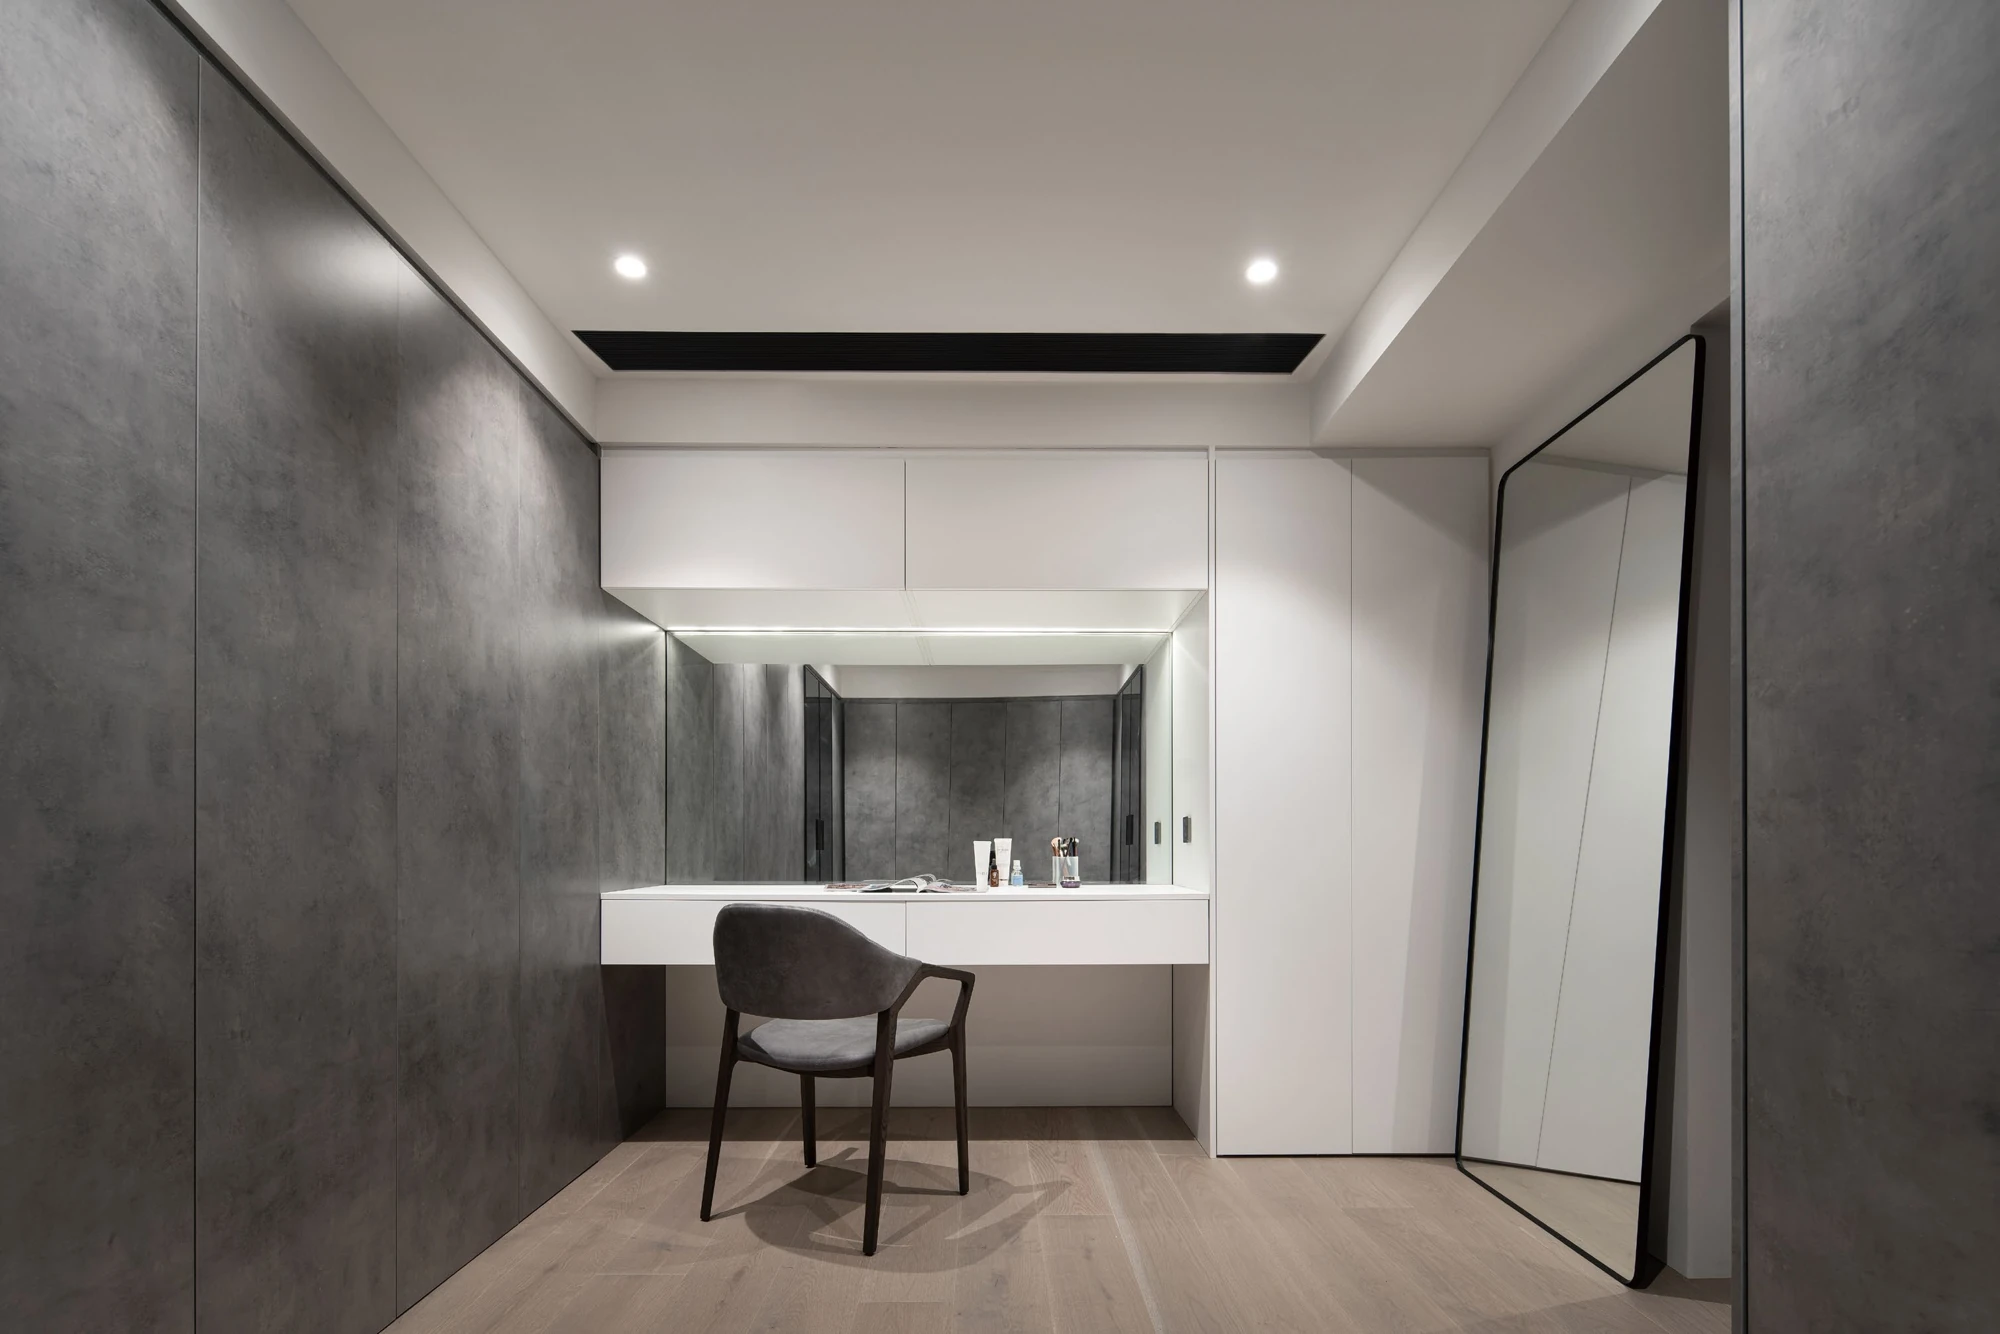
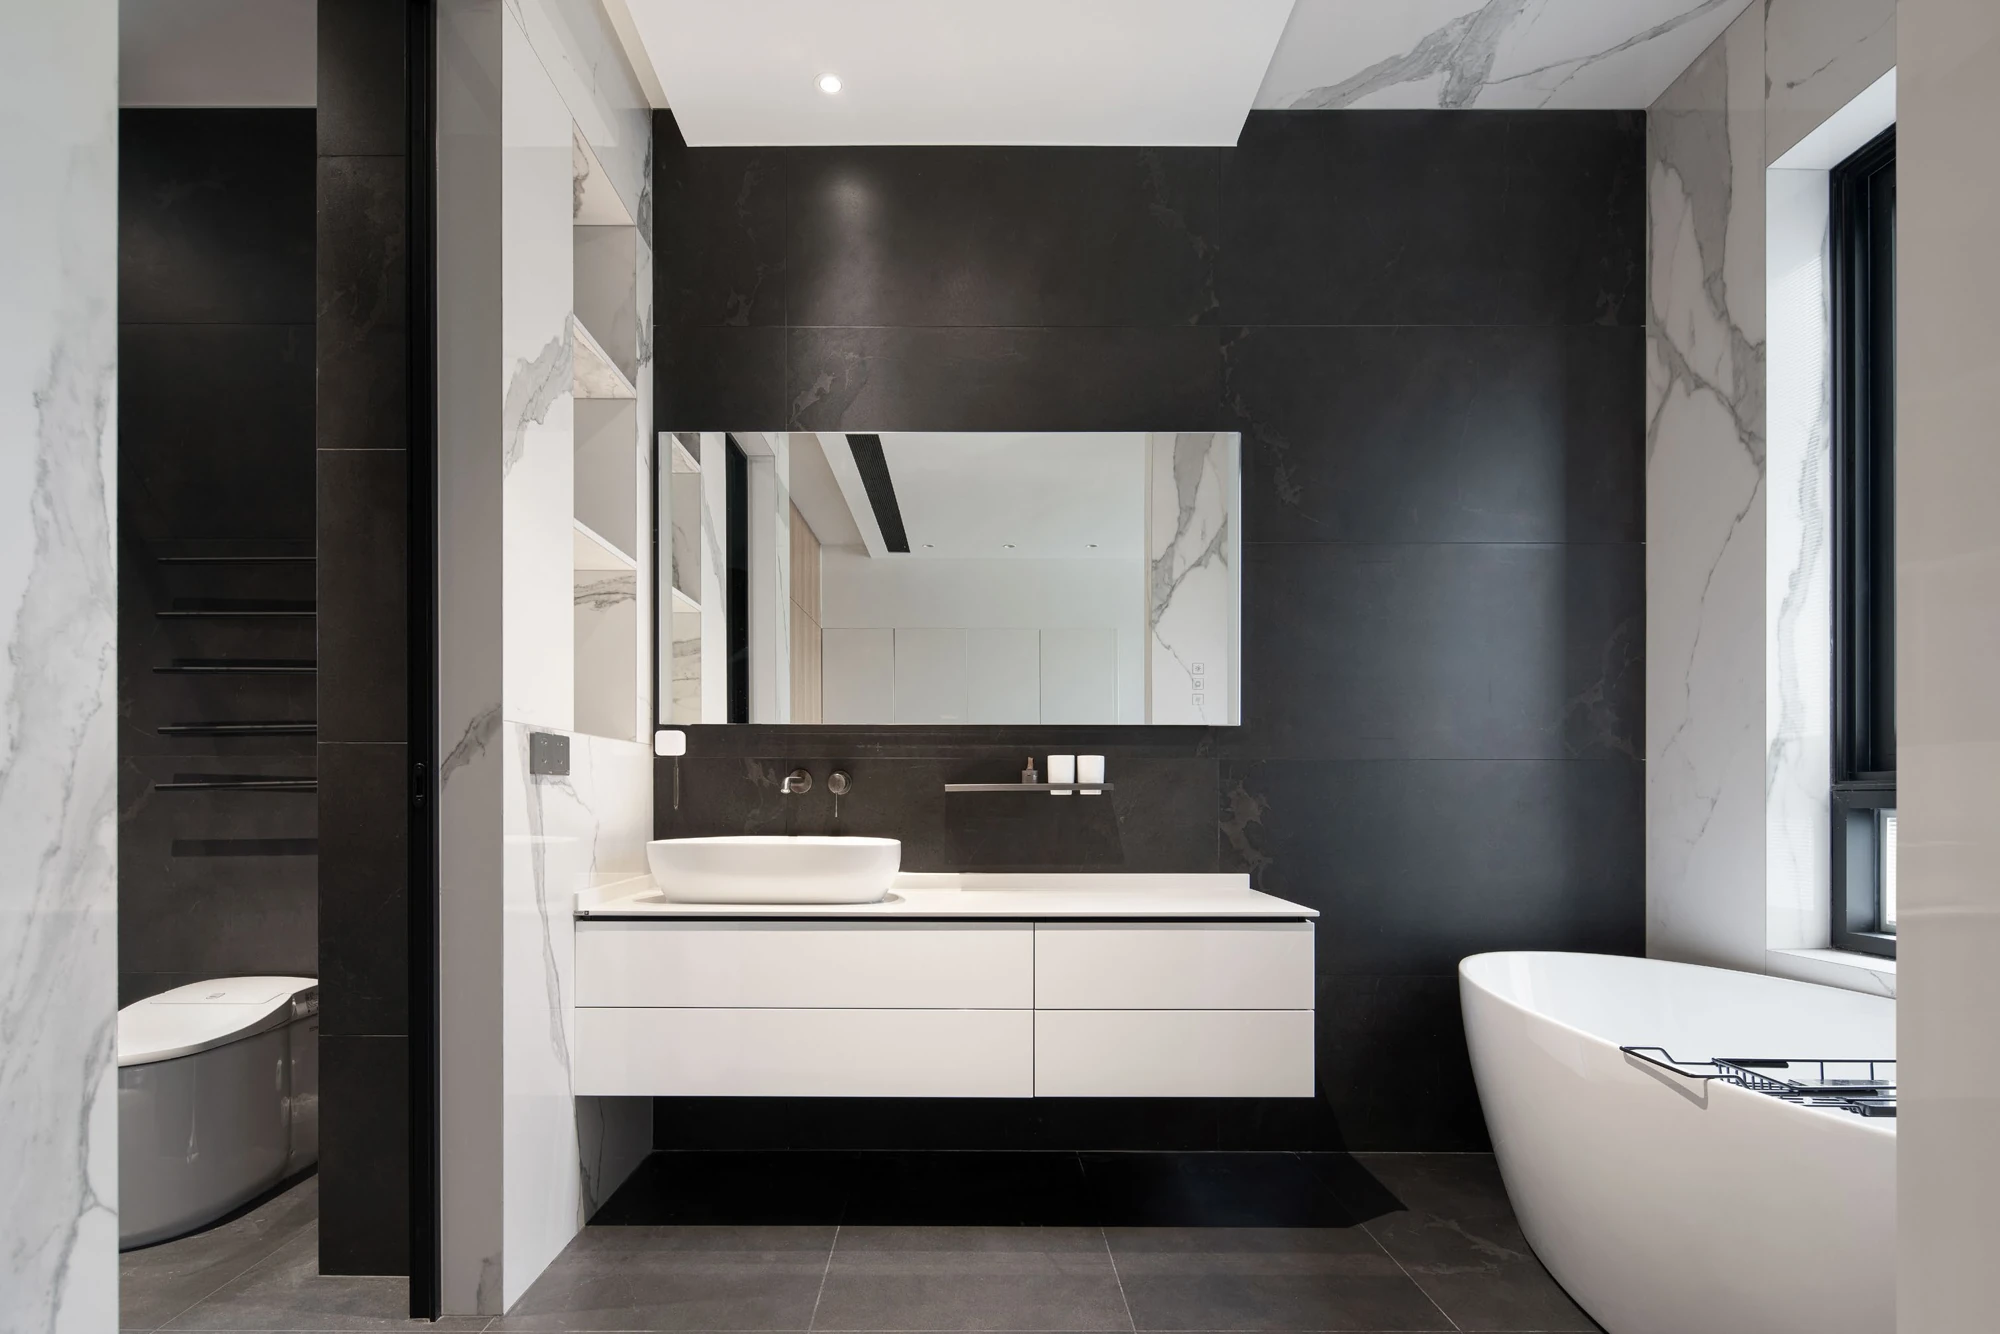
Full-height wardrobe and two vanity views
Carry into a new brief
Agree internal use and service access behind the quiet frontage.
The comparison reads photographs and drawings from the same project. It does not certify that every plan dimension matches the completed space.
Use the ceiling to organize an open interior
The timber ceiling zone gives the social rooms a direction before the cabinetry details are considered. In the kitchen it sits above pale fronts and a dark island; in the passage it becomes a longer line through the house. The useful lesson is to coordinate cabinet elevations with the ceiling and circulation drawings. A tall cabinet should not be treated as an isolated furniture purchase when its top line meets a strong architectural datum.


A stair screen that connects the levels
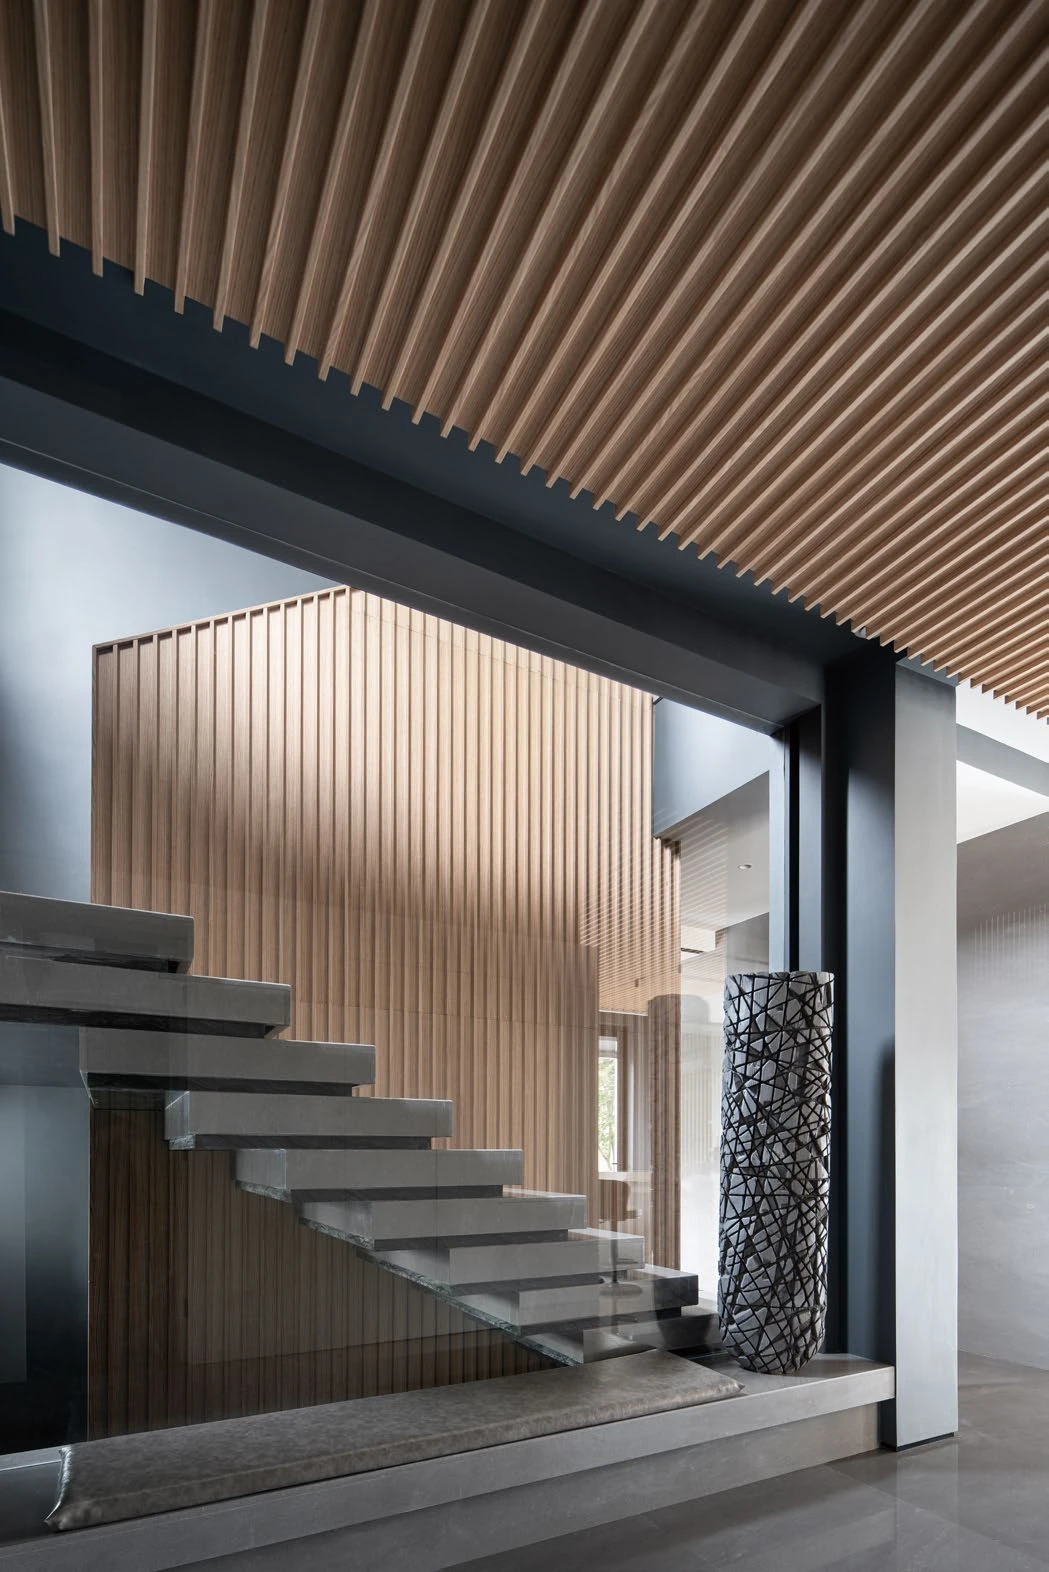
Vertical timber slats define the stair without reproducing a solid wall. Seen alongside the corridor and dining views, the screen belongs to the same family as the overhead timber lines. For a new project, resolve the relationship between the screen, handrail, landing and adjacent doors before discussing a decorative slat spacing. Site responsibility and local stair requirements remain separate from the visual reference.

Quiet fronts in the private rooms
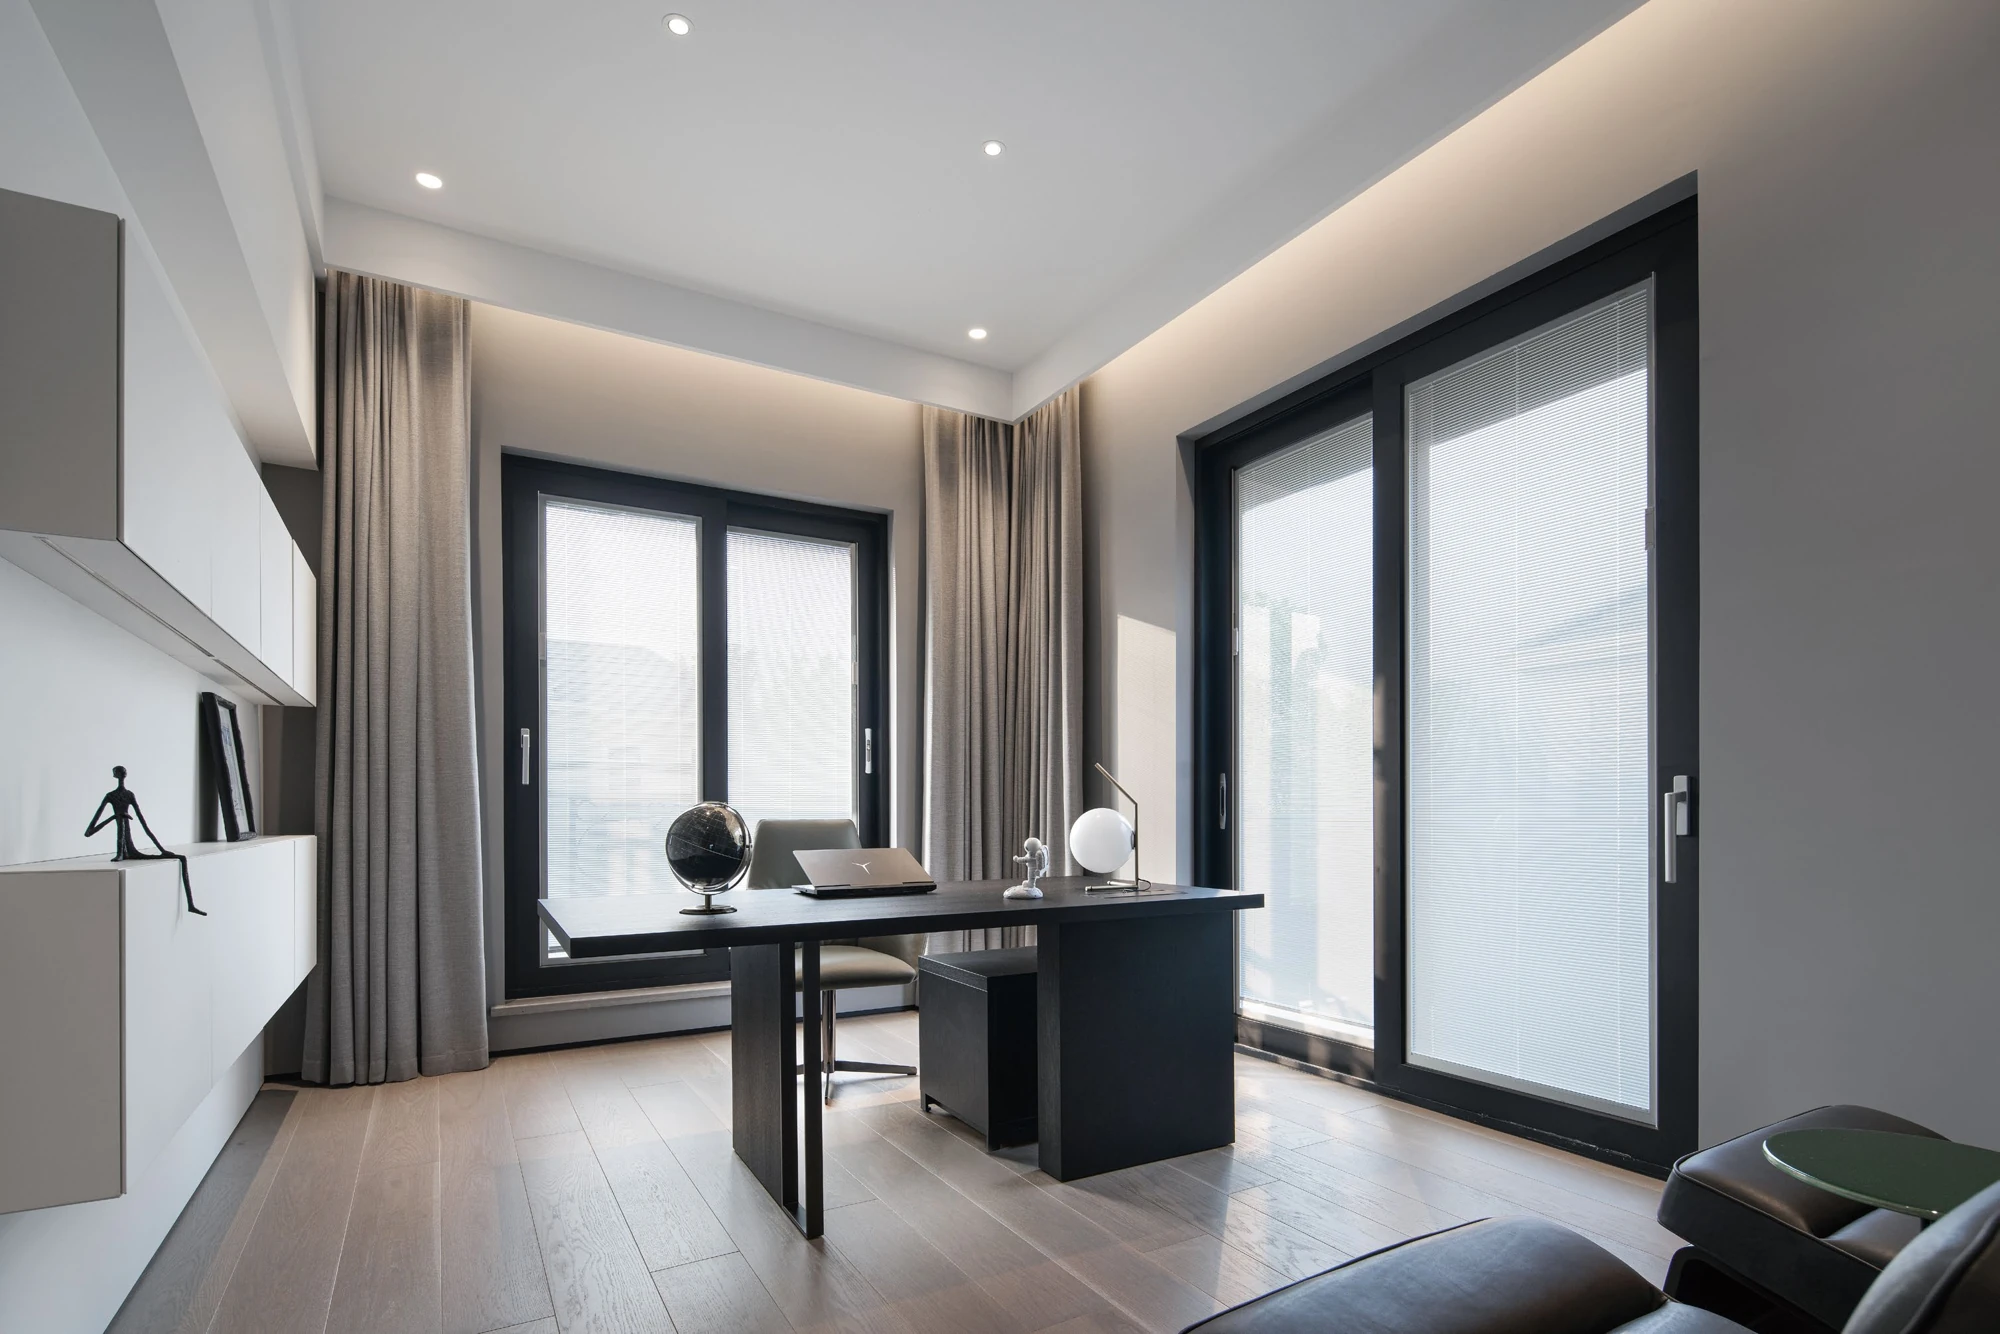
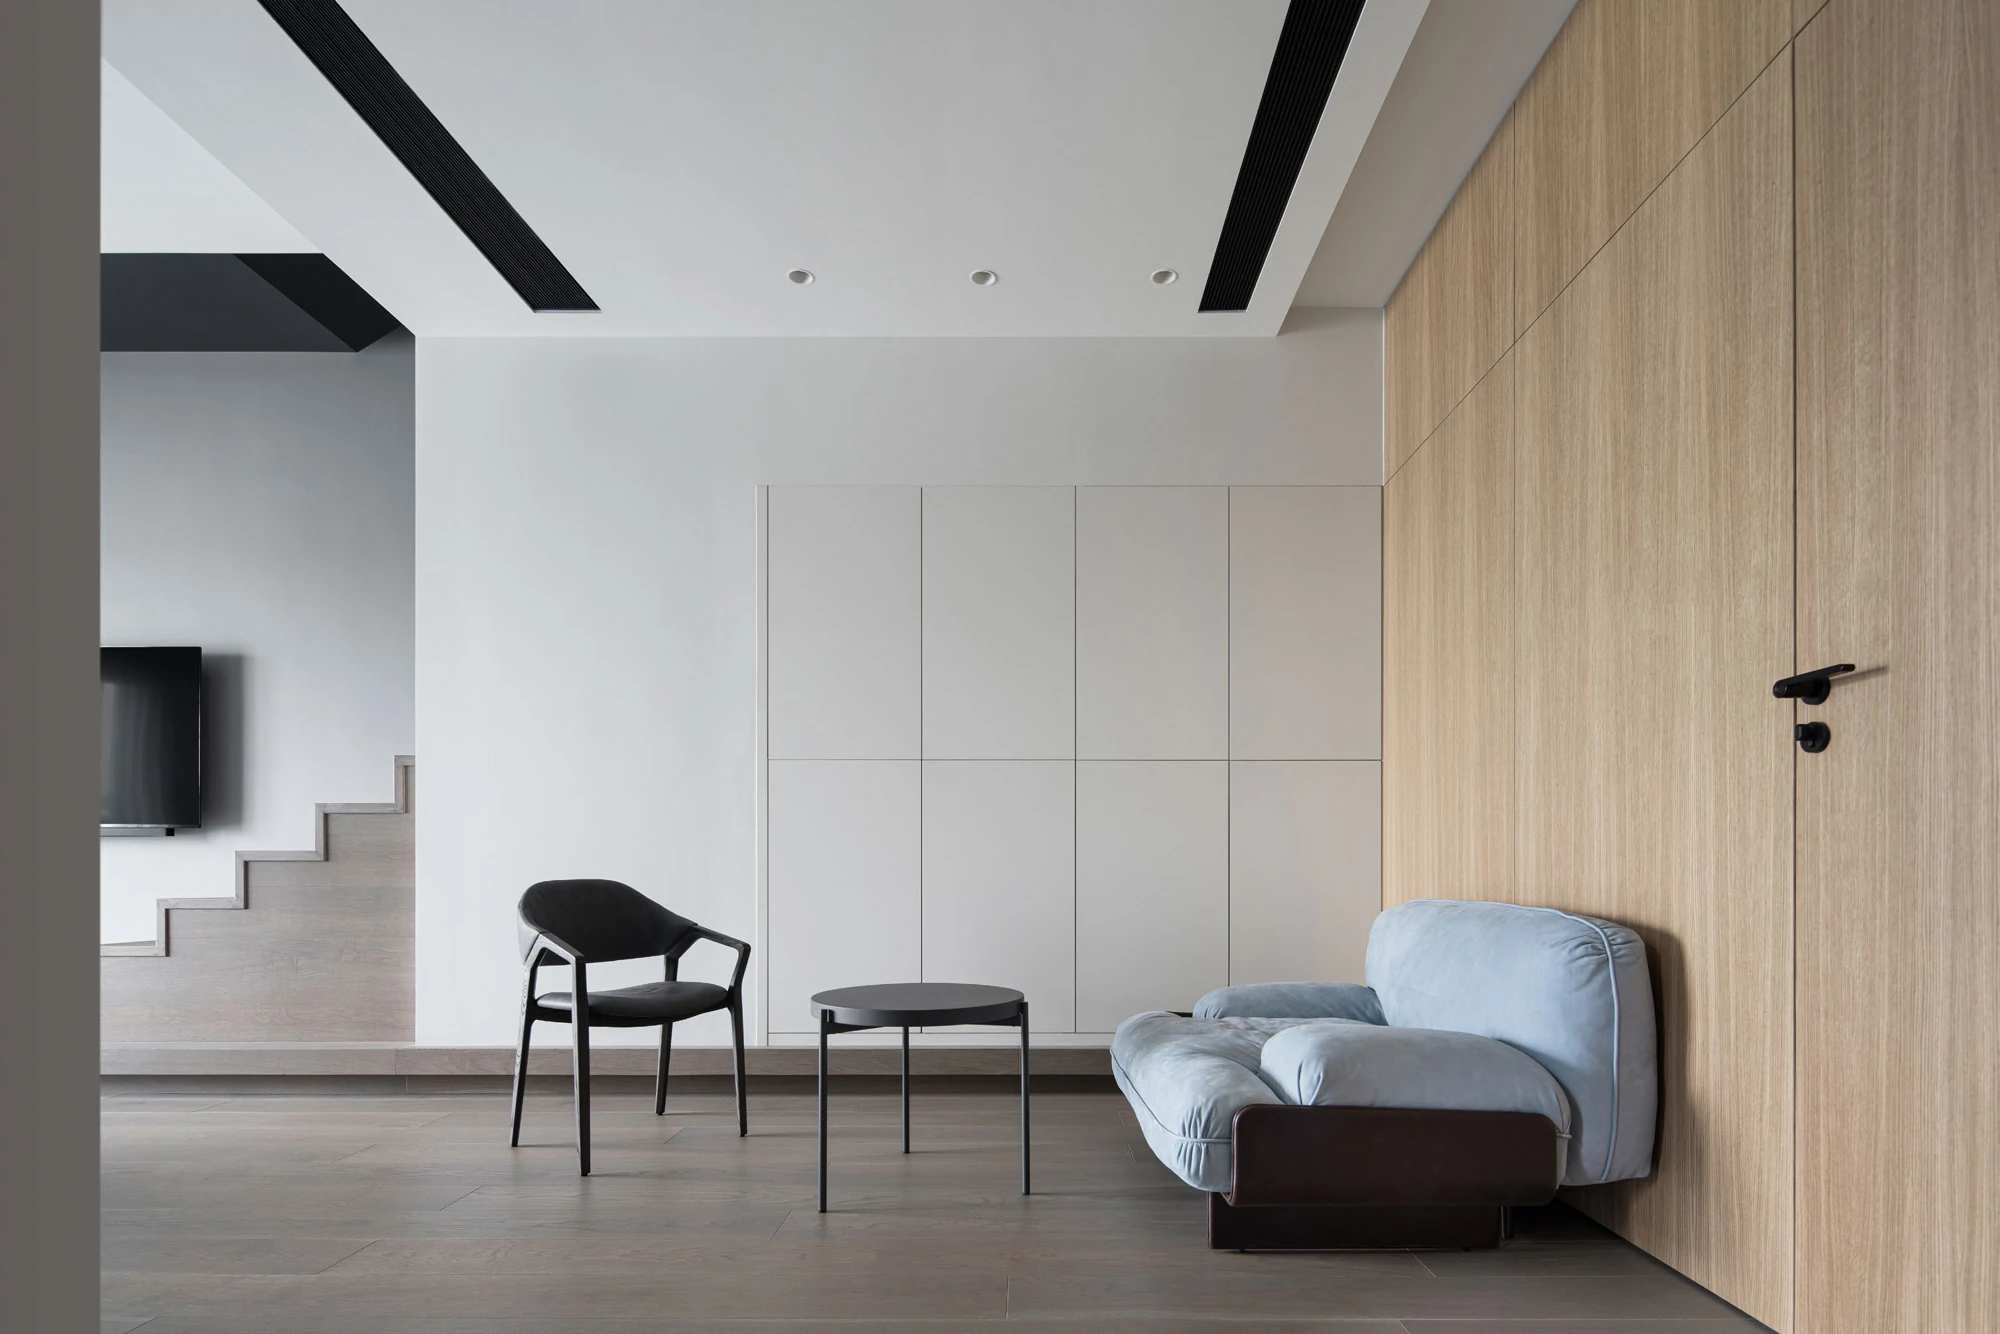
The bedroom and wardrobe photographs reduce the number of competing surfaces. Pale, full-height wardrobe doors sit beside timber instead of carrying a second decorative pattern. The bathrooms use long vanity compositions with clear relationships to the mirror and basin. Keep the storage layout, door movement, plumbing access and wet junctions visible in the new brief, even when the finished frontage is deliberately simple.

Project record and design use.
- Location
- Changsha, China
- Project type
- Residential project
- Rooms shown
- Living room, kitchen, dining room, stair, bedrooms, wardrobe and bathrooms
- Production
- Arcaya partner factory
- Drawing and image set
- 3 original plans and 10 project photographs
Arcaya coordinated this project and placed the order; the cabinetry was produced by one of our partner factories in China. Photographs and drawings are from the Arcaya project archive and are used with our partner factory's permission.
Use the case to discuss spatial and joinery decisions. Confirm materials, samples, hardware, dimensions and local installation responsibilities for the actual project before ordering.