Read the photographic record.
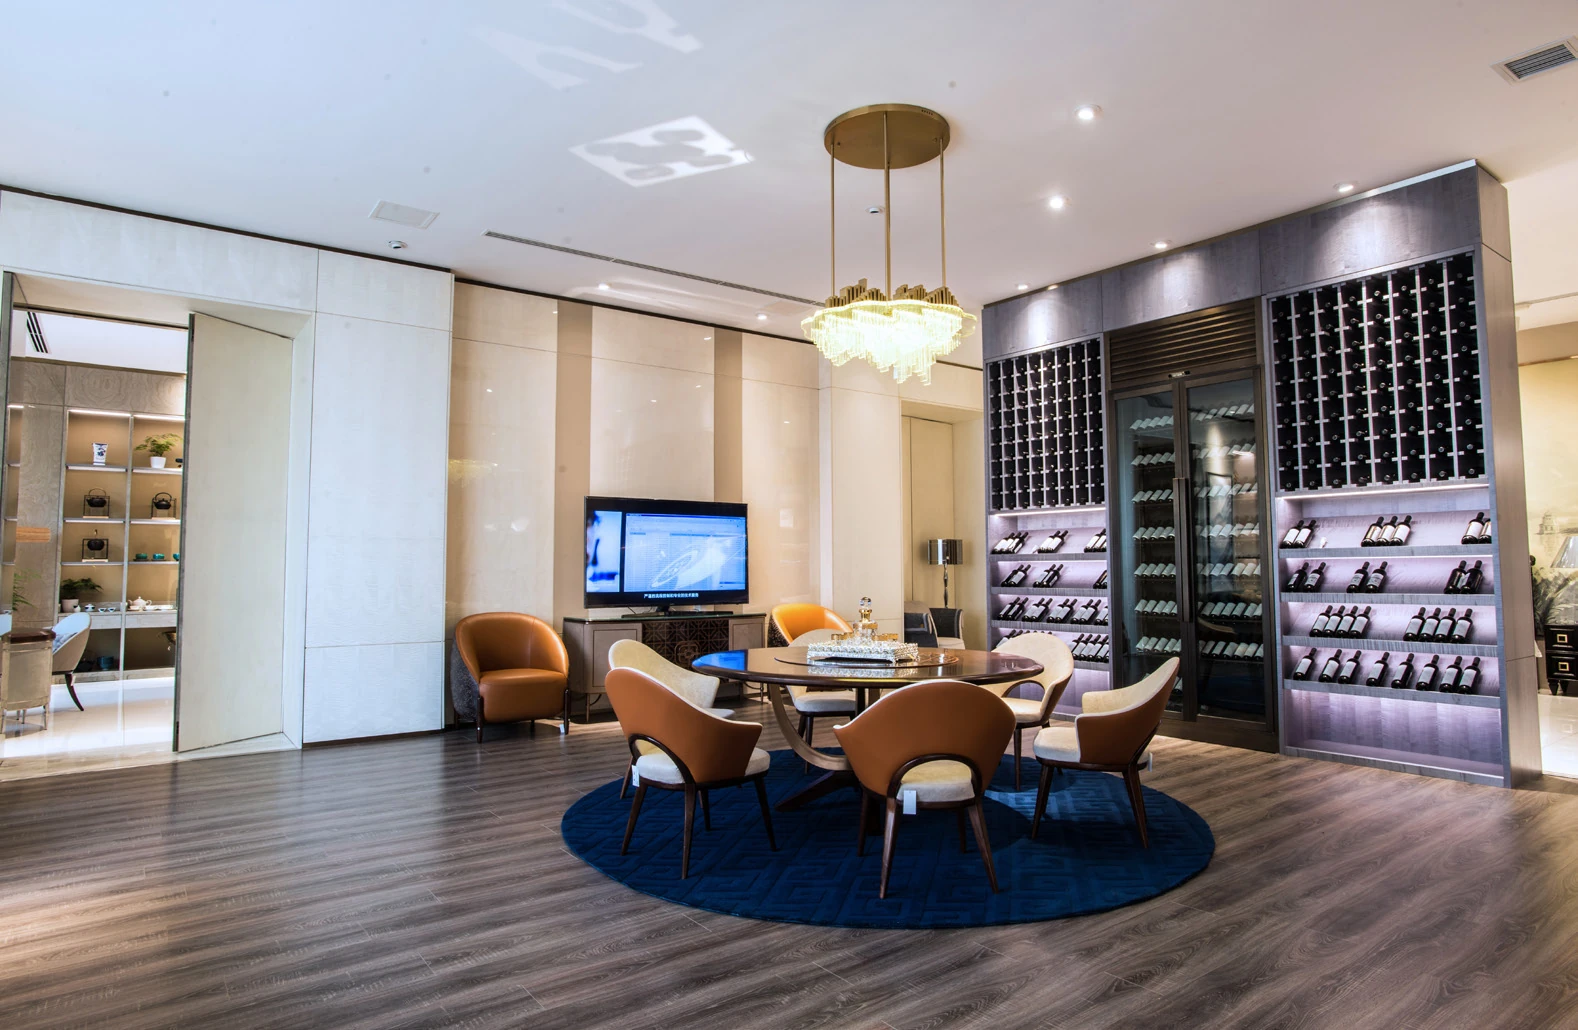
No floor plan is published for this showroom. Its repeated views document distinct room settings, open doorways and cabinet walls. This page follows those visible relationships without reconstructing the whole showroom route. Use the broad photographs to establish the room composition, then move to the closer storage views.
Page-level brand captions are separate from the original photo objects. No plan, measured room size or construction geometry has been generated.
English room guide
Entrance and reception setting; dining and display areas; living-room settings; fitted wall transitions; bedrooms; pale and dark dressing-room interiors.
No floor plan is published for this project. The reading follows the visible room settings and openings; it does not reconstruct dimensions or invent a complete circulation route.
Read the evidence together.
Entrance: a strong panel treatment can establish the first impression
Look for in the photographs
The entrance photographs show red-toned wall fields framed by darker vertical elements. Wider and closer views let the panel rhythm be compared with the low seating and surrounding openings.
Carry into a new brief
Decide whether the entrance should set a strong contrast or continue the quieter rooms. Review a complete wall elevation and sample sequence rather than choosing one striking panel in isolation.
Social rooms: compare storage against furniture and daylight
Look for in the photographs
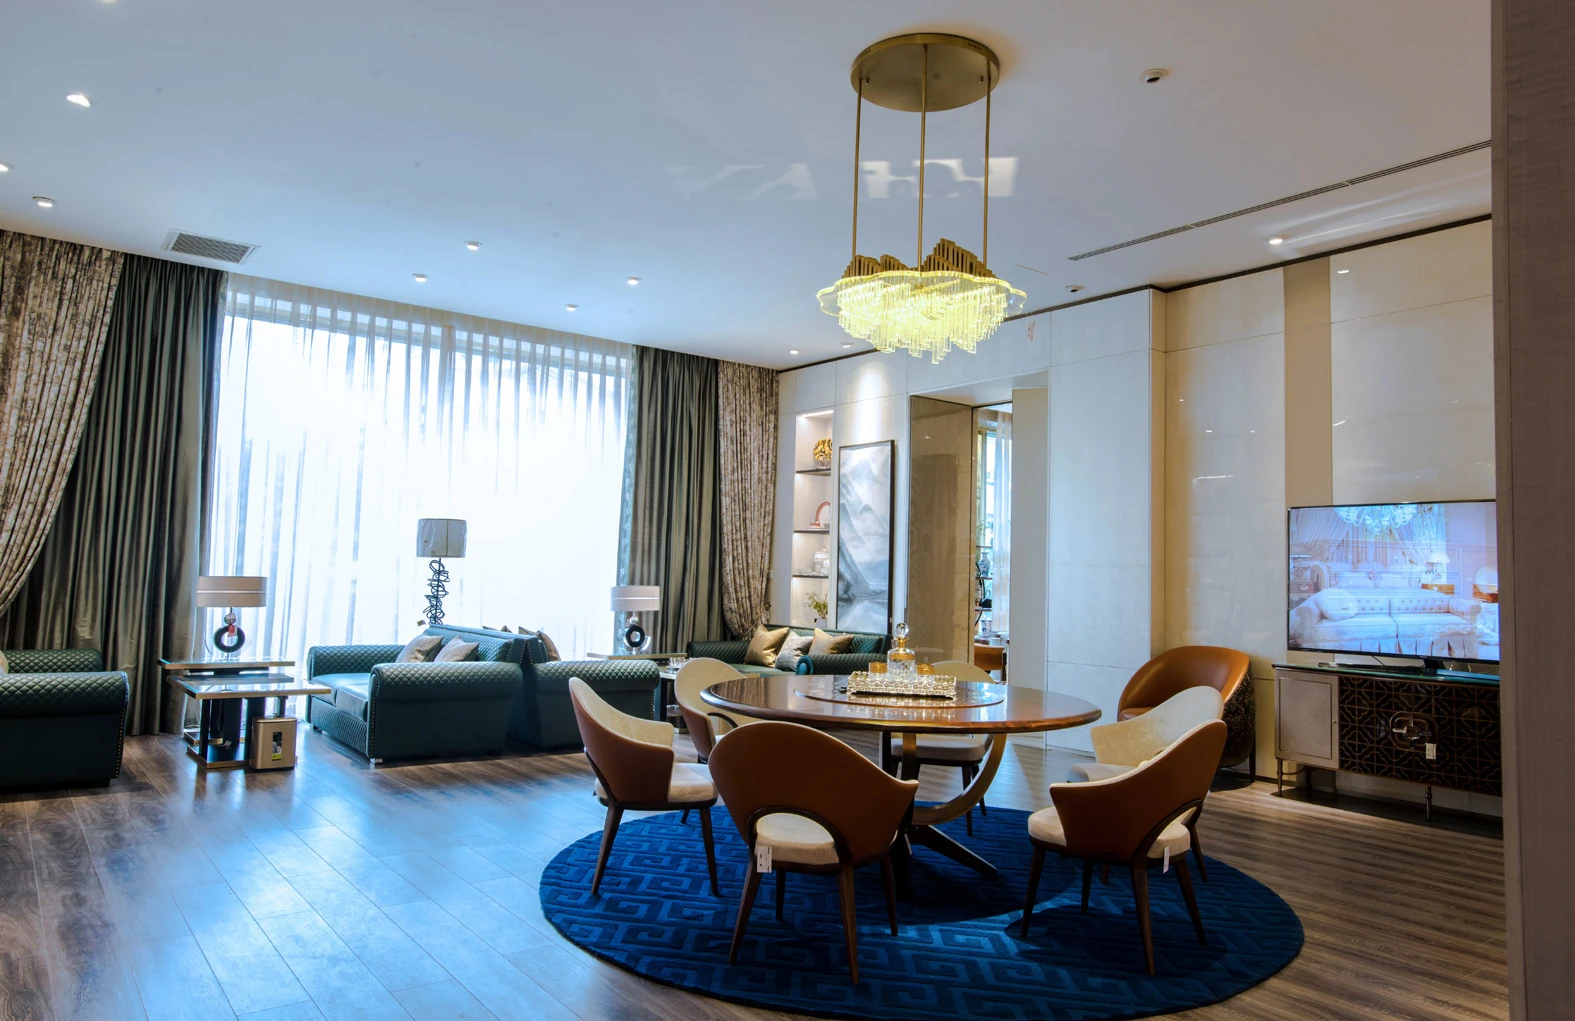
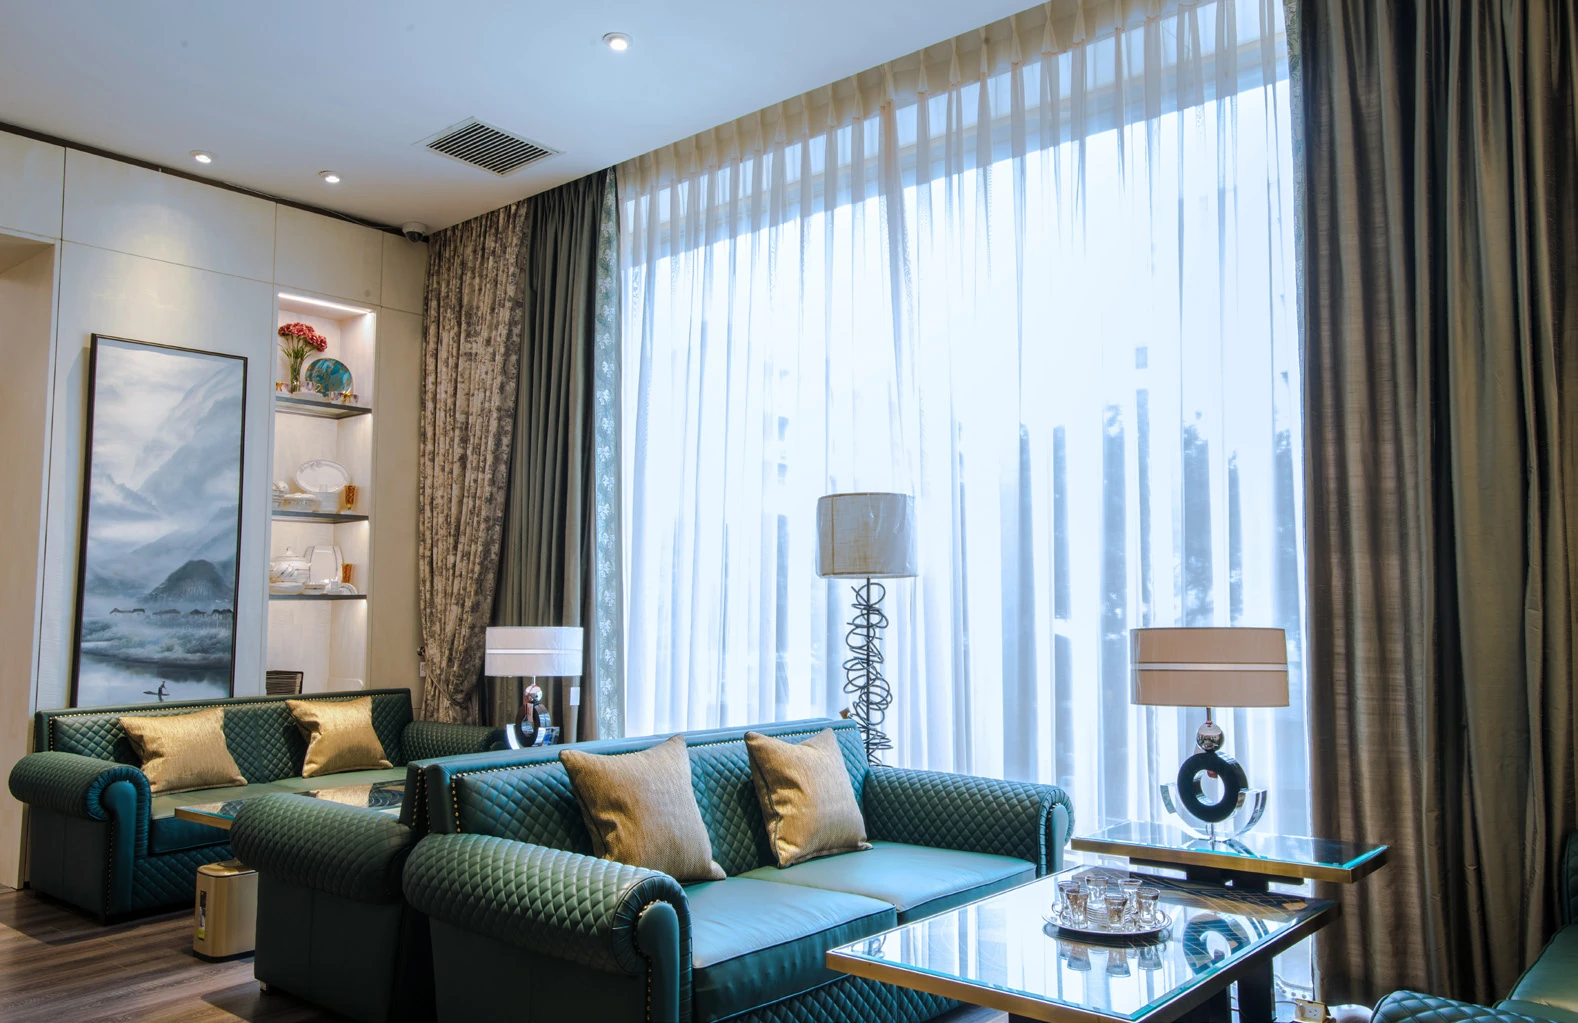
The lighter room settings place dining and seating beside fitted display storage and tall windows. Other living-room views shift toward a darker, more strongly figured wall composition.
Carry into a new brief
Brief the room with actual furniture and objects. Agree which walls need storage, display or a quieter surface and test the finish under daylight as well as artificial light.
Dressing rooms: the same routine can use different palettes
Look for in the photographs
The showroom includes pale open storage with an island and a darker illuminated storage setting. Hanging bays, shelves and lower storage remain the practical questions in both.
Carry into a new brief
List the clothing and accessories before fixing the finish. Confirm bay divisions, drawer access, lighting maintenance and the desired amount of visible display.
The comparison reads photographs and drawings from the same project. It is a design reference, not a measured survey for a new site.
Entrance: use the wider view to judge a statement surface.
The red-toned entrance is shown from more than one distance. The broad view establishes the wall as part of a furnished setting; the closer view reveals its divisions. This is useful when a client is attracted to an expressive surface but has not considered the wall around it. Ask what the panel rhythm should align with, how it meets the ceiling and how the effect changes beside a door or an adjacent finish. The photograph establishes appearance, not a wood species or coating system. Define those separately through the actual material proposal and approved samples.


Shared rooms: give each fitted wall a role.
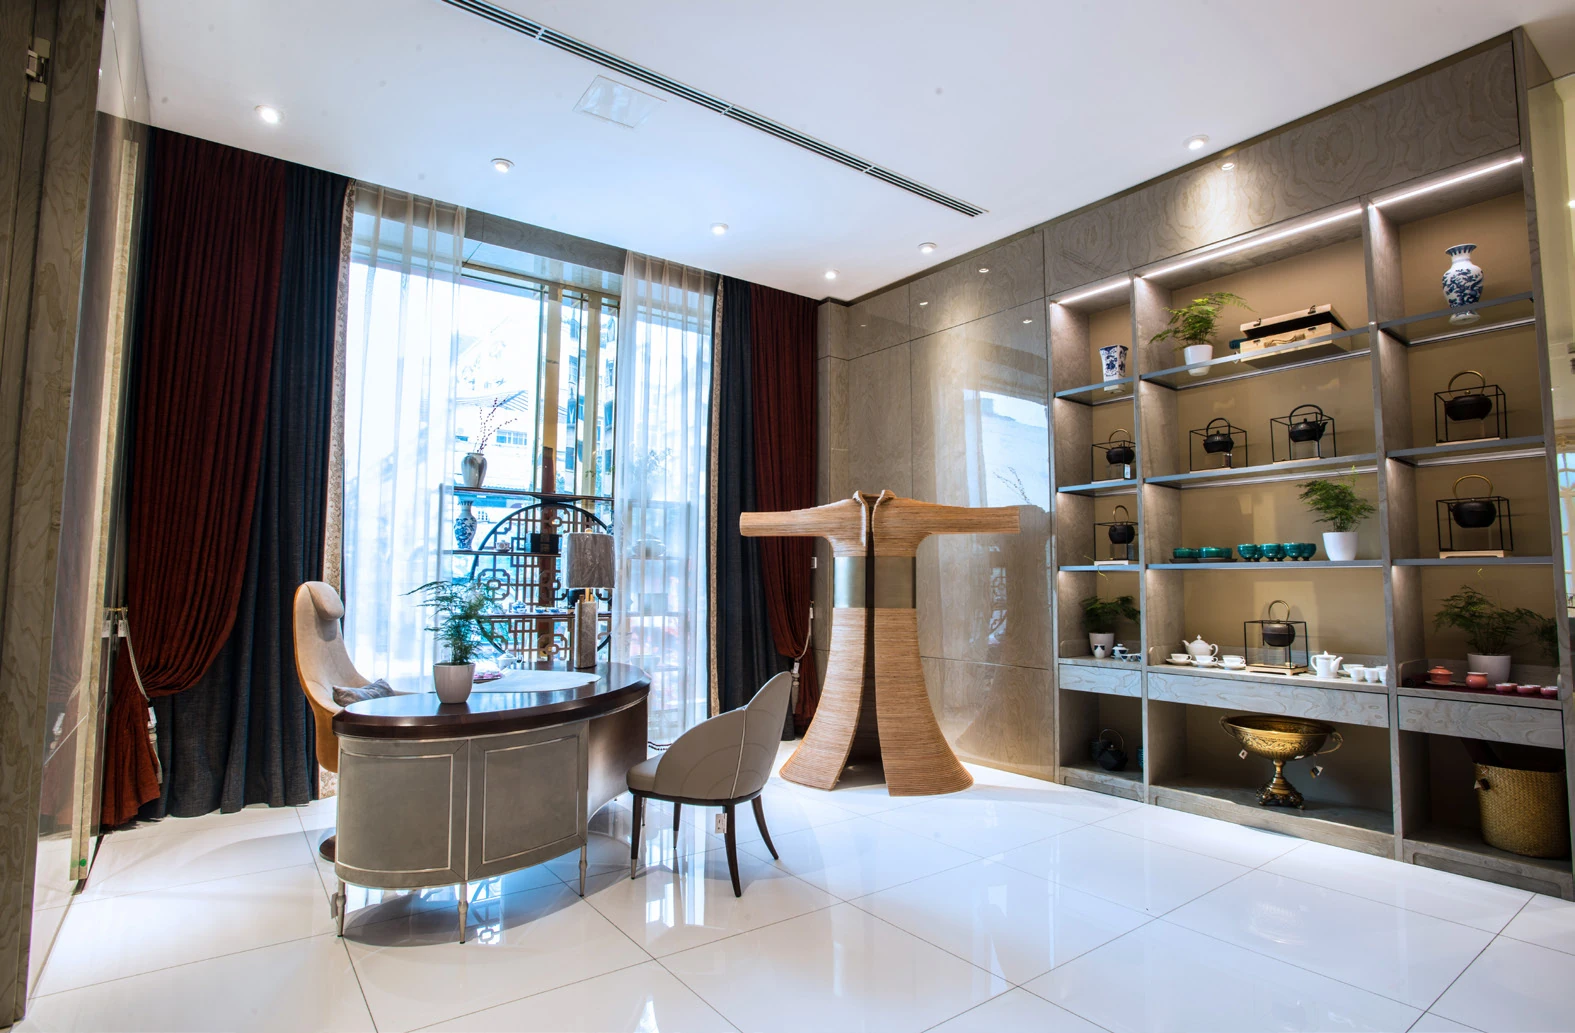
The social-room settings use several kinds of fitted wall. Some display objects on open illuminated shelves. Others support a screen or provide a stronger material backdrop to seating. The daylight views also make the window edge part of the composition. When these references are used in a whole-home brief, describe the role of each wall before asking for a repeated finish everywhere. Display, concealment and a quiet background are different tasks. Measured furniture clearances and electrical routes are not published. Develop those for the real site, including access to lighting drivers, screen connections and any concealed service points.


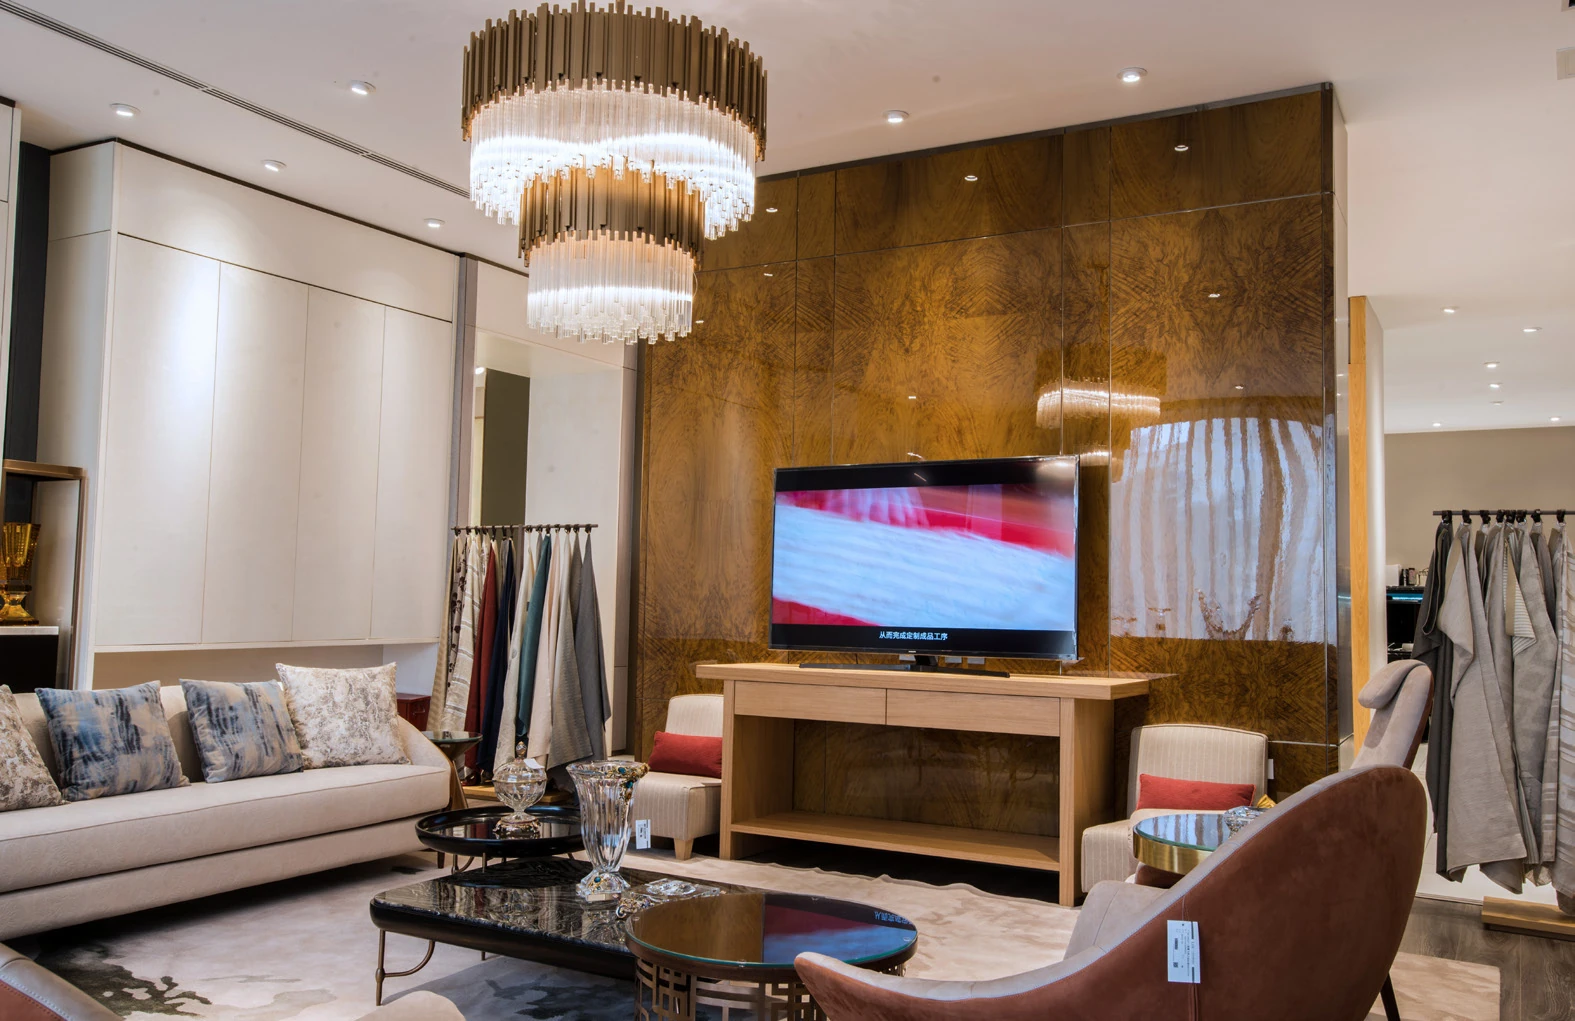


Private rooms: connect the wall treatment to the inside of storage.
The last group moves from fitted wall transitions to bedrooms and wardrobe interiors. The wall treatment can establish a consistent palette, but the wardrobe still needs a more detailed storage brief. Compare the pale and dark dressing settings by looking at their bay divisions, not simply their color. Hanging lengths, folded storage, small accessories and the island drawers each require a decision. The bedroom photographs add a separate question about how the headboard and adjacent shelves meet. Use a common sample palette across the rooms, with separate plans and elevations for the individual tasks. No fitting model or certified product performance is established by these photographs.
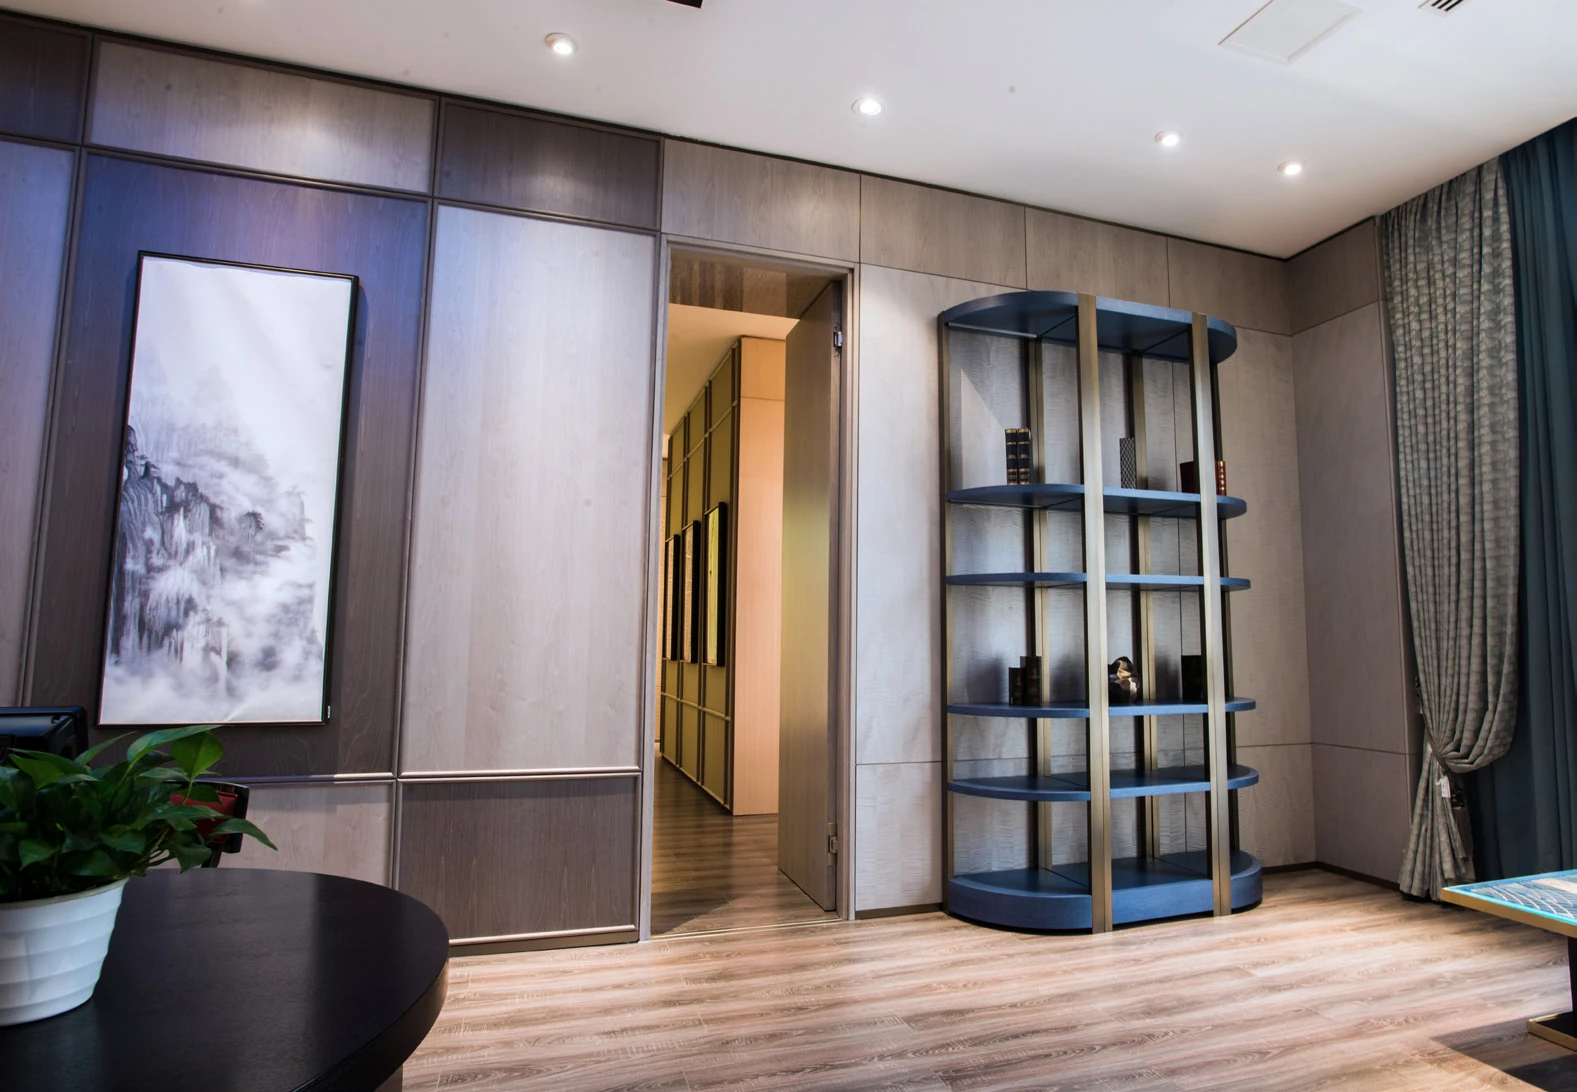
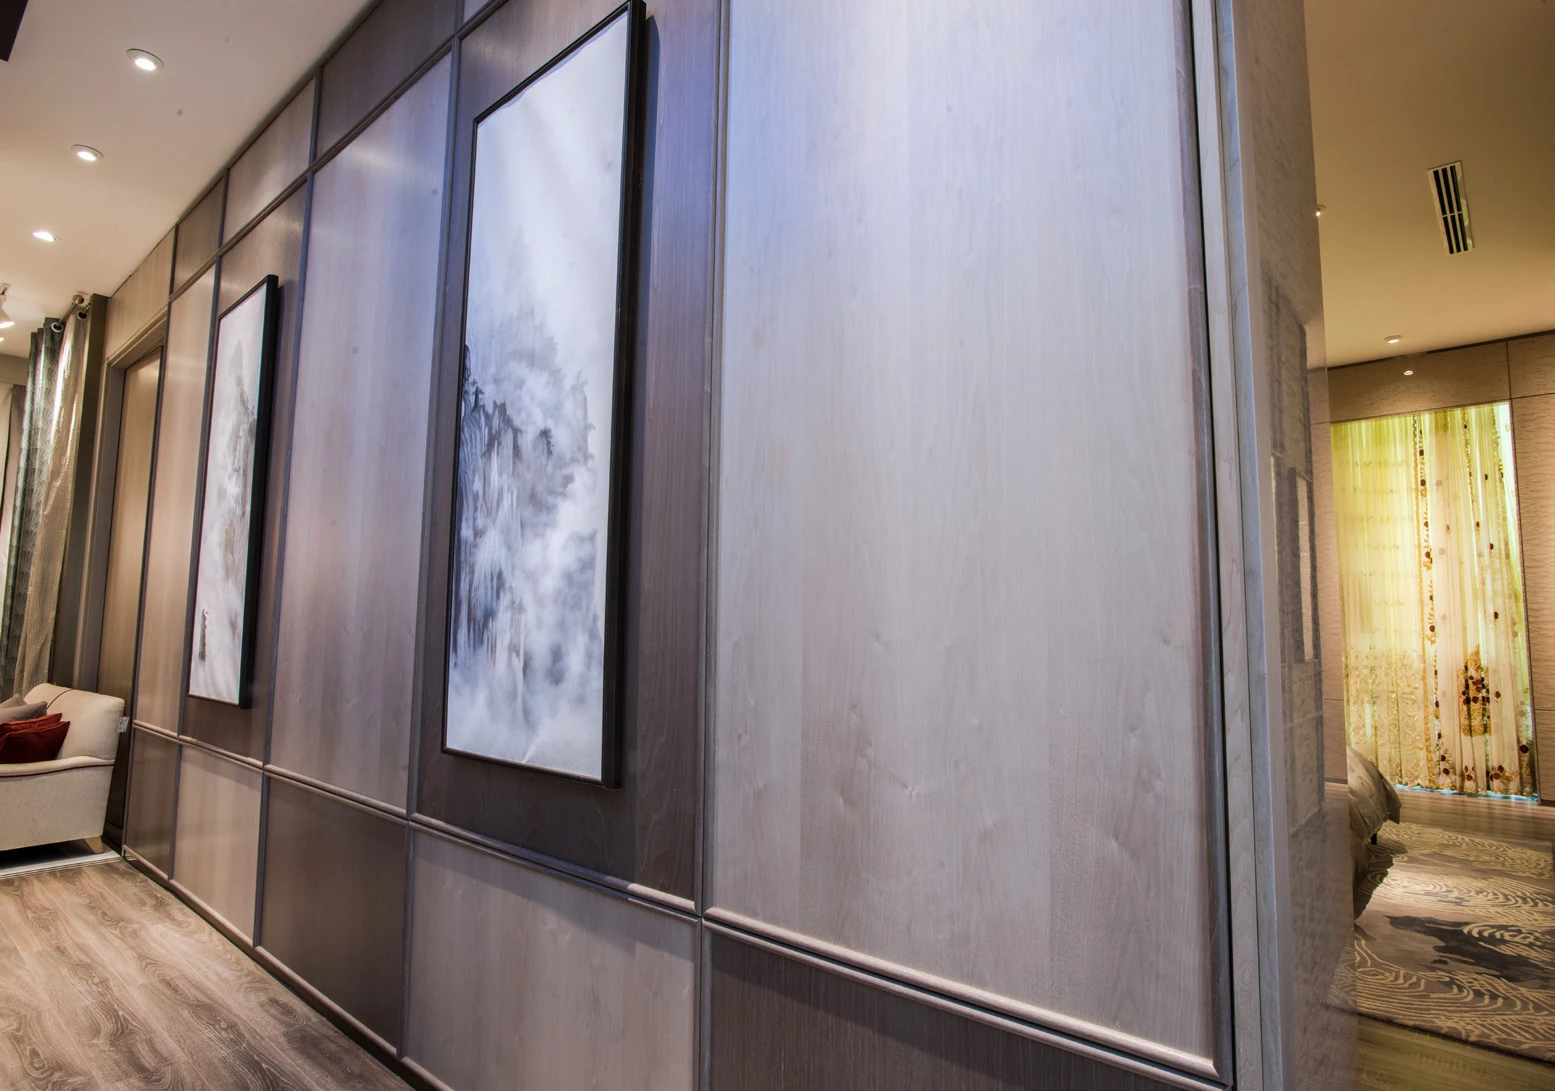


Project record and design use.
- Location
- Chengdu, China
- Project type
- Partner showroom
- Rooms shown
- Entrance and reception setting; dining and display areas; living-room settings; fitted wall transitions; bedrooms; pale and dark dressing-room interiors.
- Production
- Arcaya partner factory
- Drawing and image set
- 19 project photographs
Arcaya coordinated this showroom project and placed the order; the cabinetry and wall systems were produced by one of our partner factories in China. Photographs and drawings are from the Arcaya project archive and are used with our partner factory's permission.
Use the case to discuss spatial and joinery decisions. Confirm materials, samples, hardware, dimensions and local installation responsibilities for the actual project before ordering.