
Start with the spatial arrangement.
The entry opens into the living display at the front of the drawing. Dining and kitchen settings occupy the middle of the route, with the tea area and curved stair toward the back. The laundry display is placed along one side; dressing, bedroom and bathroom settings occupy the opposite side of the arrangement. This is a showroom plan, not the household layout of a single resident. Read the furniture groups and the cabinet positions together, then use the photographs to compare the character of each setting. Only one level is shown in this drawing, even though a stair connects to other parts of the building.
The original plan figure is reproduced without redrawing its geometry or changing its Chinese annotations. Use the English guide alongside the original drawing. Product codes and fittings marked on the drawing are project references, not a current supply schedule.

English room guide
Entry and living display; dining and kitchen displays; tea area and stair; laundry display; walk-in dressing areas, bedroom and bathroom display. The plan shows one level with a stair connection; it is not a complete set of all building levels.
The source drawing is retained so that walls, doors, stairs and dimension notes remain traceable. Open each image to inspect the original. Use the English analysis alongside it; these archive drawings are not issued for construction.
Read the evidence together.
The entry and shared-room settings form the front of the plan
Look for in the photographs
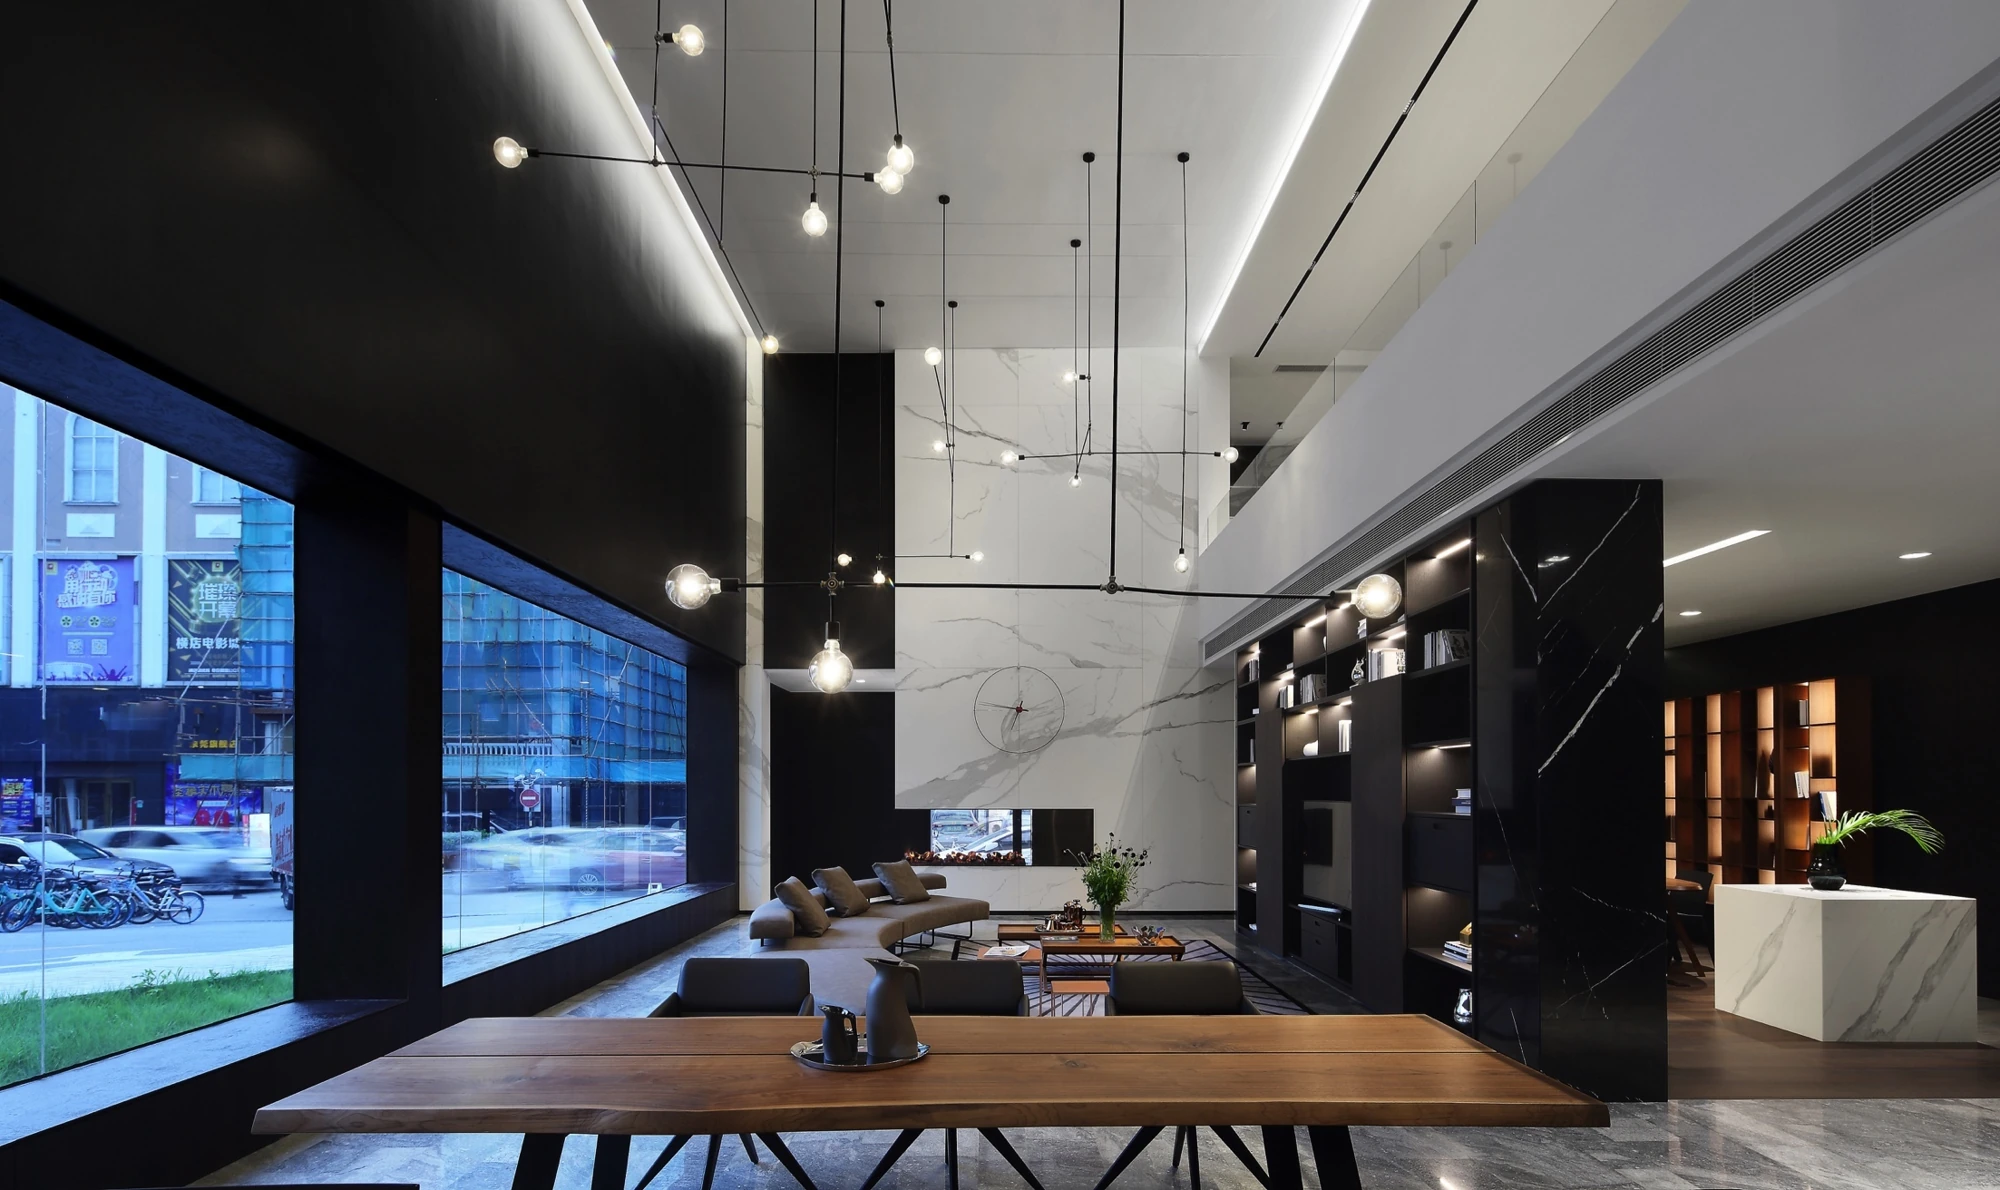
Living-wall, dining and kitchen photographs
Carry into a new brief
Separate display, concealed storage and working-counter requirements within a connected route.
The plan groups several dressing and private-room displays together
Look for in the photographs
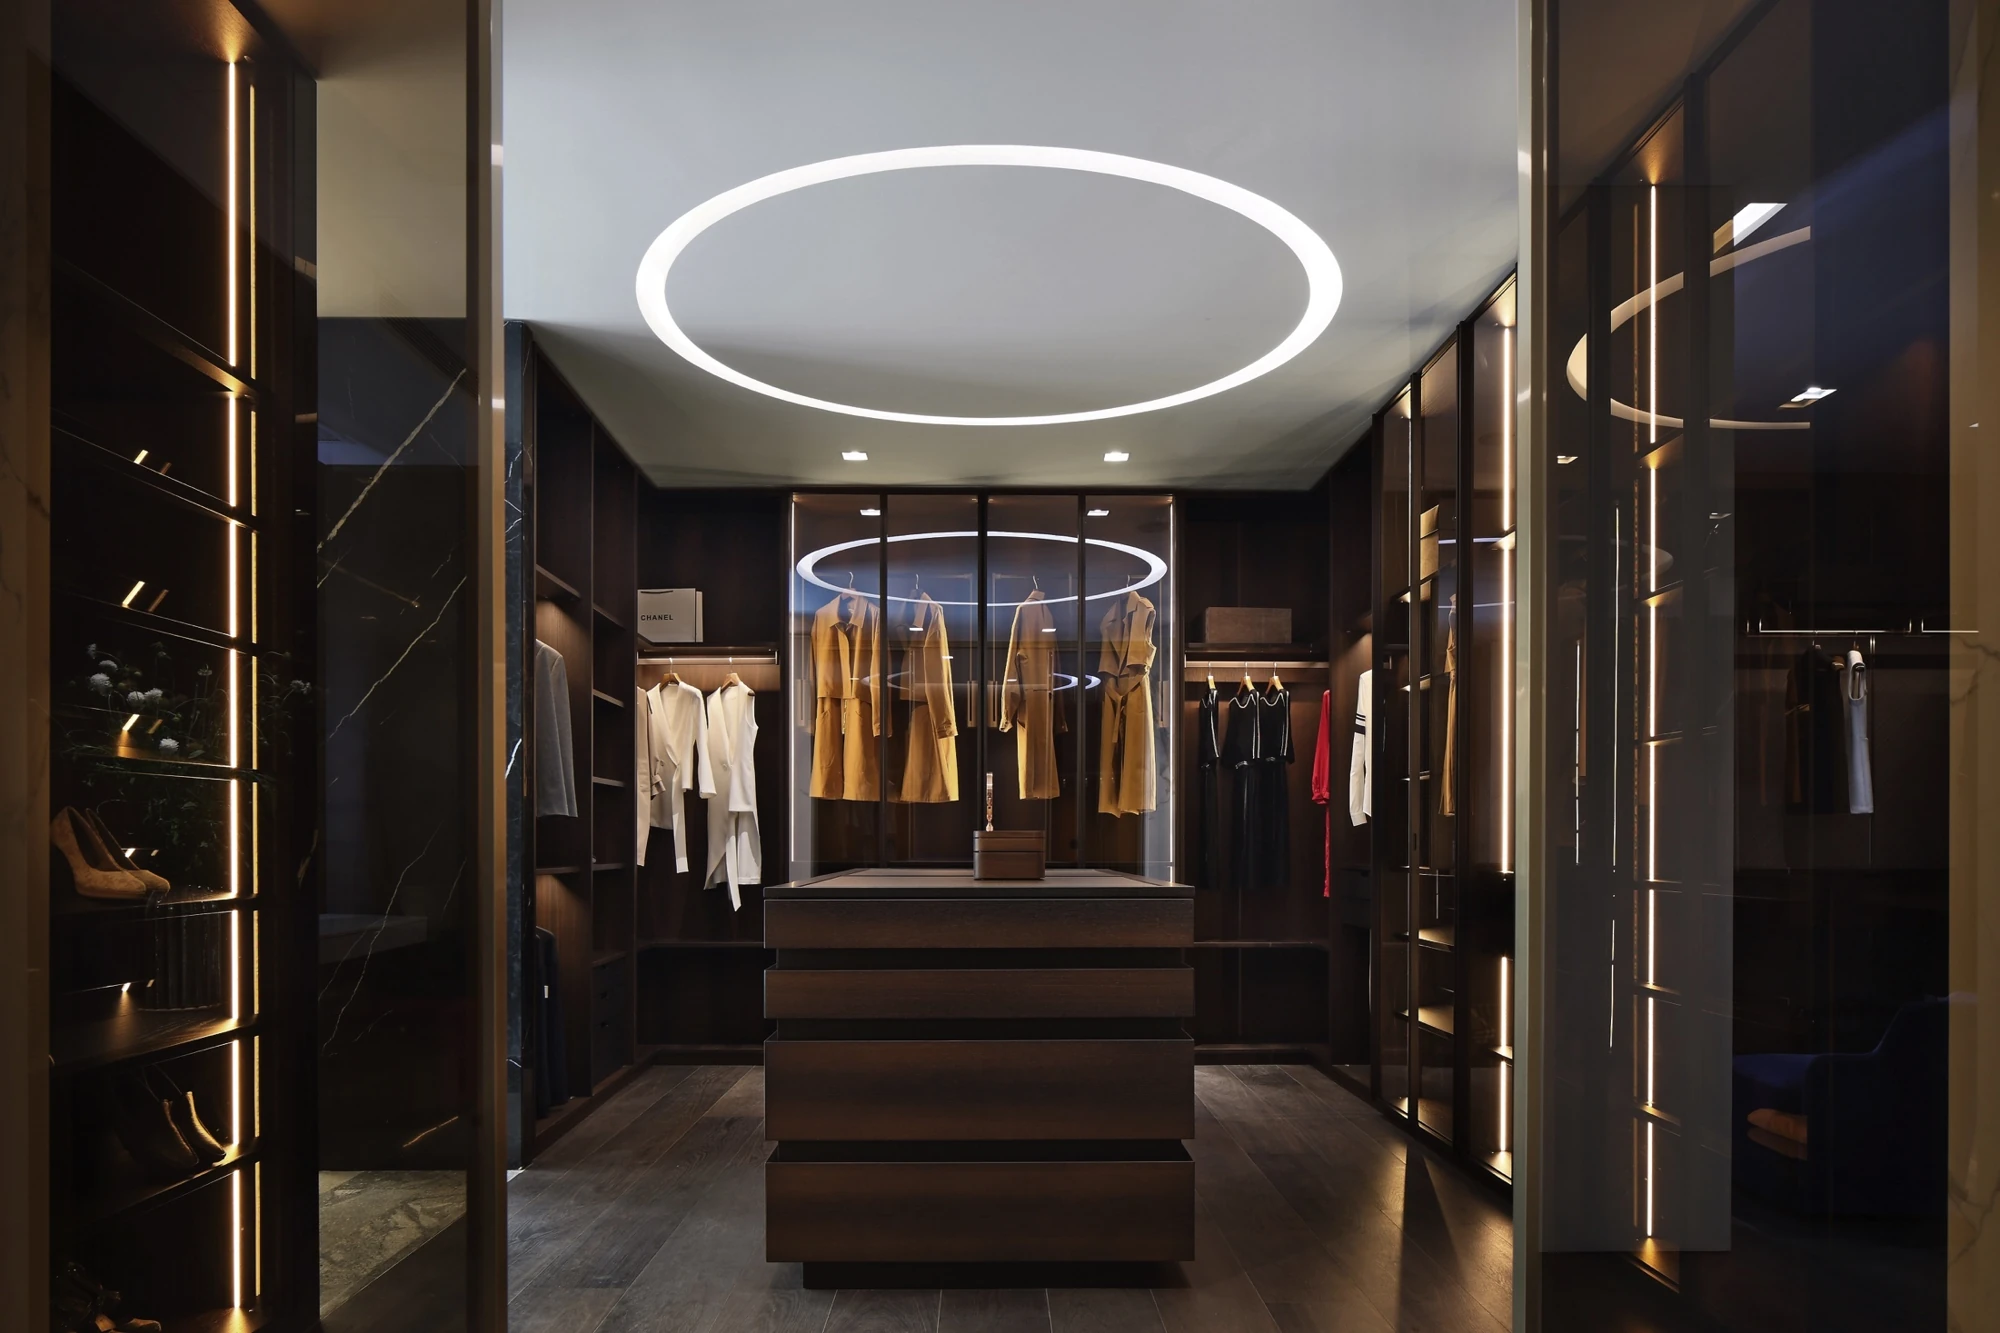
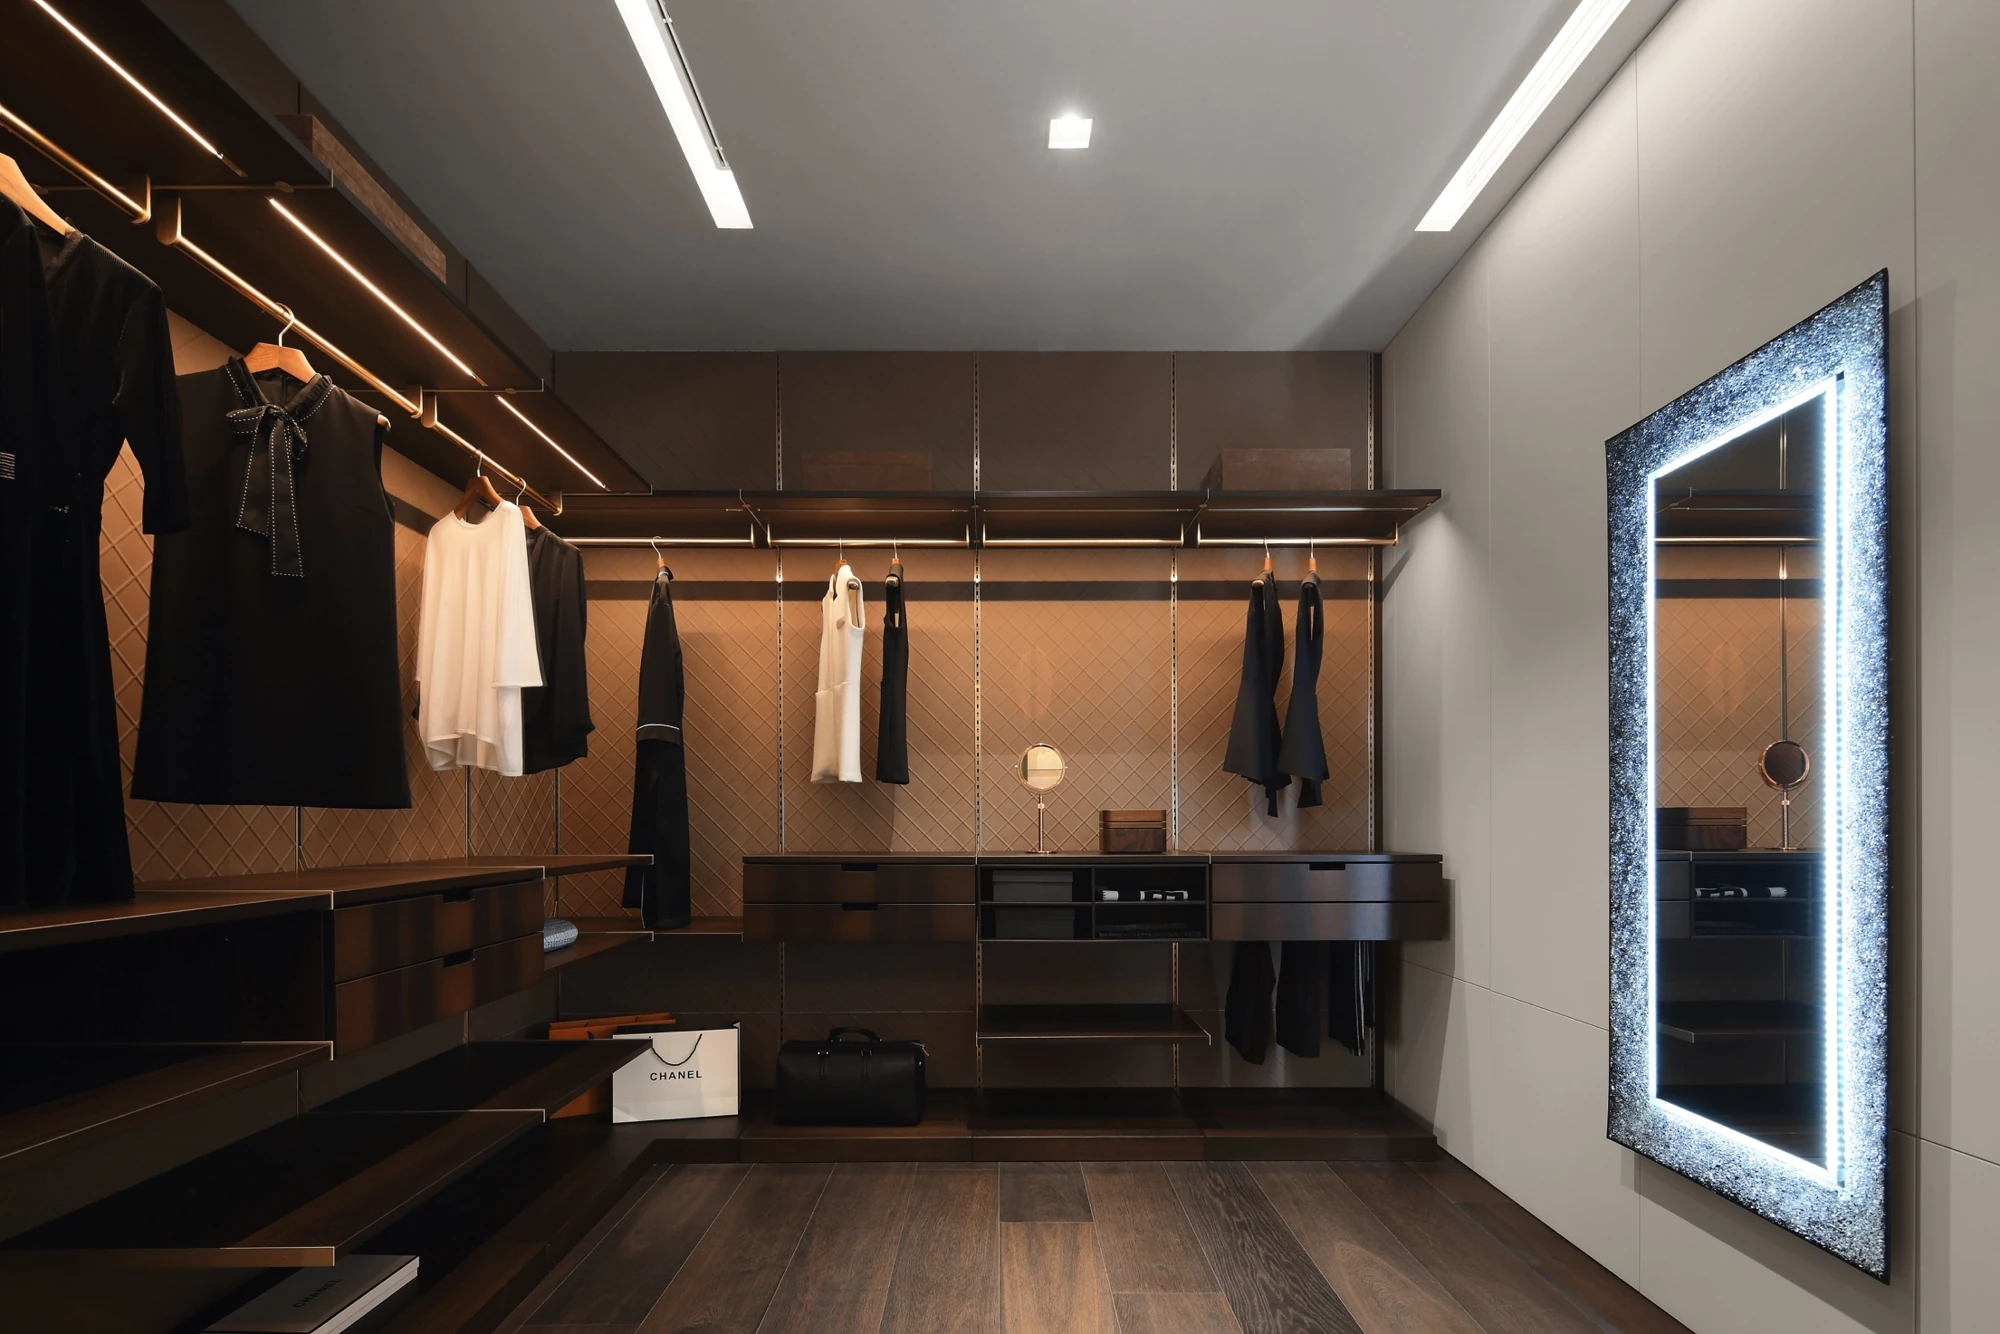
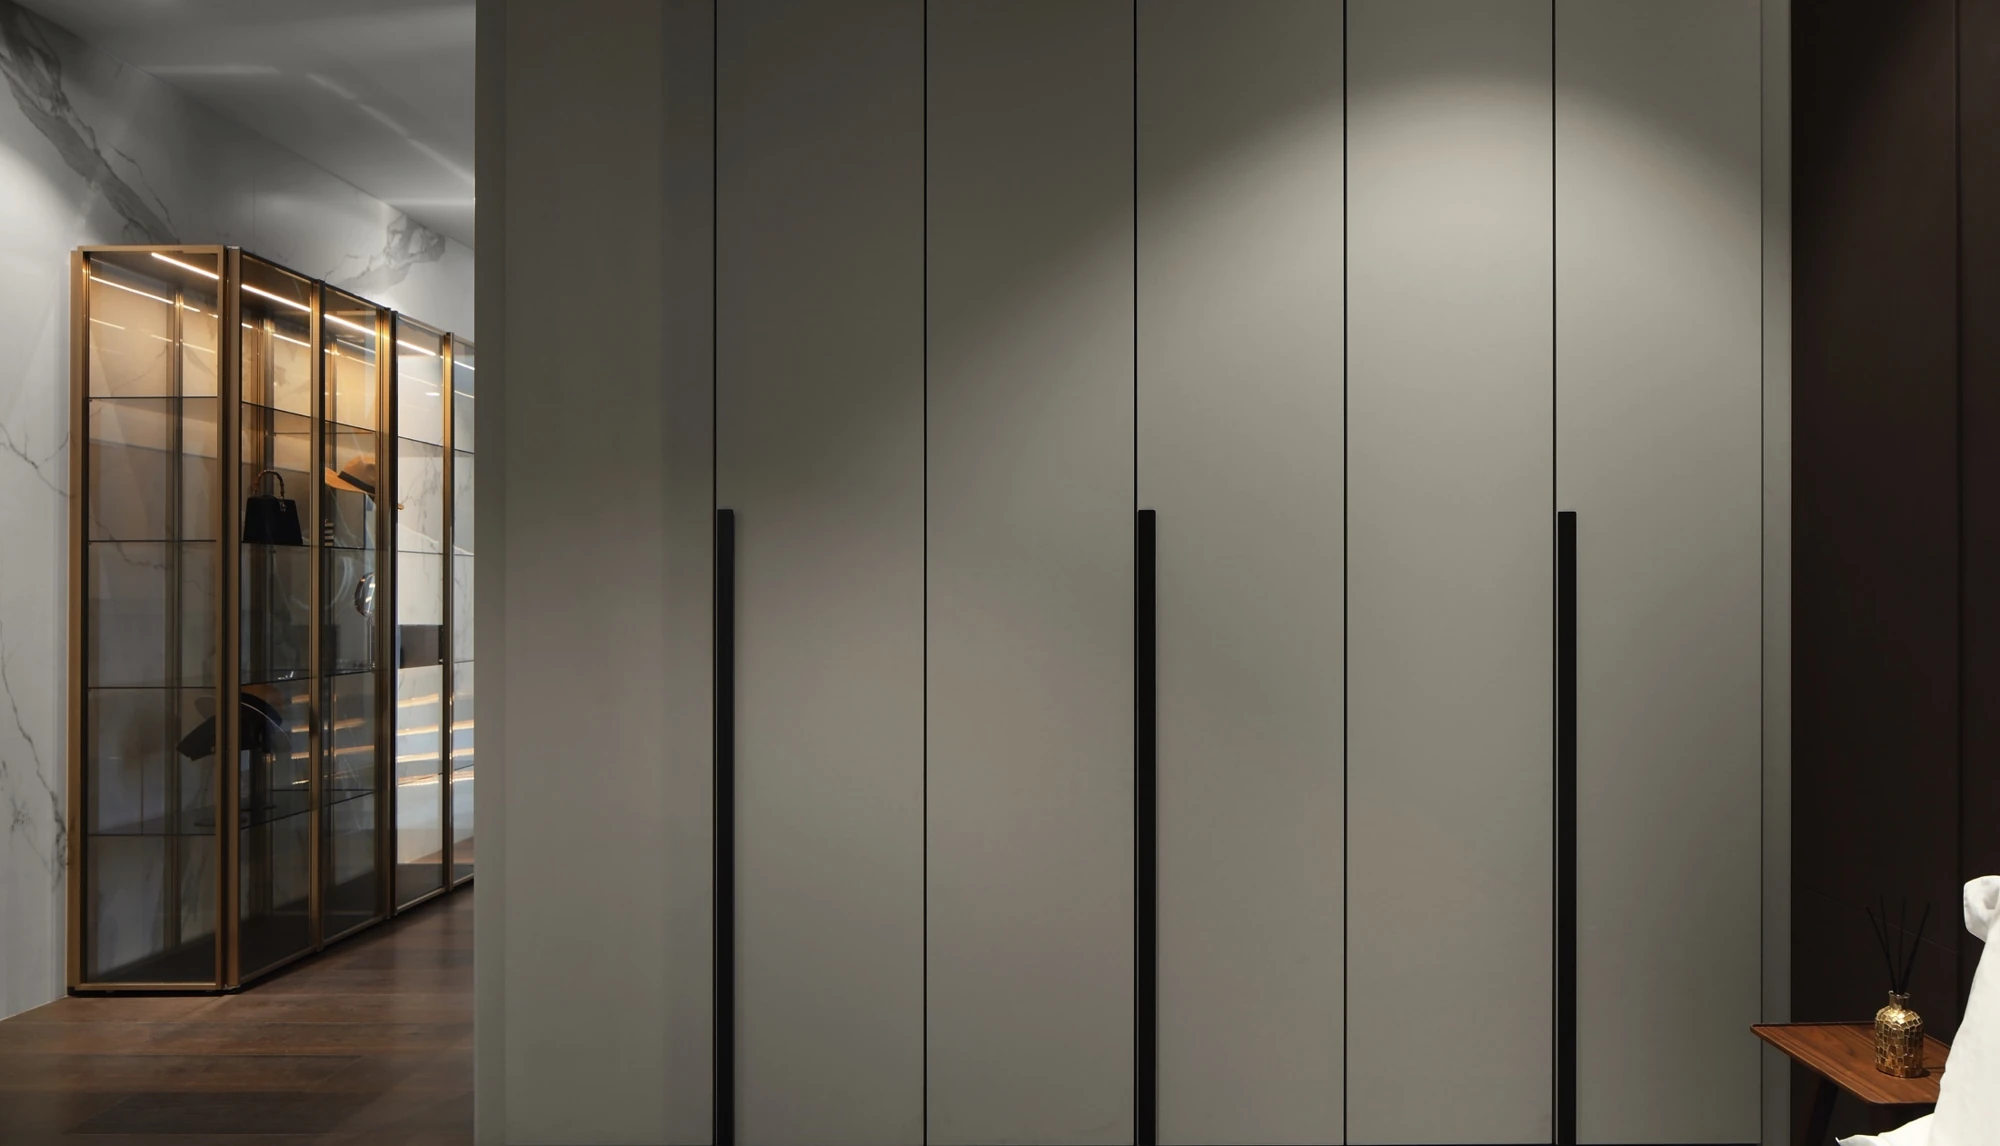
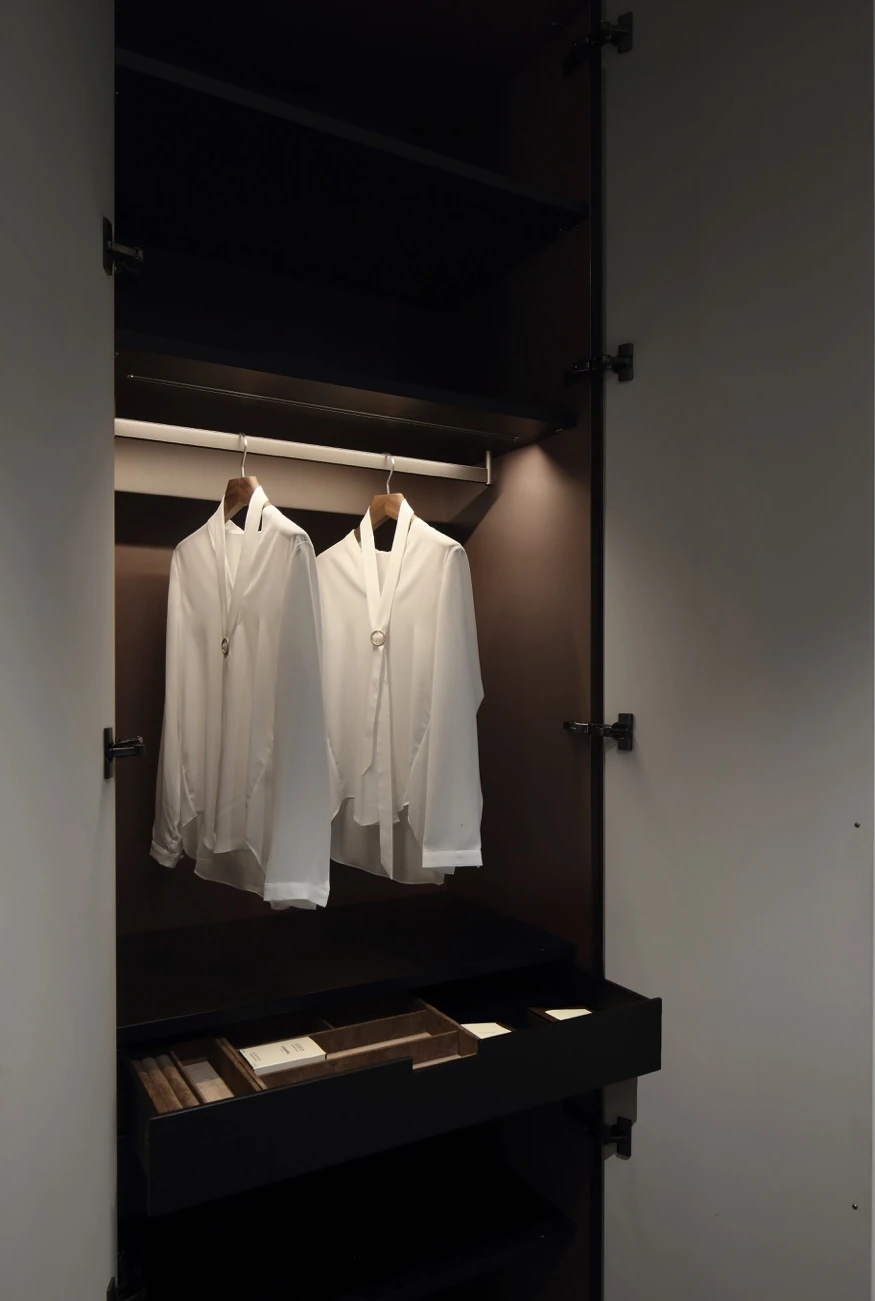
Glazed bays, an island, closed fronts and an open wardrobe detail
Carry into a new brief
Review circulation, the room-facing elevation and the storage interior as related decisions.
Tea, stair, laundry and bathroom functions extend the sequence
Look for in the photographs
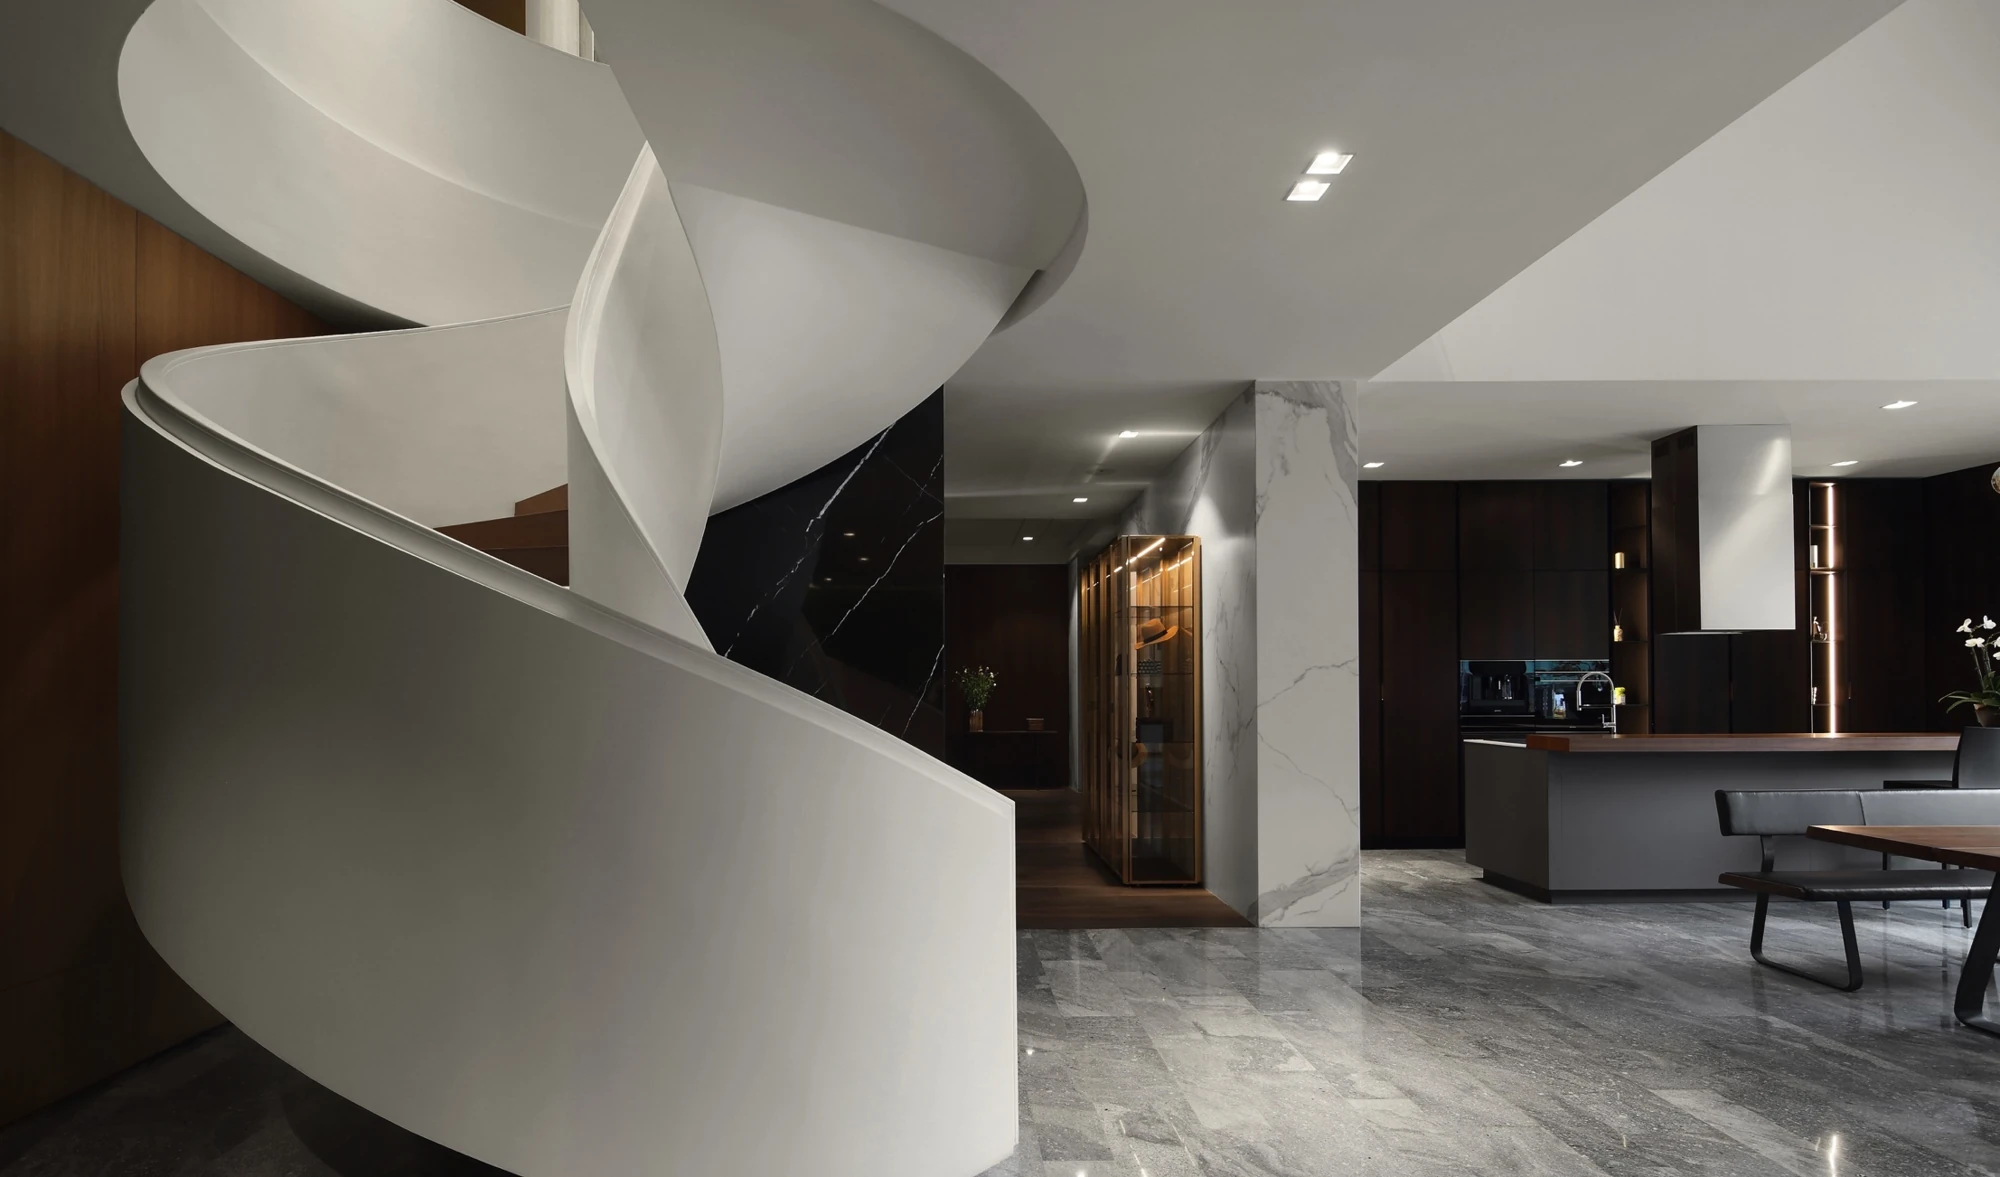
The curved stair, bedroom backdrop and bathroom assembly
Carry into a new brief
Keep this plan distinct from a complete building or production drawing package.
The comparison reads photographs and drawings from the same project. It does not certify that every plan dimension matches the completed space.
One route, several different cabinet roles
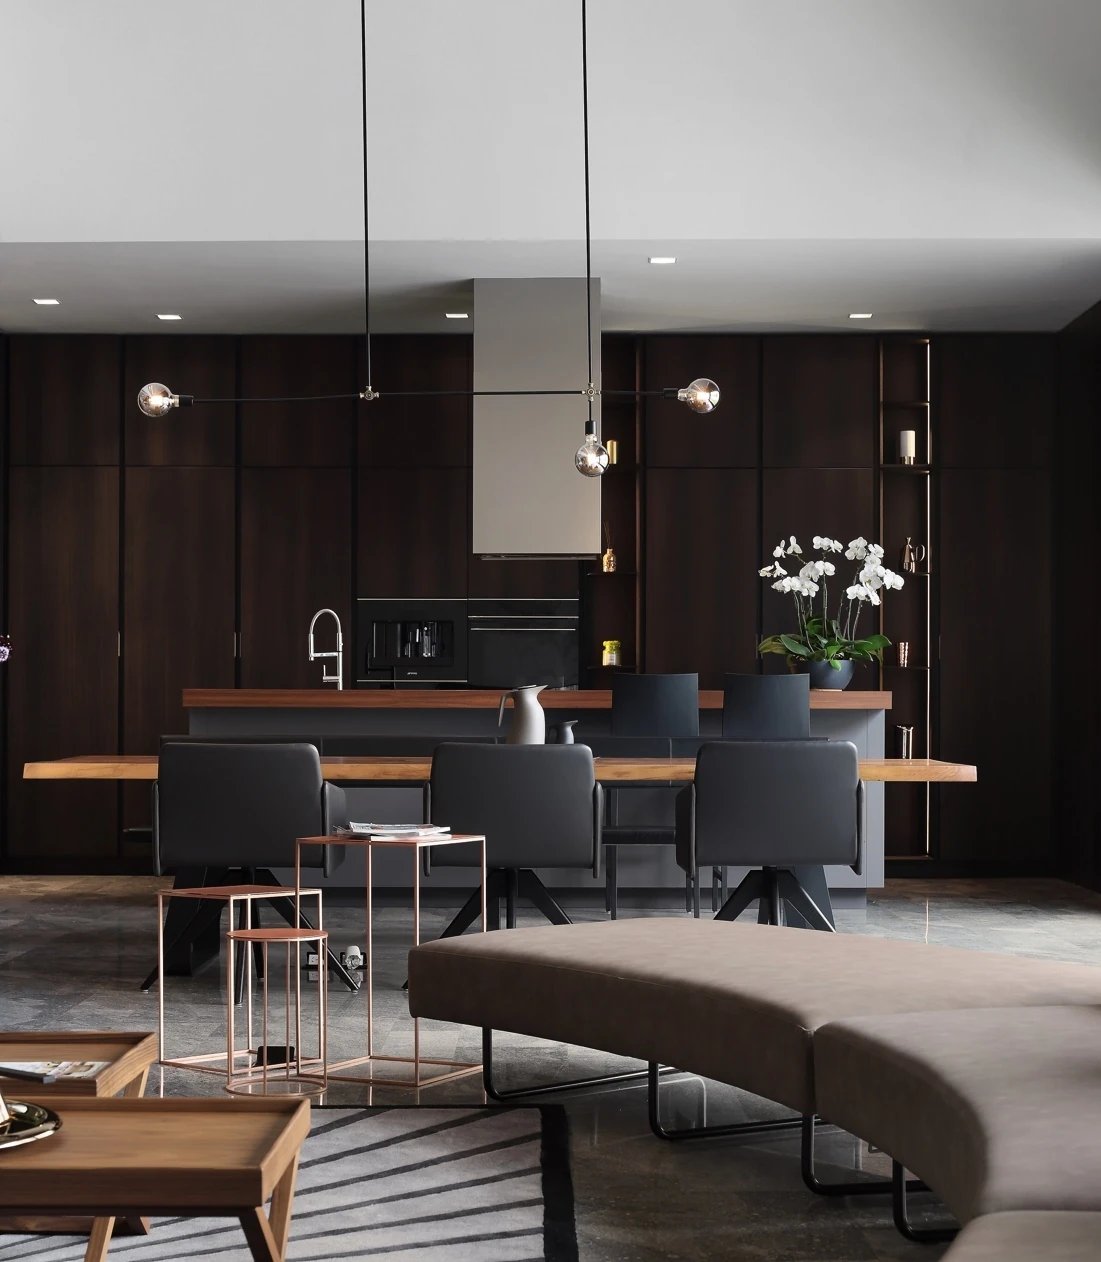
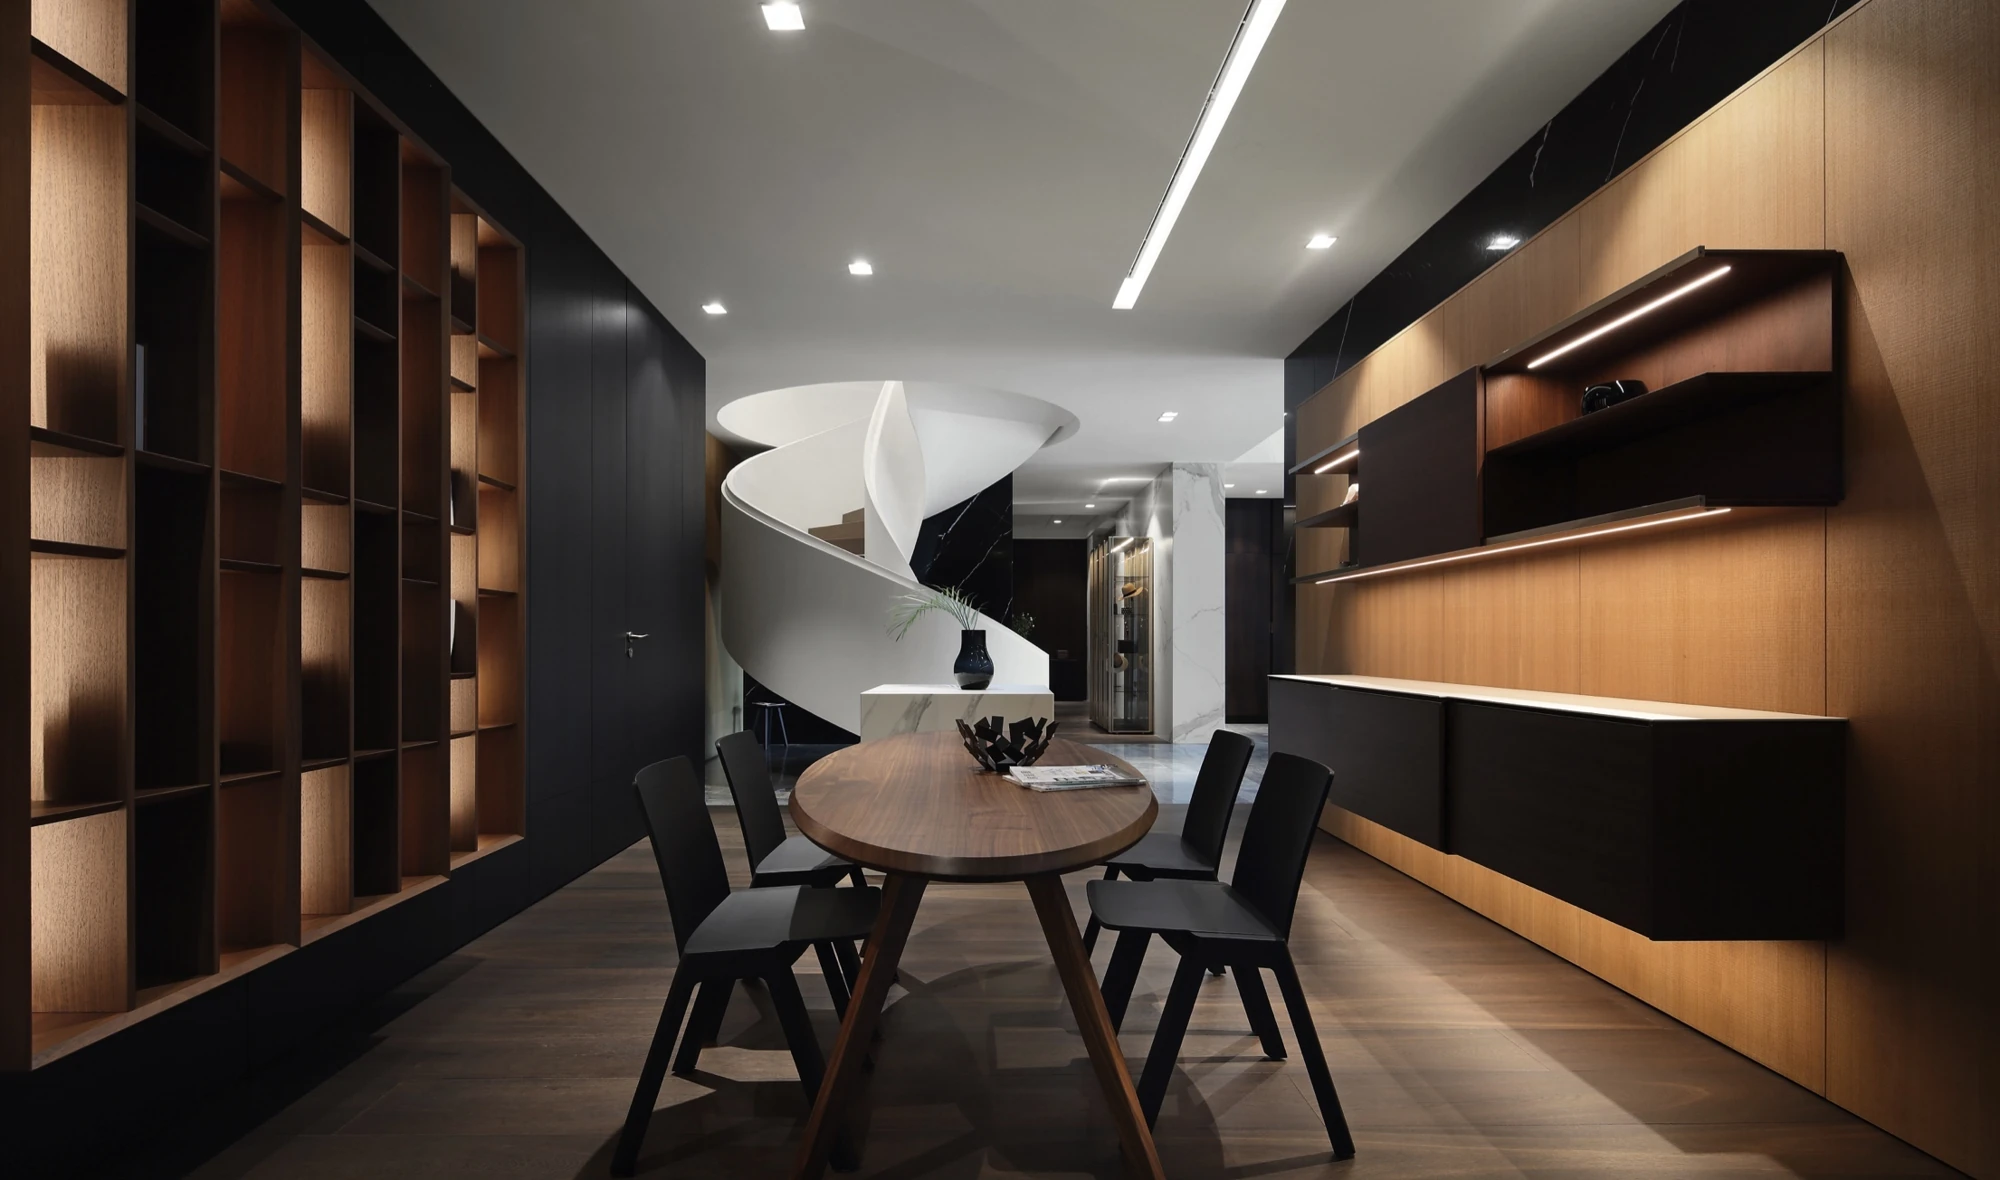
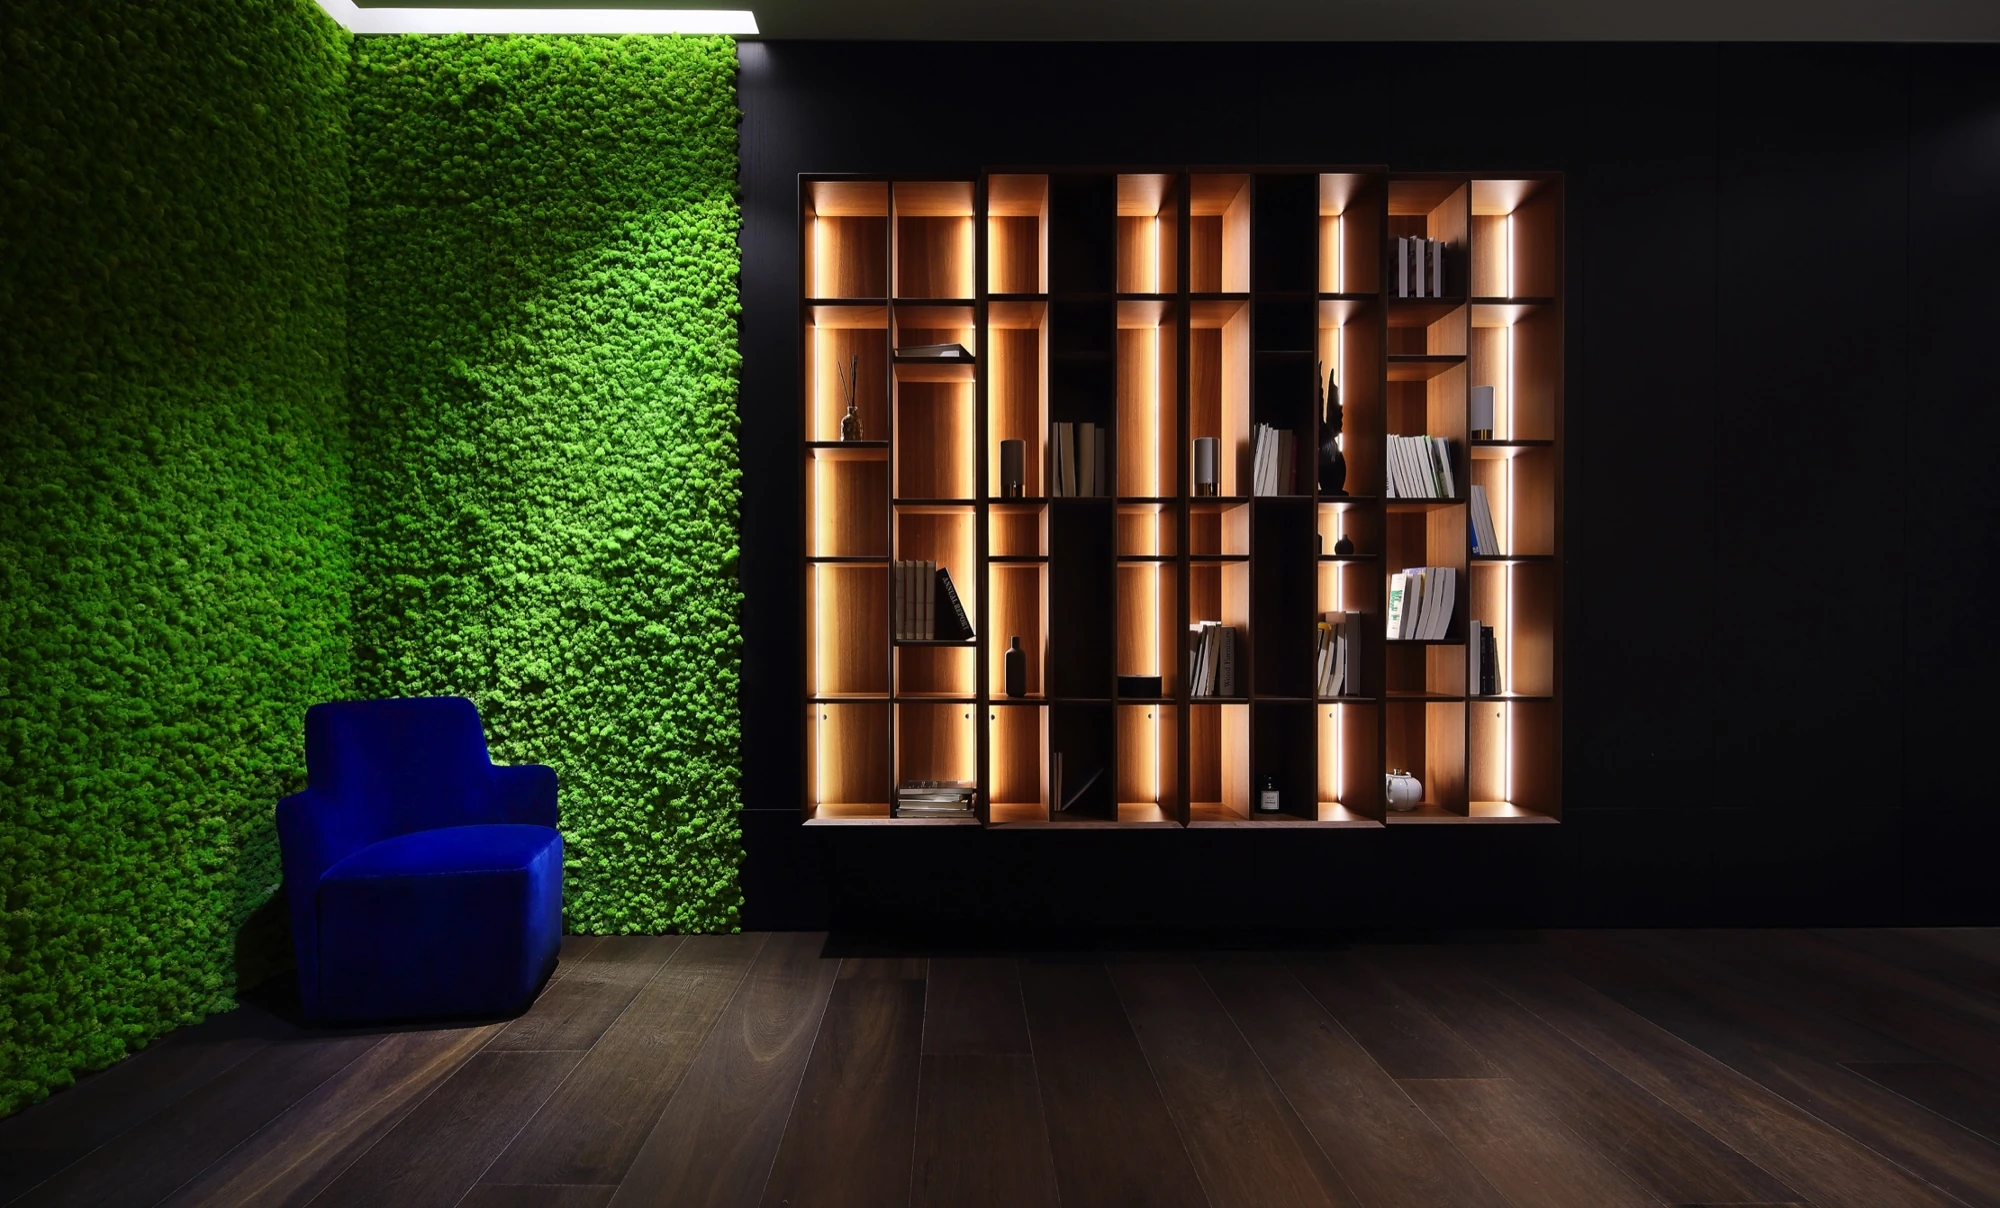
The living-room photographs show a long storage wall beside a tall glazed volume. The dining table and kitchen setting sit within the same broad sequence, but their cabinet groups perform different jobs. A living wall can balance display objects with concealed storage; the kitchen needs an intelligible working arrangement; the study places useful storage close to a smaller table. The curved stair provides a recognizable point of orientation between these settings. For a new whole-home brief, use this approach to describe the route and the purpose of each group before choosing individual fronts. A related palette can connect the rooms while the depth, access, lighting and balance of open and closed bays change with the task.
Read a wardrobe from outside and inside
The dressing-room sequence supplies more than an attractive closed elevation. One photograph shows the glazed bays and central drawer island together; another shows open hanging and shelf storage. The pale closed fronts provide a useful contrast, and the open-door detail exposes a smaller part of the working interior. These views answer different questions. The wide image helps explain circulation around the island, while the detail shows where clothes and smaller items can be placed. A project discussion should therefore include the contents list, internal elevation and opening movement alongside the room-facing drawing. The photographed fitting arrangement is a reference to study, not a confirmed specification for a new order.
Change the assembly when the use changes
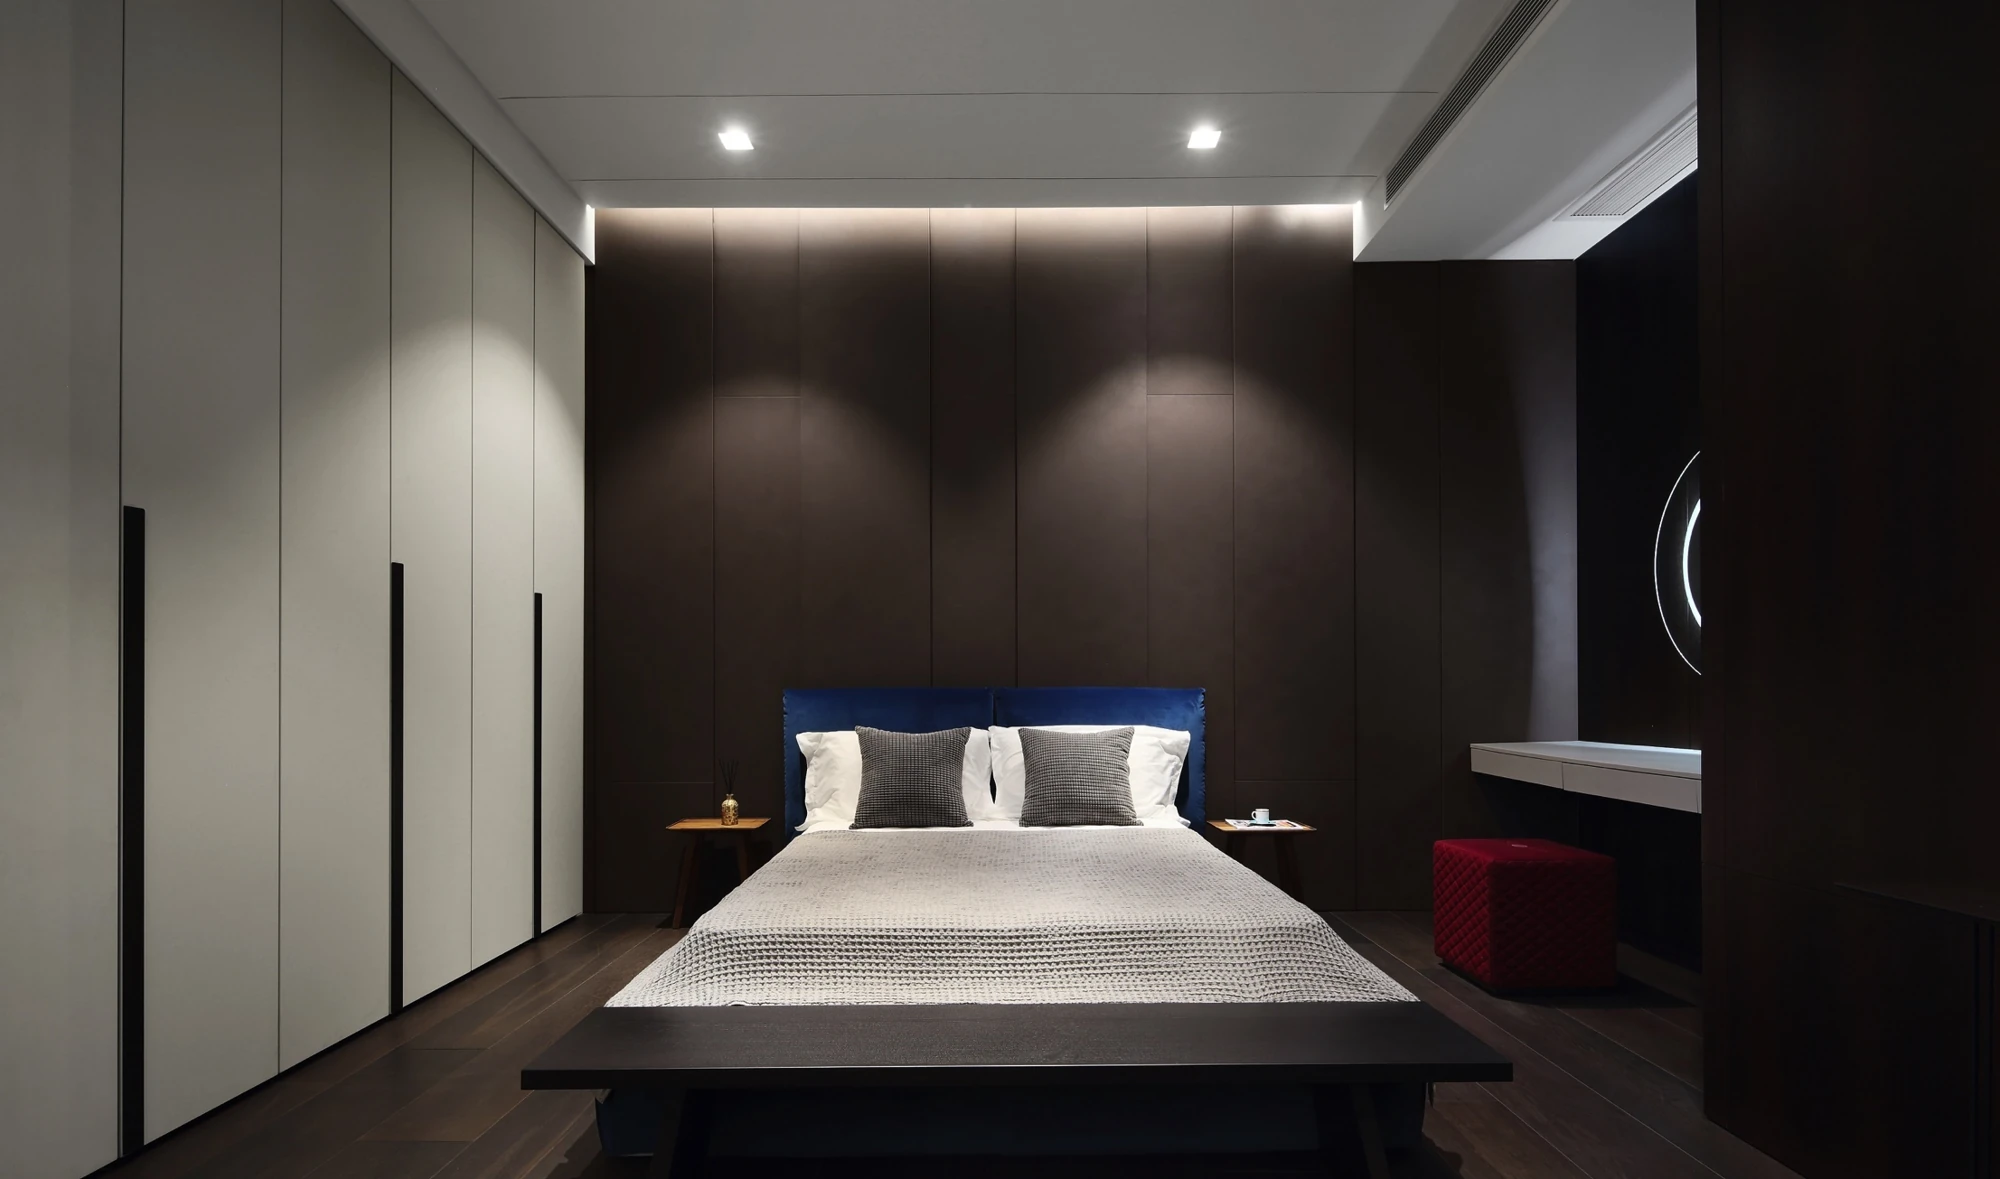
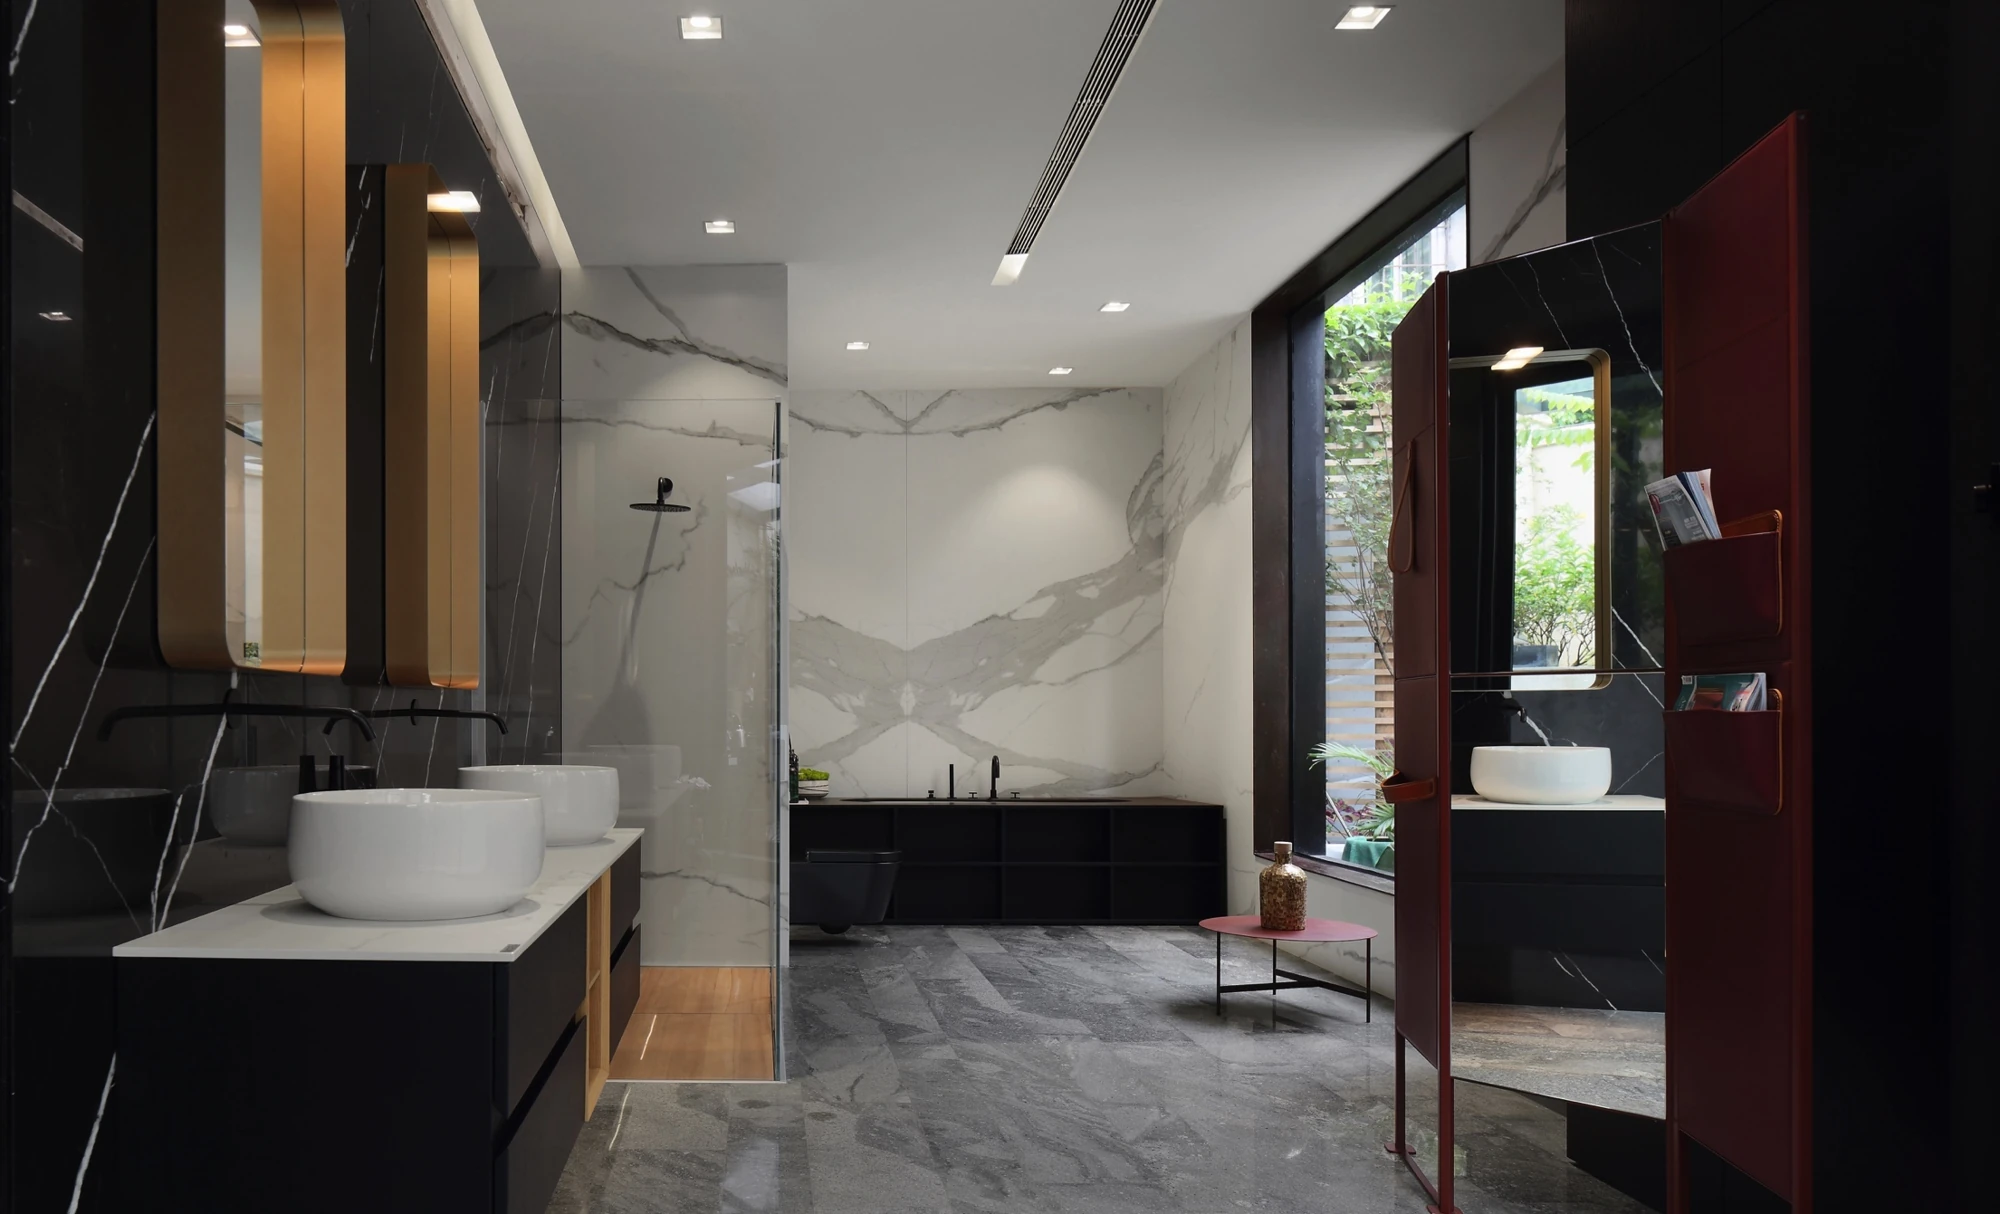
A narrow illuminated display, a bedroom wall and a bathroom setting complete the reference. They share some of the same visual language without becoming interchangeable cabinet systems. The display concentrates lighting and objects in a small part of the wall. The bedroom needs a quieter backdrop and convenient access. The bathroom brings water, services and cleaning into the discussion. Use the project photographs to define the relationship you want, then ask for the actual substrate, finish, fittings and service details of the proposed assembly. A coordinated home can remain visually coherent while the technical build-up changes from one room to another.
Project record and design use.
- Location
- Dongguan, China
- Project type
- Partner showroom
- Rooms shown
- Entry and living display; dining and kitchen displays; tea area and stair; laundry display; walk-in dressing areas, bedroom and bathroom display. The plan shows one level with a stair connection; it is not a complete set of all building levels.
- Production
- Arcaya partner factory
- Drawing and image set
- 1 original plan and 12 project photographs
Arcaya coordinated this showroom project and placed the order; the cabinetry and wall systems were produced by one of our partner factories in China. Photographs and drawings are from the Arcaya project archive and are used with our partner factory's permission.
Use the case to discuss spatial and joinery decisions. Confirm materials, samples, hardware, dimensions and local installation responsibilities for the actual project before ordering.