Read the original drawings.
The original CAD set includes an overall furniture plan, a reflected ceiling plan and room elevations. The circular hall is a strong reference point in both the layout and the photographs. Around it, the drawings group furnished rooms rather than presenting cabinet elevations in isolation. Read the room sequence first, then compare the ceiling fields and the wall divisions. This helps explain why a door, a fitted shelf and a wall frame need to share an elevation drawing.
The three views are rendered from the original showroom CAD. Chinese room labels, elevation references and dimension strings remain unchanged. Administrative title blocks are outside the selected view. Some photographed furniture arrangements differ from the symbols on the plan. These drawings are not fabrication instructions or a surveyed record of the present site.


English room guide
English plan guide: entrance/vestibule (Xuan Guan); circular hall (Yuan Ting); reception (Jie Dai Qu); connecting hall (Guo Ting); living rooms 1 and 2 (Ke Ting); dining (Can Ting); tea room (Cha Shi); consultation (Qia Tan Qu); informal lounge (Xiu Xian Qu); bottle-display room (Jiu Jiao Jian); secondary bedroom (Xiao Hai Fang); principal bedroom (Zhu Wo); study (Shu Fang); dressing rooms (Yi Mao Jian); store (Chu Wu Jian). The reflected ceiling drawing records the corresponding ceiling and light arrangement.
The original drawing geometry and dimension notes remain traceable. Open each image to inspect it alongside the English guide. These archive drawings are not issued for construction.
Read the evidence together.
The circular hall gives the layout a reference point
Look for in the photographs
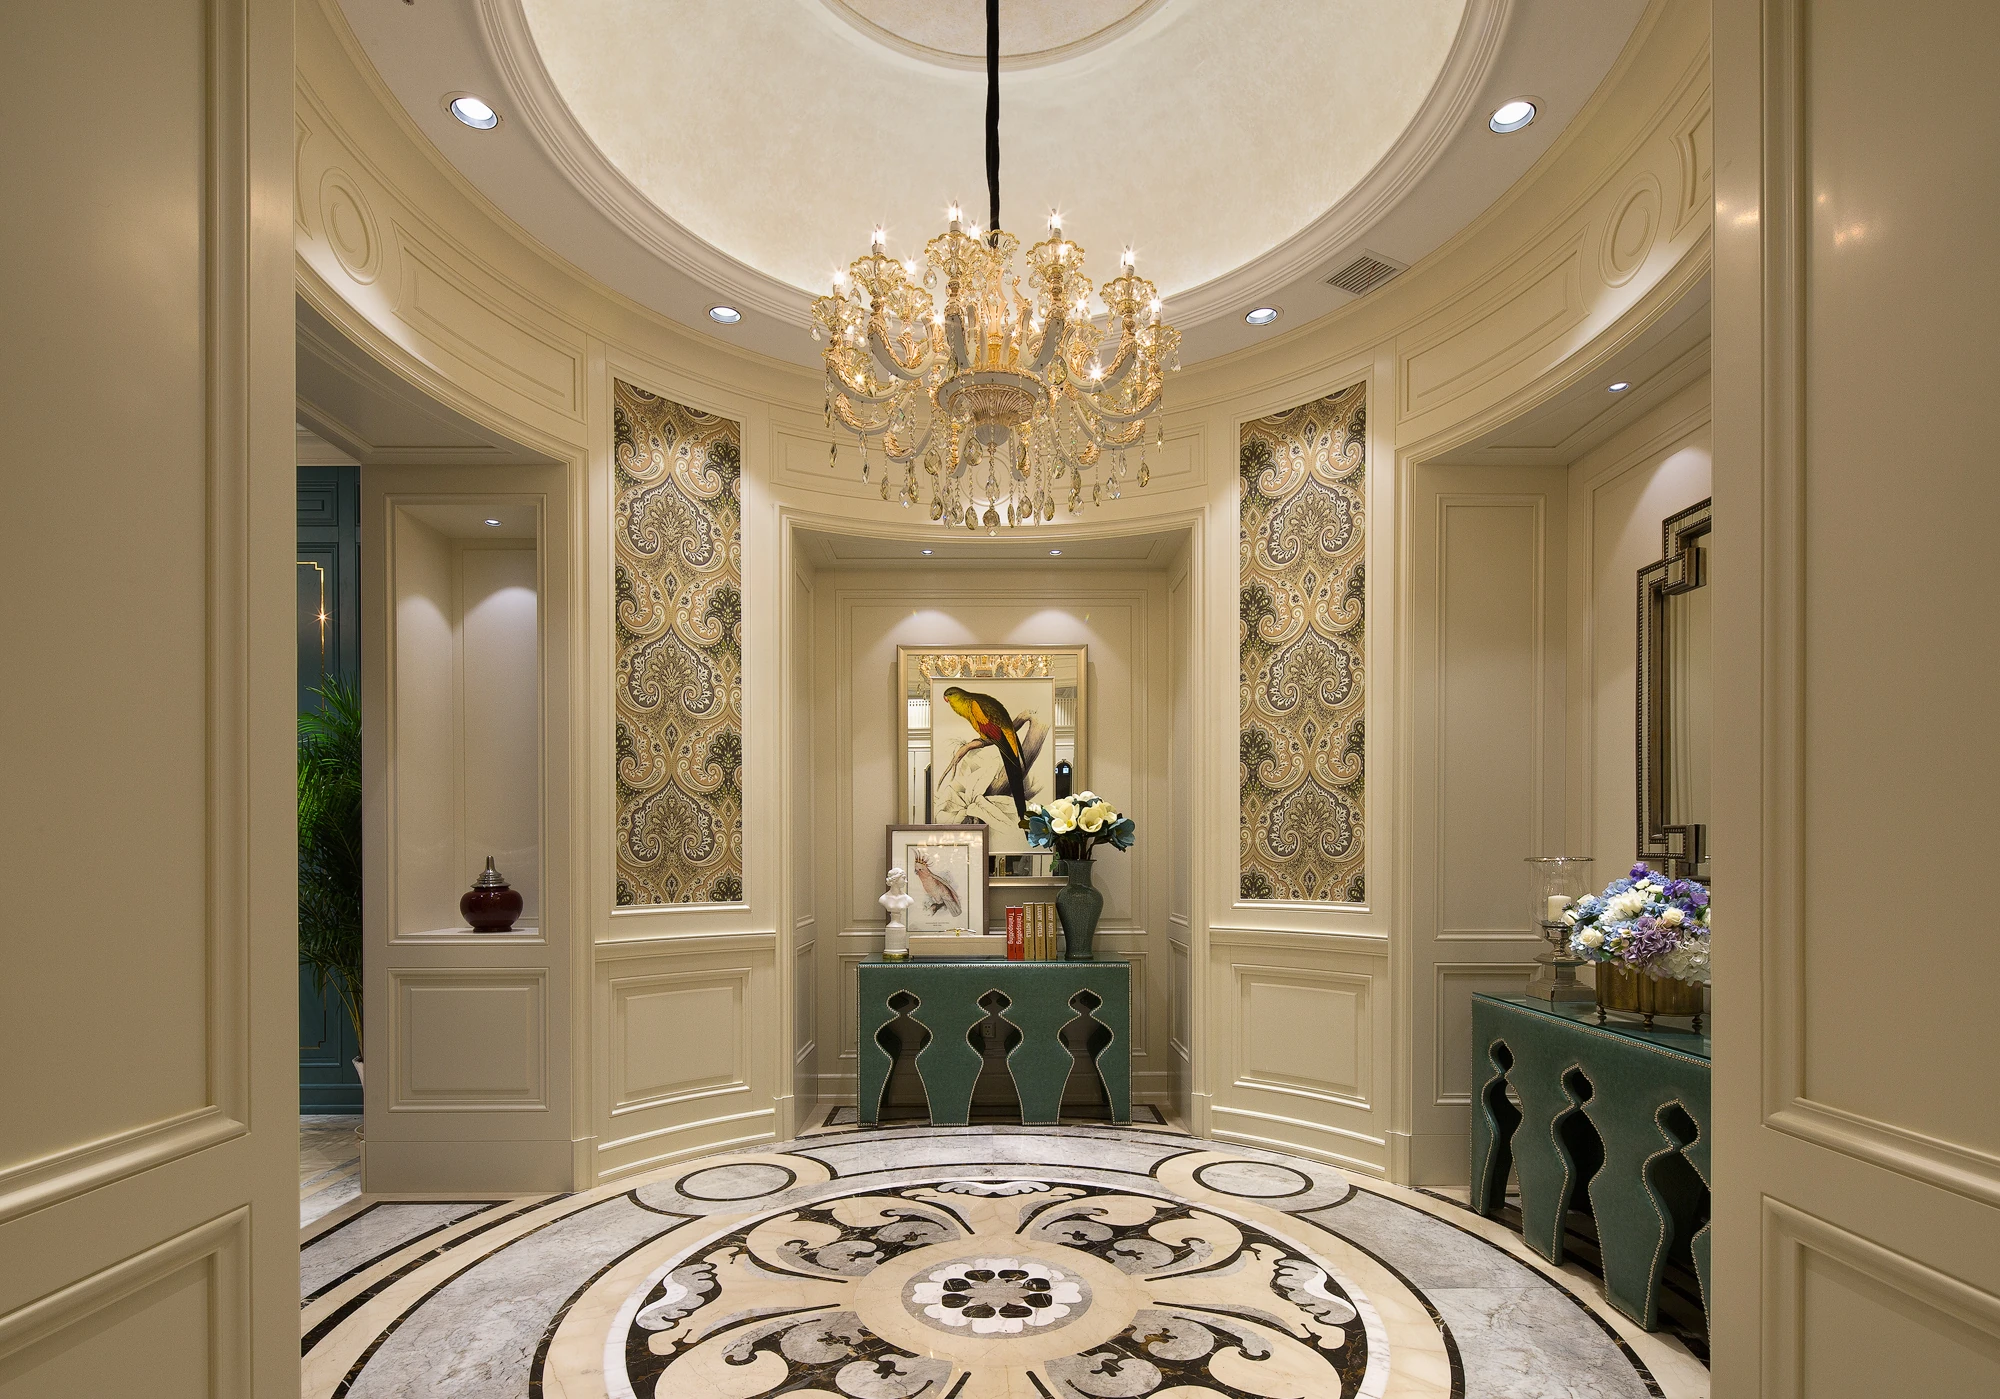
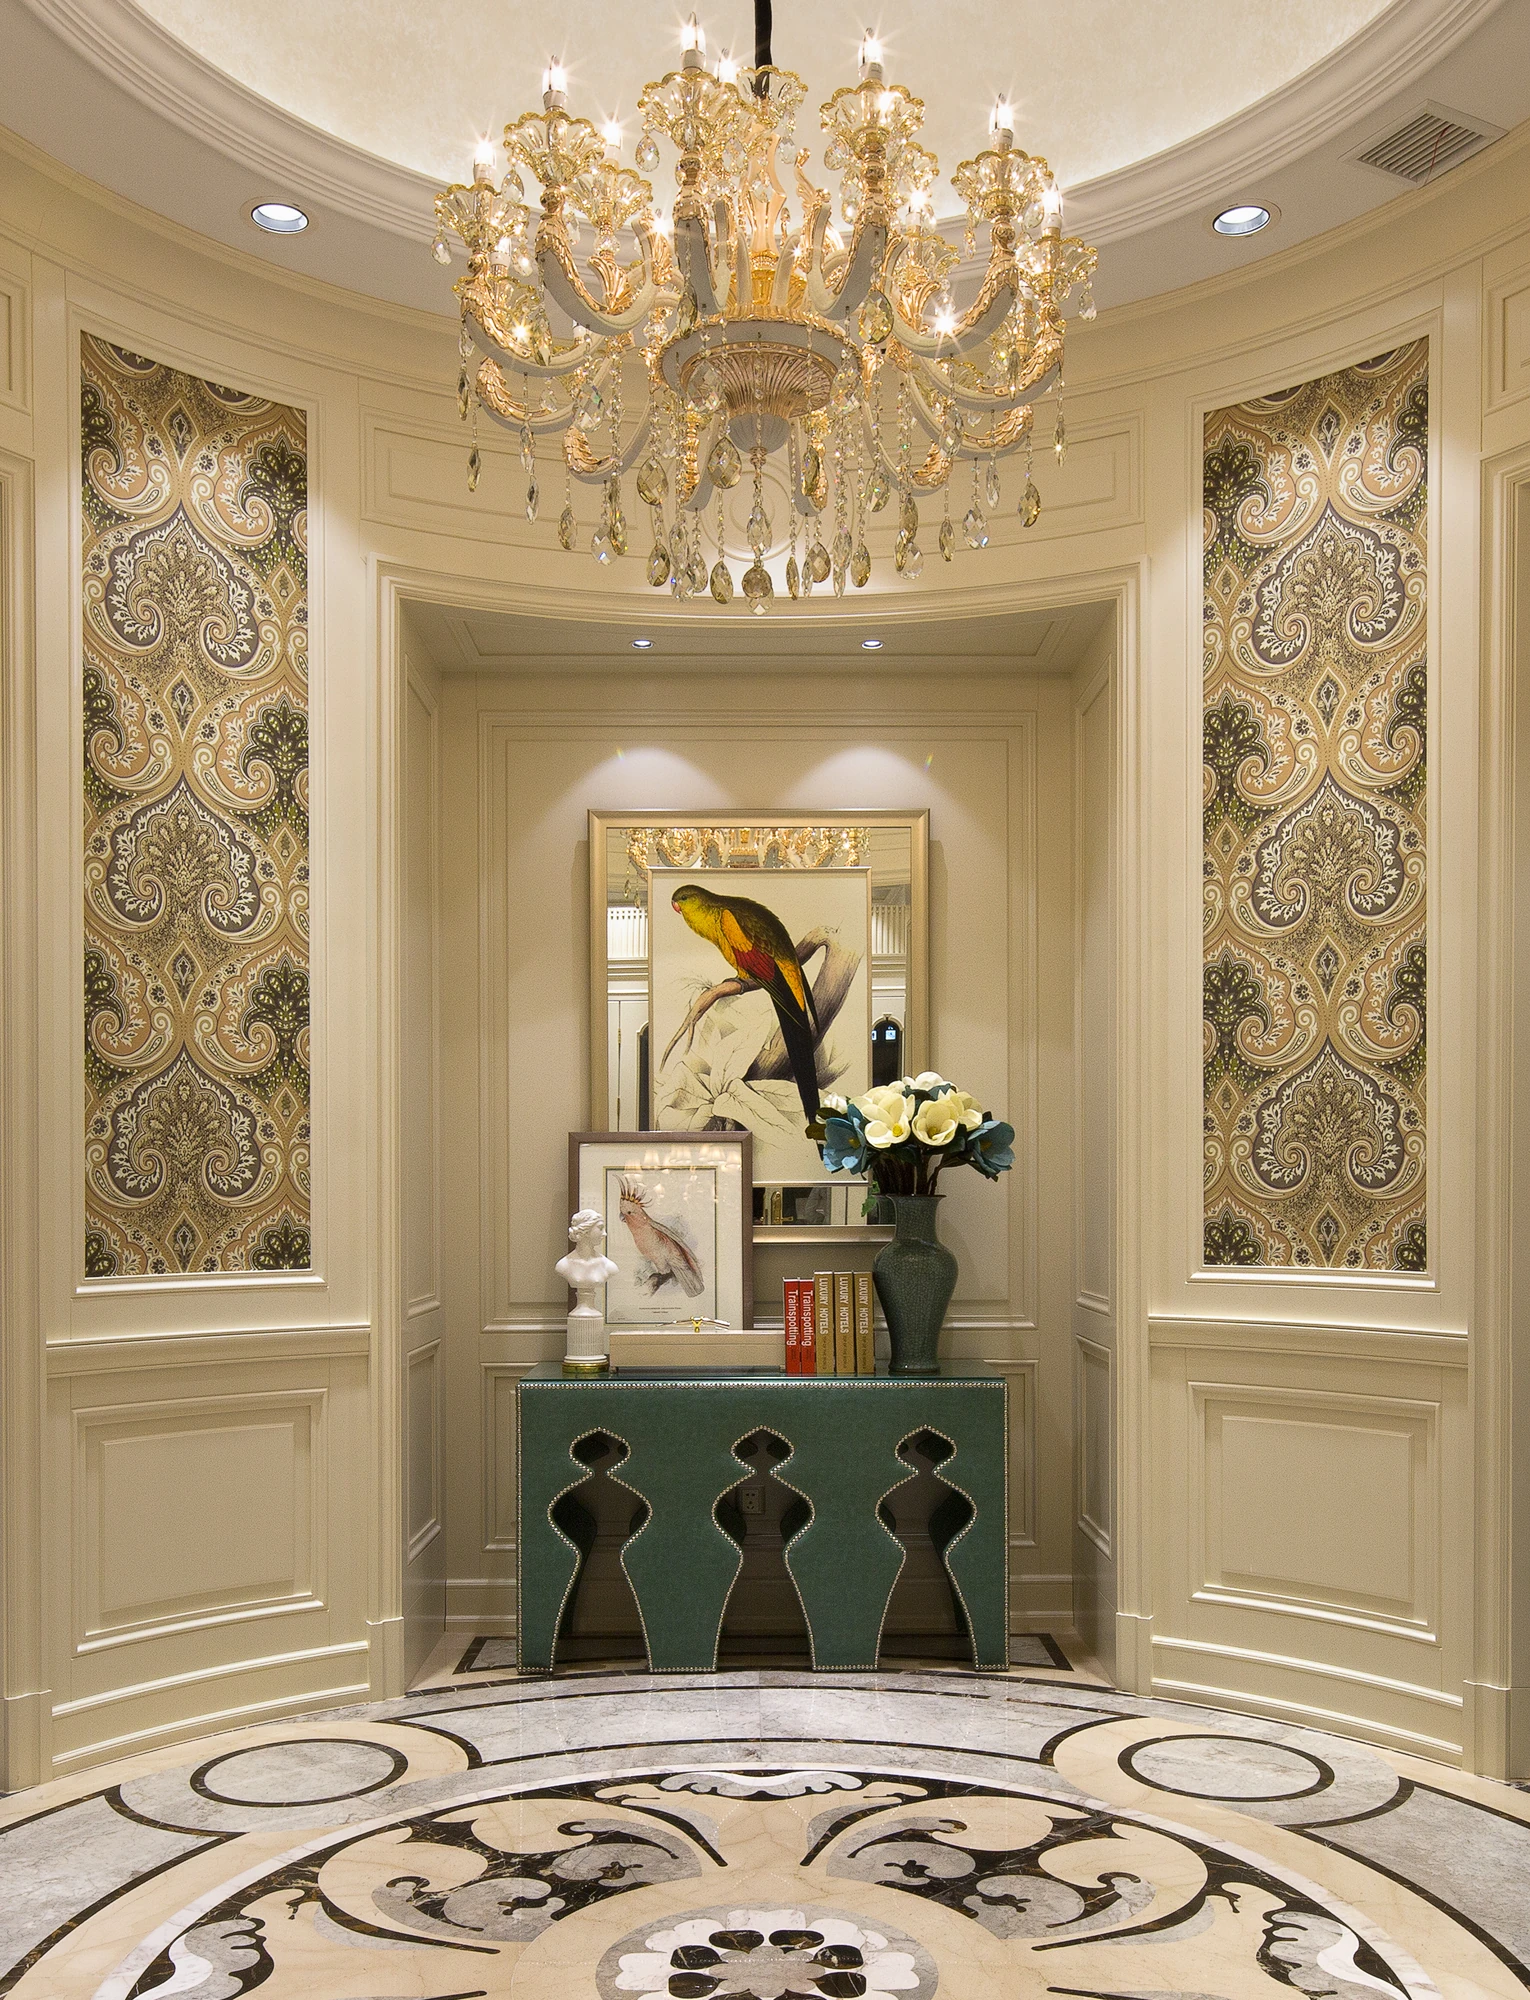
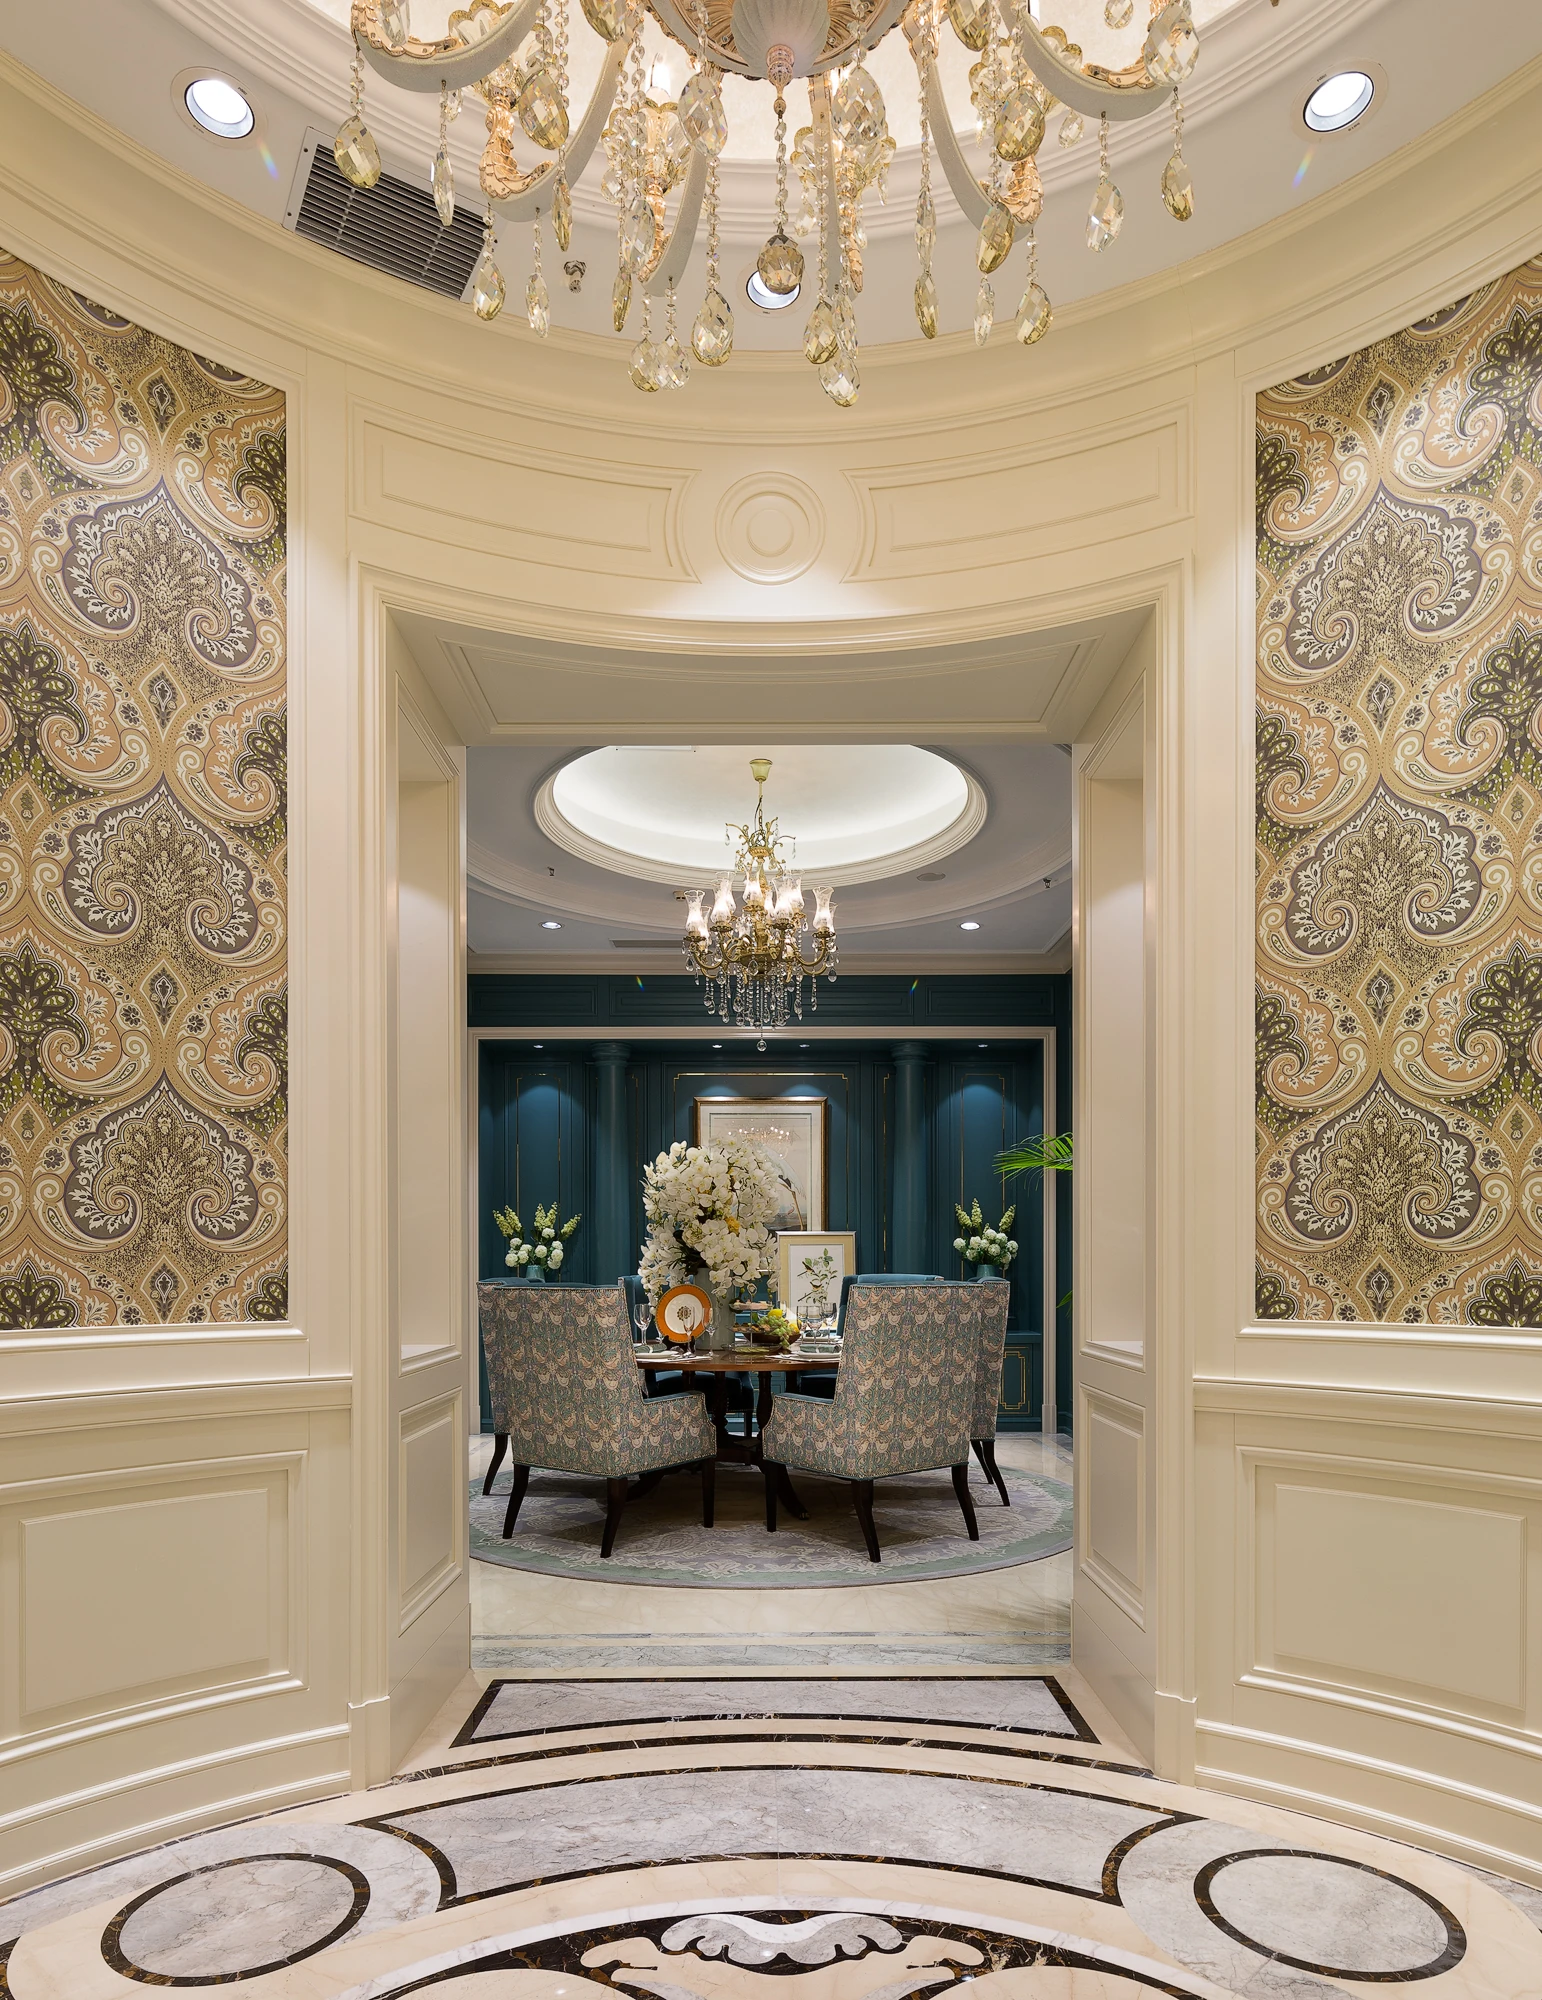
The curved entrance photographs show a central floor pattern, surrounding wall panels and an opening into the next furnished room. Compare that circular composition with the overall furniture plan before reading individual decorative details.
Carry into a new brief
Include the approach, floor center, ceiling center and doorway positions on one coordination drawing. A circular feature needs a relationship to the rooms around it.
Ceiling fields follow the room composition
Look for in the photographs
The photographs show different ceiling treatments over the hall, dining, living and bedroom settings. The reflected ceiling plan supplies the original design arrangement for comparison, without proving every photographed fitting or later adjustment.
Carry into a new brief
Coordinate lighting positions, access panels and the top of tall joinery with the actual ceiling/services drawings. Do not copy a showroom lighting plan without a project-specific review.
Wall elevations explain the openings between rooms
Look for in the photographs
The selected circular-hall elevations show a sequence of framed openings and wall fields. The photographs then demonstrate how casings, baseboard and fitted shelves read through those openings.
Carry into a new brief
Ask for the wall return and threshold detail as well as the main elevation. Agree how profiles and finishes continue or change when viewed from the adjoining room.
The comparison reads photographs and drawings from the same project. It is a design reference, not a measured survey for a new site.
Entrance: give the transition its own drawing.
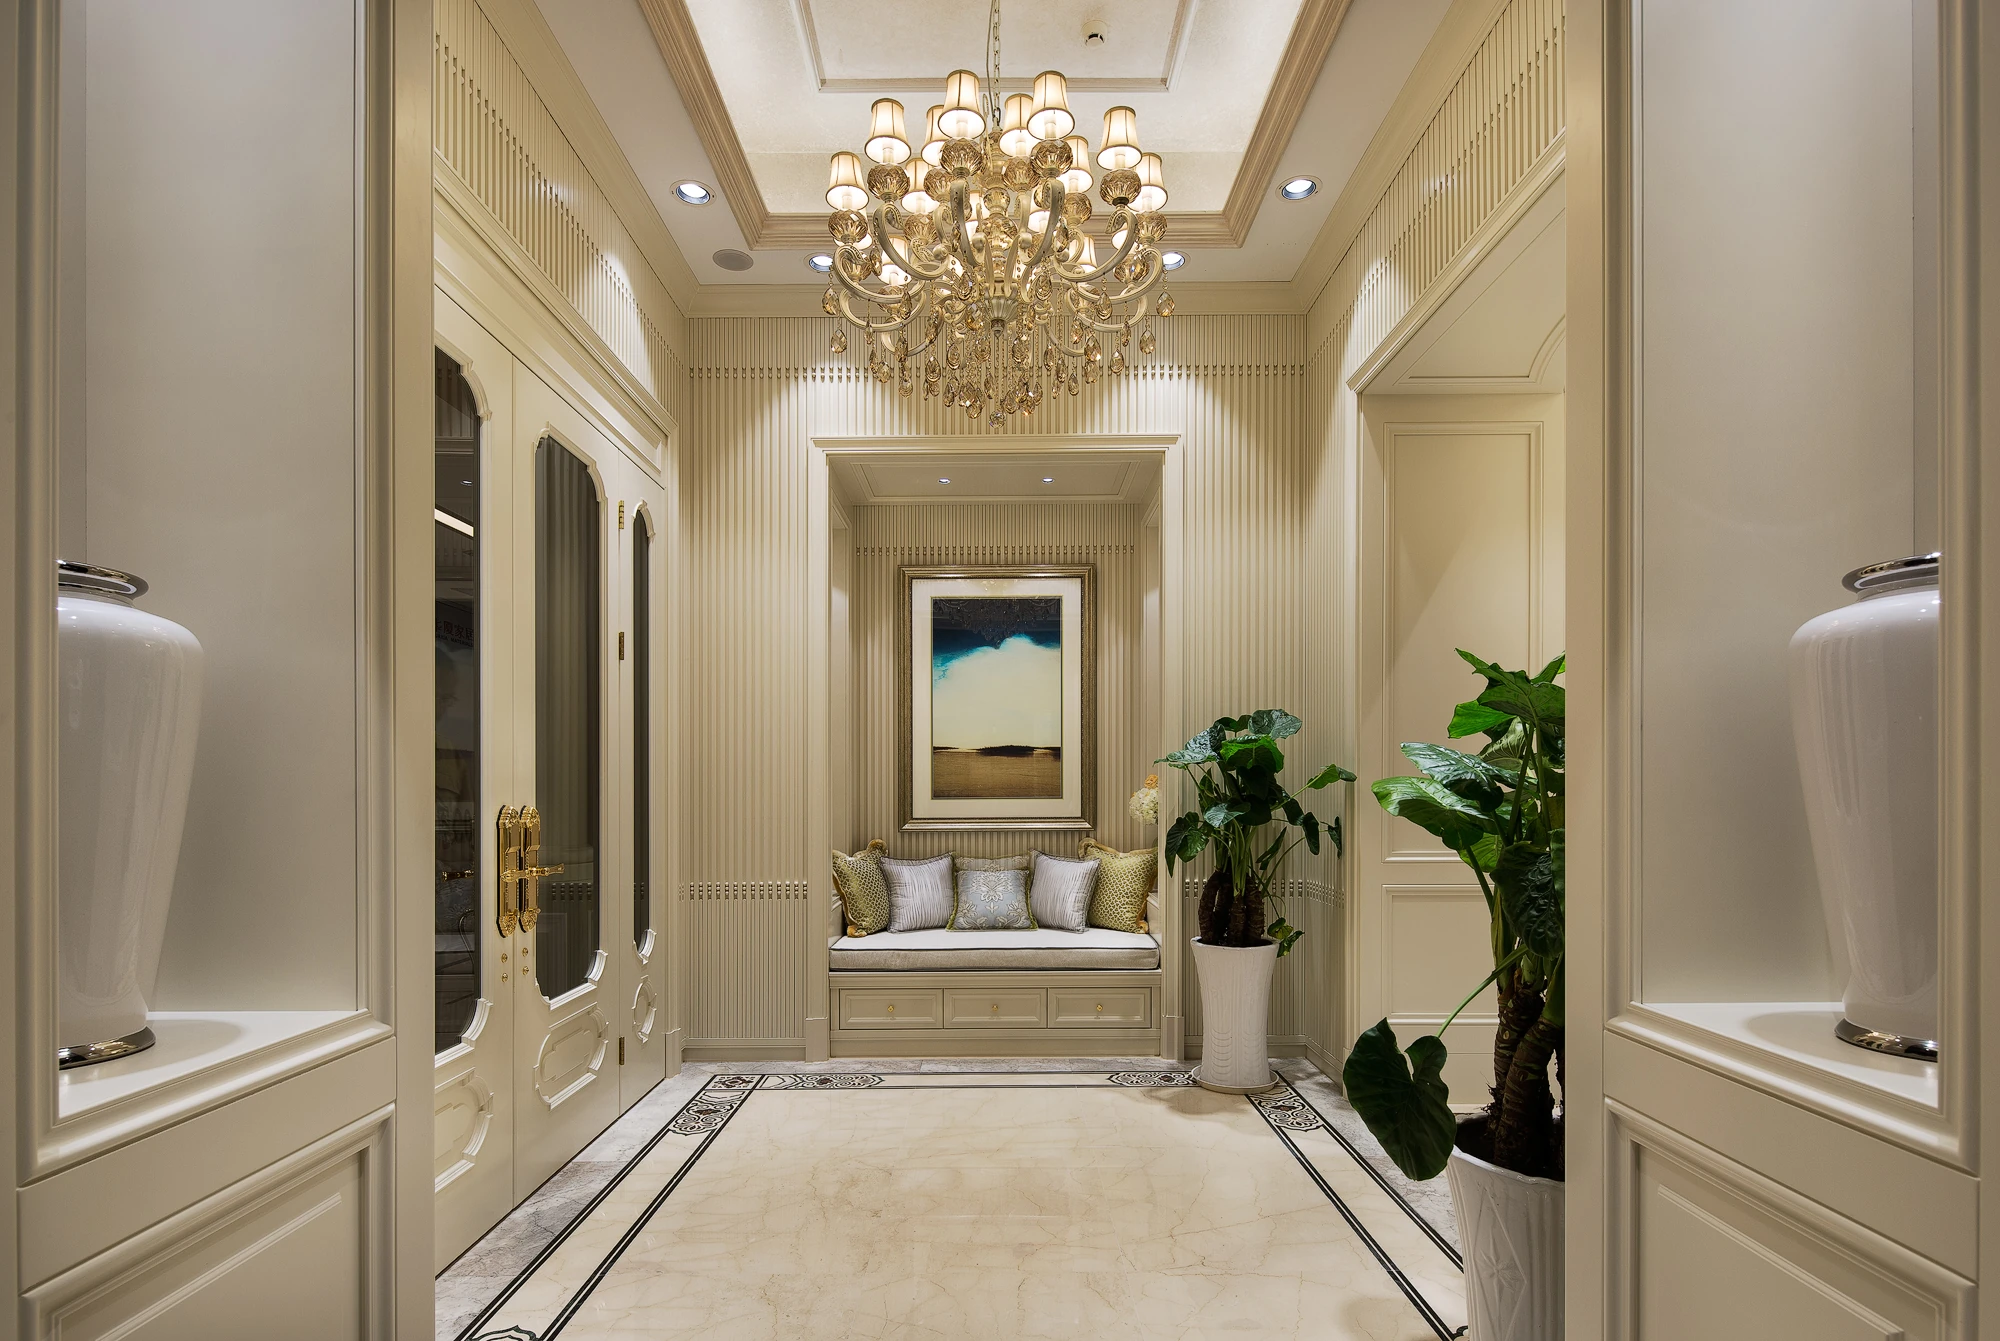
The entrance sequence shows how a classical interior can be built from a few repeated relationships rather than a catalog of separate moldings. The floor center, curved wall, ceiling and doorway all contribute to the circular hall. The adjacent corridor changes the proportions but retains the framed language. In a new project, start with the geometry and the views through each opening, then develop the profiles. A curved wall also needs its own setting-out and junction review. The photographs show the visual result; they do not establish the substrate, forming method or radius tolerances for a proposed supply.
Living space: organize a wall before selecting its detail.
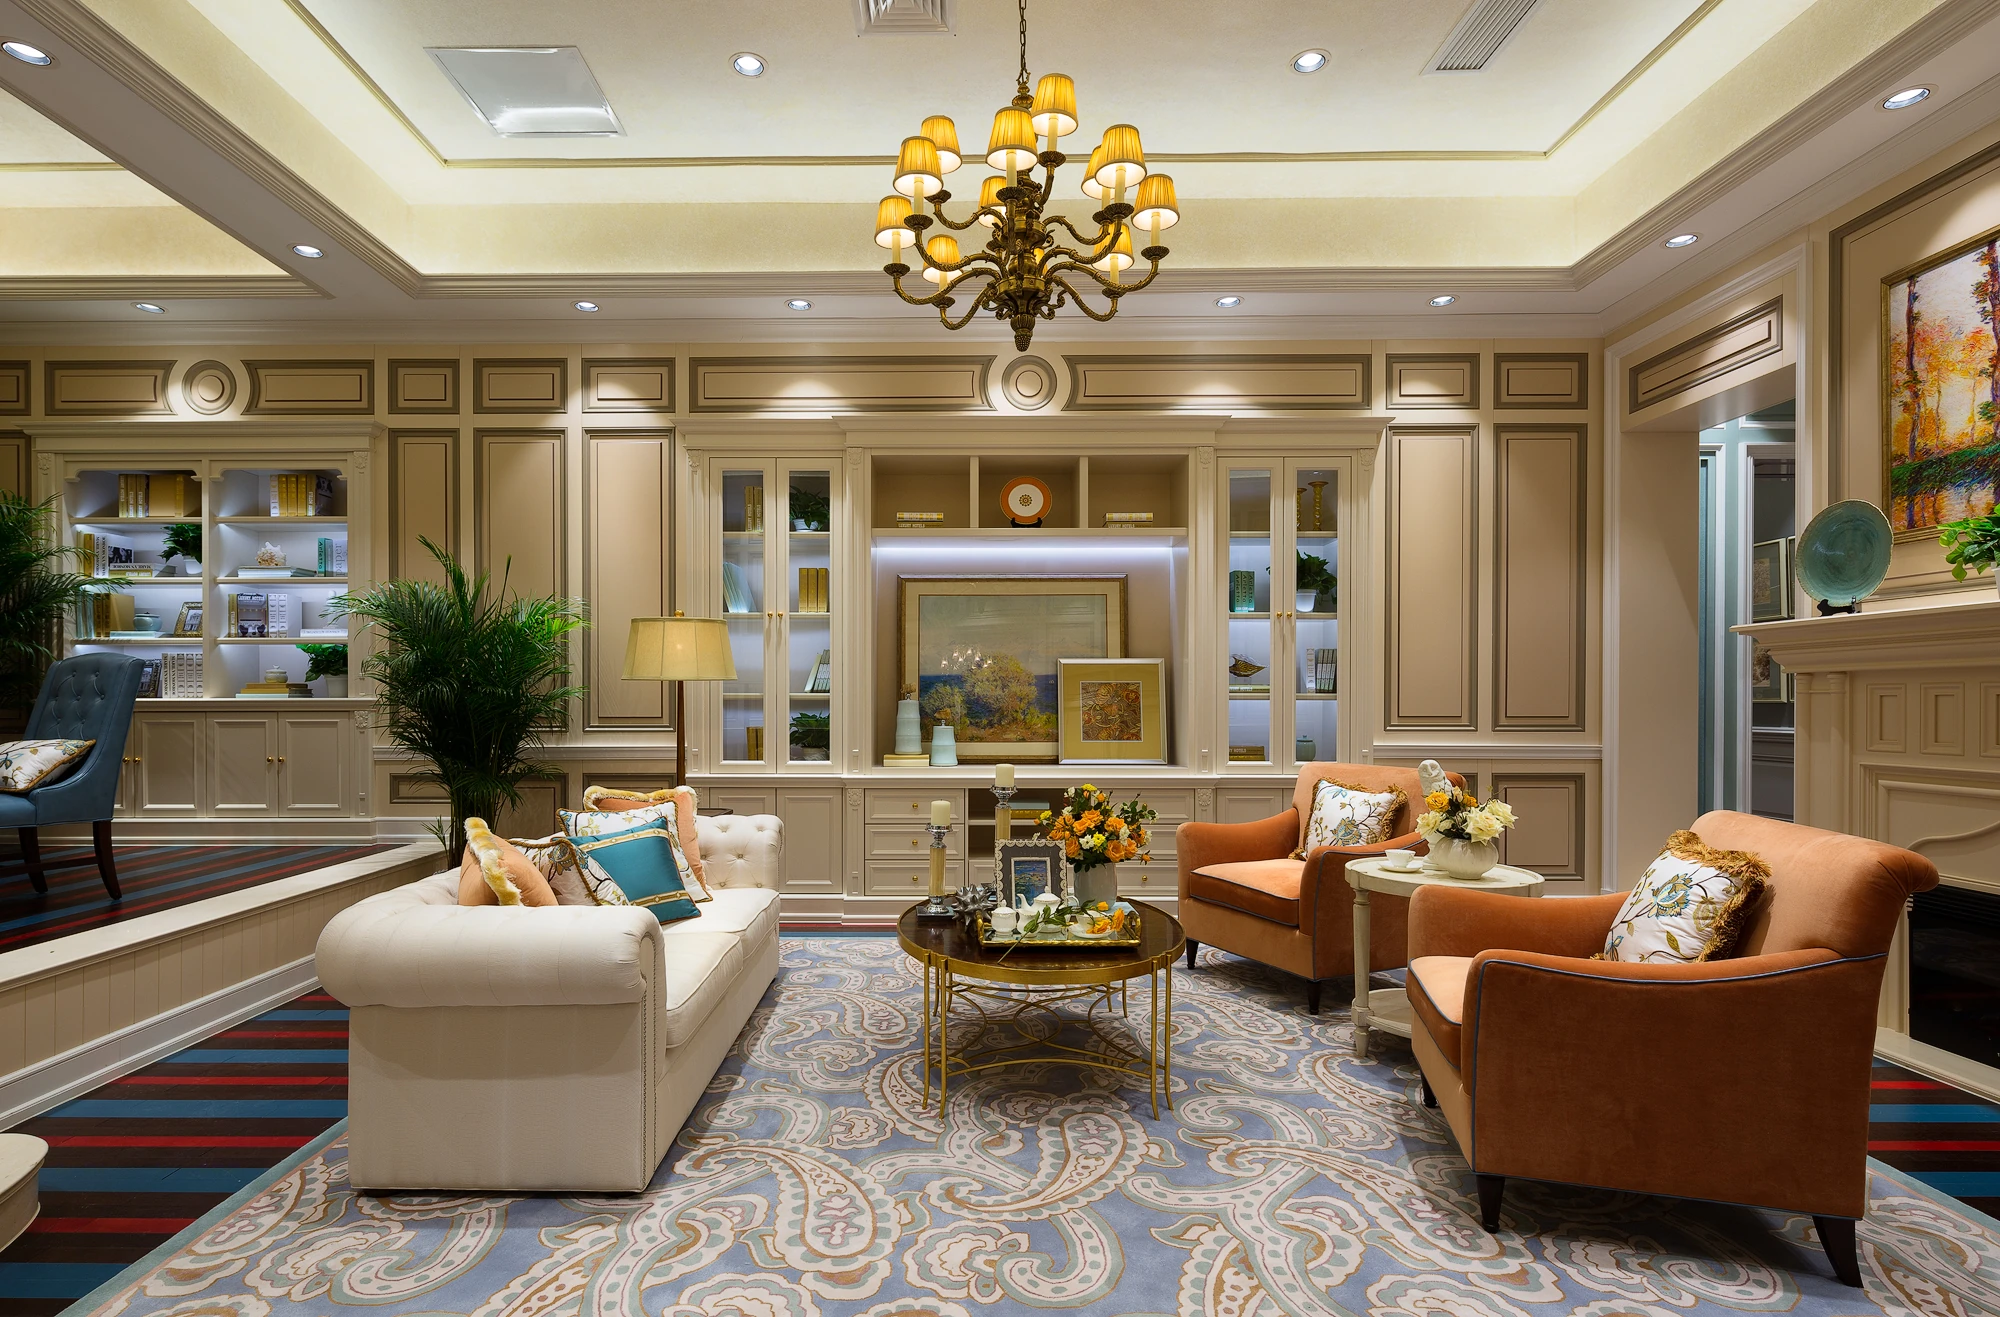
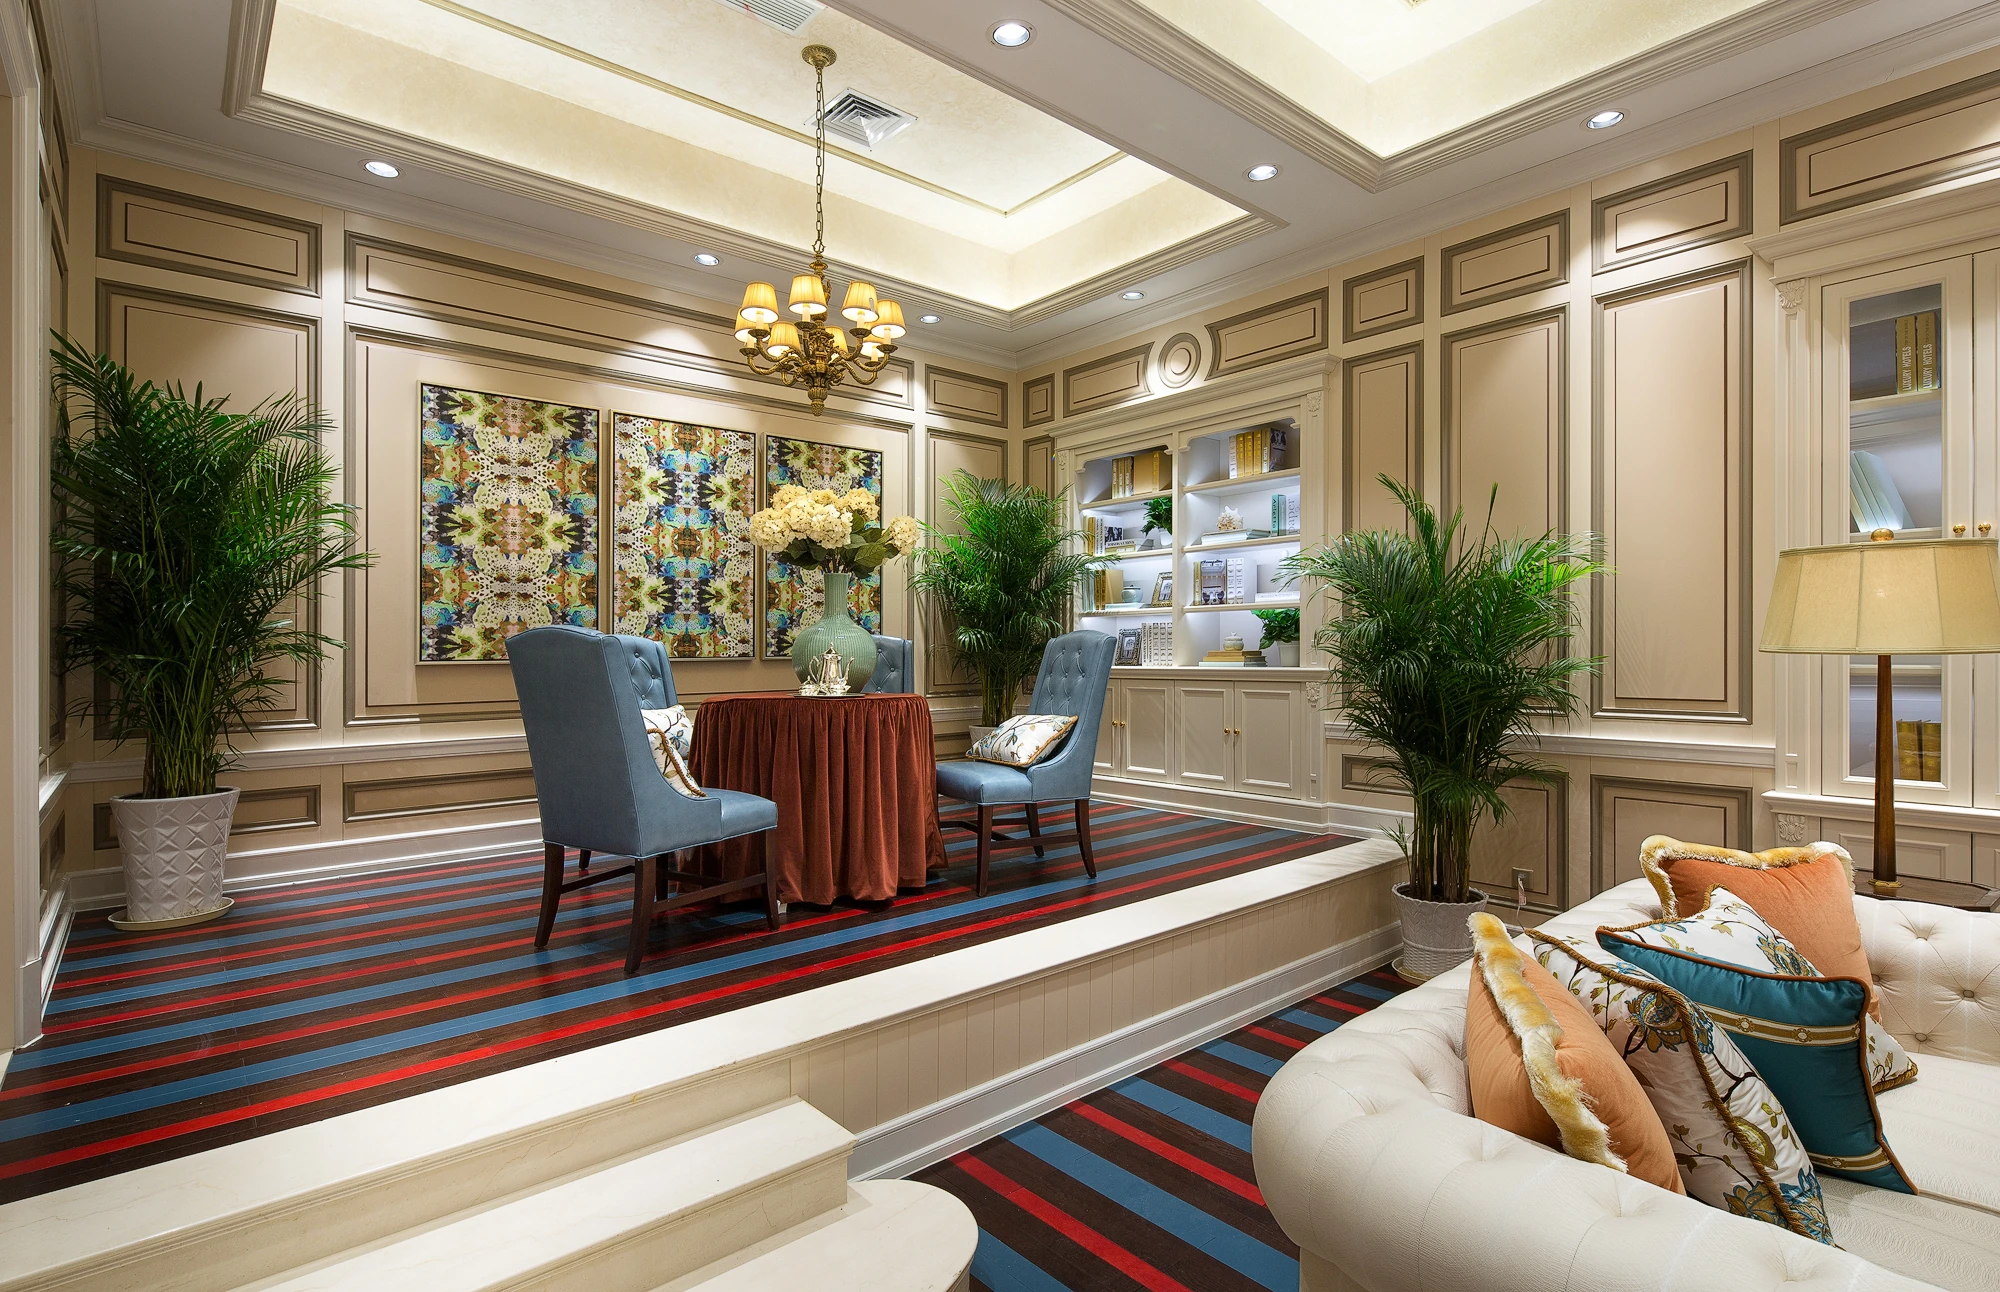
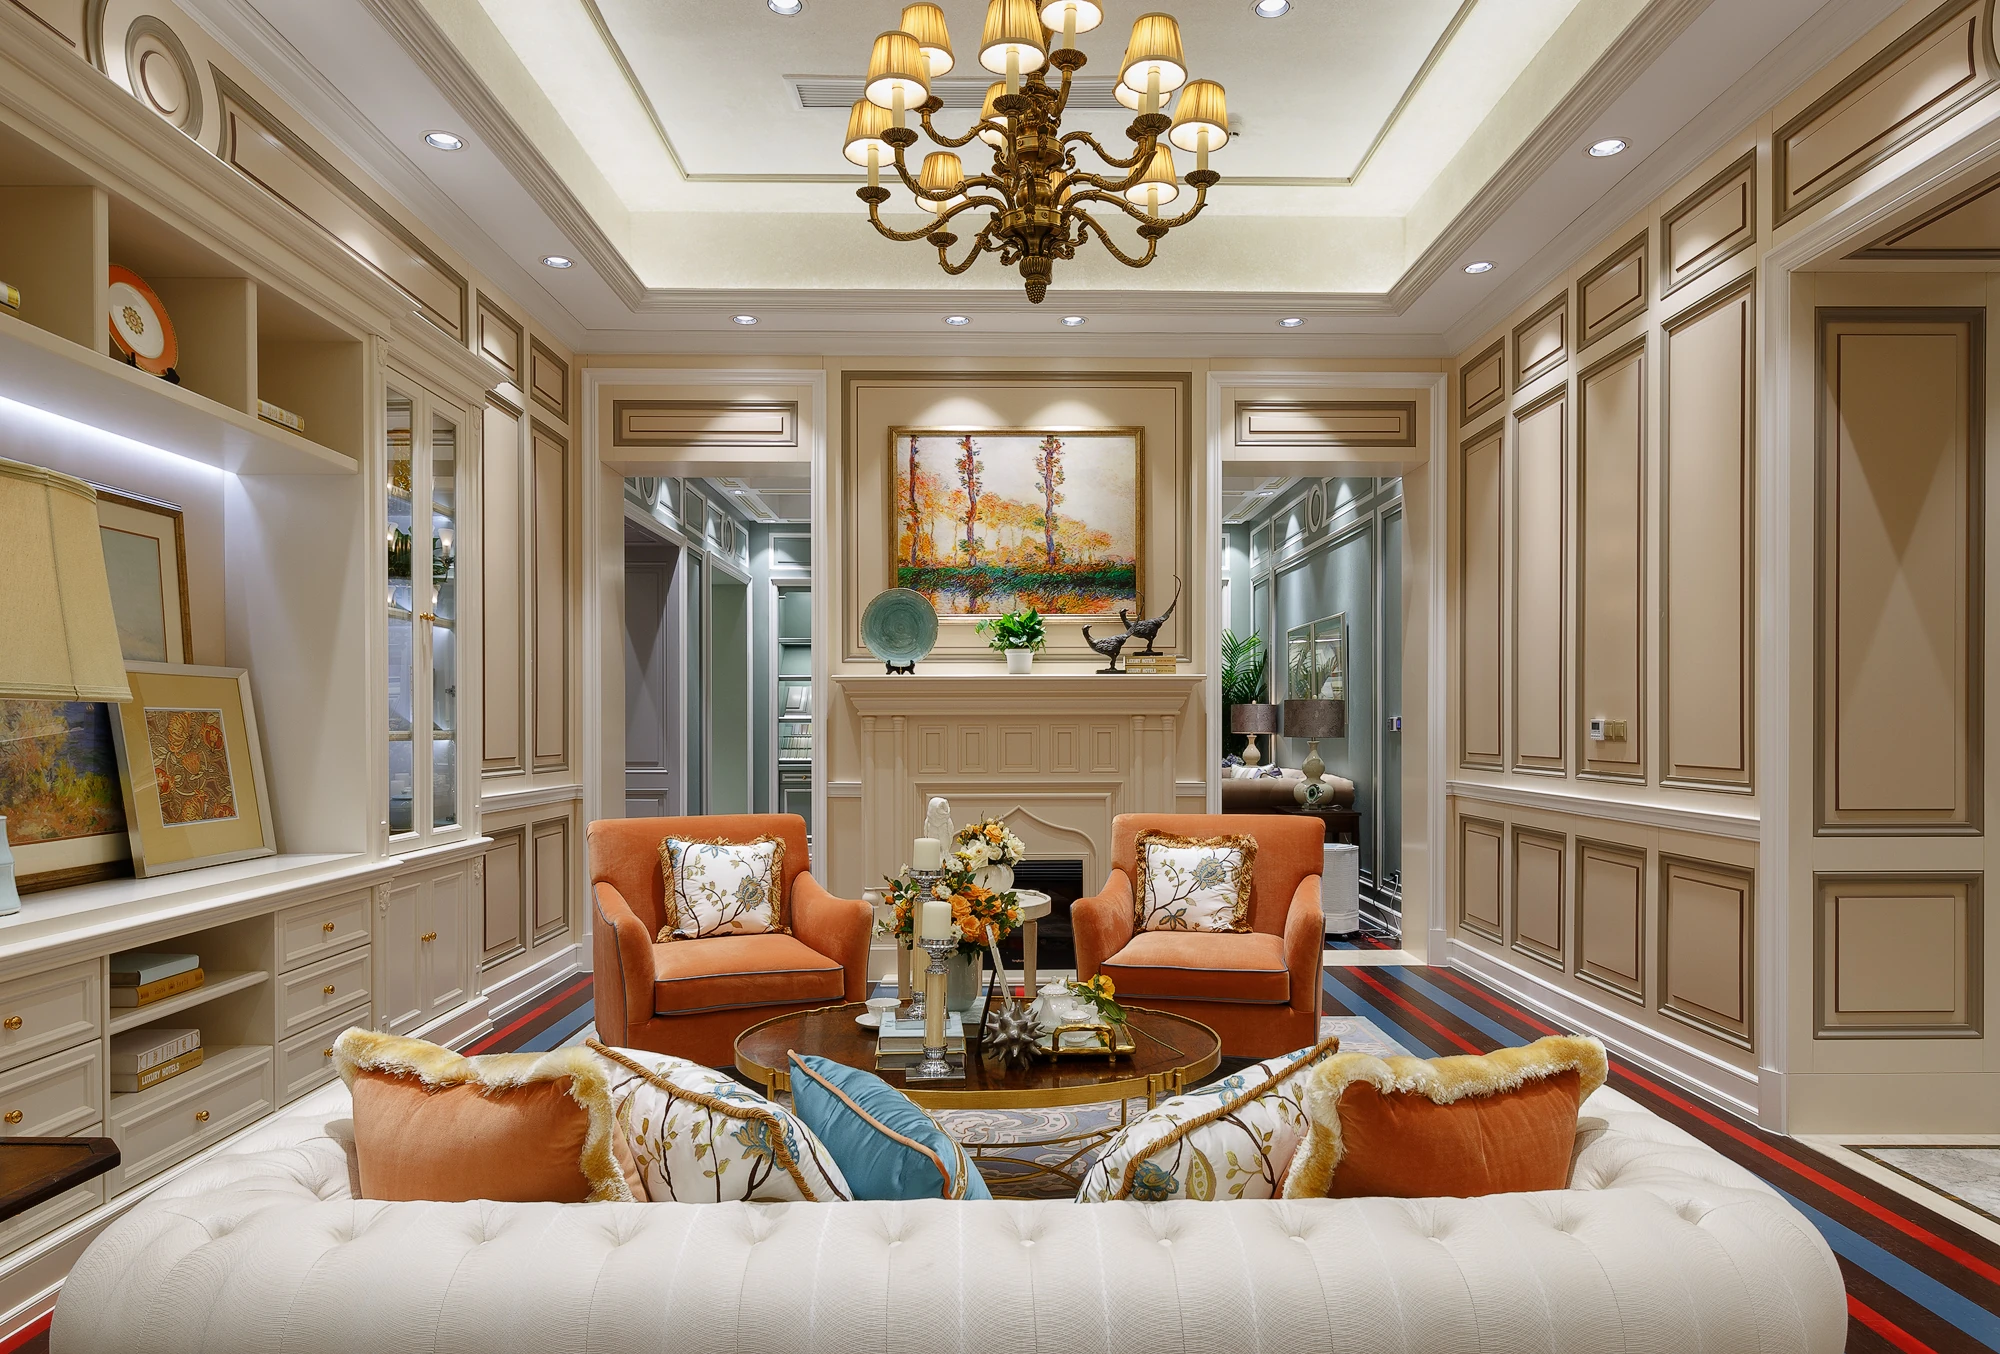
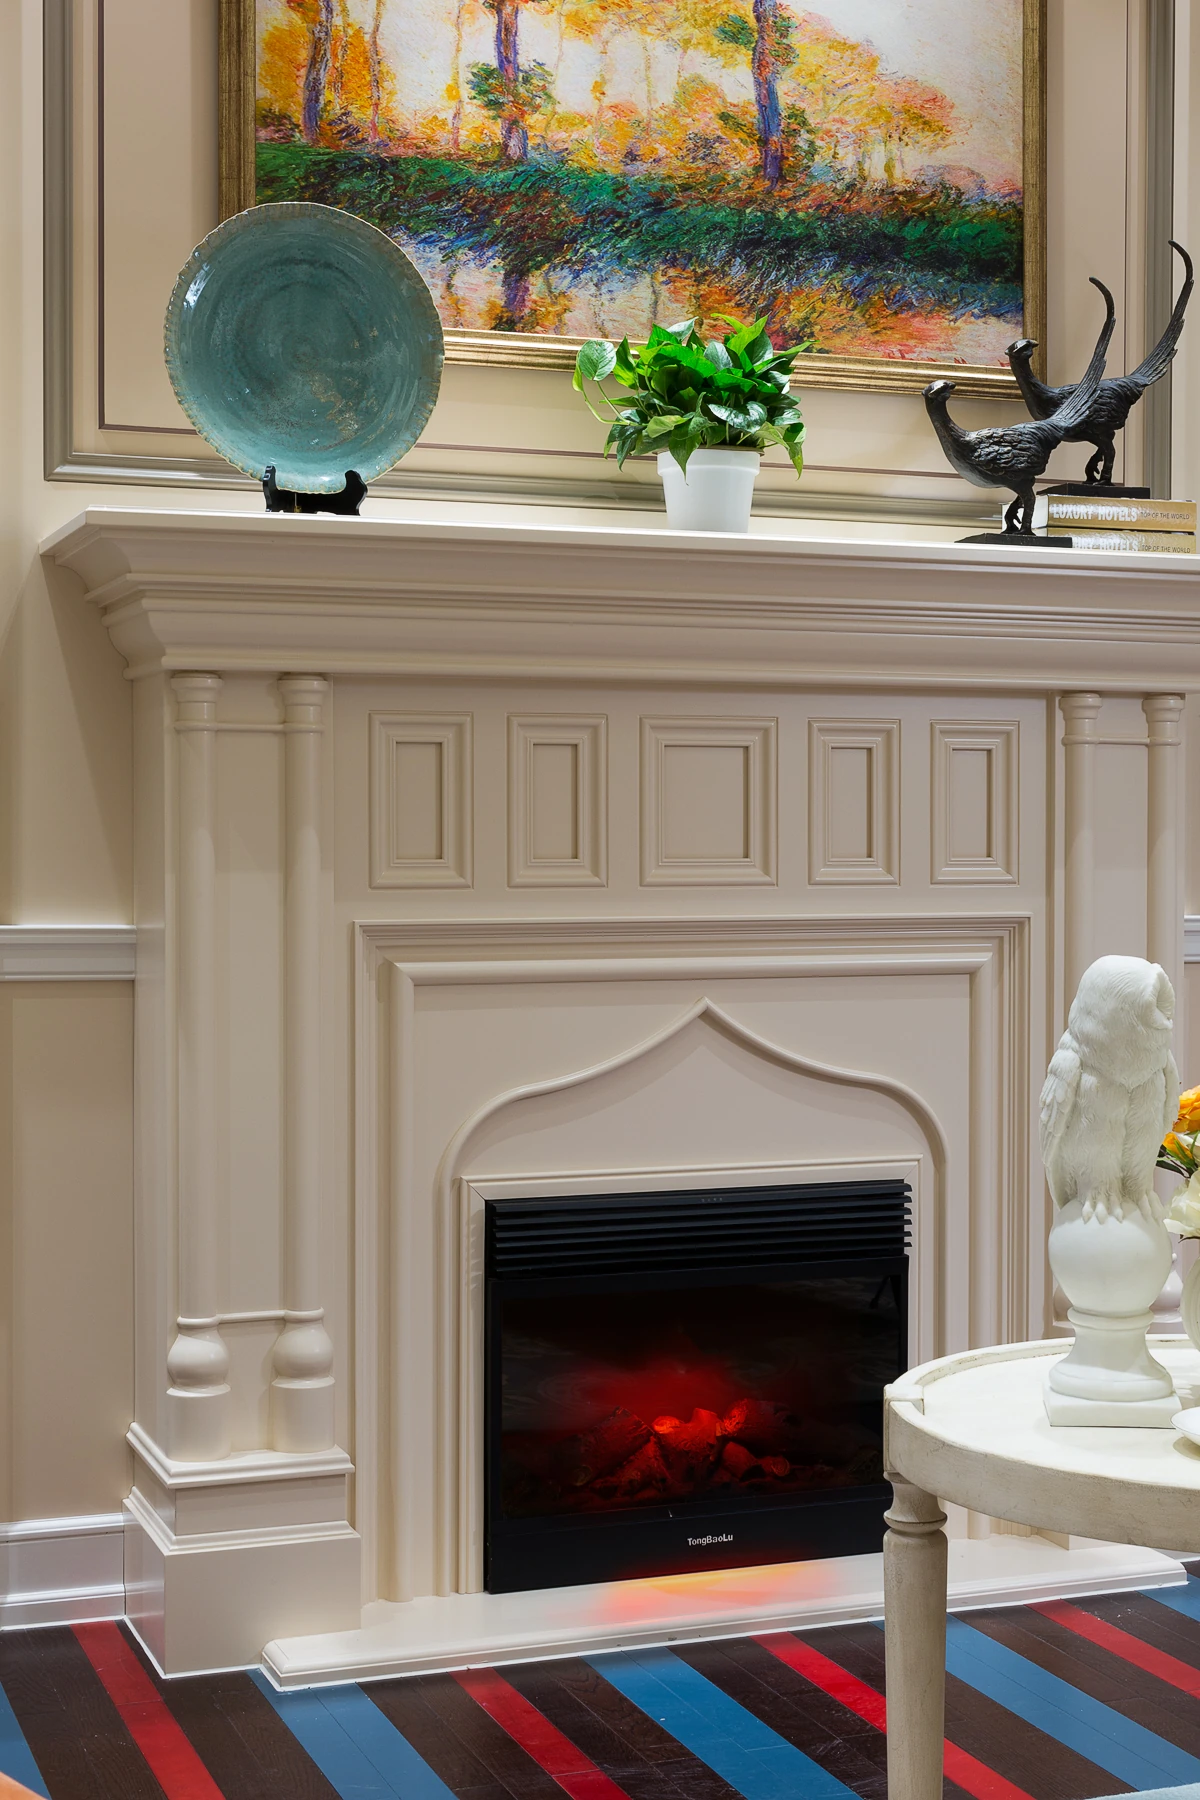
The living-room photographs bring the wall treatment, fitted storage and furniture into one view. A decorative mantel gives one elevation a center, while shelves and panel divisions organize the edges. The smaller photograph of the mantel is useful because it reveals the scale of a profile against the wider wall field. Review both scales when making a selection. A large room composition can become visually crowded if every cabinet bay, wall frame and decorative element competes for attention. Establish the main axis, the storage task and the furniture arrangement first; then use the detail photographs to discuss depth, finish and edge relationships.
Dining room: carry the line through the opening.
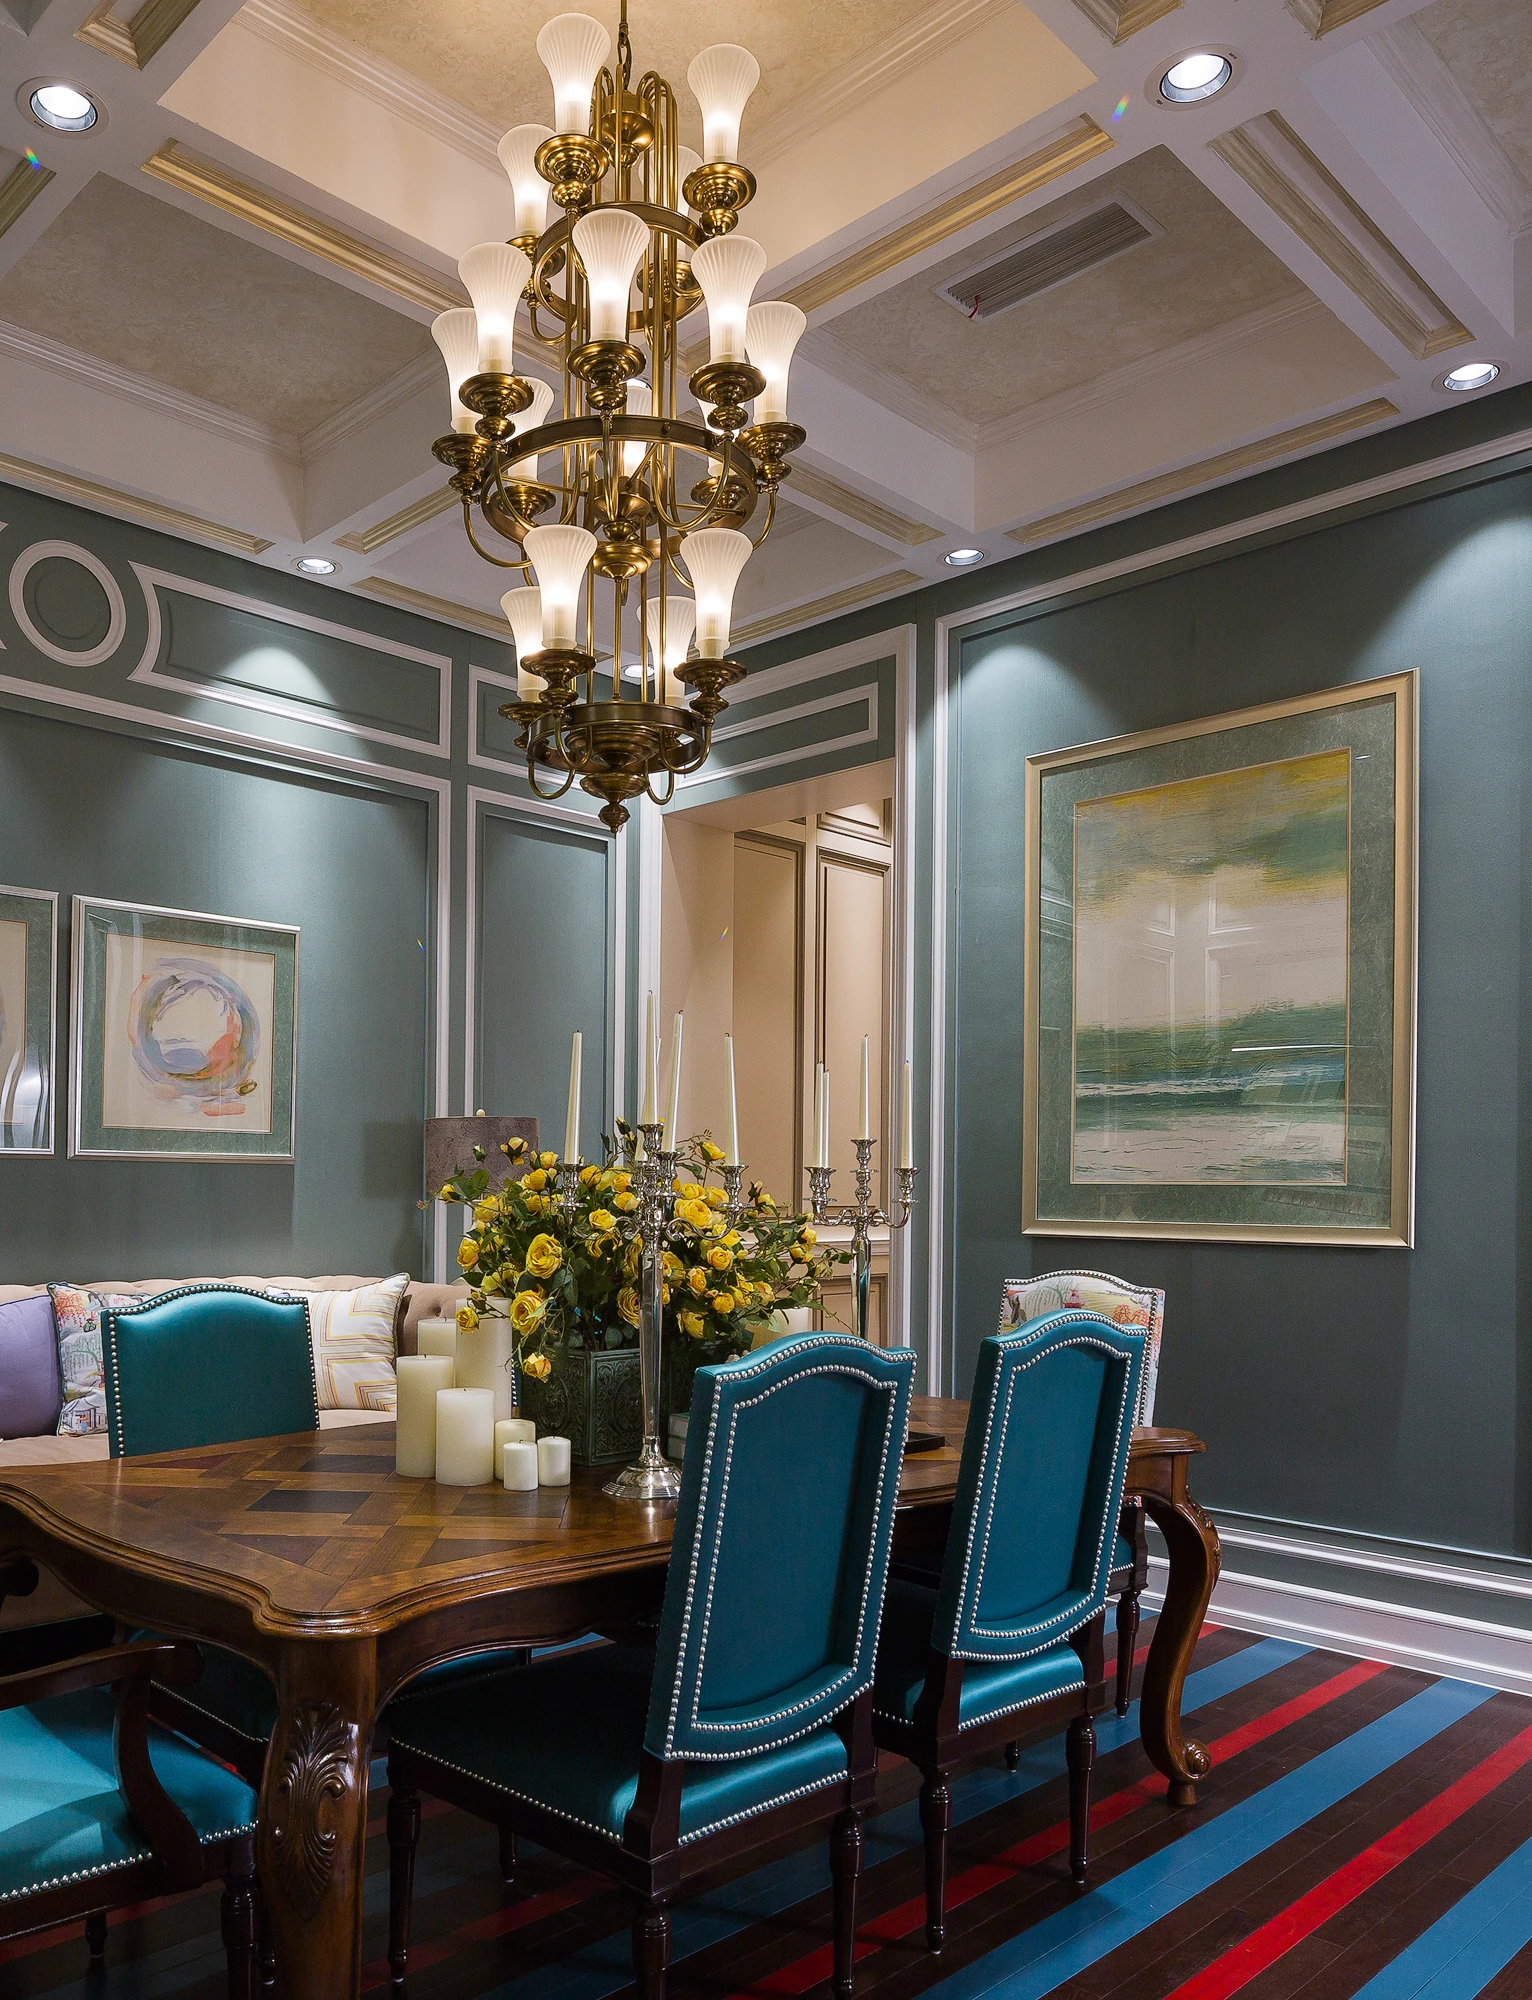
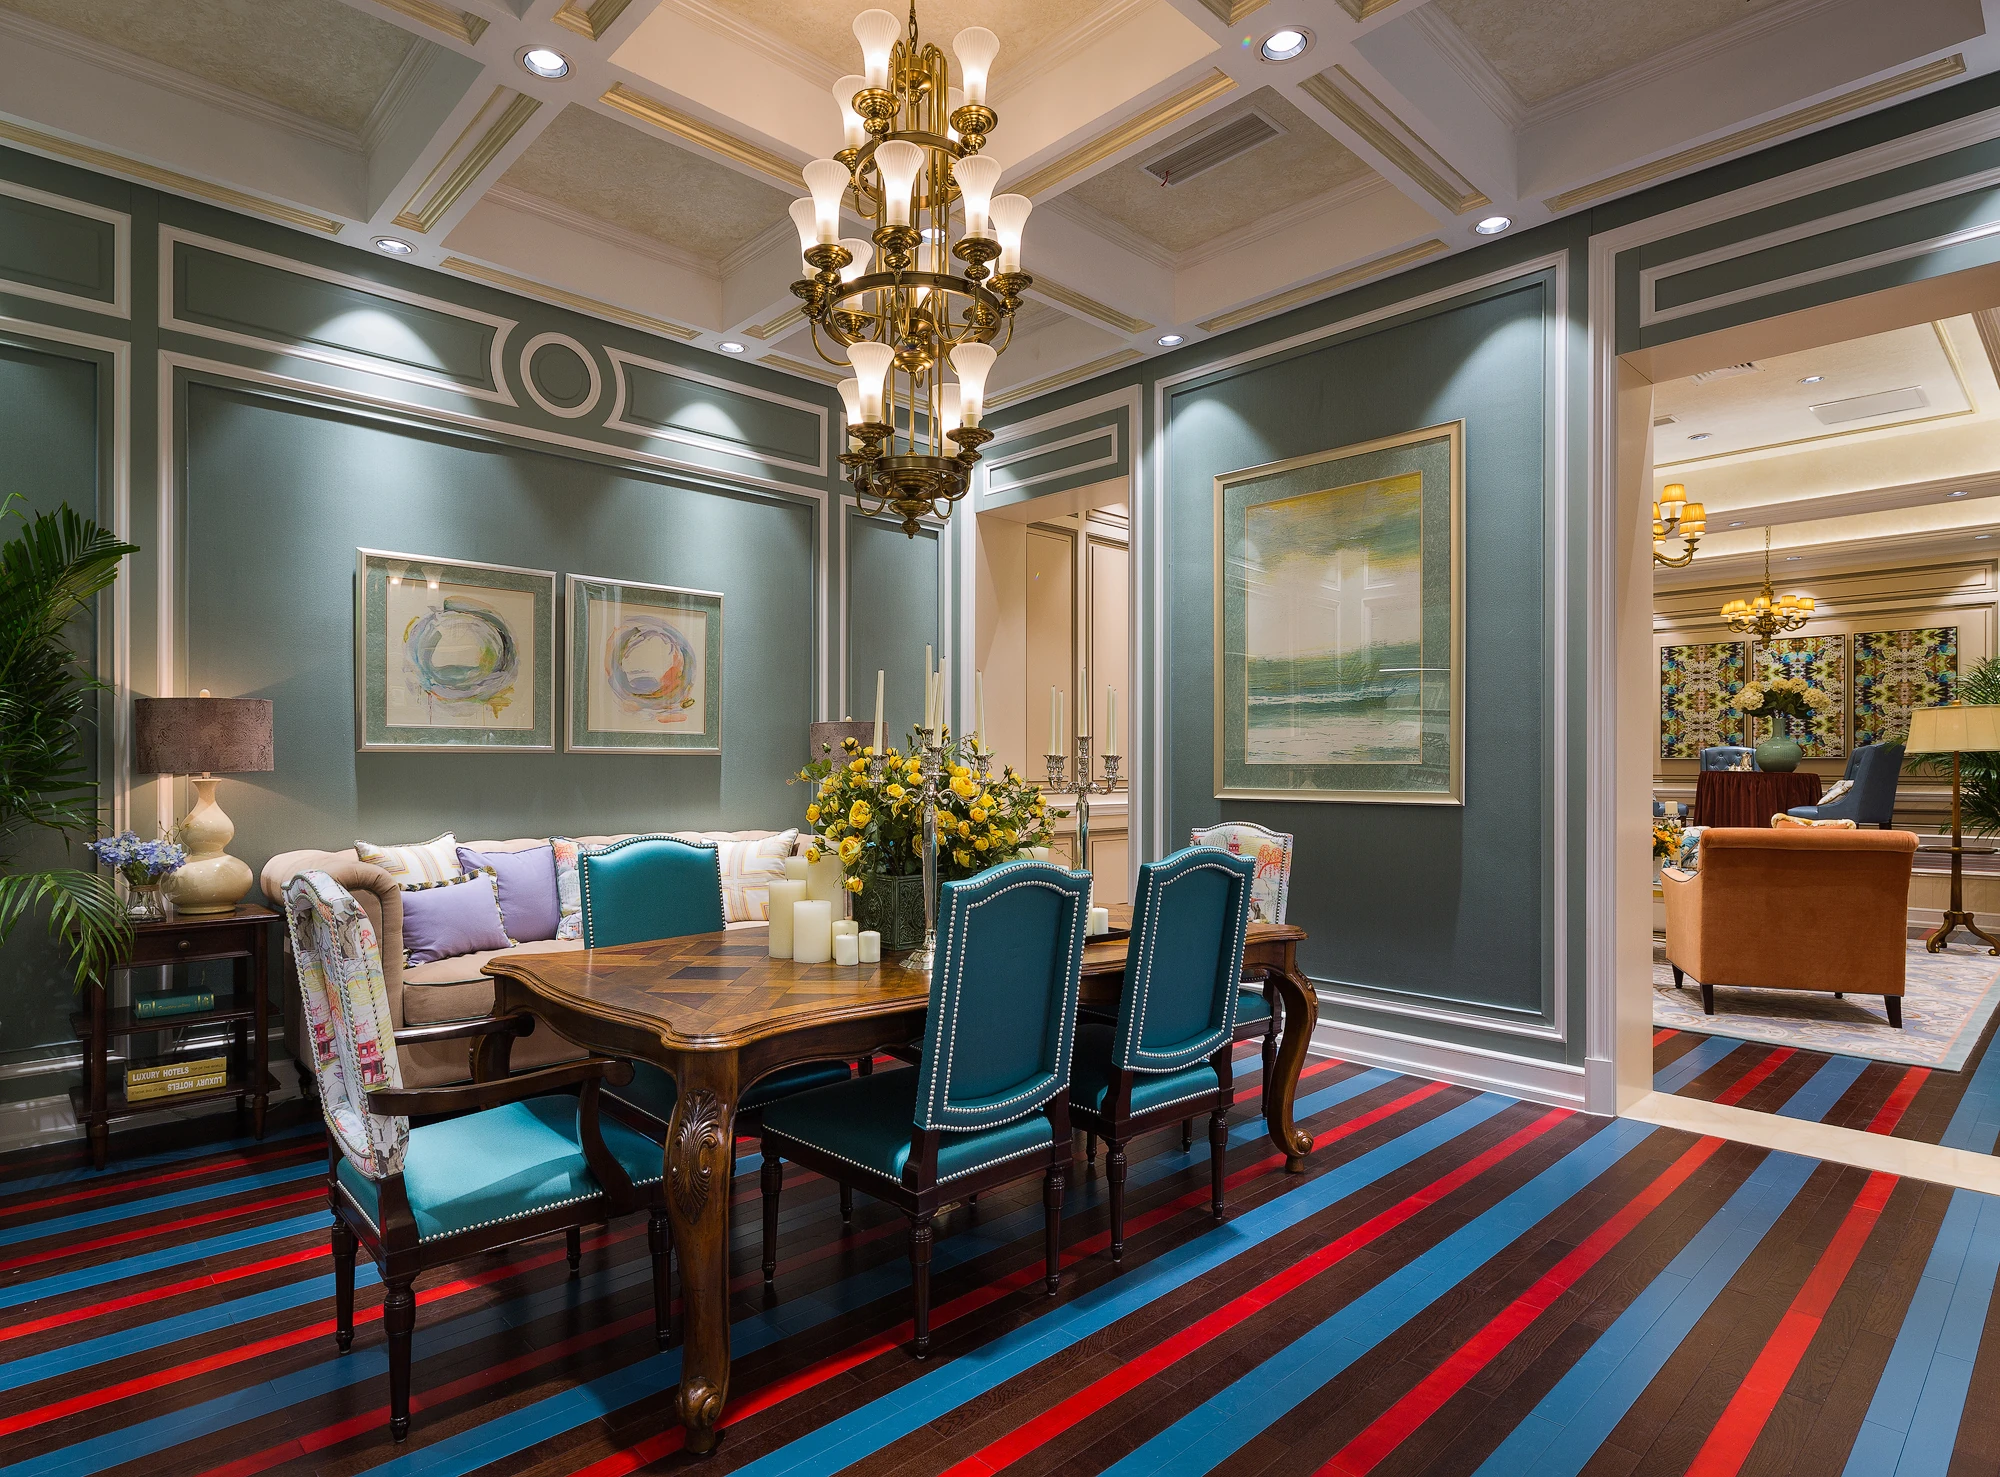
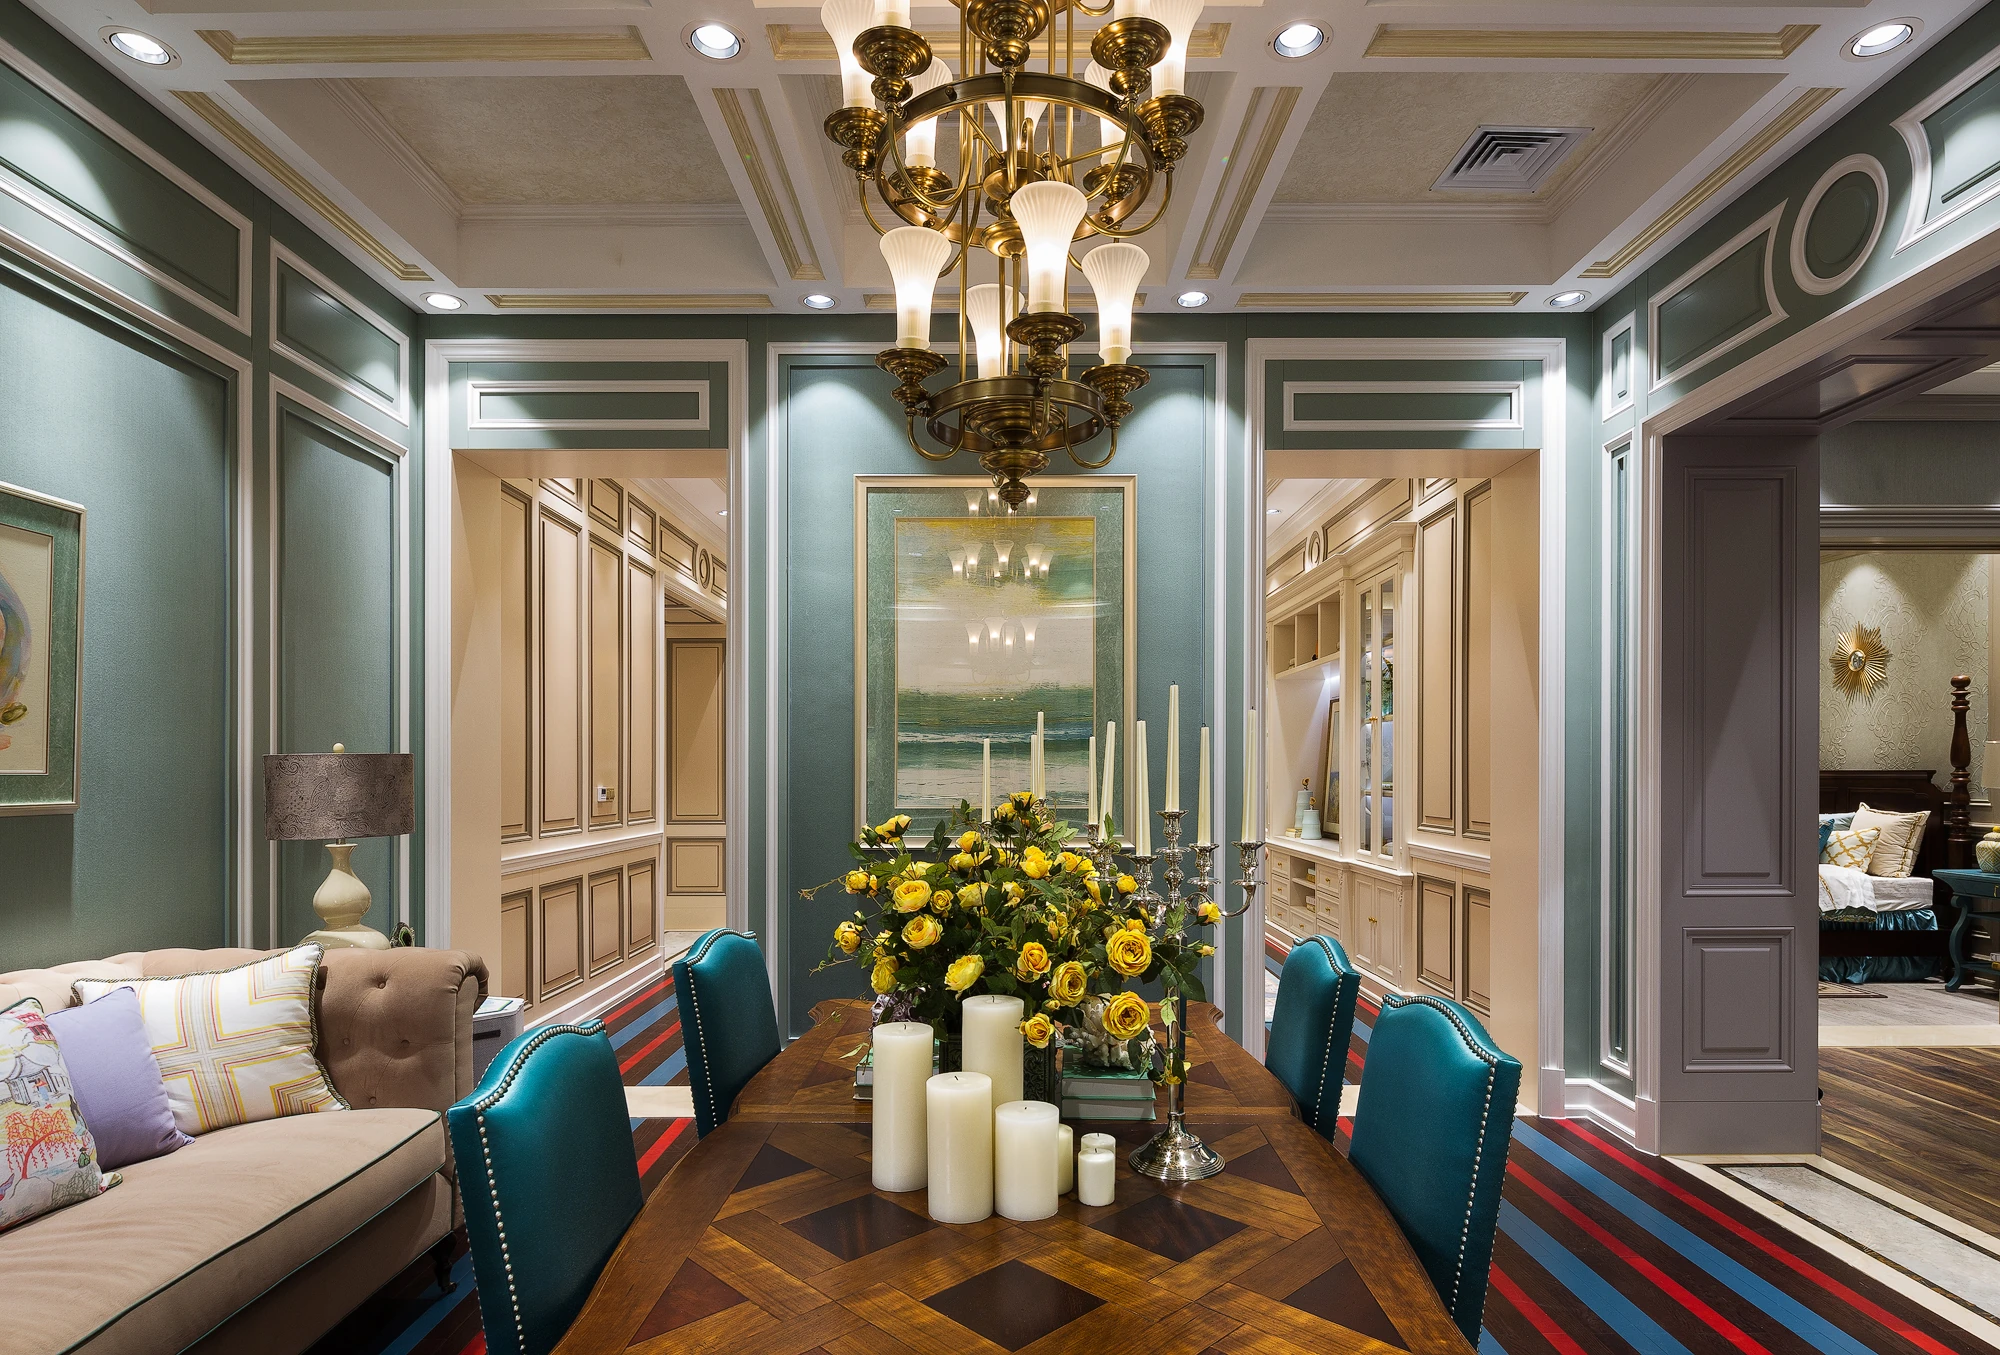
The blue-gray dining room is connected to adjacent settings by deep framed doorways. A straight-on wall study is therefore only part of the brief. The long views along the table show what someone sees beyond the room and how the surrounding frames compete with lighting and furniture. On a new project, put the dining table, door openings and principal wall composition on the same drawings. Confirm where paneling ends behind fitted cabinetry, how baseboard crosses a threshold and which finish belongs on the reveal. Color references from these photographs should be reviewed with physical samples under the intended lighting.
Private rooms: keep the appearance, change the storage task.
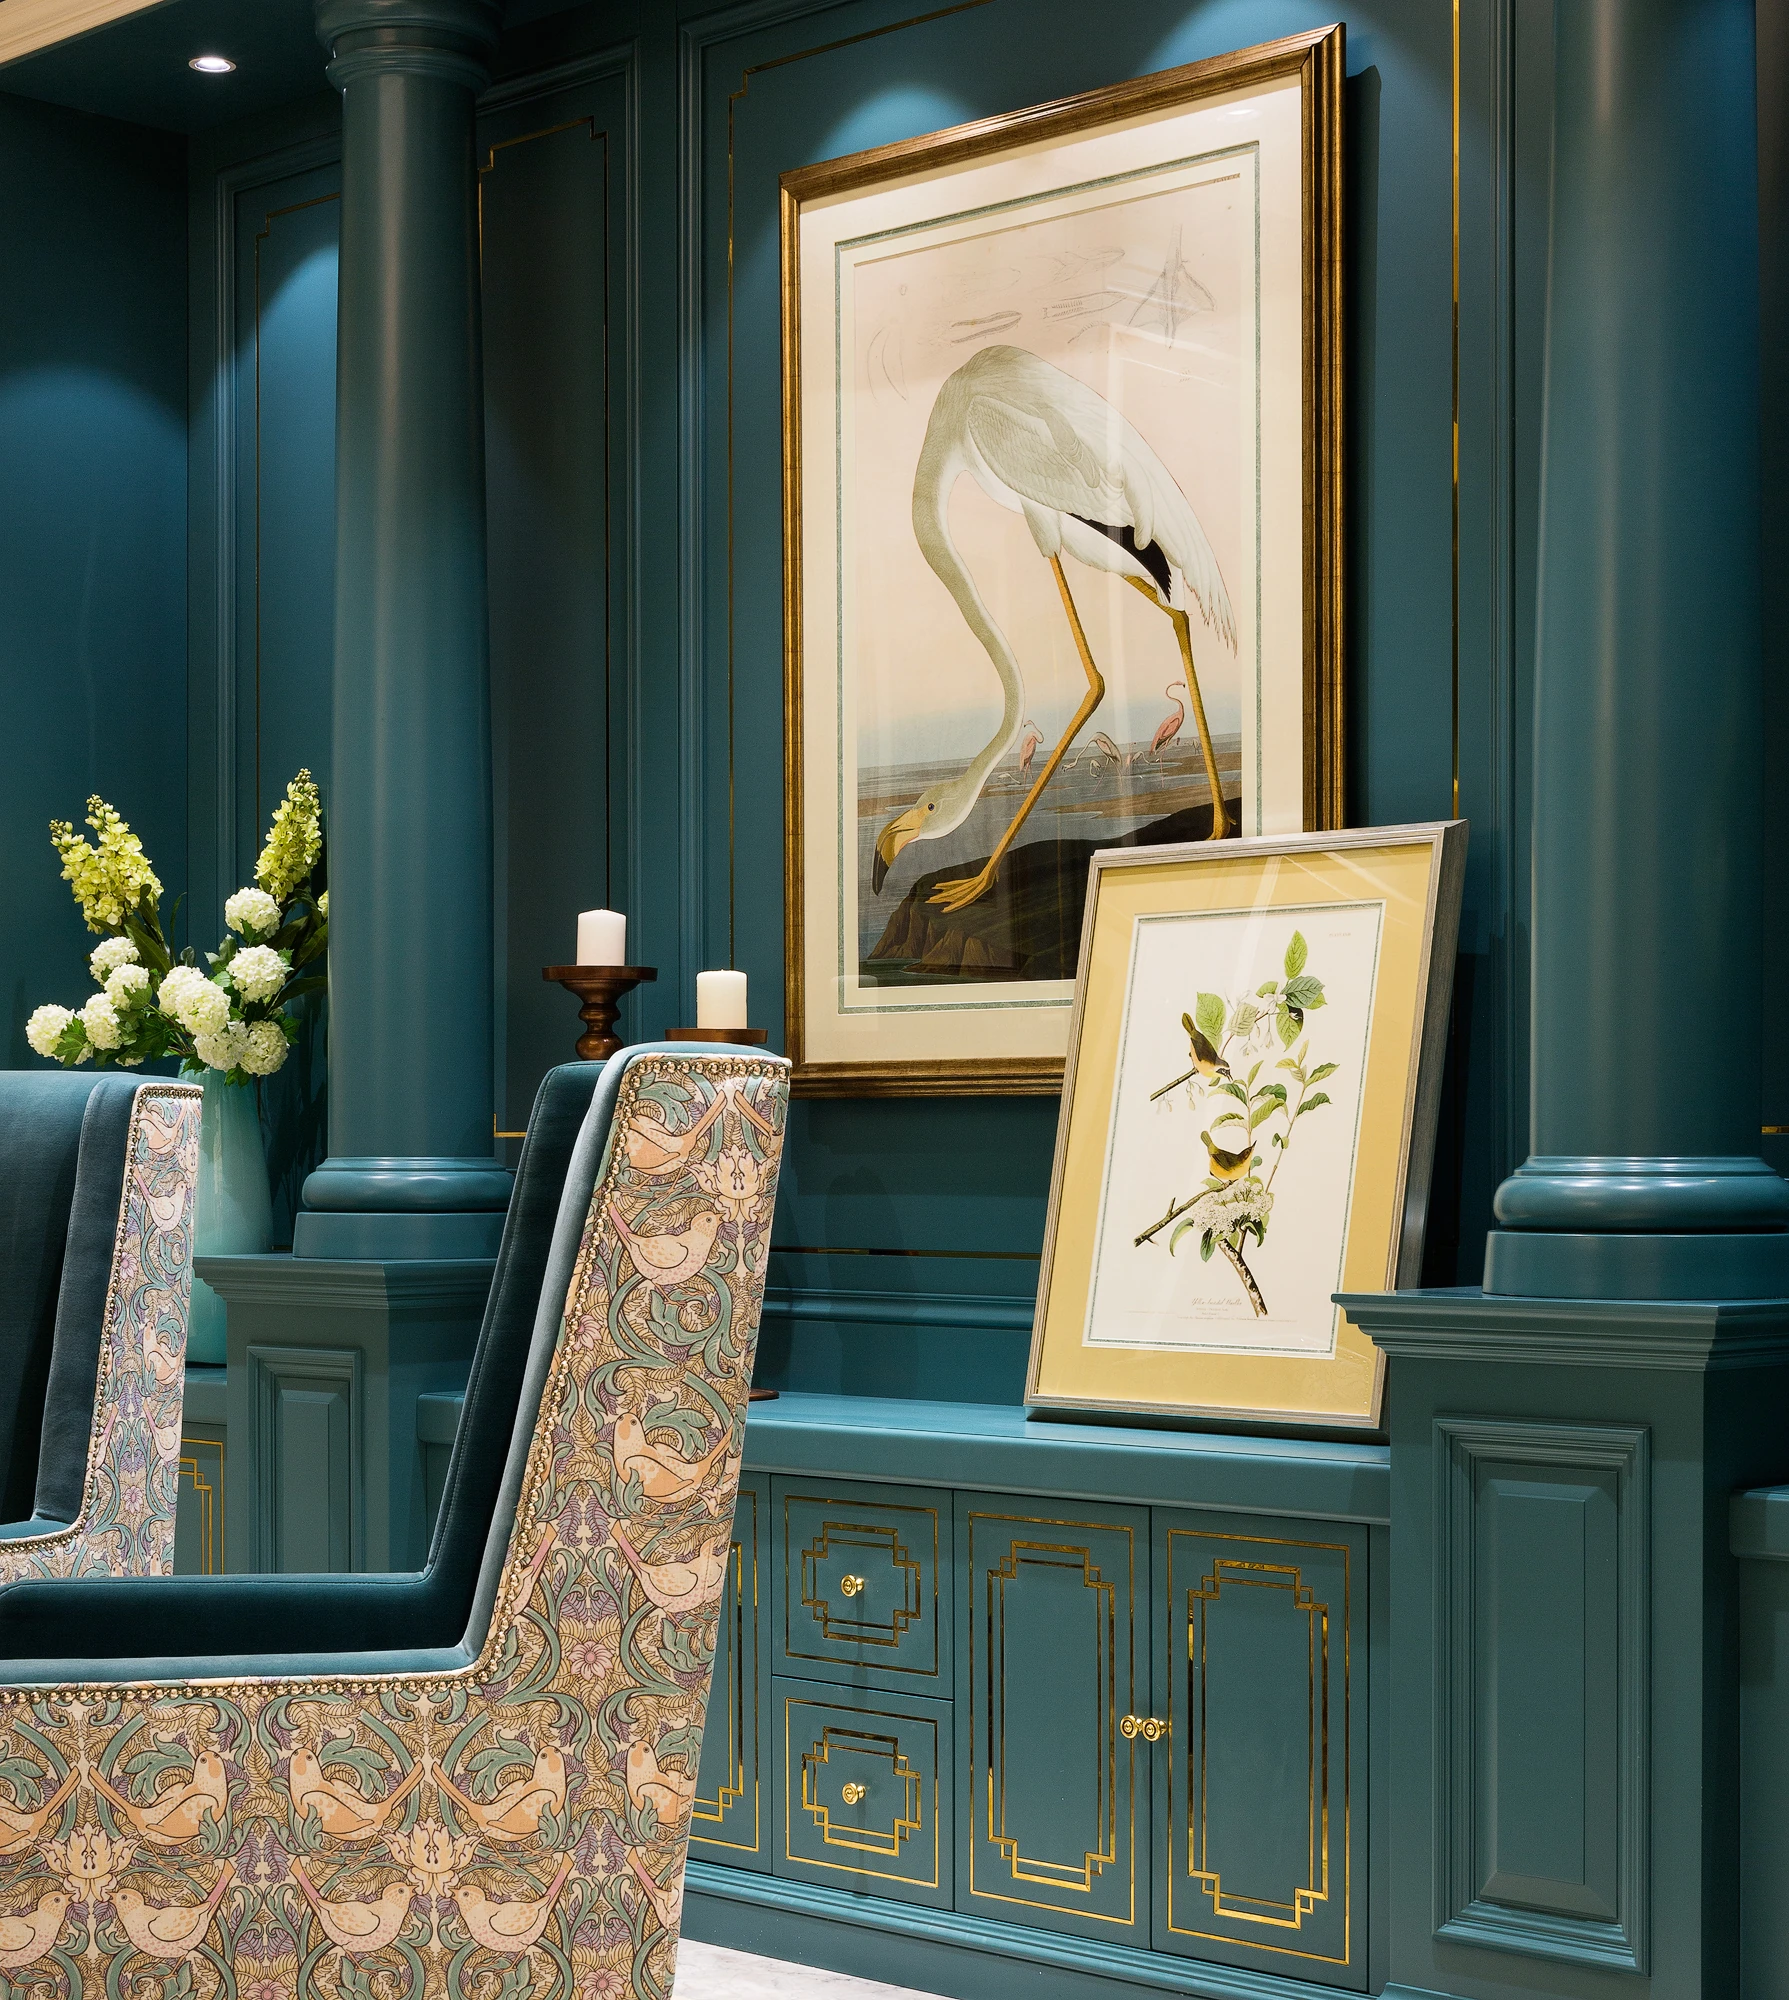
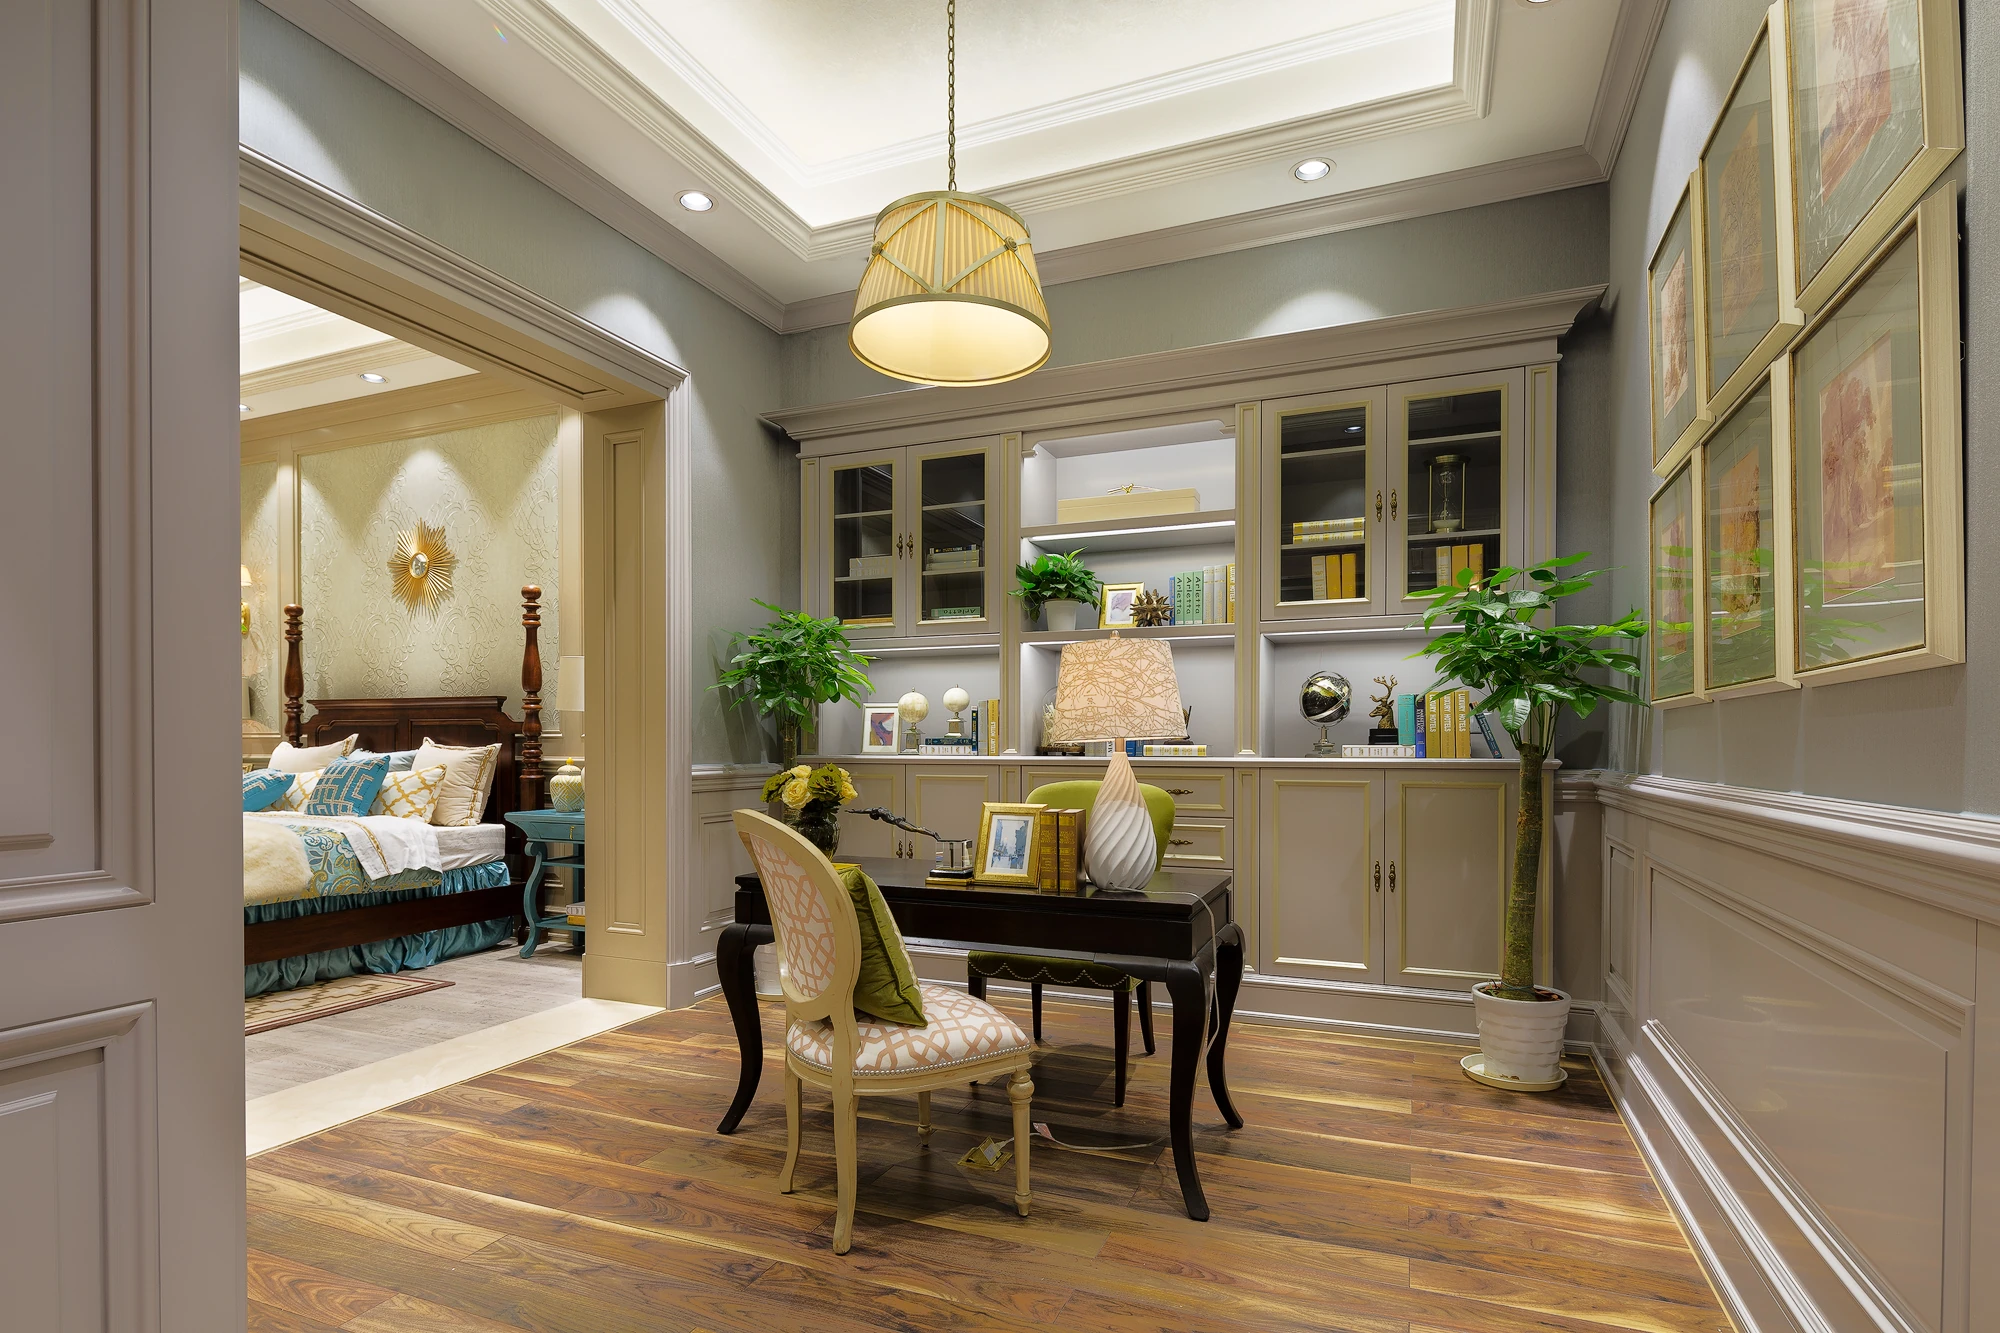
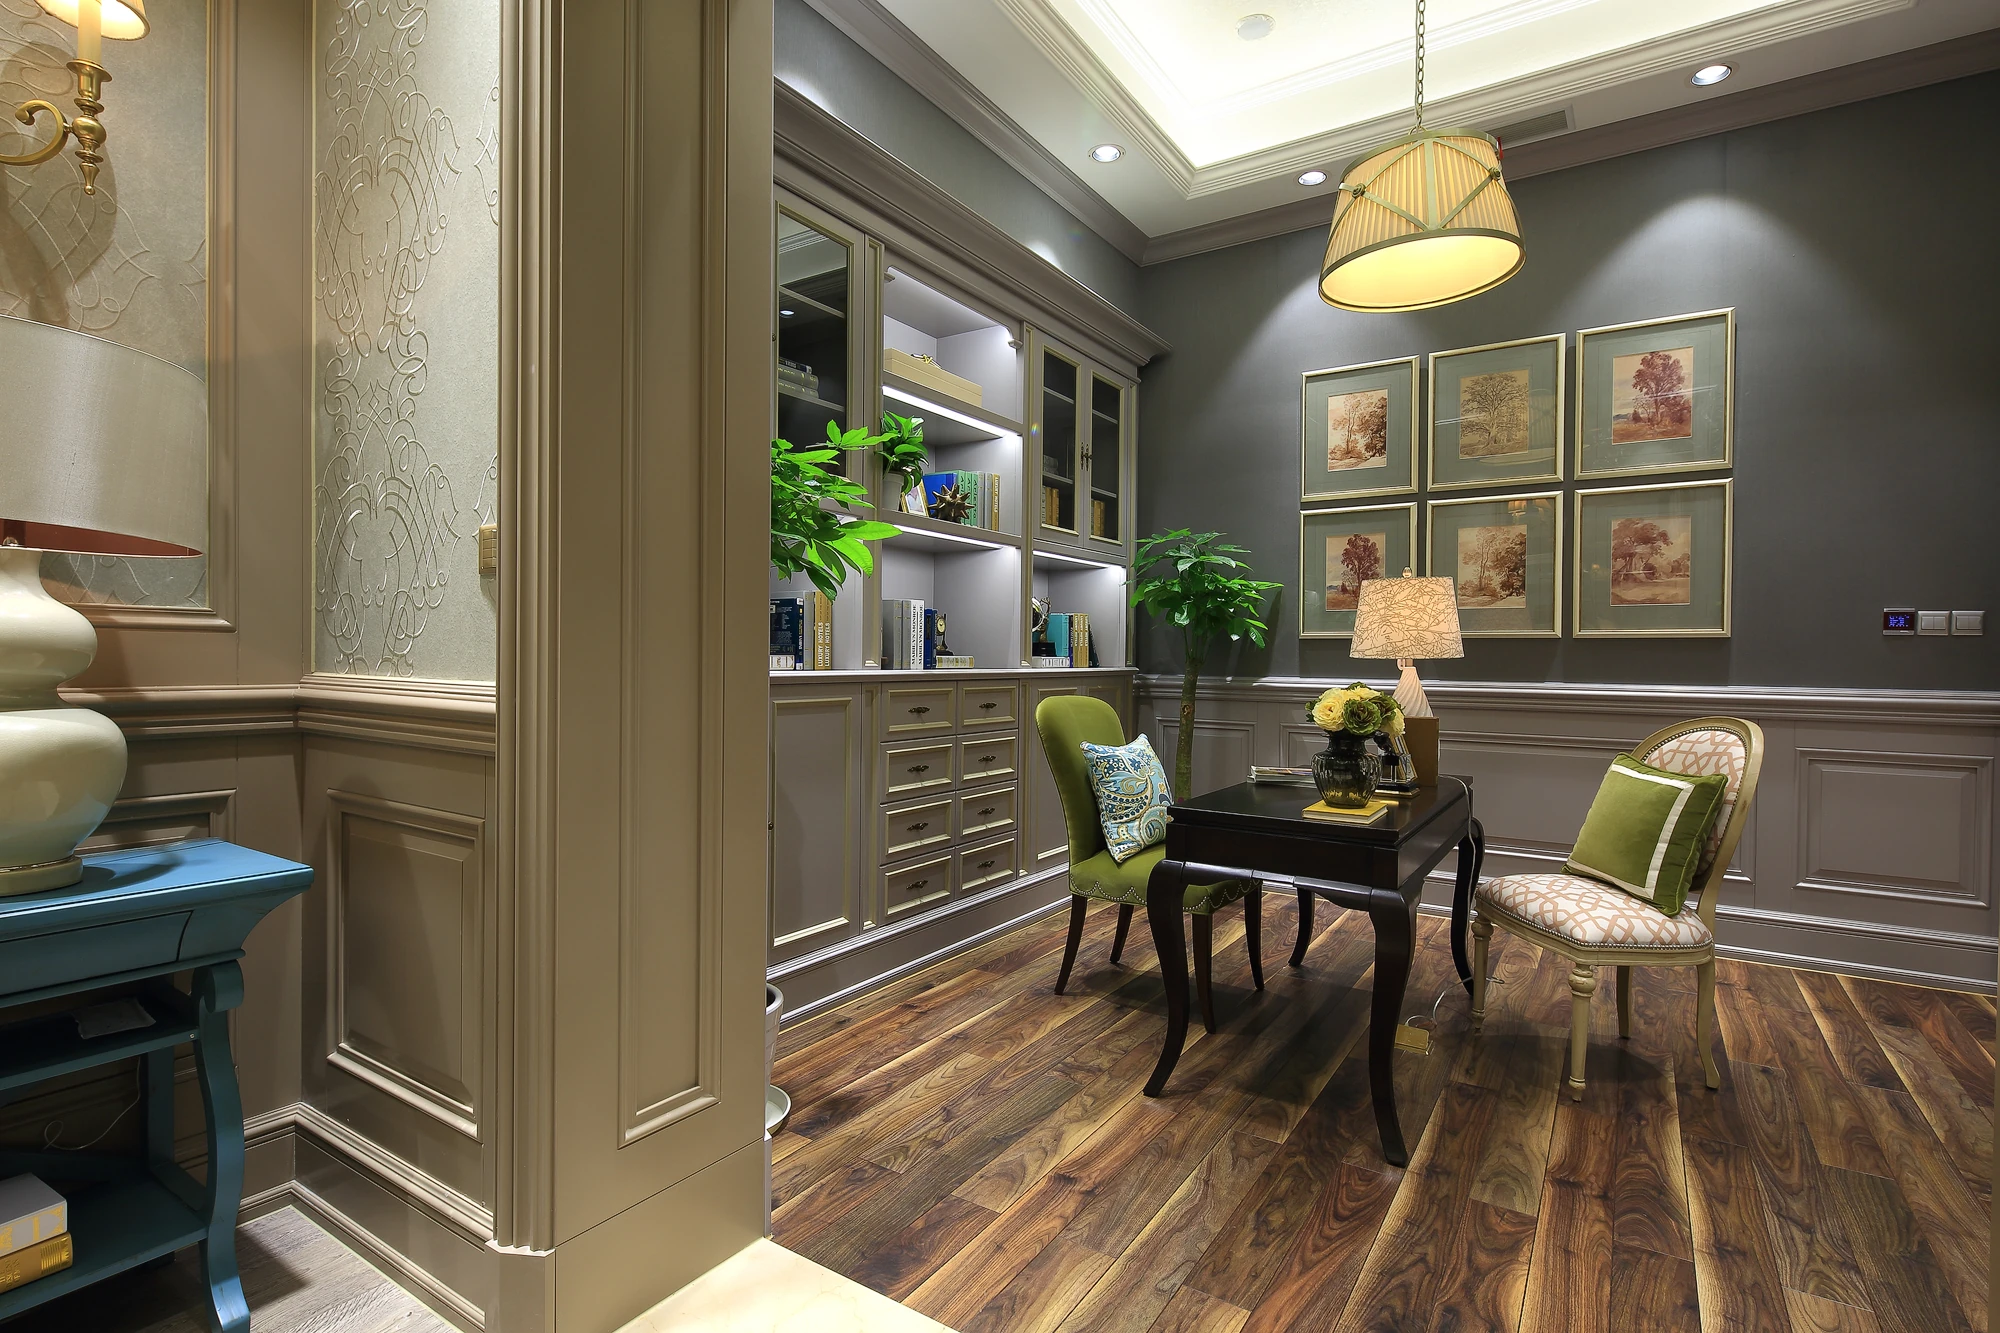
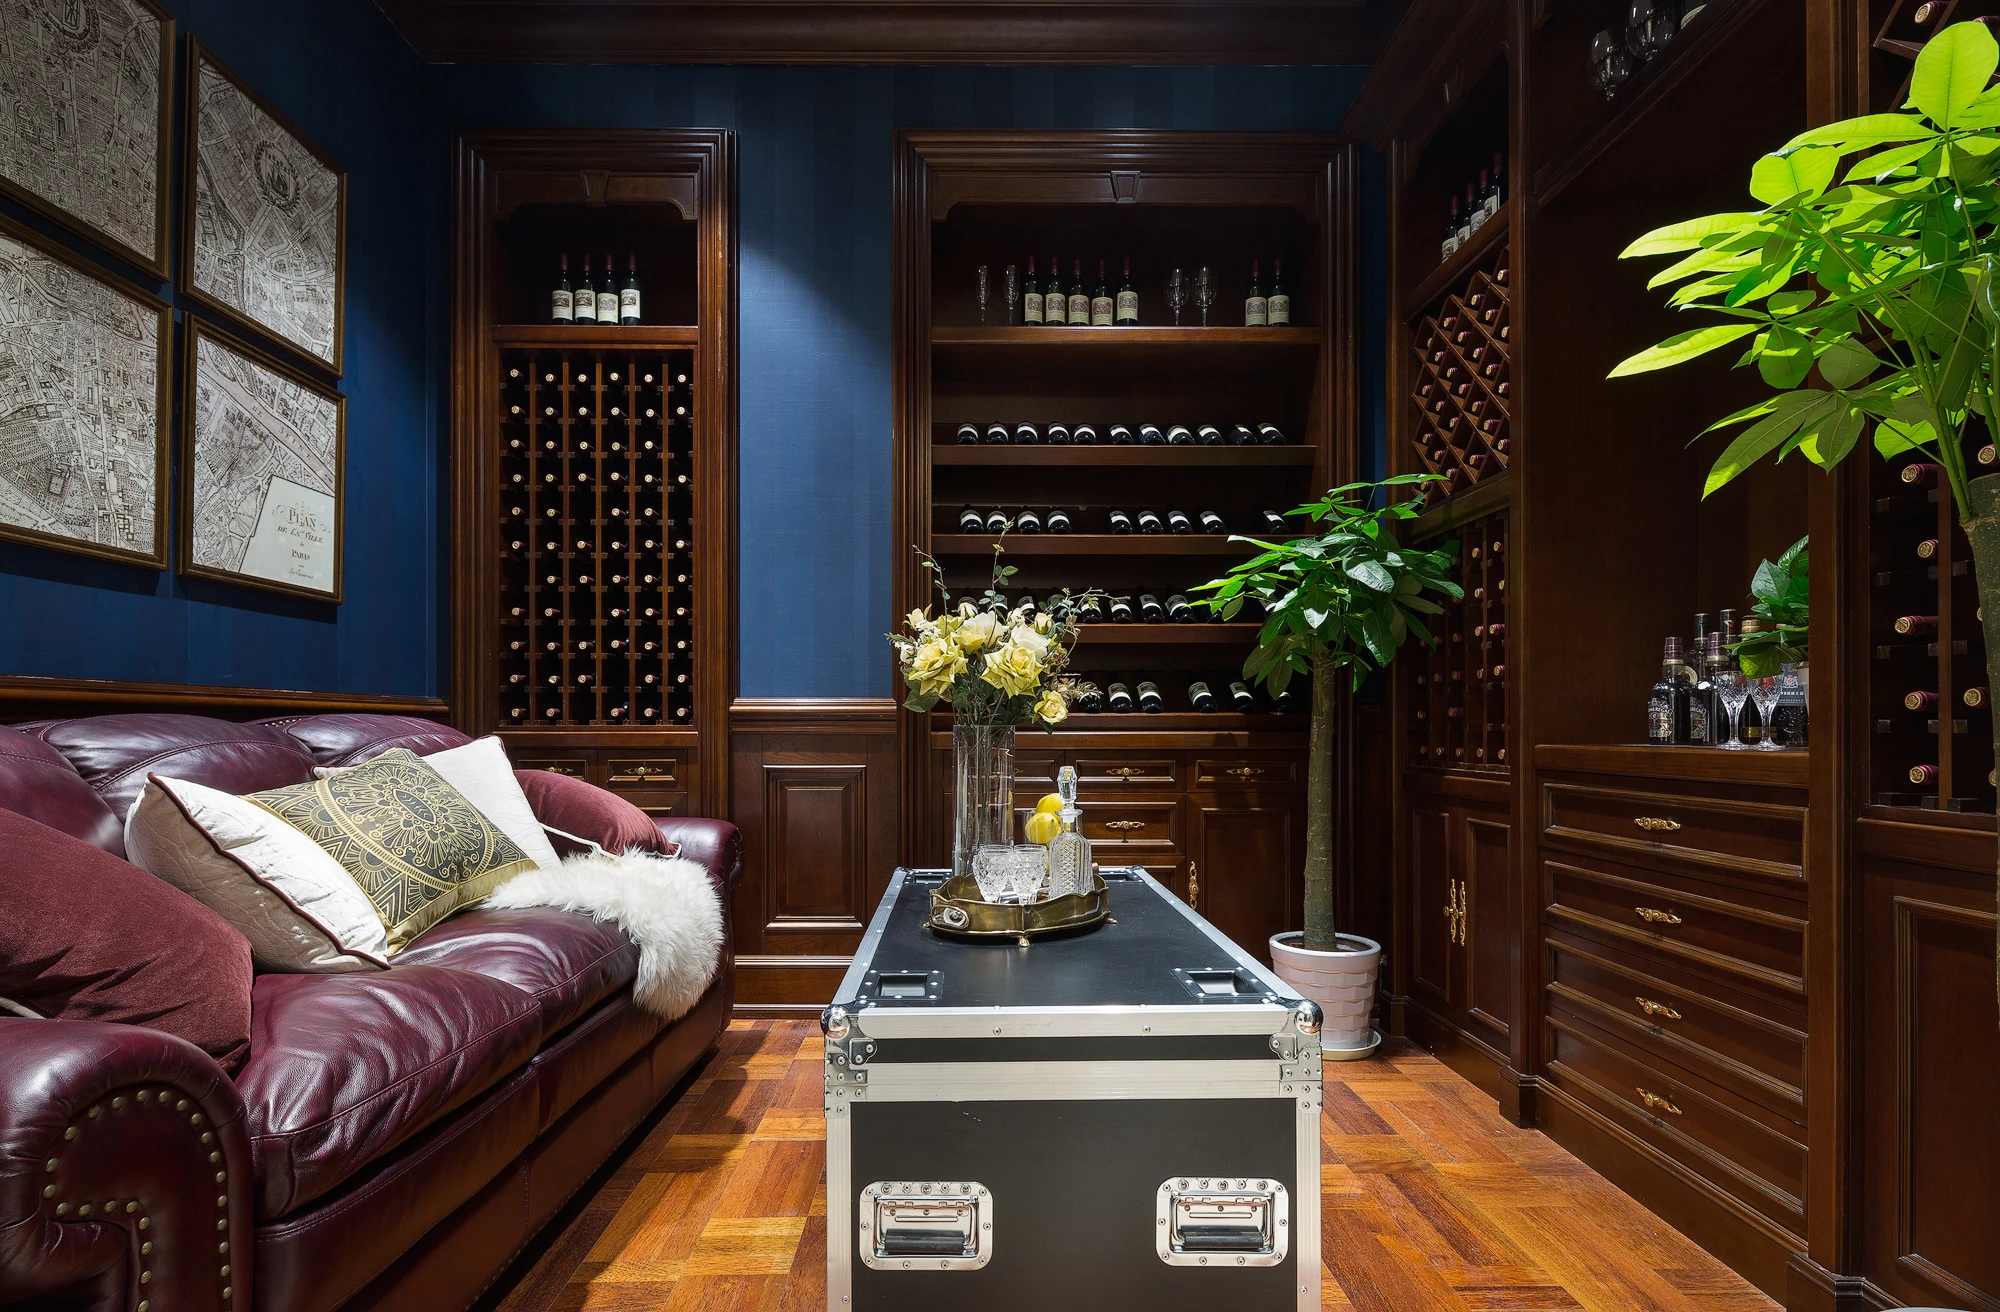
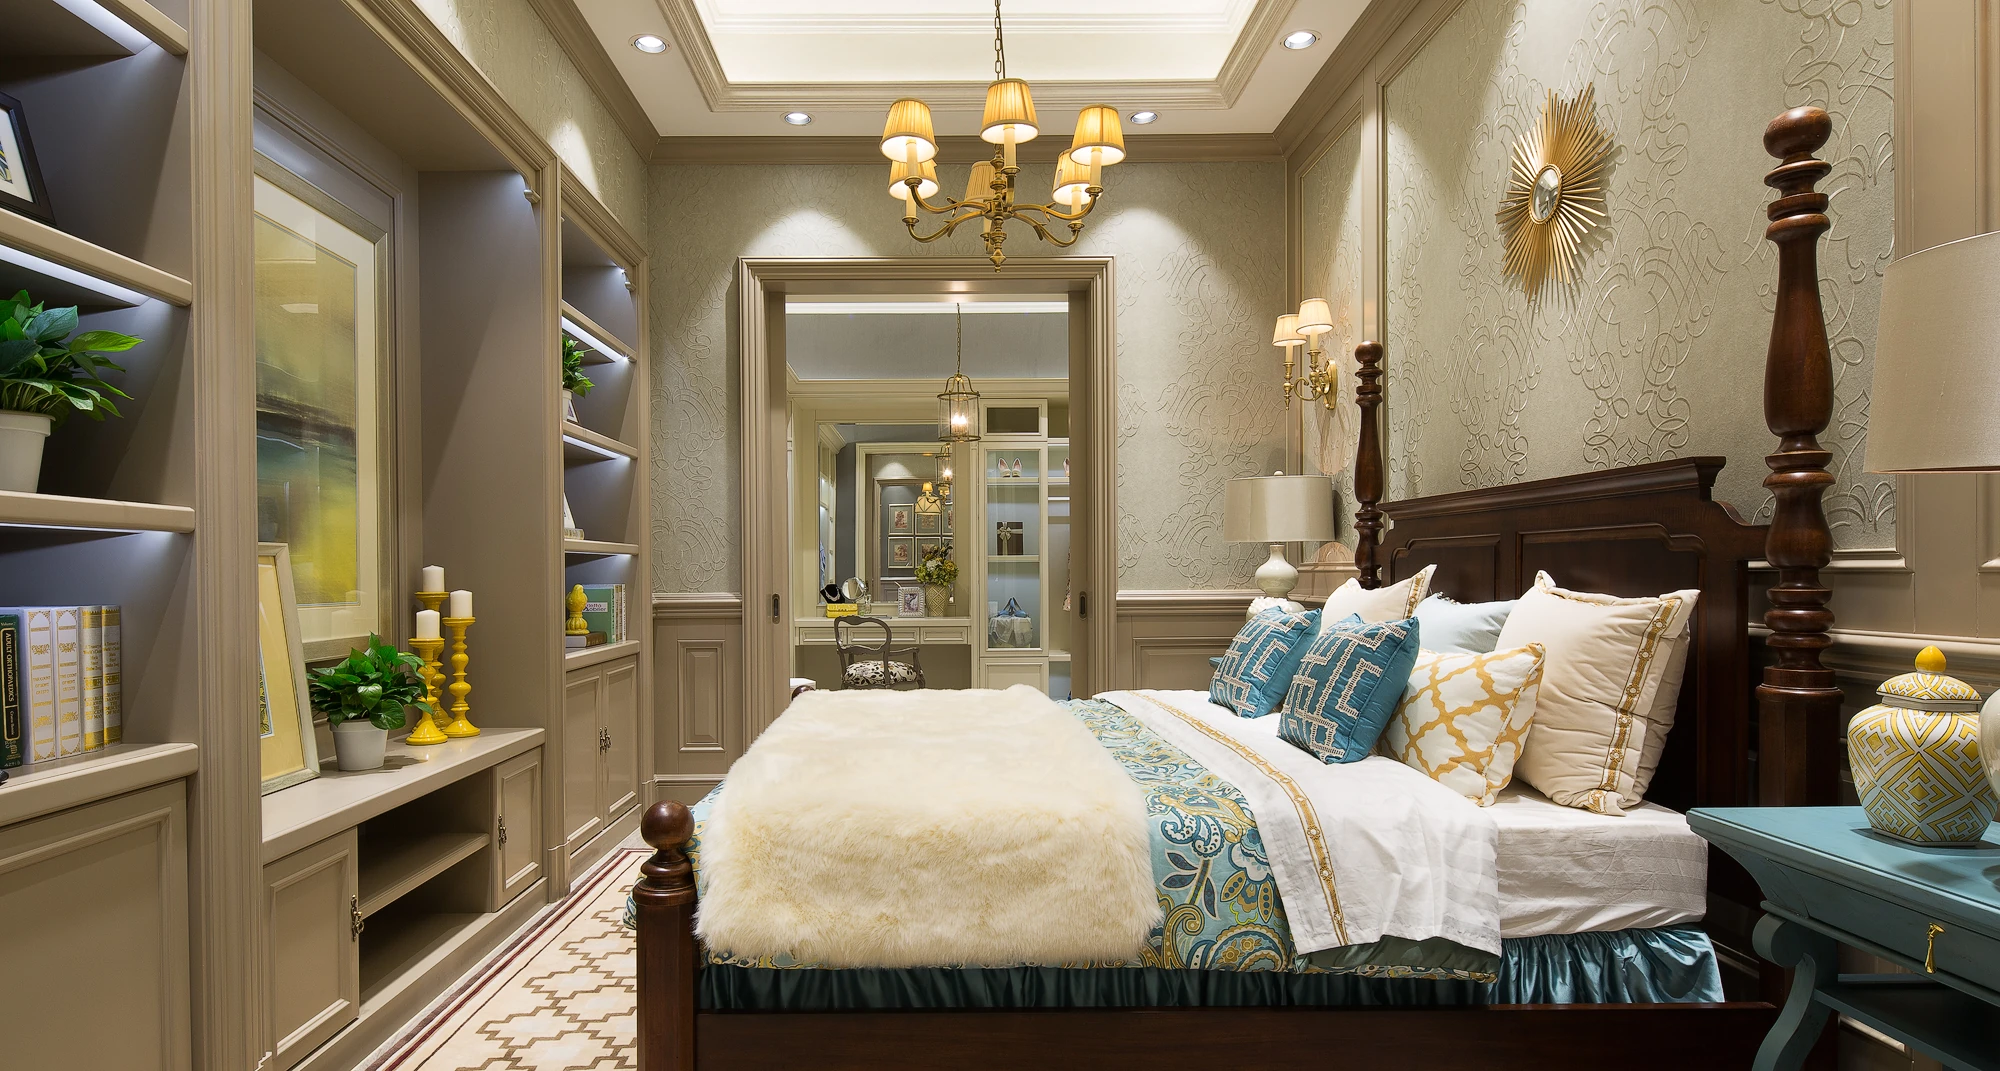
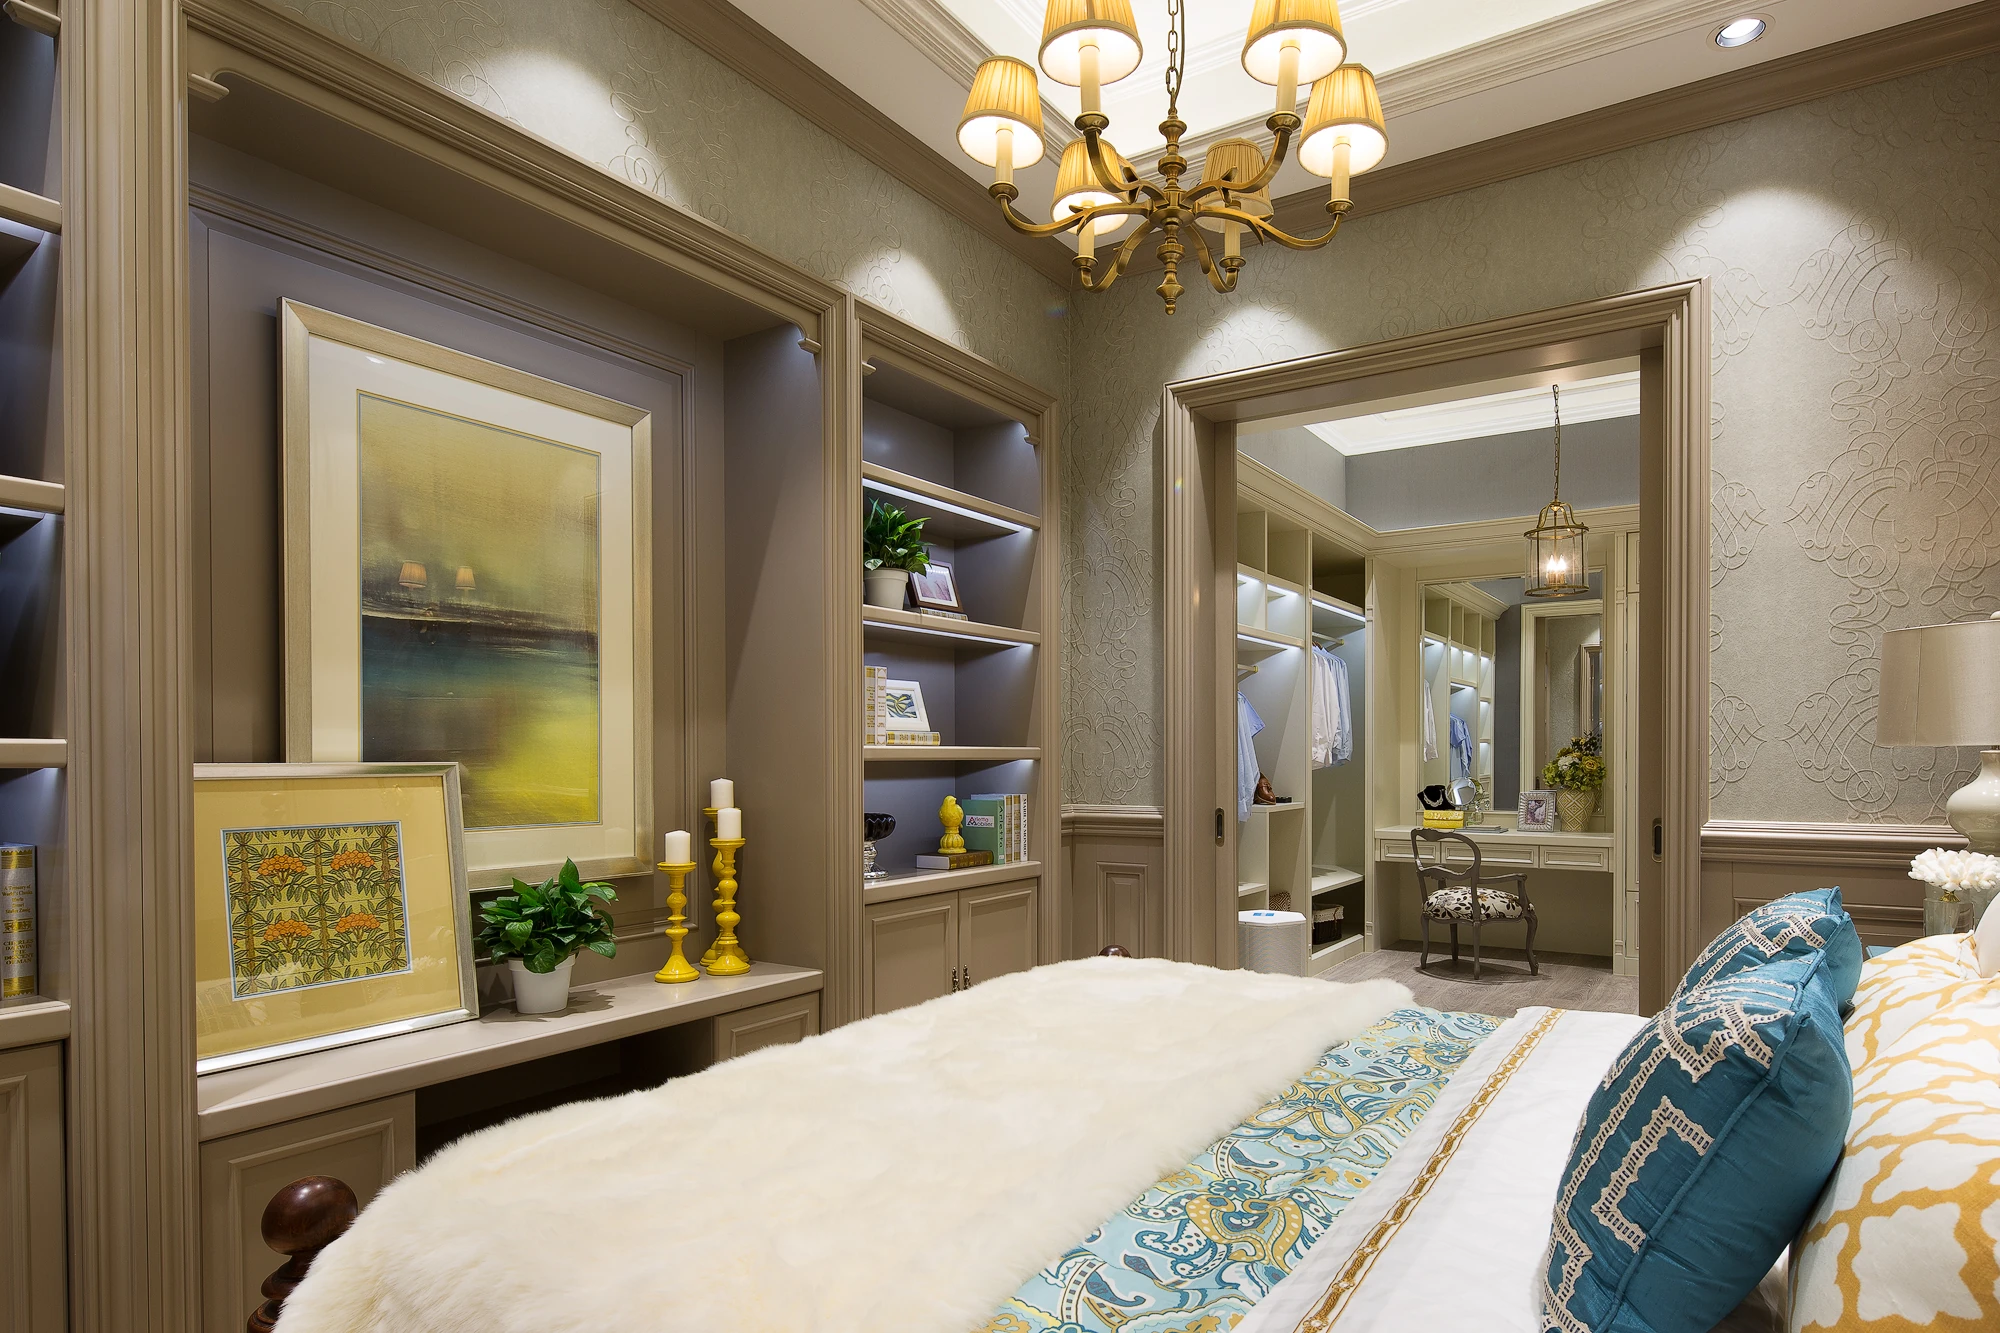
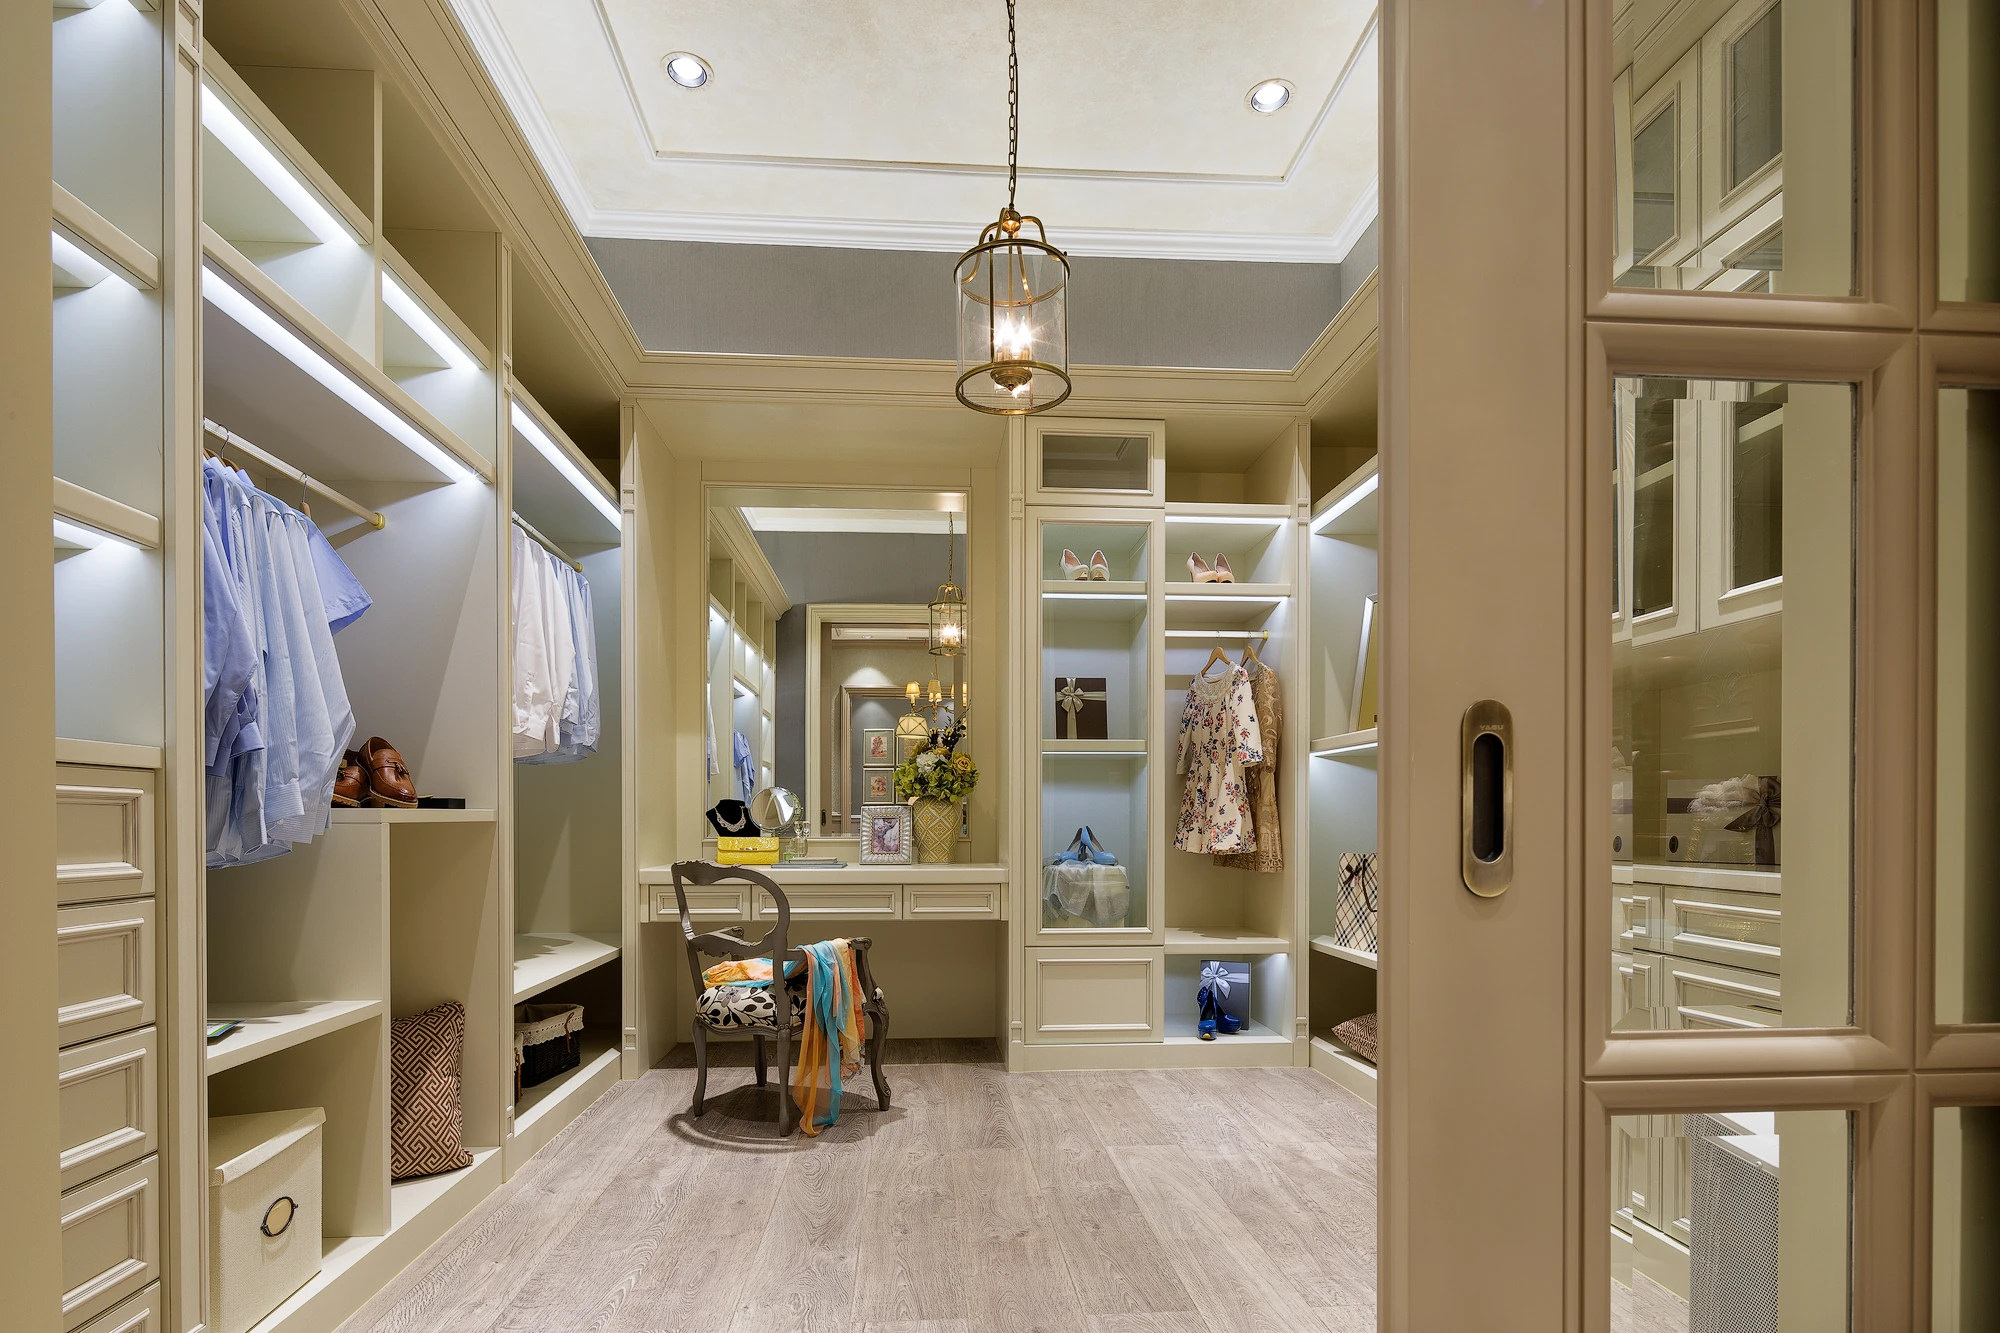
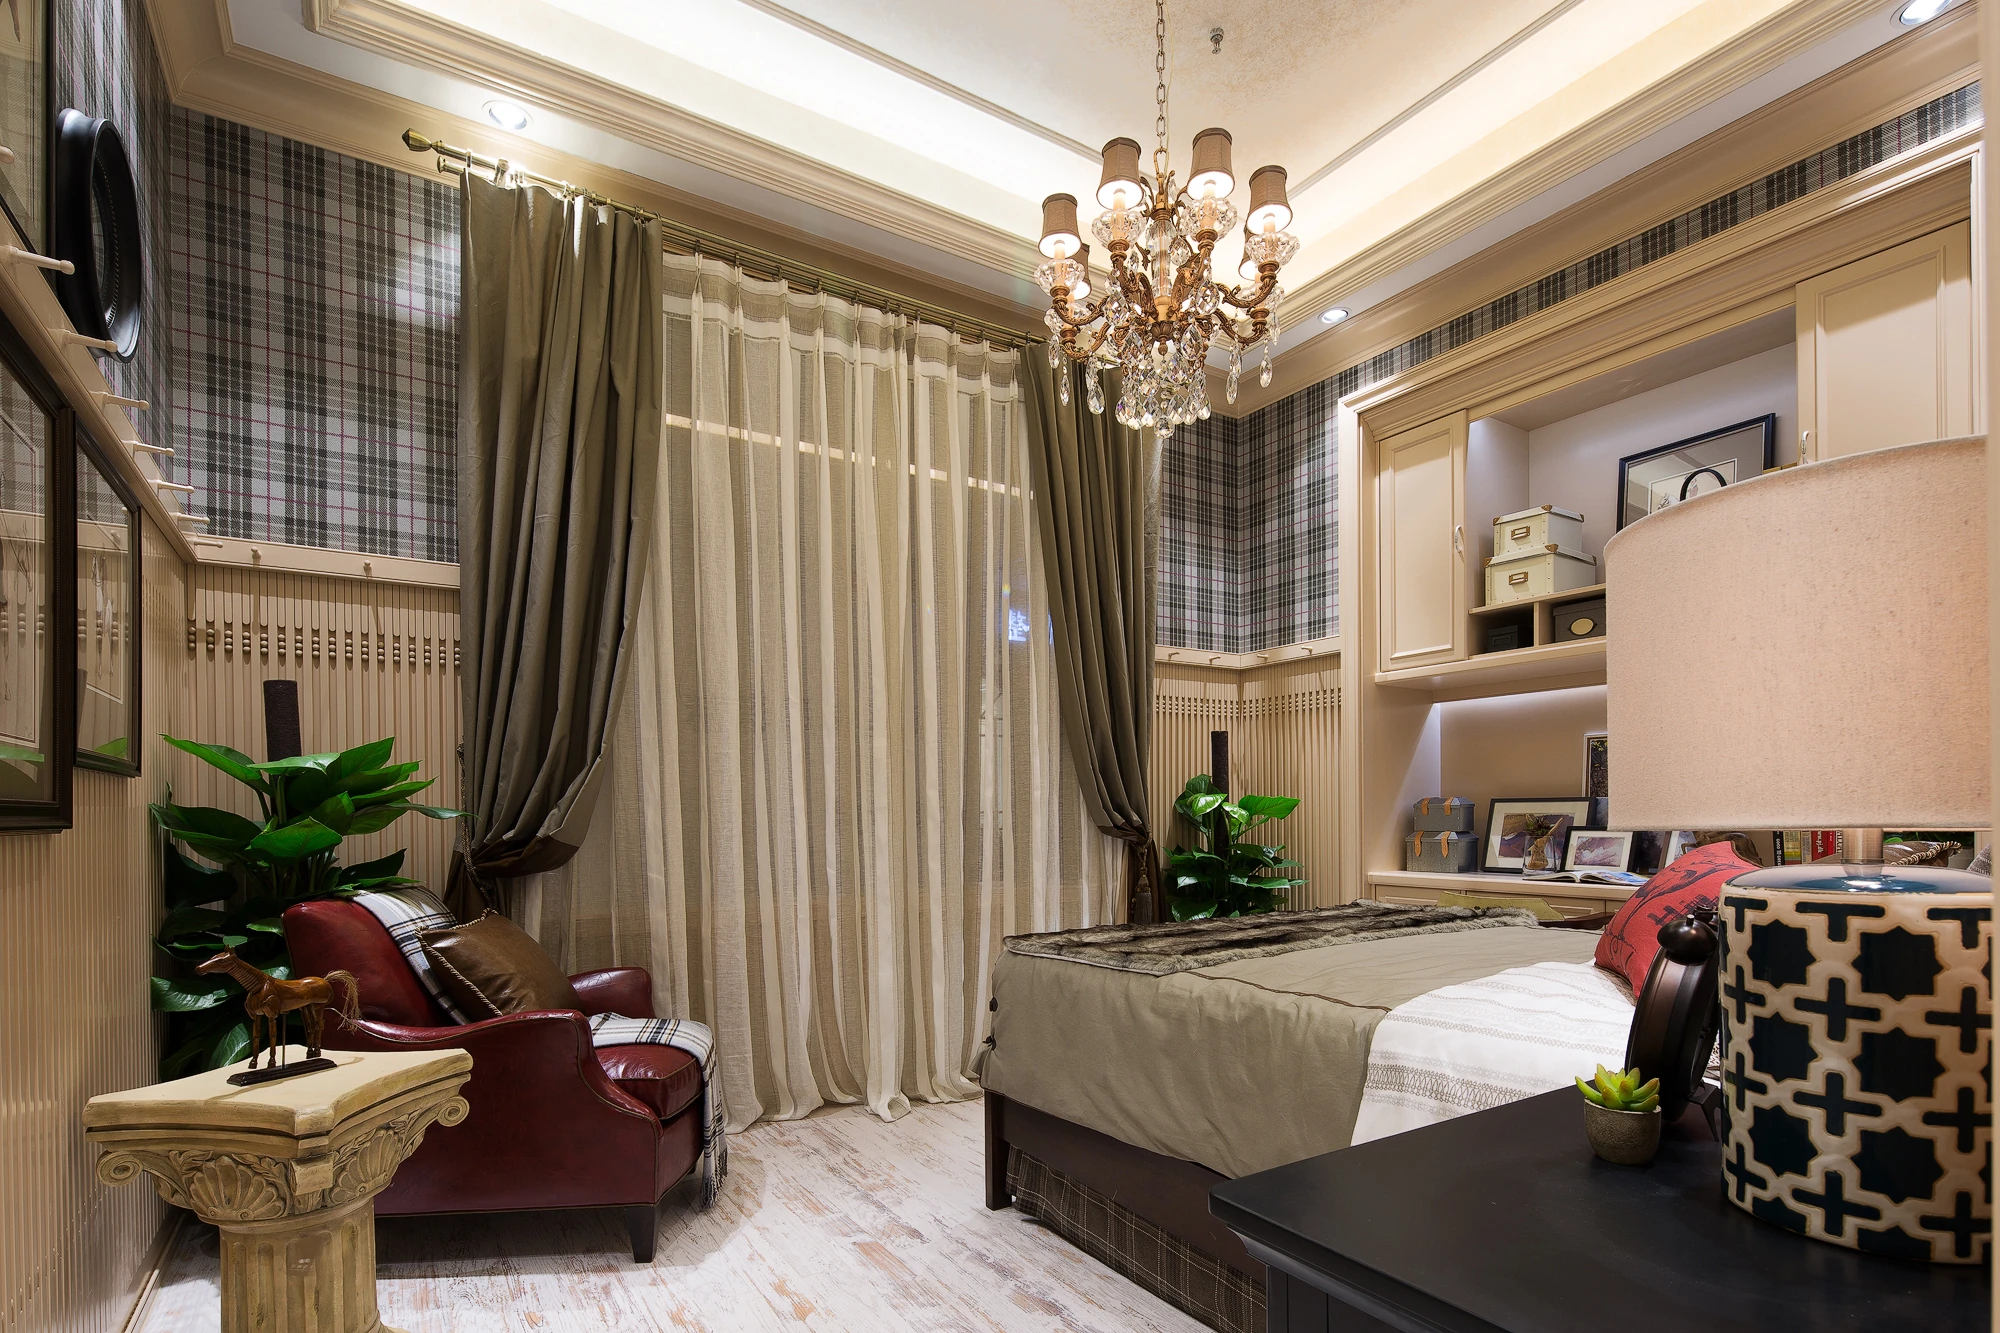
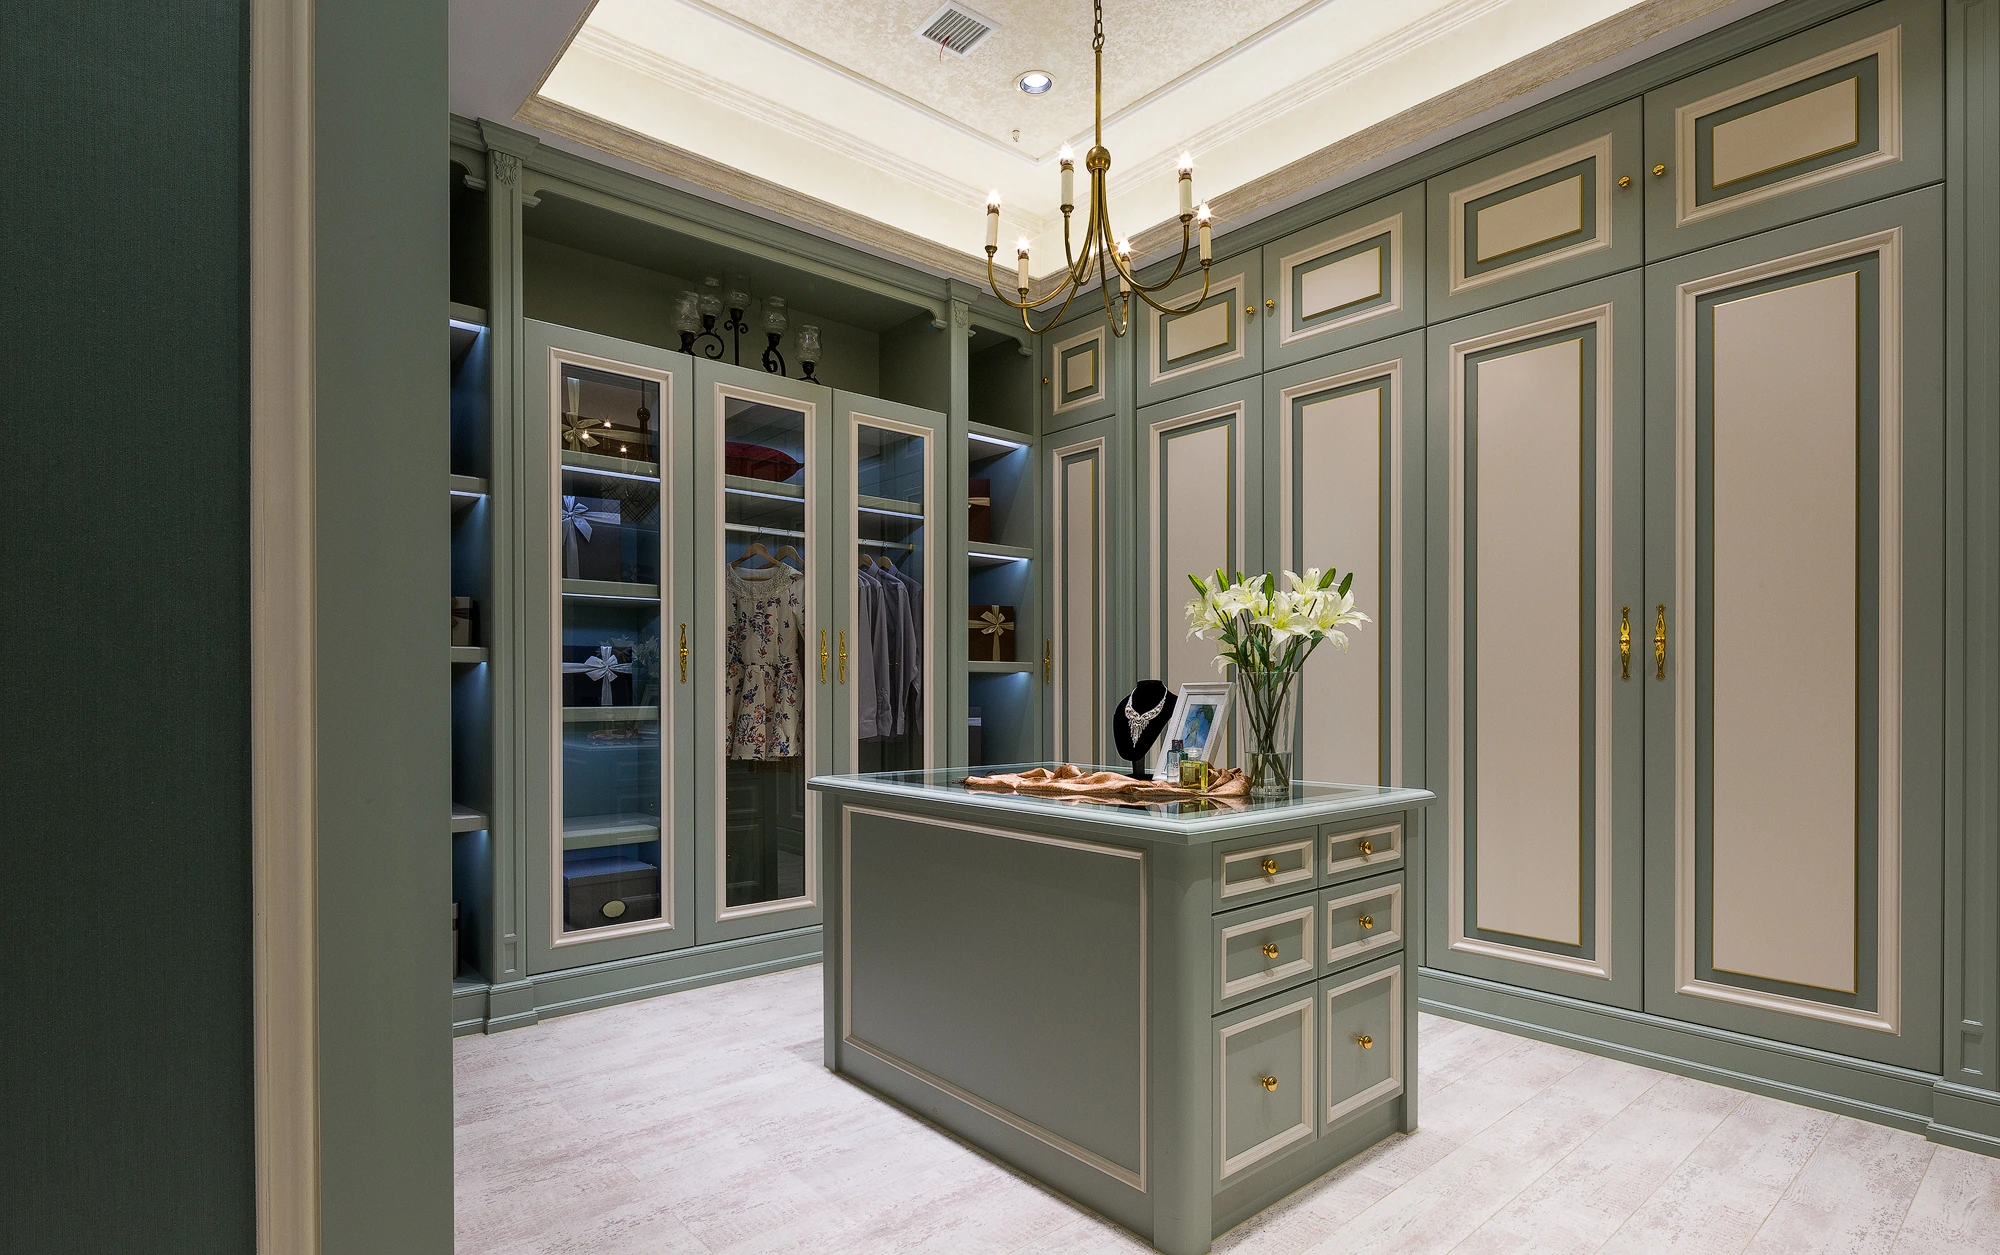
The study, darker bottle-display lounge, bedrooms and dressing room use the classical framework for different purposes. A study needs room for books and a working surface. Bottle storage and display have their own access and service requirements; no temperature-control or storage-performance claim is established by the lounge photograph. The bedroom needs practical bedside and screen relationships, while the dressing room needs a clear inventory of hanging, folded and smaller items. The fitted island is a separate circulation decision. Coordinate these rooms with a shared palette and drawing convention, then define the cabinet interiors and actual hardware room by room.
Project record and design use.
- Location
- Wuxi, China
- Project type
- Partner showroom
- Rooms shown
- English plan guide: entrance/vestibule (Xuan Guan); circular hall (Yuan Ting); reception (Jie Dai Qu); connecting hall (Guo Ting); living rooms 1 and 2 (Ke Ting); dining (Can Ting); tea room (Cha Shi); consultation (Qia Tan Qu); informal lounge (Xiu Xian Qu); bottle-display room (Jiu Jiao Jian); secondary bedroom (Xiao Hai Fang); principal bedroom (Zhu Wo); study (Shu Fang); dressing rooms (Yi Mao Jian); store (Chu Wu Jian). The reflected ceiling drawing records the corresponding ceiling and light arrangement.
- Production
- Arcaya partner factory
- Drawing and image set
- 3 original drawings and 20 project photographs
Arcaya coordinated this showroom project and placed the order; the cabinetry and wall systems were produced by one of our partner factories in China. Photographs and drawings are from the Arcaya project archive and are used with our partner factory's permission.
Use the case to discuss spatial and joinery decisions. Confirm materials, samples, hardware, dimensions and local installation responsibilities for the actual project before ordering.