Shaker vs. Slab Cabinet Doors.
Shaker and slab doors change how a cabinet elevation reads, but the choice reaches beyond appearance. Frame proportions, cleaning, surface specification and replacement planning all matter. For designers, dealers and project buyers, the useful comparison starts with two complete door proposals on the same schedule, rather than two attractive photographs. Here is how to make that comparison practical.
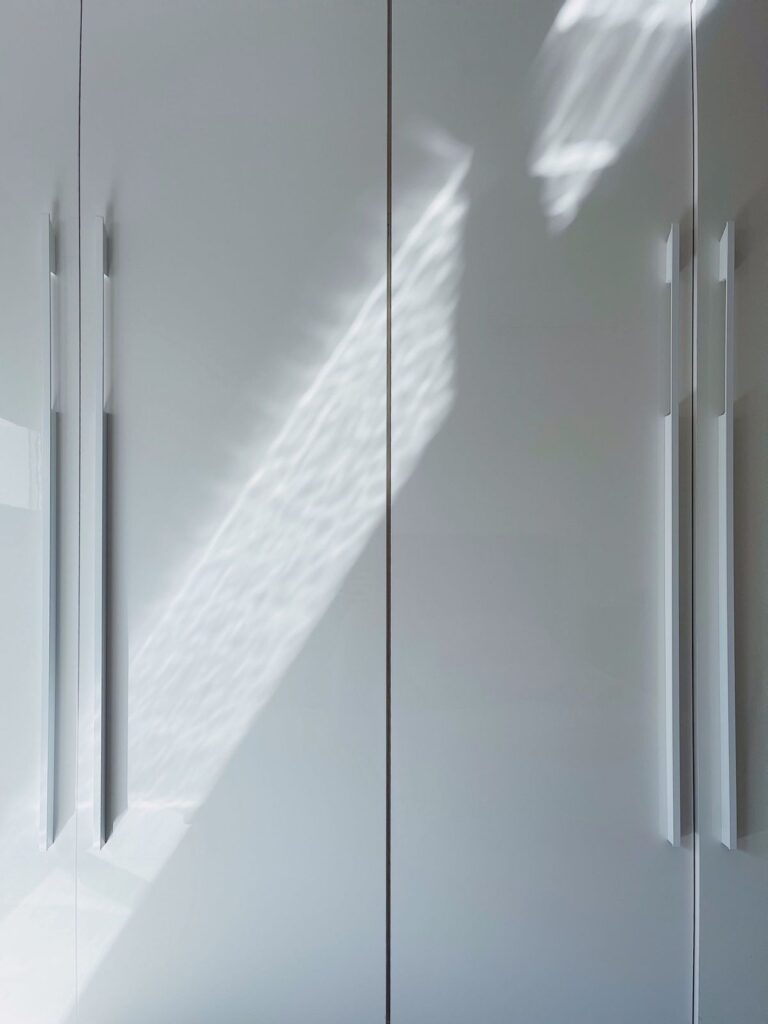
A door profile is only the first decision.
A Shaker-style front has a relatively plain border around a recessed center. A familiar construction uses two vertical stiles, two horizontal rails and a center panel. The materials need separate identification: WalzCraft’s Unity example, for instance, combines a wood frame with a veneered center.
The outline can also be produced in routed MDF. WalzCraft documents one-piece slim Shaker options, illustrating why “Shaker” alone does not establish five-piece construction or solid timber.
A slab front presents a plain face without that recessed-panel outline. Its substrate, decorative face, coating and edges still need specifying. Both appearances are separate from whether the cabinet has a face frame, and whether the door is inset or overlays the cabinet.
Compare the profile at two scales.
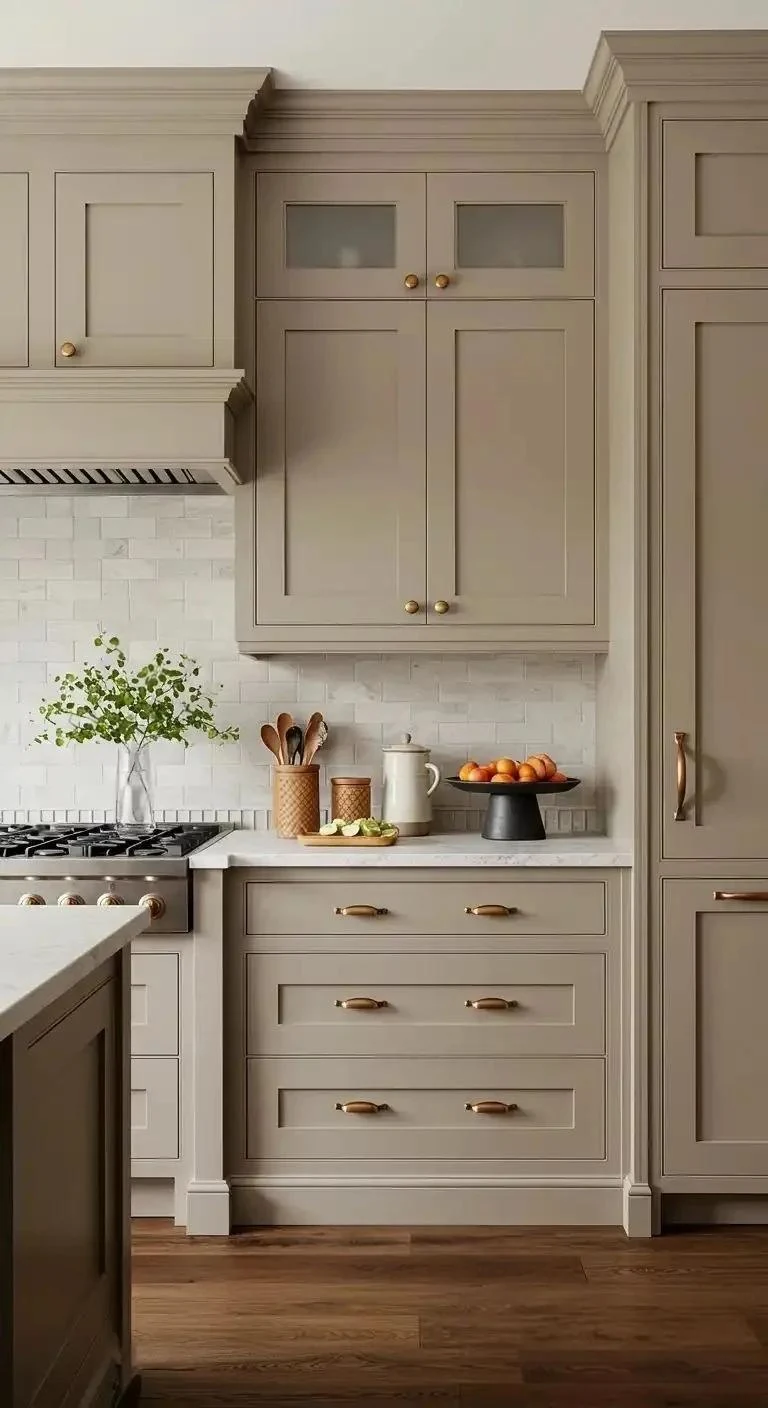
A recessed center panel adds a second boundary inside each front. A slab elevation relies more on the lines between fronts and the larger room composition. The close product view makes the first distinction visible, while the kitchen reference shows the second across an entire run. Neither appearance alone establishes the core material or how the unseen box is made.


Left: supplier product photograph, inset cabinet catalog p3. Right: supplier kitchen design reference, kitchen catalog p15. Profiles are compared visually; material and carcass construction are not inferred.
Read the differences at room scale.
Use this comparison to identify priorities before reviewing samples. The finished door assembly determines its performance; neither profile is a universal quality grade.
The border adds a second outline within each front. Compare it across tall doors and shallow drawers.
The face gives more emphasis to surface, grain and the gaps between adjacent fronts.
Inspect the inner corner and lower rail, where the profile creates extra surfaces to wipe.
A plain face simplifies the wiping path; handles, edges and texture still need attention.
Check how the grip relates to the rail, stile and center panel.
Compare the handle as a visible mark, or review the chosen integrated opening detail.
Identify the frame and center separately, including their finish and reverse side.
Inspect the complete panel, especially exposed edges, corners and the back.
Compare a tall door, a drawer and an appliance front.
A sample door cannot show how the whole kitchen will divide up. Ask for the same elevation in both options, with the real appliance positions, drawer heights and end panels. A border that looks balanced on a tall door may leave a very small center on a shallow drawer. Agree whether those drawers repeat the framed appearance or use plain fronts.
For slab doors, review the alignment of horizontal divisions and the direction of any wood pattern. Include the visible island back and tall-unit returns. These decisions often explain a client’s preference more clearly than calling one scheme traditional and the other modern.
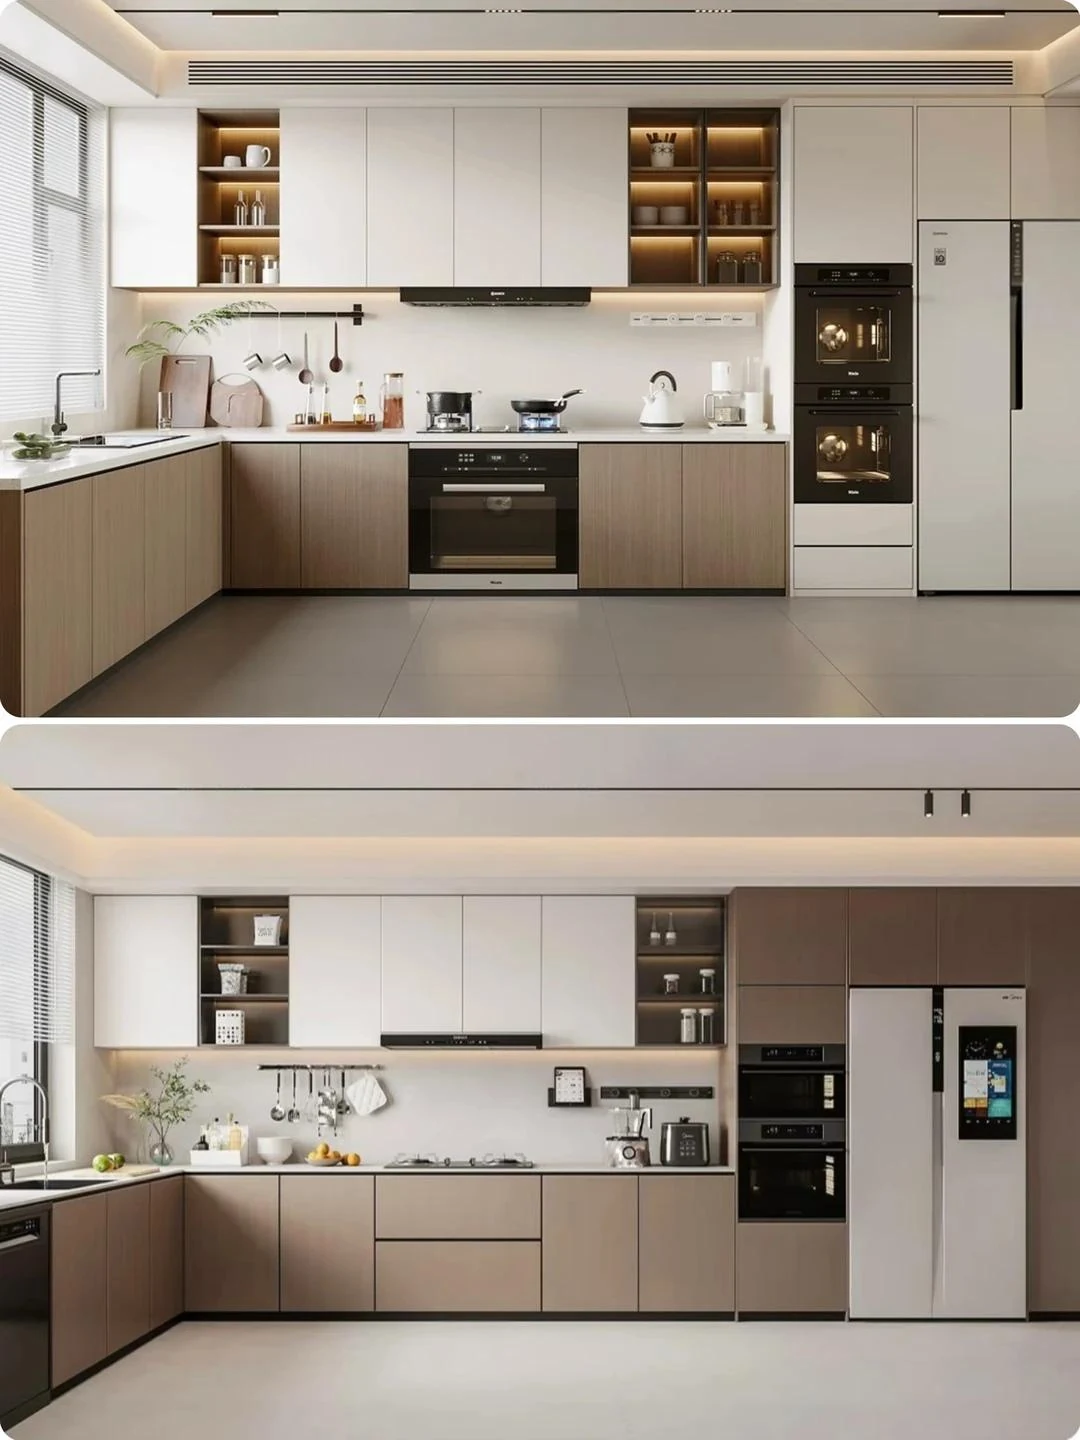
Look beyond color on the front.
Request a representative finished door, or a sample that includes the intended profile, edge and reverse. View it upright beside the proposed floor and countertop references. Compare the color in daylight and under the intended room lighting, then look across the surface from an angle to judge sheen and texture.
On Shaker proposals, inspect the inner corner, transitions around the panel and any visible construction joints. On slab proposals, concentrate on edge continuity, corner finishing and the relationship between face and reverse. Feel the actual opening detail where possible. Record observations against the sample code, rather than approving “the cream door” by email.

Test your expectations against the finish.
Fewer profile changes can make a slab face straightforward to wipe, but door shape alone cannot predict fingerprints, scratches or cleaning effort. Color, sheen, texture and handle use also influence the experience. Ask for the proposed finish’s care instructions and assess normal handling on a sample with the supplier’s agreed cleaning method.
Identify doors close to sinks, dishwashers and cooking appliances on the drawings. Ask how edges, clearances and installation details are addressed for those locations. That discussion is more useful than assuming every painted Shaker door or every laminated slab behaves the same.
Hold the specification constant.
Issue the same door and drawer schedule to each supplier. Record quantities, finished dimensions, profile, construction, face and reverse materials, sheen, edge treatment and hinge drilling. State whether handles, hinges, exposed end panels and finishing pieces are included. Separate door-only pricing from complete cabinetry, packaging and freight.
A slab description does not establish a lower price, and a framed outline does not establish a premium material. Compare the proposed assemblies and finish requirements line by line. Ask how damaged fronts and later additions would be reordered, including the information needed to identify the original color and profile.
Check inset doors against the cabinet opening
An inset front sits within the surrounding opening; its profile and the construction of the cabinet box are separate choices. Review the proposed front, hinges, clearances and adjustment on the drawing, and have the supplier and installer confirm fit against the actual opening and site conditions.
Approve reveals and alignment on the elevation
Identify the intended gaps between adjacent fronts, the alignment across doors and drawers, and the treatment of tall units, corners and appliance fronts. Ask the supplier to show the agreed details on the approved drawings, then check the installed adjustment against that specification.
Mix profiles with a clear reason.
Shaker perimeter cabinets and a slab island can work as a design study when the change gives the island a deliberate role. Carry a shared color, handle language or alignment through the room, then compare the transition in the elevation. Keep drawer-front rules consistent within each run.
Use Arcaya’s Frame and Linear collection guides for visual directions. Use the painted-finish and decorative-panel guides to build the separate material specification.
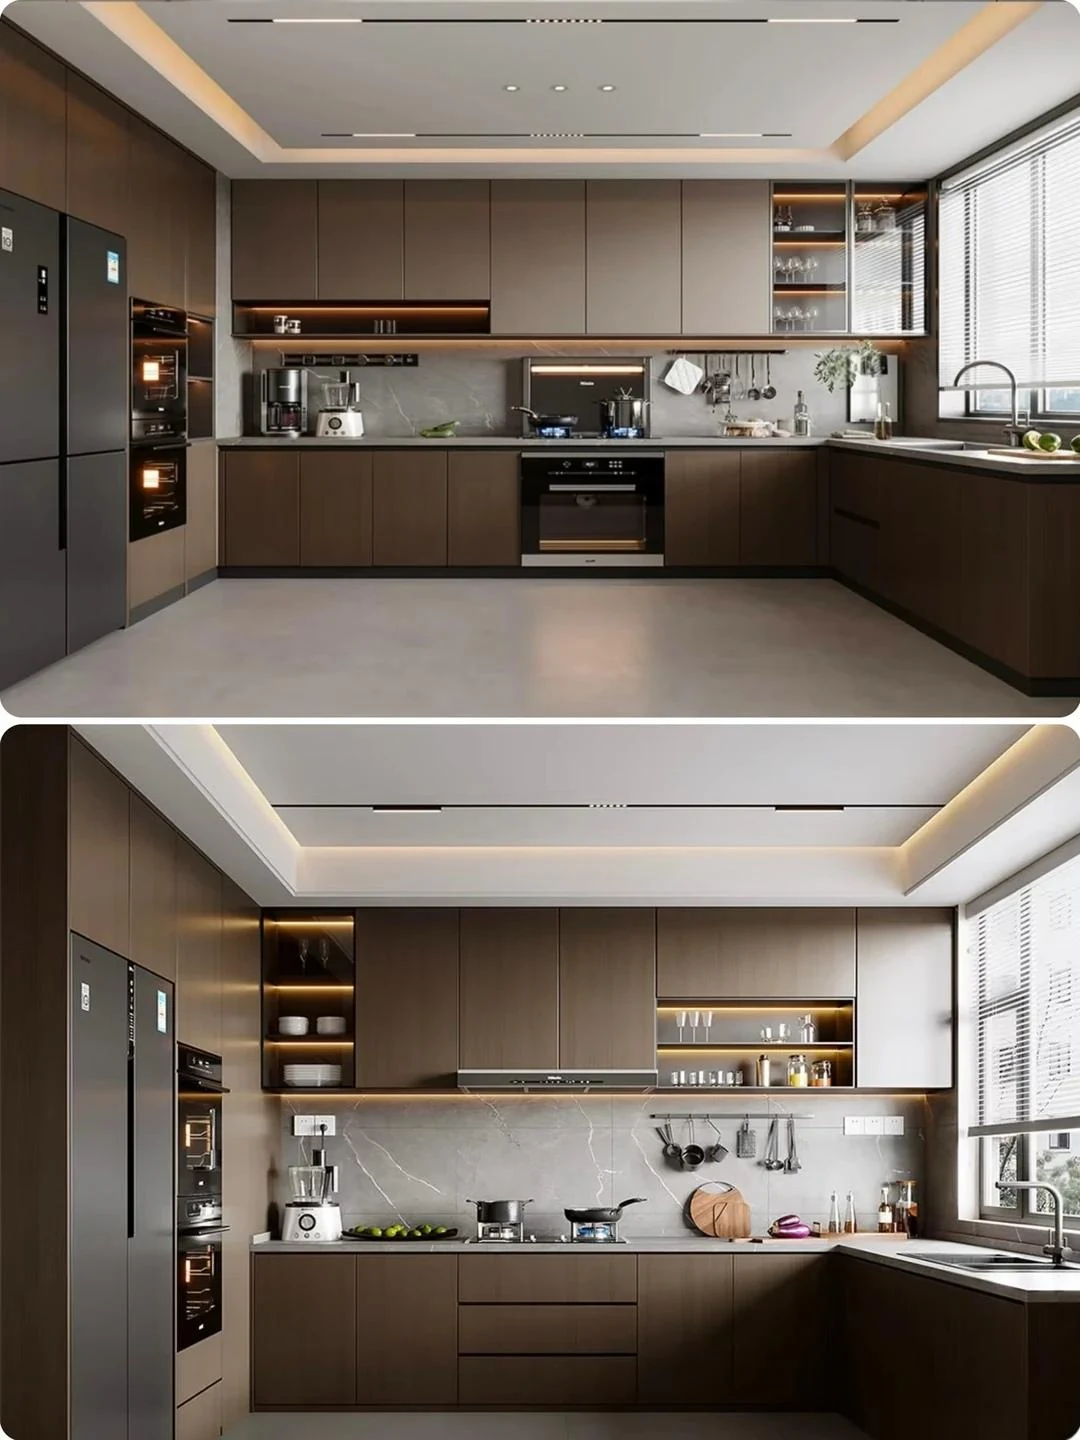
Before you approve the door.
Does a Shaker door require a face-frame cabinet?
No. Shaker describes the door outline. A face frame describes part of the cabinet box. Specify those choices separately.
Does slab mean handleless?
No. A slab front can use a visible handle or a separately designed integrated opening. Review the grip, mechanism and surrounding clearances.
What should the final approval identify?
The door schedule revision, profile drawing, material description, finish and sample code. Include agreed variations for drawers, appliance fronts and exposed panels.
Bring the comparison into your brief.
Share the same elevation with your preferred Shaker and slab references, plus the material, opening and storage priorities. This gives the door discussion a clear starting point.