
Approve the cabinet color at noon and in late-afternoon sun
Do not approve a light cabinet finish from one shop visit or one phone photo. Place a full-size door sample in the west-facing kitchen and review it with the wall and worktop samples at two useful moments: once before direct western sun dominates the room, and once when that warmer, lower-angle light reaches the cabinetry.
The goal is not to make the sample look identical all day. Natural light will change. The practical question is whether the finish remains acceptable across the real range: neutral or shaded daylight, warm direct sun, and the electric lighting used after sunset.
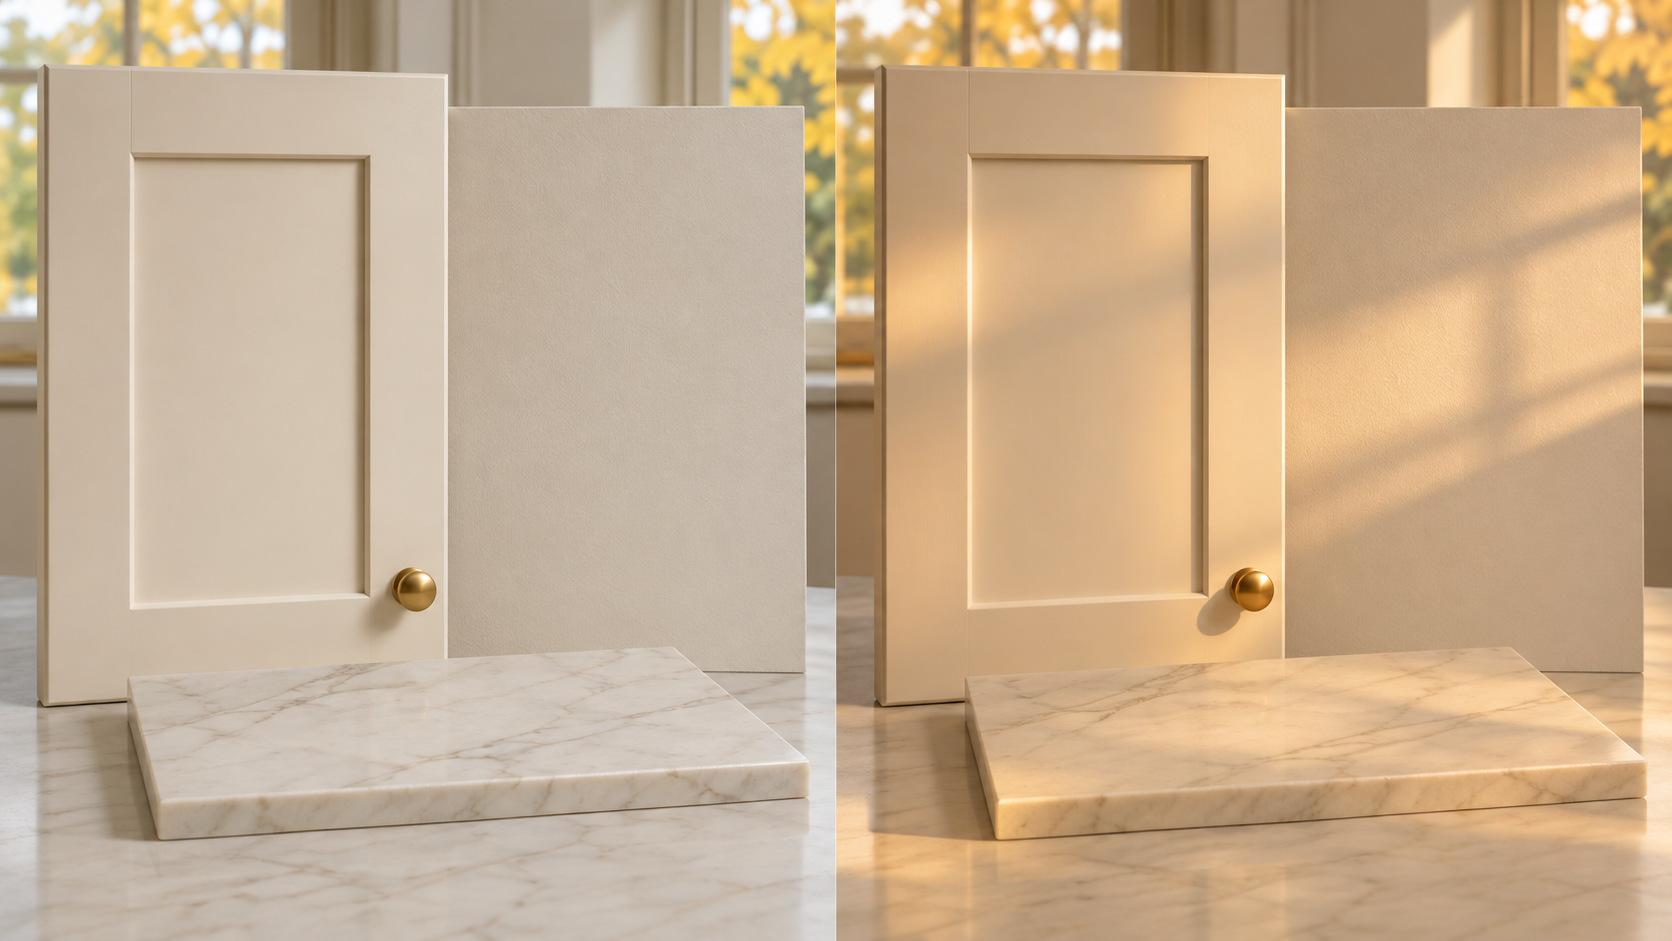
Approve the range
Record how warm, yellow, grey or pink the door appears at each viewing time and whether the change is acceptable beside the wall and worktop.
Reject the mismatch
If the door only works in one lighting condition, keep the color decision open or change one of the three surfaces before ordering the cabinets.
Why west-facing light can change a light cabinet door
A west-facing kitchen often receives limited direct sun earlier in the day and stronger, lower-angle light later. The exact timing depends on season, latitude, glazing, exterior shading and nearby buildings, so the project must be observed rather than judged from a generic compass rule.
Light finishes make these changes easy to notice. A pale beige can become more golden; a soft grey may lose its coolness; an off-white may read creamier beside a bright white wall. Gloss and textured surfaces add another variable because they reflect highlights and shadows differently.
The result is a relationship, not a fixed color label. “Warm white,” “ivory” or “light oak” cannot describe what the door will look like in this kitchen at every hour. The physical sample and its surroundings provide the useful evidence.
Use a full-size door sample in the intended orientation
A small color chip can shortlist options, but it does not show the scale of a cabinet elevation, the shadow at a profile, or the way a finish repeats across several doors. Ask for a full door sample or the largest production sample available before the order is released.
Stand the sample vertically at the approximate cabinet position and height. Do not approve it while it lies flat on a showroom table. Keep the sample away from colored packaging, clothing or temporary site protection that could cast a misleading reflection.
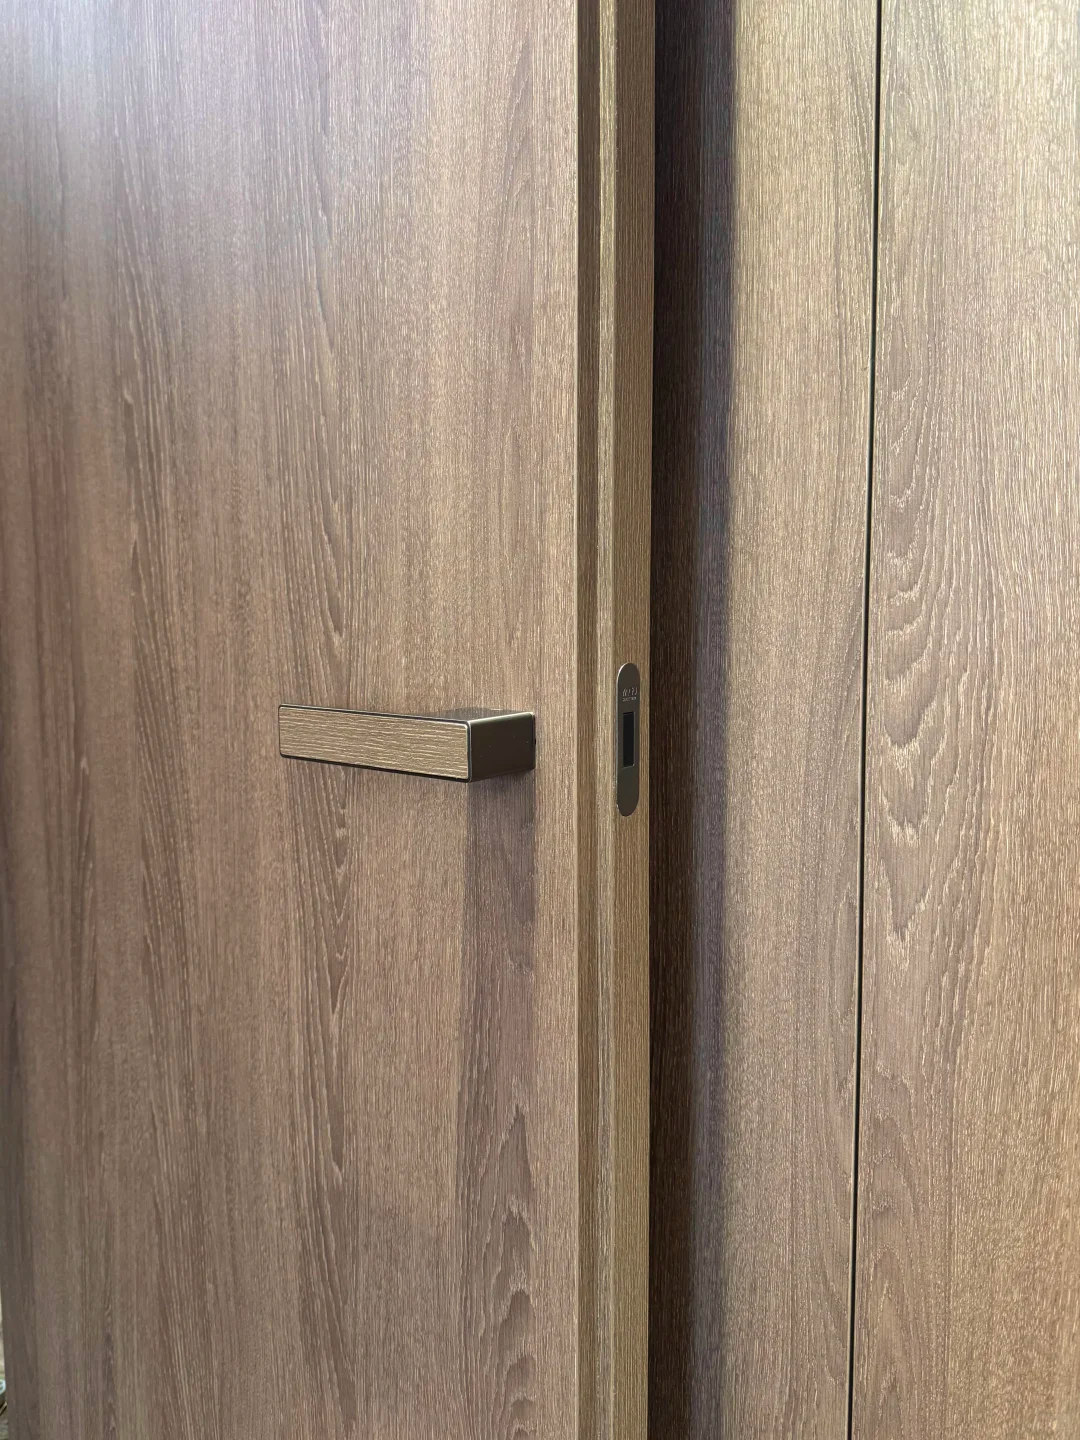
The sample should identify the finish code, substrate, sheen, edge treatment and visible back finish. If the project uses a painted finish, record the approved coating system and sheen. If it uses a decorative panel or veneer, retain the product code and a representative physical control sample.
Compare door, wall and worktop as one set
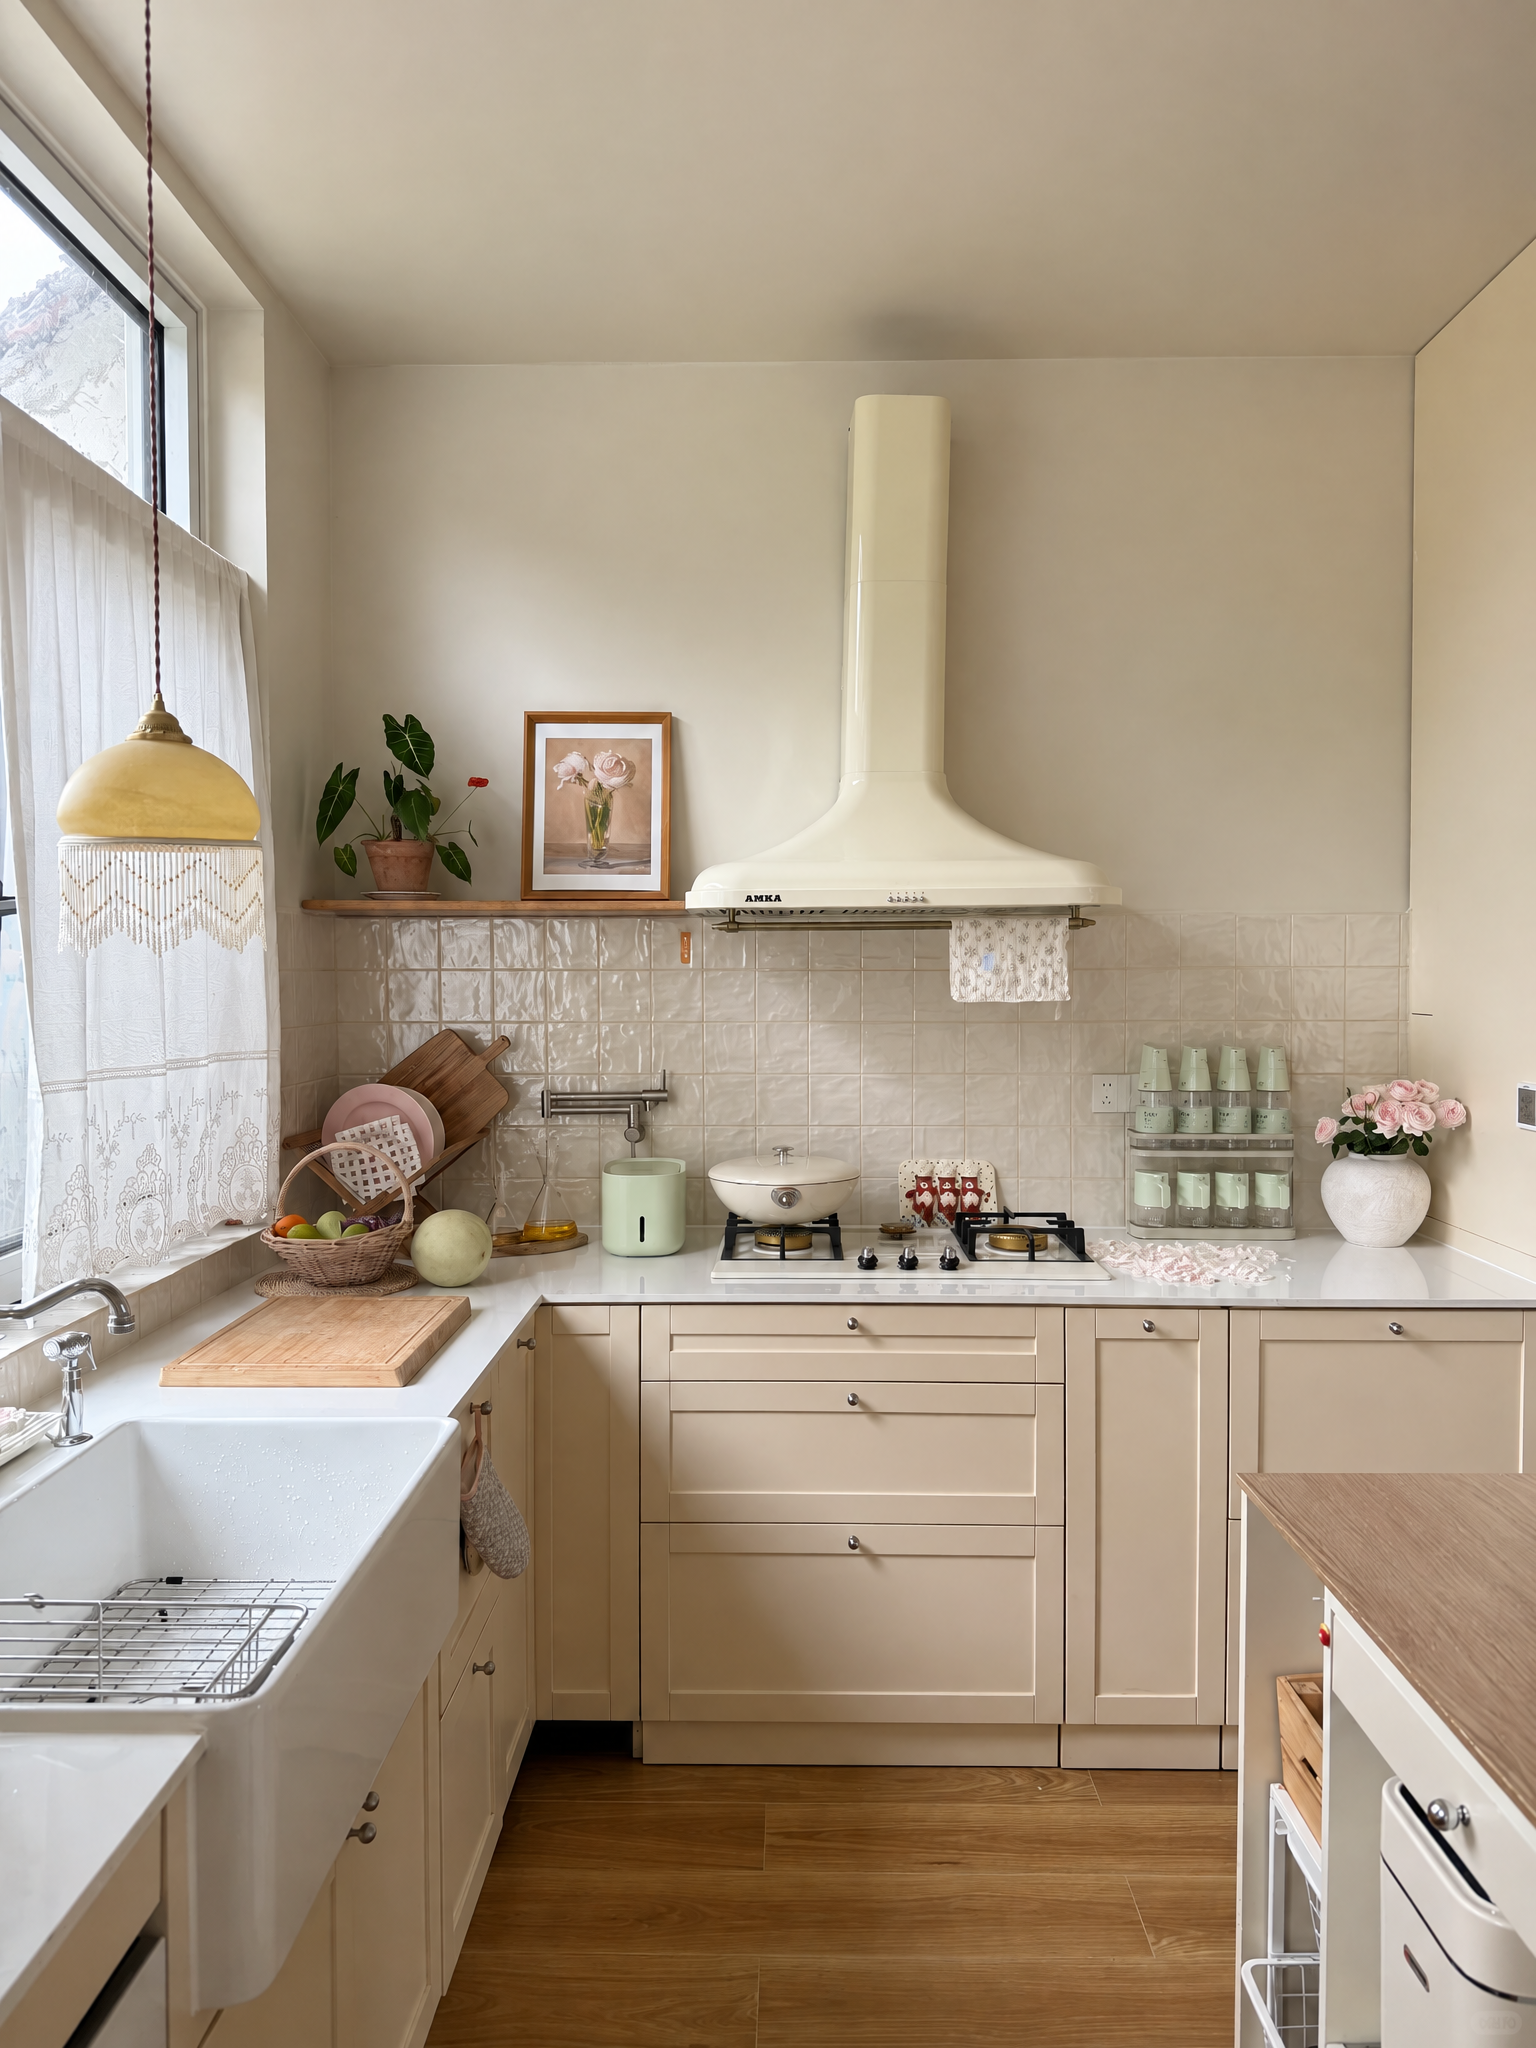
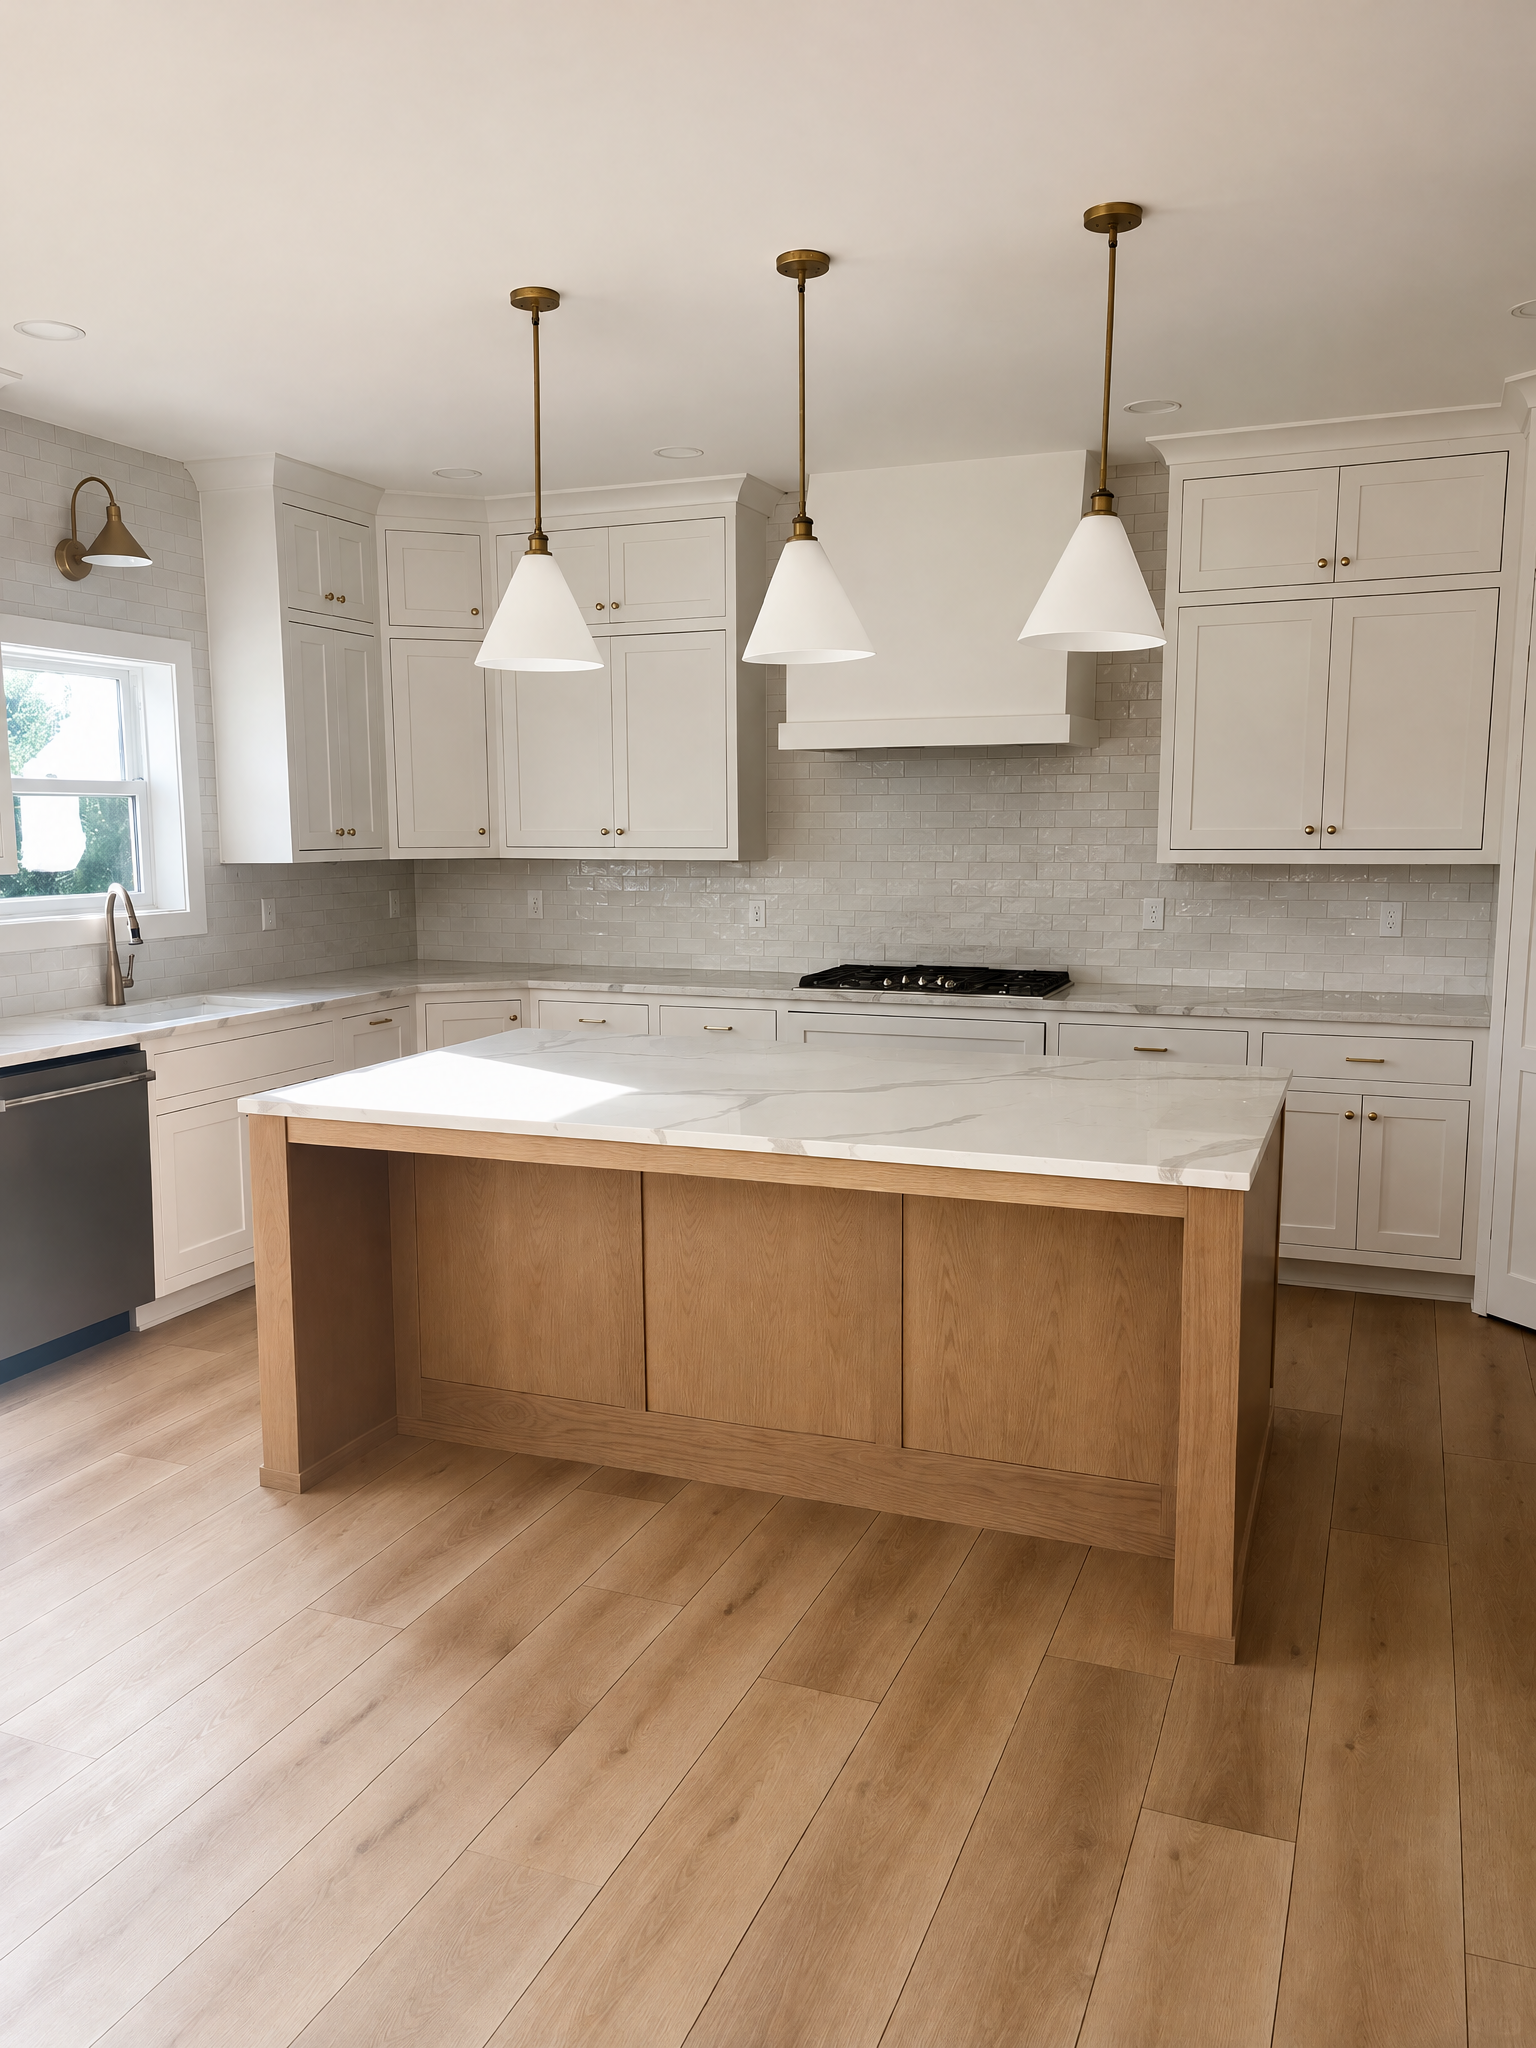
Light surfaces are most likely to look wrong when they are selected separately. Put the cabinet door, the actual wall paint sample and the worktop sample together in the kitchen. Add the backsplash only when it is a distinct visible surface that materially changes the comparison.
Keep each material in its installed plane: the door vertical, the worktop horizontal and the wall sample vertical. Their angles receive and reflect light differently. A horizontal stone sample can throw warm reflected light onto the lower part of a cabinet door even when both materials looked neutral in isolation.
Choose one surface as the reference. If the cabinet door is already fixed, adjust the wall or worktop candidate around it. If the stone is fixed, compare several door finishes against that stone. Avoid approving three near-whites from names alone.
Record the same sample at noon and in late afternoon
Use the same sample set, location and viewing direction for both checks. Note the date, time, weather and whether blinds or exterior shading are in their normal position. Repeat the late-afternoon check on another day if clouds or construction screens make the first observation unrepresentative.
Describe what the eye sees before taking photographs. A useful record says “door becomes warmer than the wall but remains quieter than the worktop,” not simply “looks good.” Mark any objection, such as a pink cast, a grey shadow between rails or a yellow edge.
Photographs help the team remember the comparison, but they are not the color standard. Automatic exposure, white balance, screen settings and filters can change the image. Keep the approved physical sample with the project record.
| Check | Noon or shaded daylight | Late-afternoon west light |
|---|---|---|
| Door | Base color, grain and shadows appear neutral enough. | Record warmer shift and highlight intensity. |
| Wall | Compare undertone beside the door edge. | Check whether the wall makes the door look yellow, pink or grey. |
| Worktop | Check reflected light on lower doors. | Check glare, veining and warm reflection. |
| Decision | Accept, reject or retain as candidate. | Accept the full range or reopen the finish selection. |
Separate daylight from electric-light approval
After the daylight checks, repeat the comparison with the kitchen lighting that will actually be installed. Record the fixture or lamp specification used for the review. Do not mix a temporary work light with the final lighting plan and treat the result as approval.

Turn off decorative lights that are not part of normal kitchen use, then review the door from typical standing positions. Under-cabinet lighting can create a different color relationship between upper doors, splashback, worktop and base cabinets, so check the full elevation rather than one loose sample.
Check sheen, grain and edge details
Color approval includes surface response. Tilt your viewpoint while keeping the sample vertical and note whether late sun creates glare, emphasizes orange grain, or makes a satin finish look patchy. A shaker profile can show warm highlights on one rail and cool shadow in the recessed panel.
Inspect the edge and back beside the face. A matching face with a noticeably different edge can become visible at fillers, open doors and end panels. If veneer is used, record the acceptable grain range and how adjacent leaves or doors will be arranged.
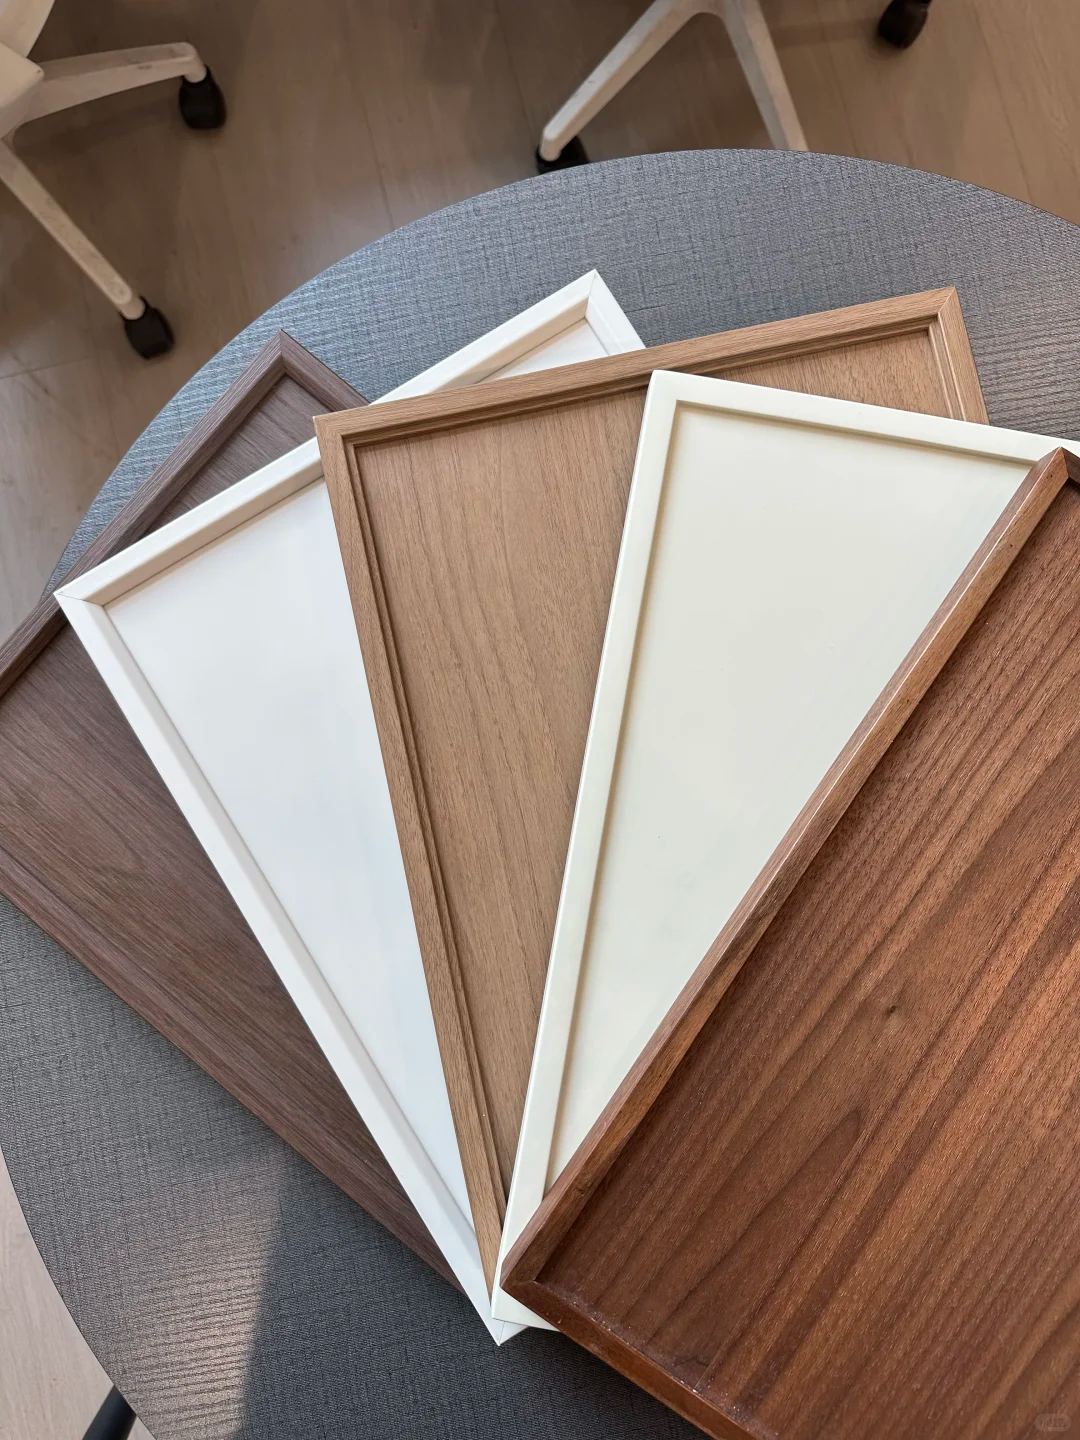
Turn the approval into a cabinet finish schedule
The signed sample should connect to the drawing and quotation. Record the cabinet finish code, supplier, substrate, sheen, edge, back finish, grain direction and the locations that use it. List the wall paint and worktop references used during the comparison so a later substitution triggers a new review.
Keep the physical control sample until production and installation are complete. When possible, compare production material or a first-off door with that sample before the full batch is assembled. Natural materials and different manufacturing batches can vary, so define what must remain consistent and what range of variation is acceptable.
If the wall paint, worktop, glazing, blinds or kitchen lighting changes after approval, repeat the relevant comparison. A finish approval is tied to the surrounding project conditions, not only to a color name.
For a west-facing kitchen, the safest light door is the one that has already been seen with the real wall and worktop in both ordinary daylight and the room’s warmest late-afternoon condition. That is a cabinet decision the client, designer and manufacturer can all review.