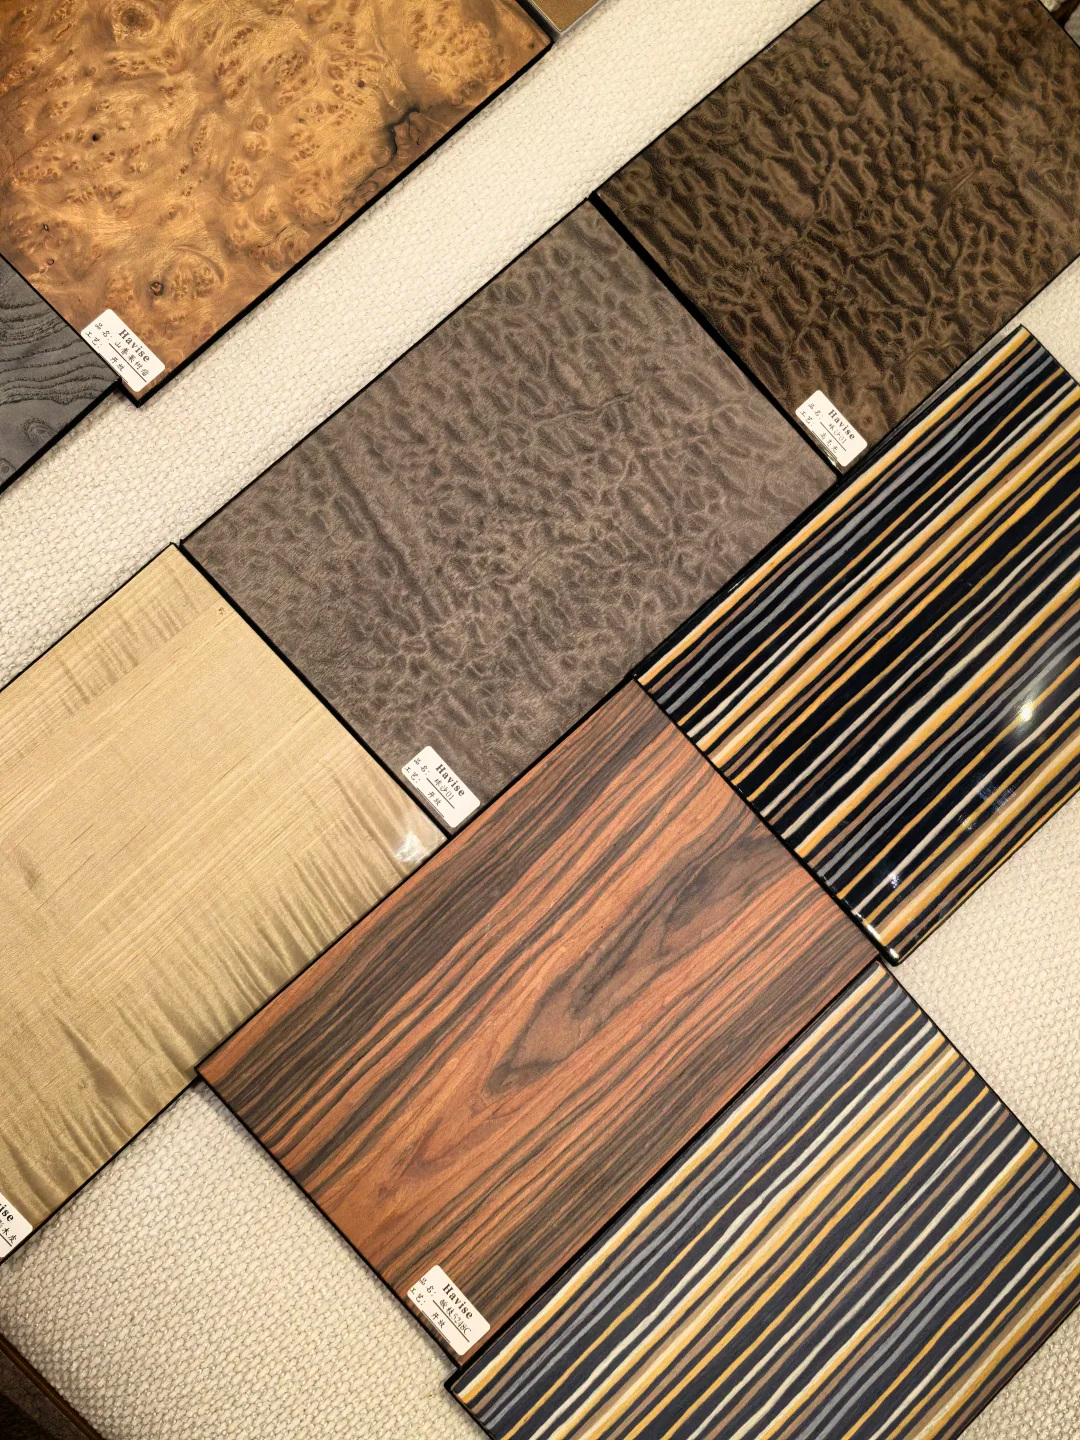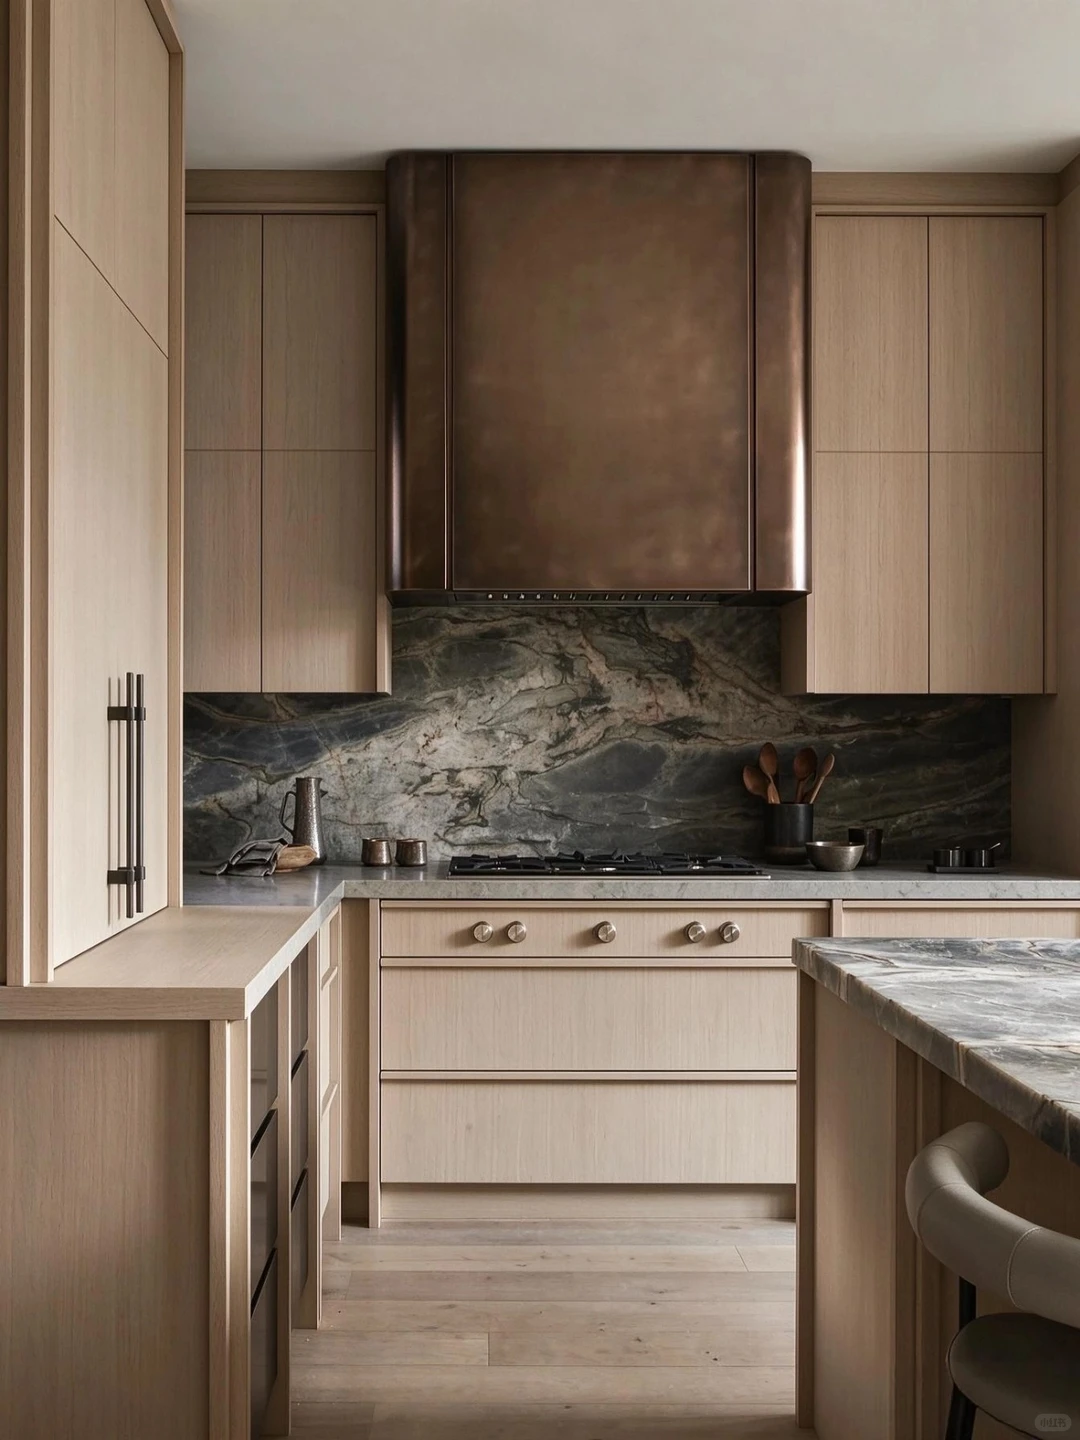
Use the existing floor as the starting point for cabinet veneer
Use the retained wood floor as the reference for the new kitchen veneer. Compare a closely toned finish for a quieter transition with a contrasting finish for a clearer cabinet outline.
Check several floorboards for lightness, undertone, grain and sheen, including bright and shaded areas. Avoid choosing the cabinet colour against one unusually pale or dark board.
Compare the veneer with the retained worktop, walls and dining furniture from the kitchen and adjoining room. Choose the finished appearance rather than relying on the oak species name alone.
Compare a closely toned veneer with the existing floor
Option A uses a veneer that sits near the floor in overall colour and lightness. Hold the finished door sample upright above the floor, in the position a cabinet front will occupy. A floorboard laid flat and a door standing vertically receive light differently, so comparing both samples flat on a showroom table can hide a difference that becomes obvious after installation.
Judge whether the two surfaces feel related without requiring every grain line to match. A similar colour family with a modest difference in lightness may give you the calm result you want. If the near match instead makes one surface appear unexpectedly pink, yellow or grey, compare another finished veneer sample before committing to the full cabinet run.
Review the near colour option at the island end and beneath the tall cabinets as well as on a single door. A large area of similar wood can suit a continuous, restrained kitchen, but it can also feel visually dense when both surfaces have strong grain. Use a larger sample arrangement to decide whether that amount of similarity suits the room.
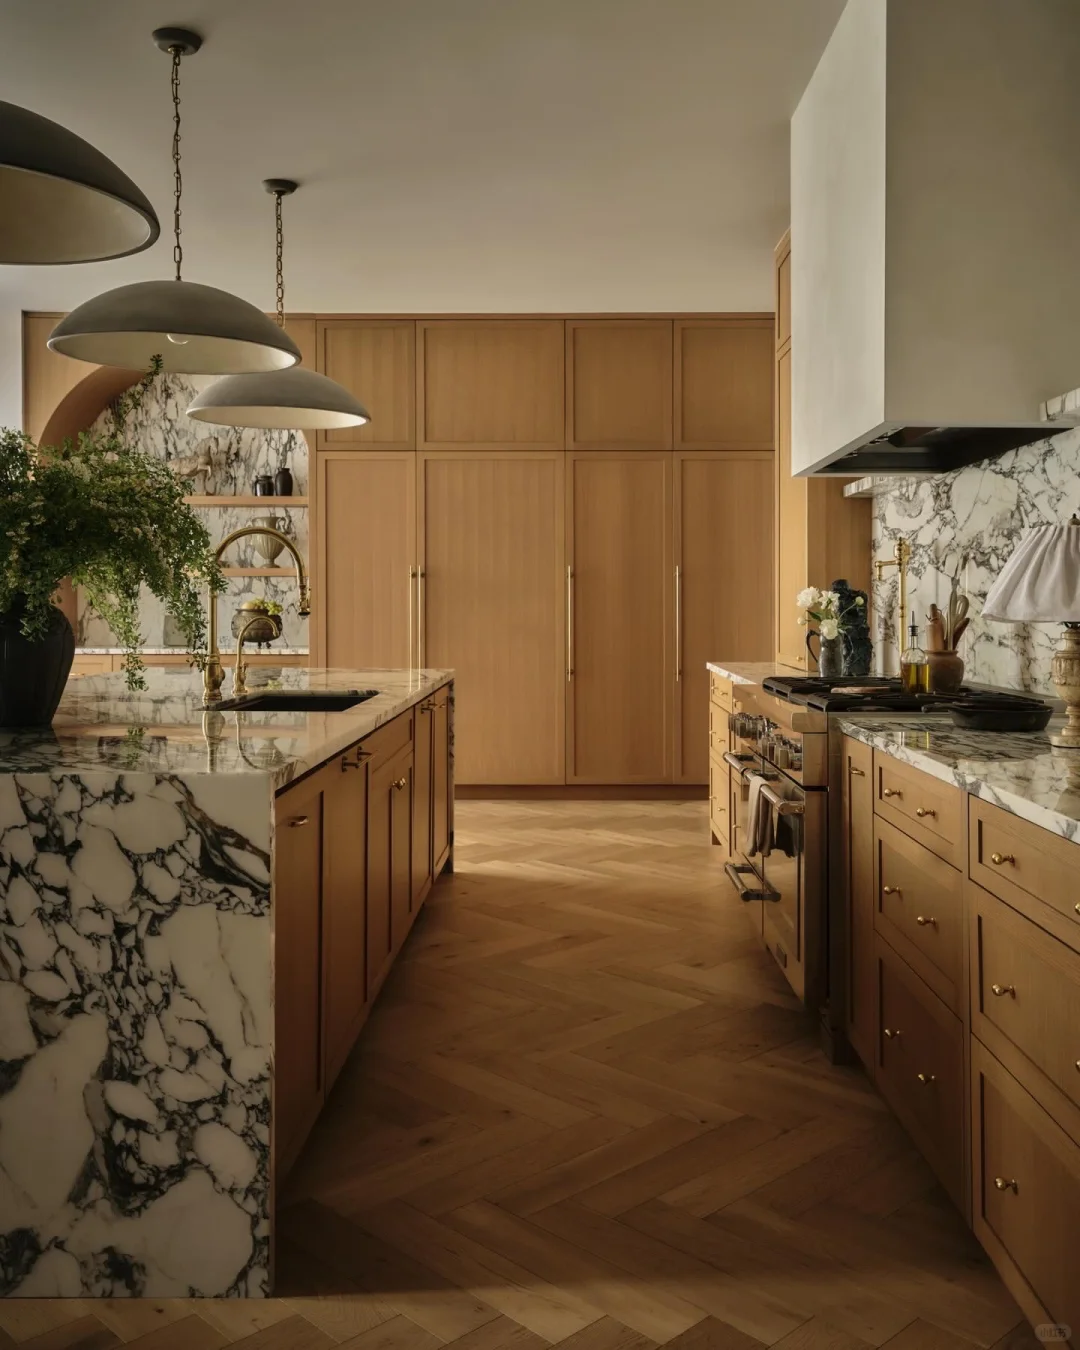
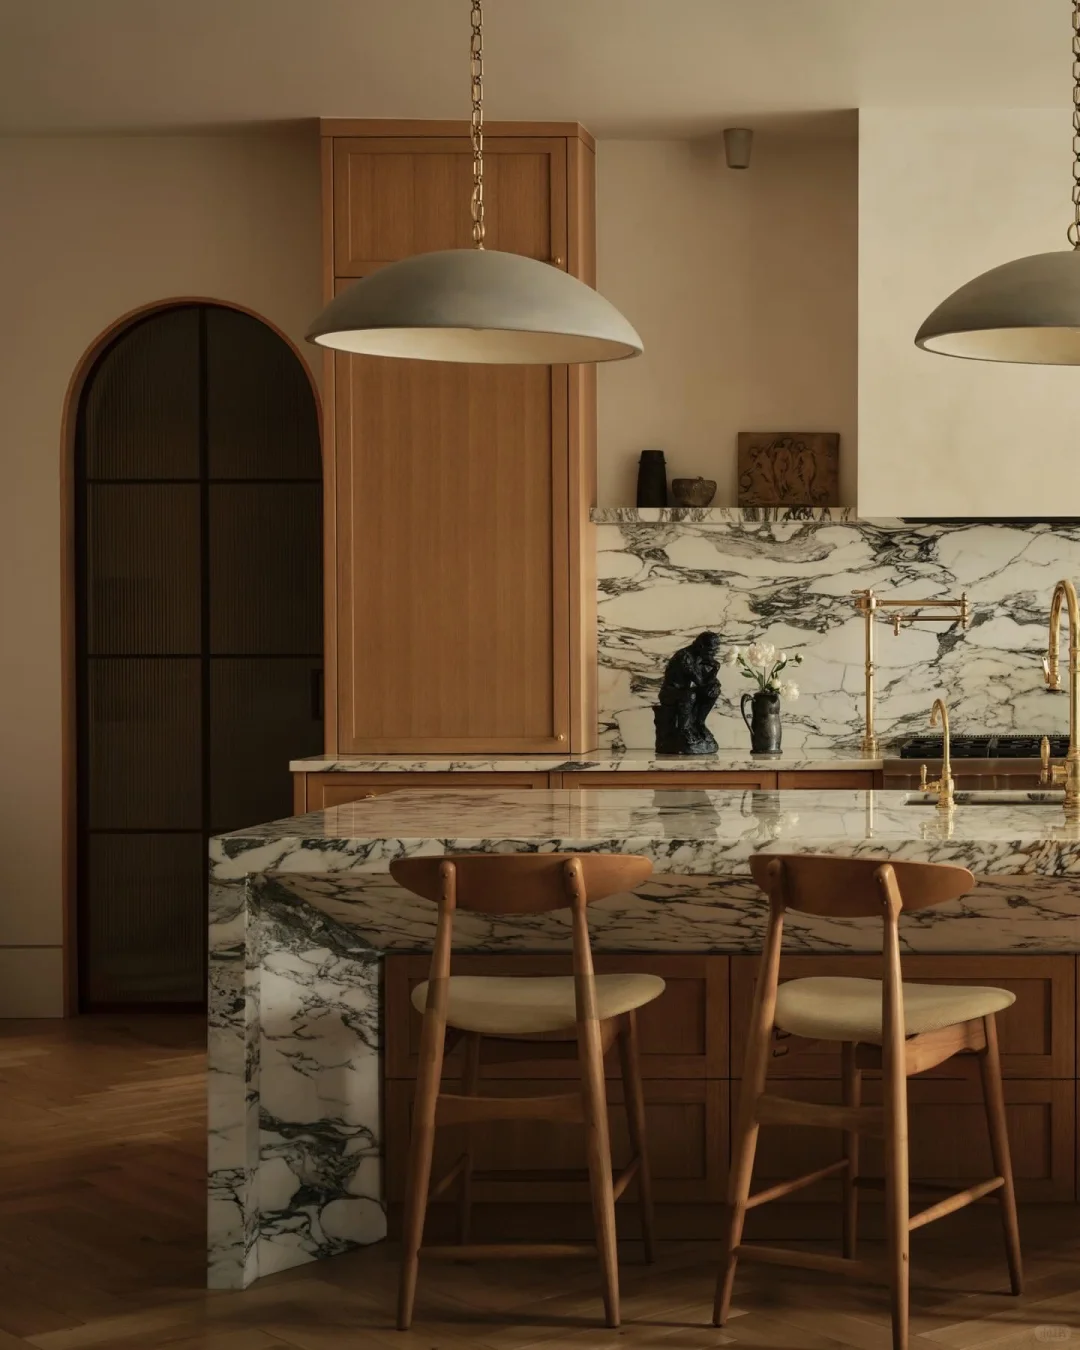
Test a contrasting veneer against the same floor
Option B keeps the floor and cabinet layout unchanged but gives the doors a clearly different lightness. Try a darker finished oak against a light floor, or a lighter veneer against a darker floor, according to what the supplier can provide. Compare an actual finish sample rather than assuming that walnut must be dark or oak must be pale.
Look for a contrast you can describe consistently from the entrance and dining area. The cabinets might form the darker element while the floor remains the lighter background. Review that relationship with the surrounding wall and worktop samples. A restrained neighbouring surface can help you assess the two woods without adding another competing pattern to the comparison.
Do not change the floor colour, exposure or lighting between the two proposal images. Otherwise a preferred rendering may reflect its brighter presentation rather than the veneer choice. Use the same viewpoint for both, and inspect physical samples before choosing. A deliberate contrast is useful only if the actual cabinet finish works with the retained floor in person.
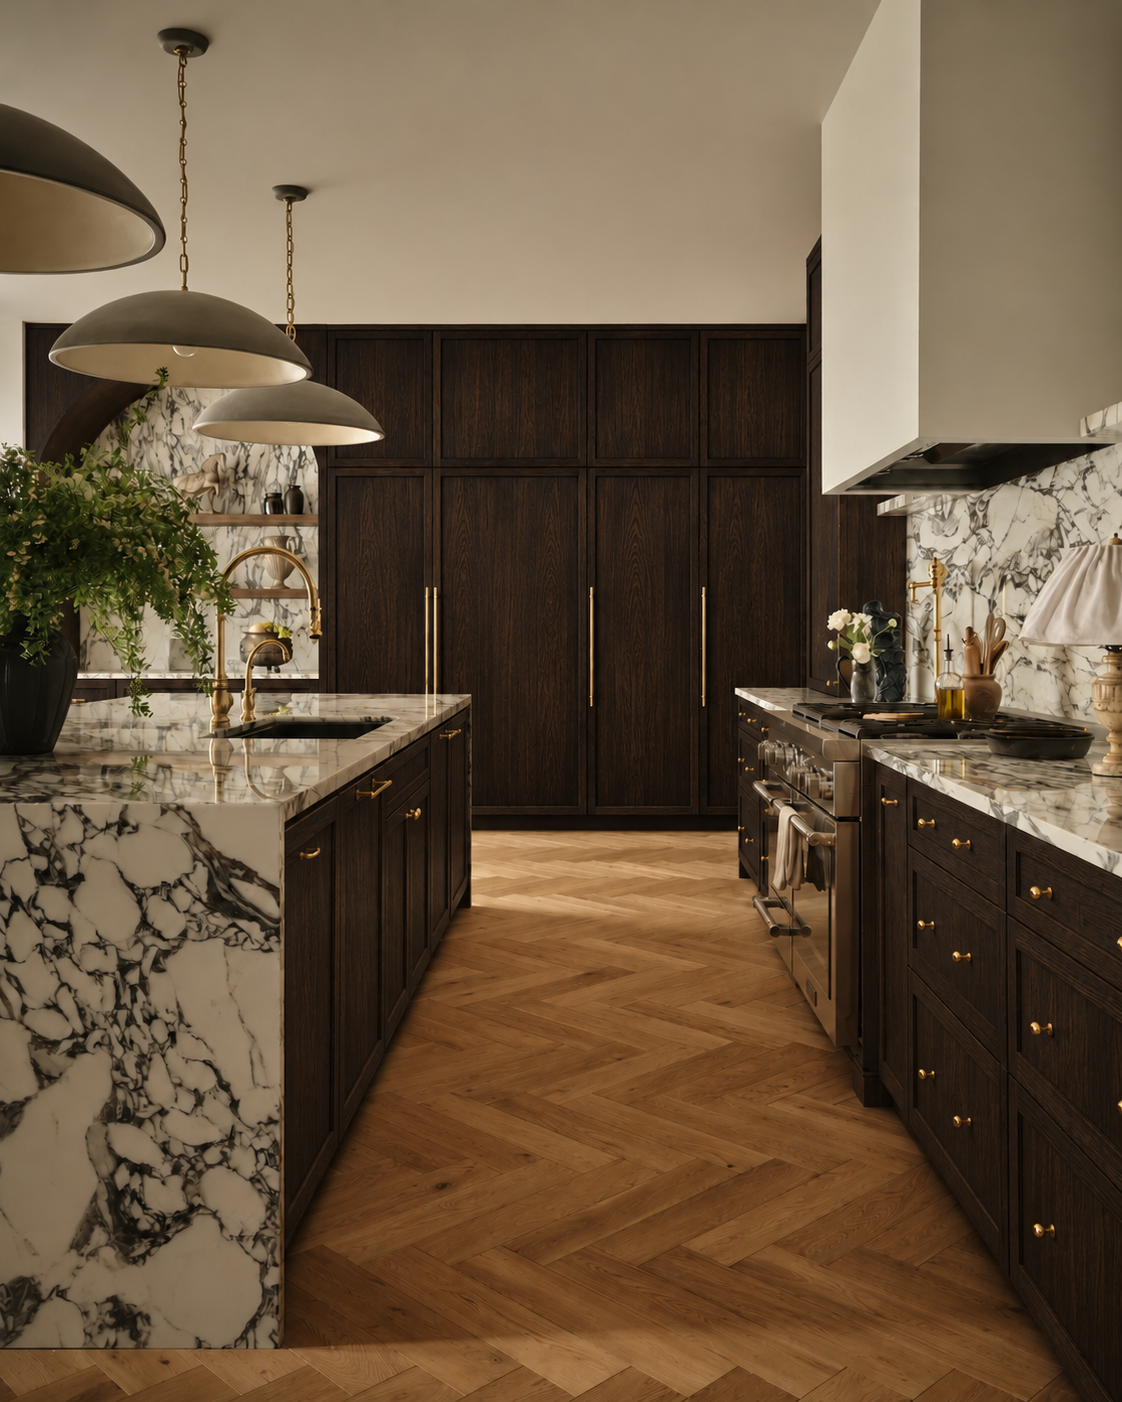
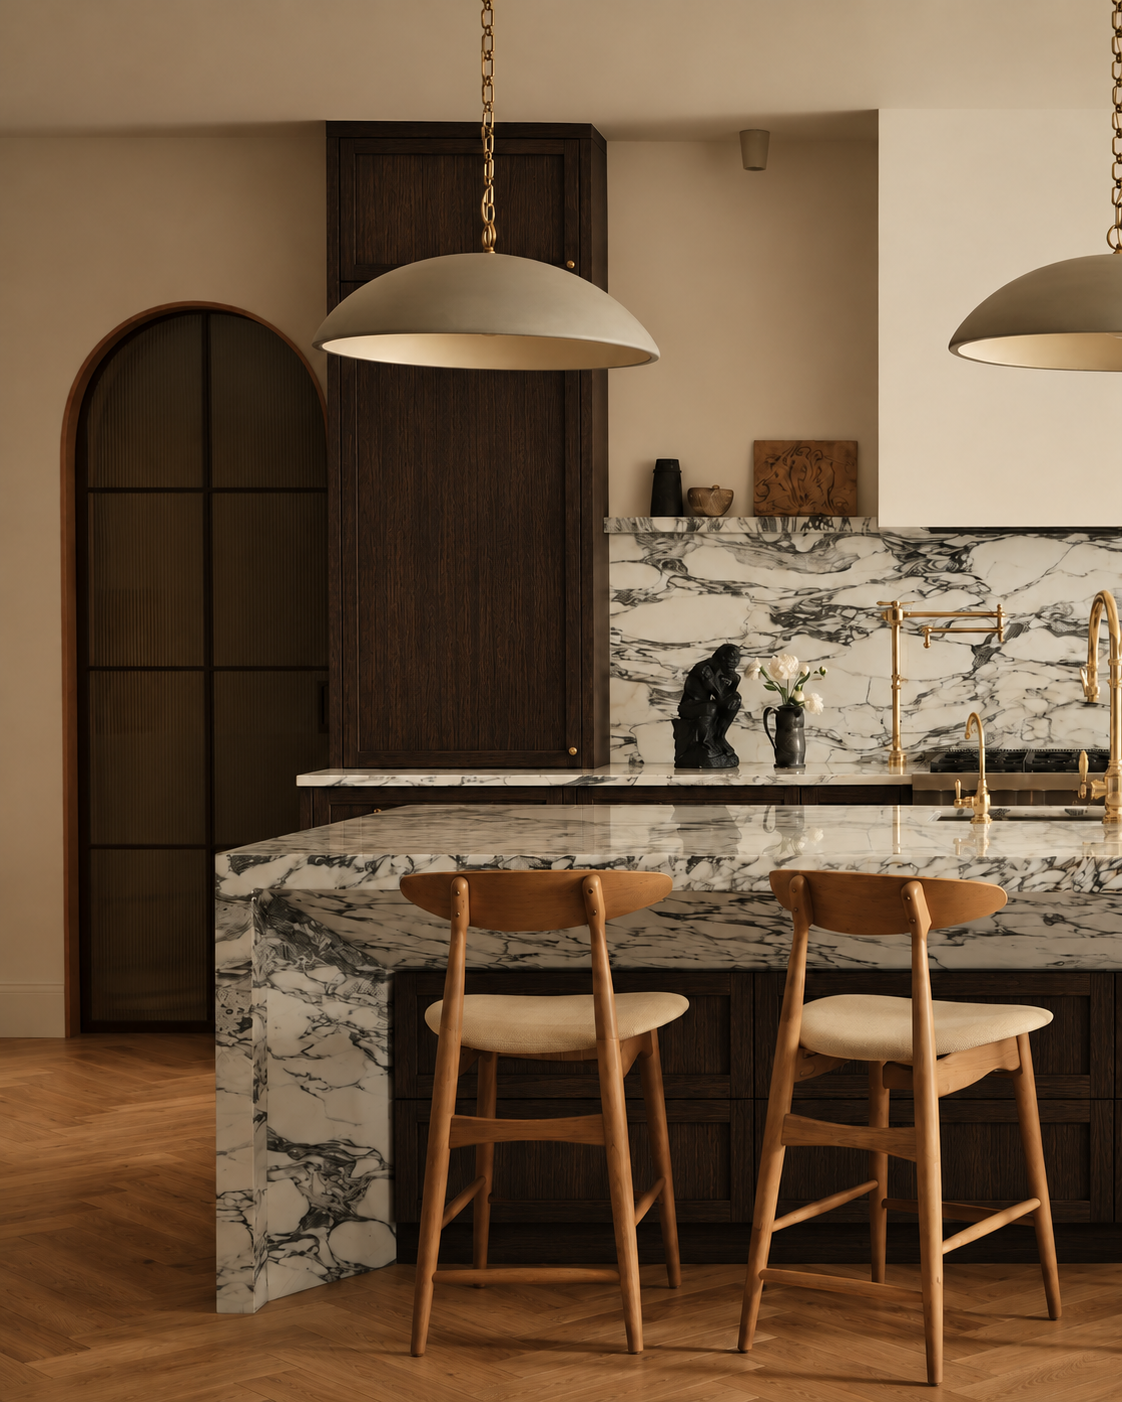
Compare both veneer options in the kitchen lighting
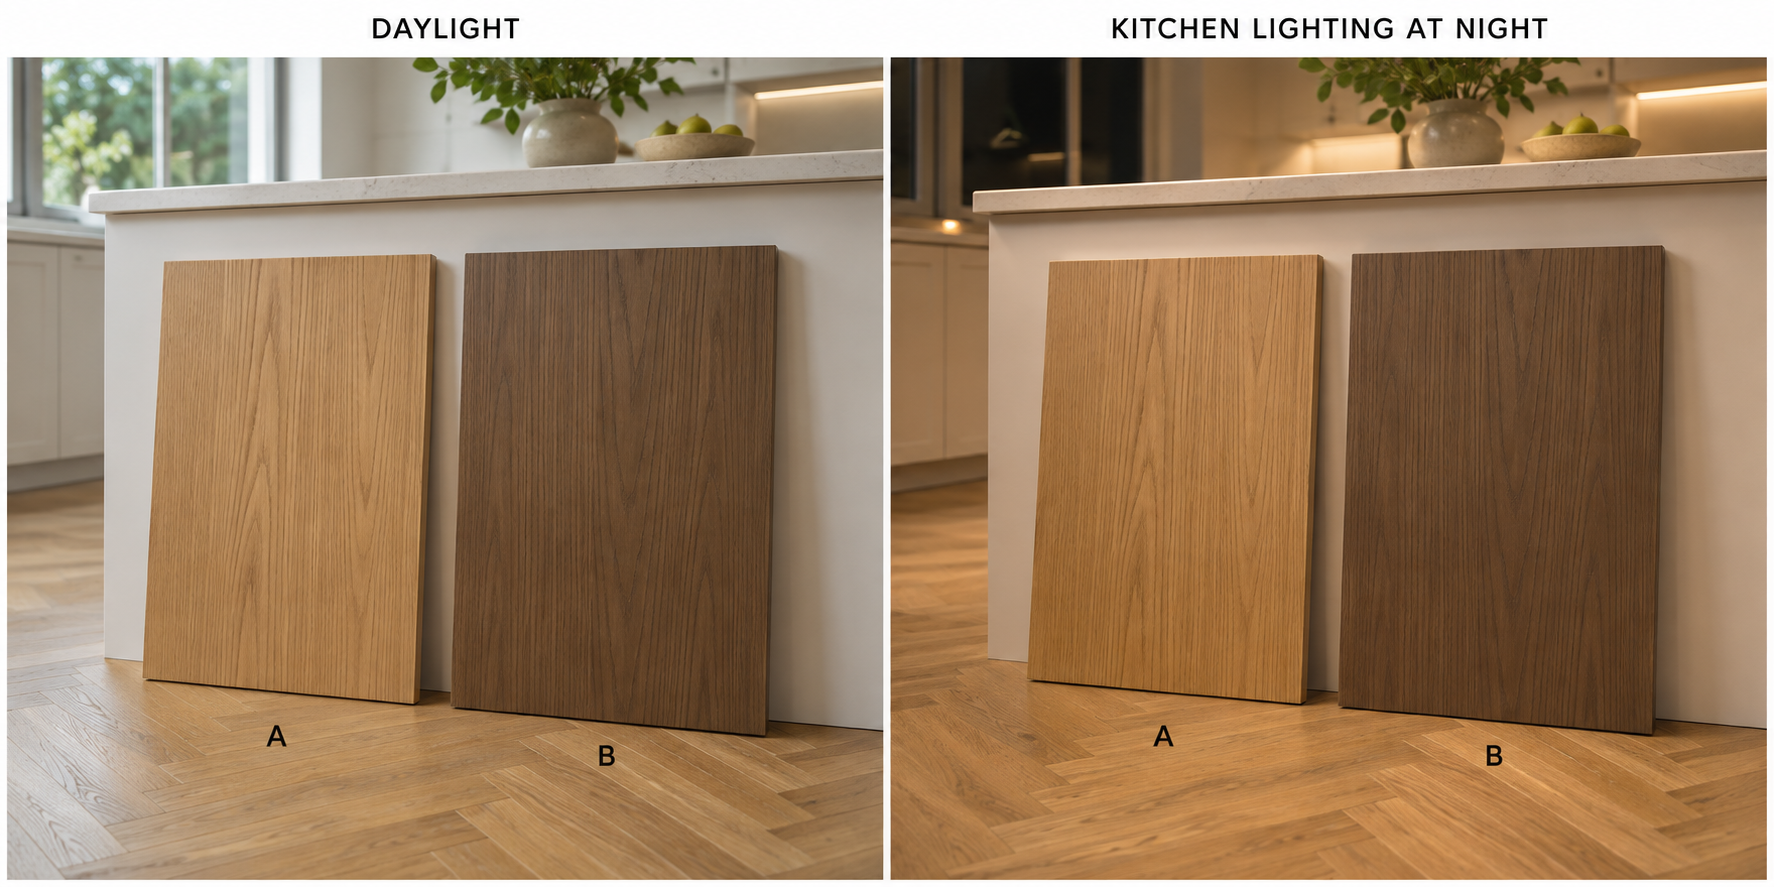
Compare both options after their proposed stain and coating have been applied. An unfinished veneer offcut does not show the final combination of colour, sheen and texture. Ask for samples made with the intended finish system, label them A and B, and keep their orientation and positions consistent while viewing them against the floor.
Review the samples in daylight and with the kitchen lighting you expect to use after dark. Include the working lights beneath wall cabinets if they illuminate the doors or floor. Move the samples between a bright and a shaded cabinet position. Record where a near match becomes less convincing or a contrast feels stronger than you wanted.
Use photographs to record the comparison rather than to approve the colour by themselves. Keep both samples and the floor in the same frame and avoid different filters or exposure settings for each proposal. Bring the worktop and wall samples into the final review. Choose the relationship that remains acceptable across the conditions in which you use the kitchen.
Compare cabinet grain direction with the floorboards
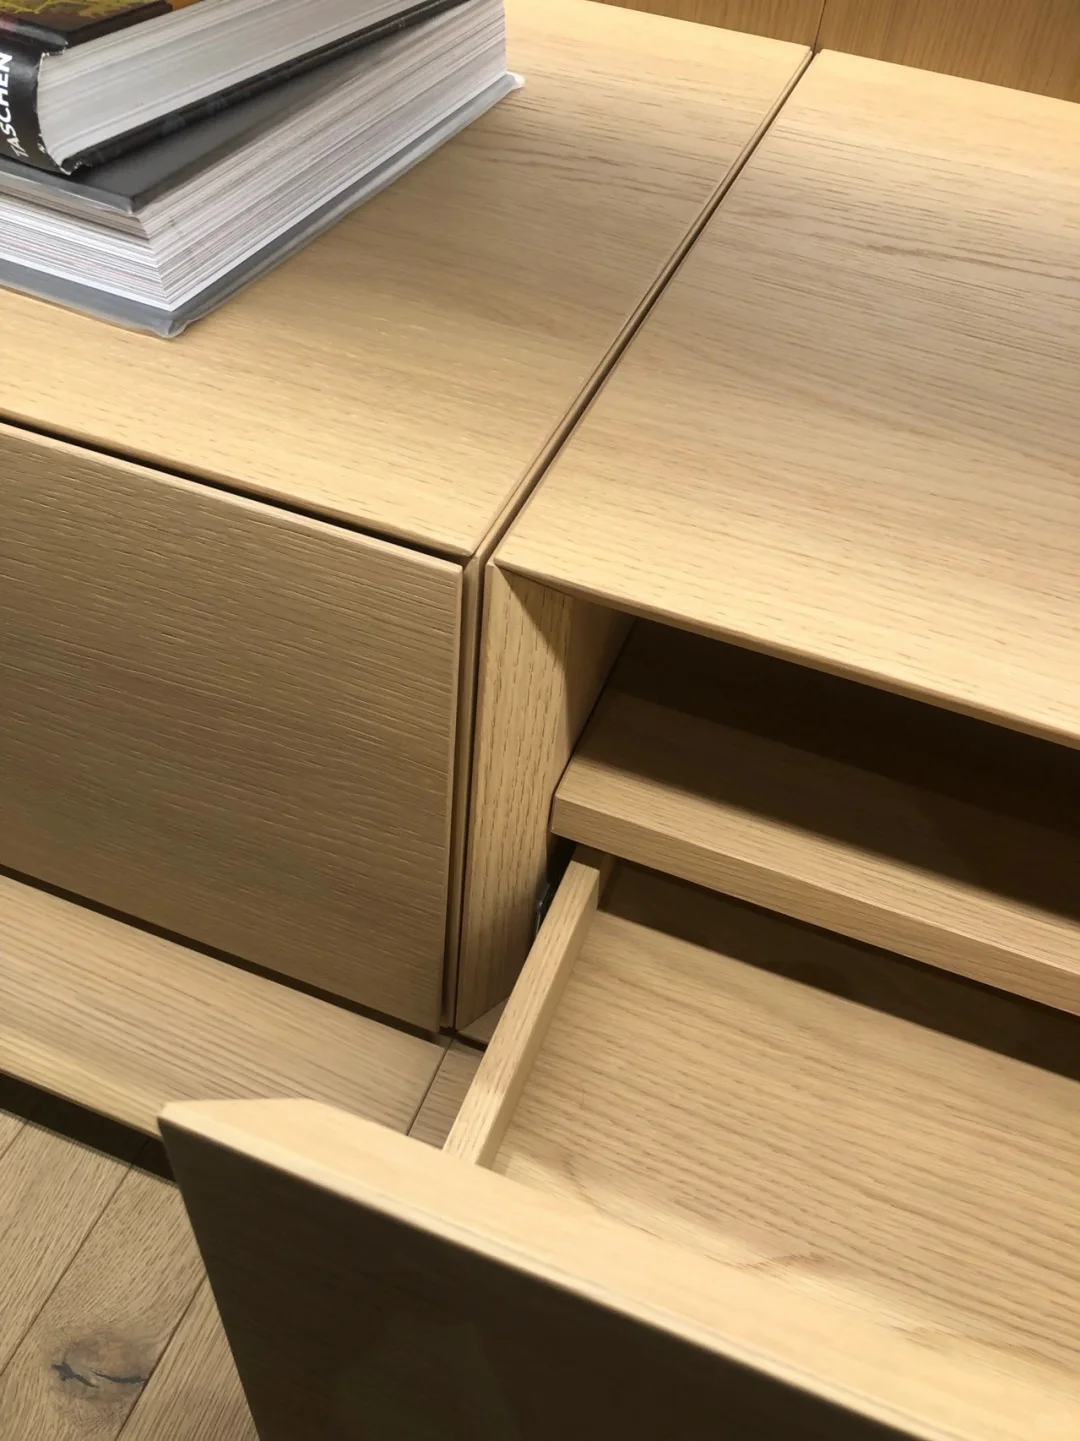
Colour is only part of the relationship between veneer doors and a wood floor. Compare the strength and scale of their patterns too. Ask the supplier to show the proposed veneer grain on a full door and across adjoining fronts. A small attractive patch does not reveal how several doors will look beside a floor with pronounced knots or contrasting boards.
Mark the proposed grain direction on the cabinet elevations. Check vertical tall doors, drawer fronts, exposed end panels and the island back against the direction of the existing floorboards. Grain does not have to run parallel to the floor. The point is to choose the arrangement deliberately and show where a change of direction will occur.
Lay out several sample fronts in their proposed order before approving the veneer. Inspect the transitions at drawer stacks and cabinet corners, and ask which patterns can realistically continue across separate parts. If you want matched or sequenced veneer, describe the required area and obtain the supplier’s proposal. Do not assume a single colour code also specifies the grain arrangement.
Approve veneer variation before ordering the cabinets
Compare several veneer samples with the floorboards and ask to see the expected colour and grain range, including planned batch pieces where available. The same batch does not guarantee identical colour.
Approve the near colour or contrasting option across that range. Agree the placement of lighter and darker fronts, how outlying pieces will be reviewed, and keep labelled reference samples.
For an Arcaya enquiry, send floor photographs, cabinet elevations and both finish options. Record the chosen veneer, stain, coating, sheen, grain direction and sample references for all visible parts before manufacture.