Give each cabinet a stable identity
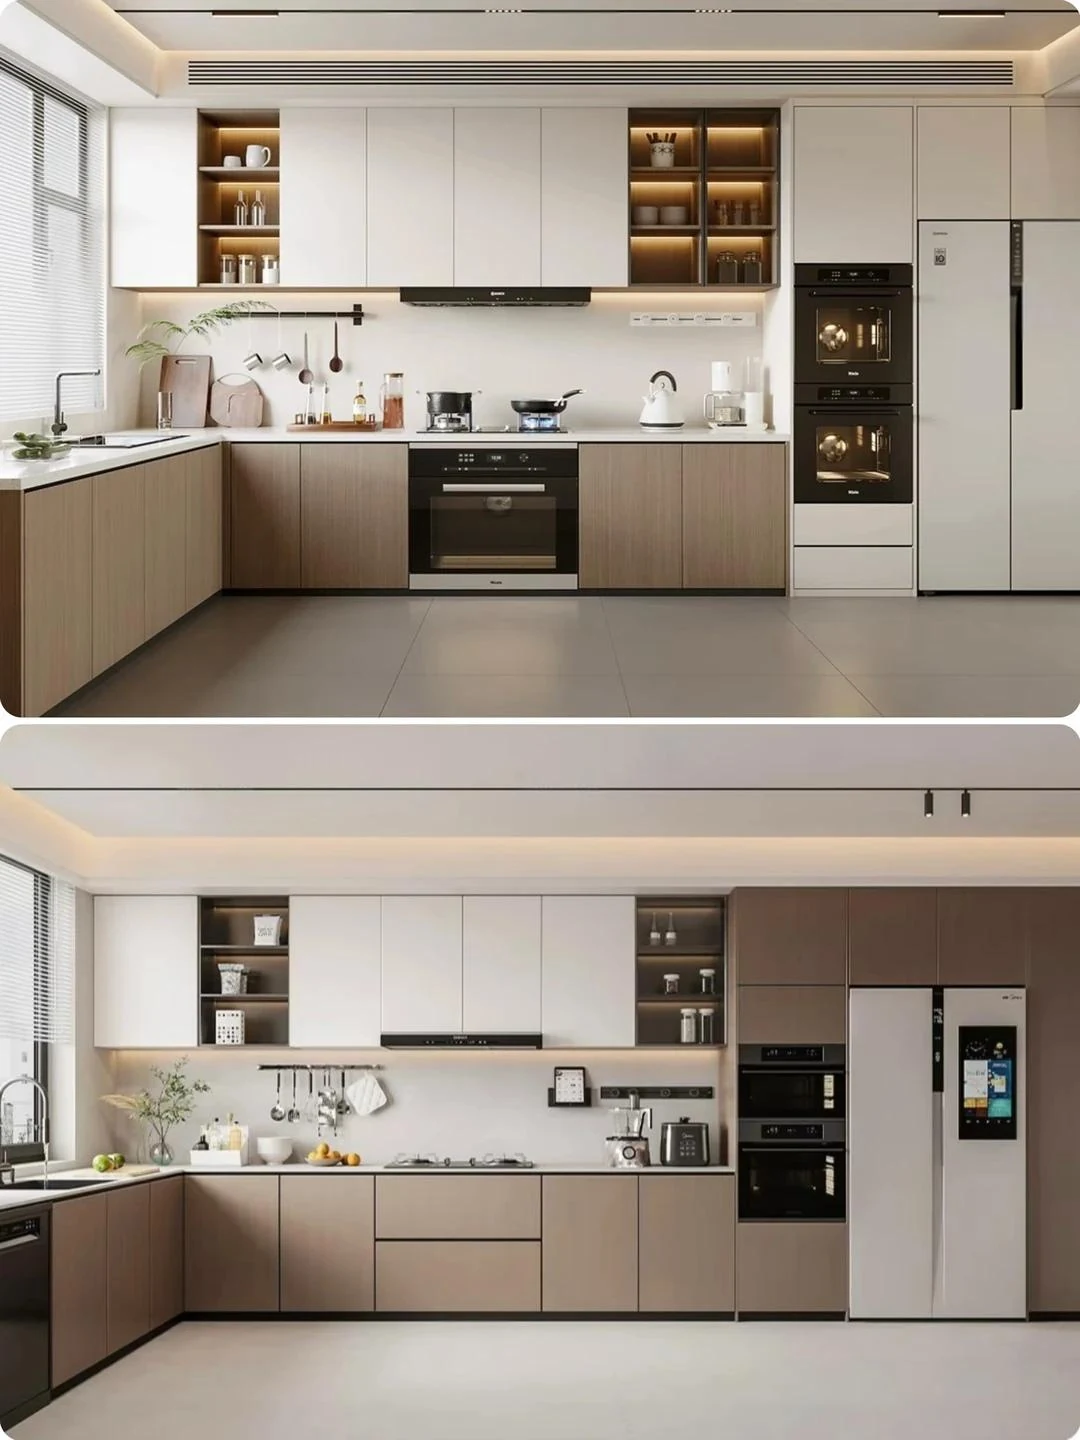
Start with the room and cabinet reference. A code such as K-B01 is useful only when the same code appears on the plan, elevation, quotation and packing information. Record the quantity and the current drawing revision beside it. If two units look similar but have different interiors or visible sides, give the difference an explicit reference.
Keep the dimensions unambiguous. State the units and the order in which width, height and depth are written. Clarify whether a dimension includes the front, a service space, a toe kick, a countertop or a decorative panel. A comparison becomes unreliable when one supplier quotes the carcass depth and another describes the complete finished assembly.
For an existing room, identify the measurement status. A preliminary plan is useful for an initial proposal, but production information needs a defined verification route. Record who checks the site, who coordinates appliances and who accepts the final drawing package. The dimension guide provides a framework for these conversations without treating a planning range as an approved production size.
Read the cabinet as a set of components
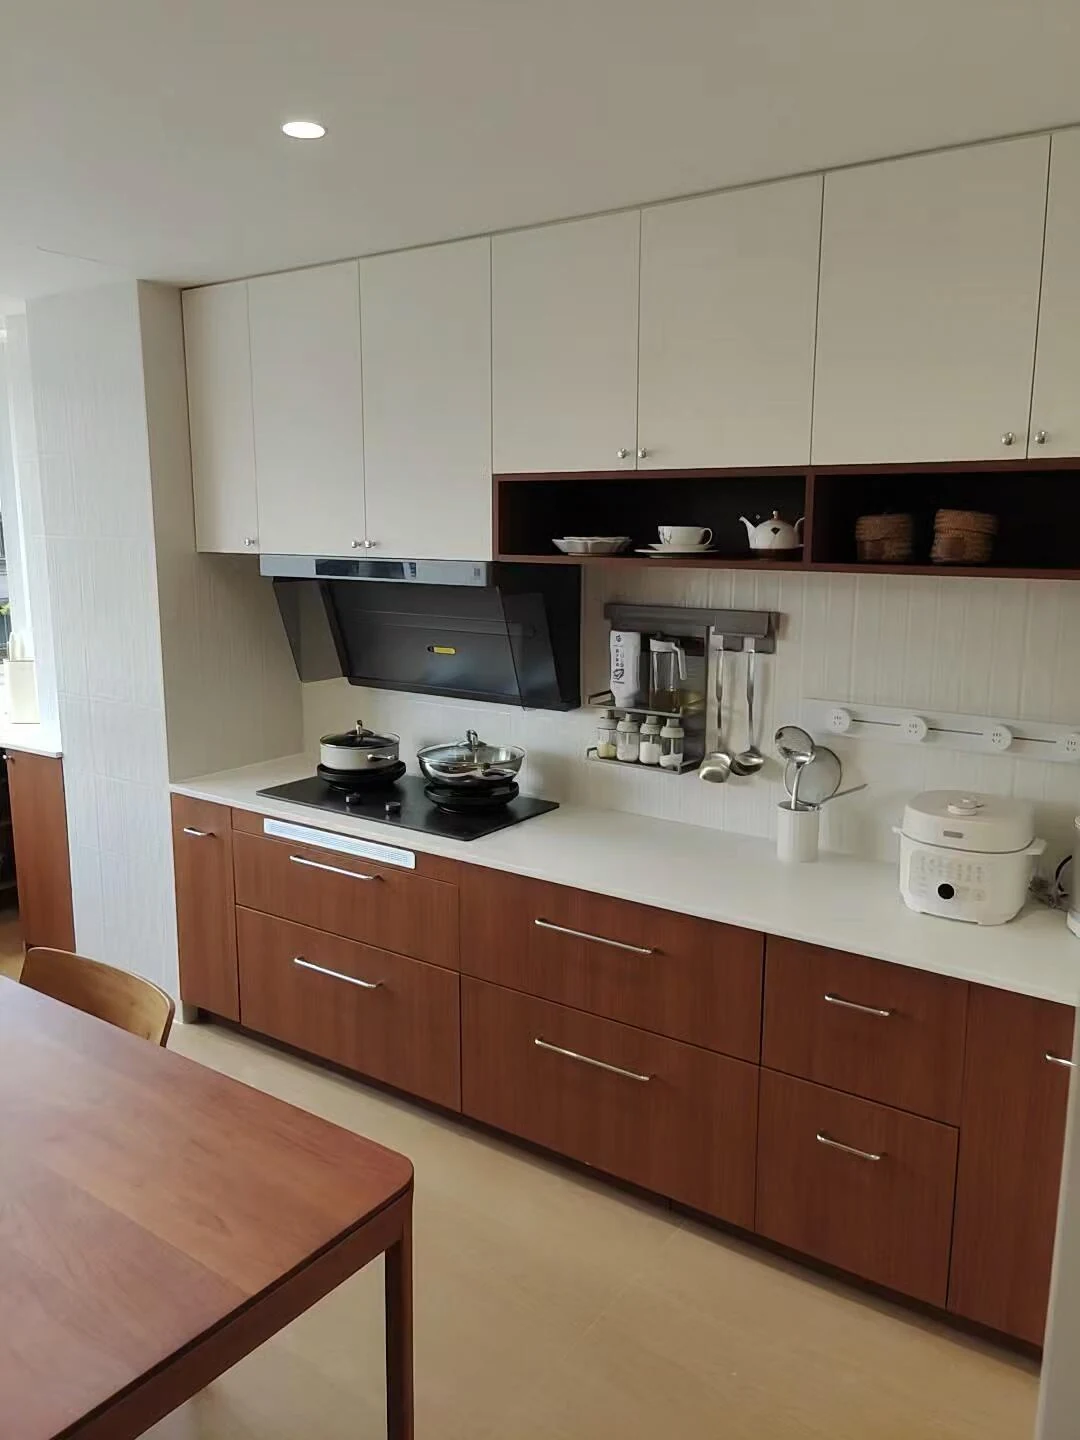
Separate the carcass sides, top or rails, bottom, back, shelves, doors, drawer fronts and exposed panels. Ask for the material, thickness where applicable, surface and edge treatment of each component. A description of the main box does not automatically describe its back or the drawer bottom. Make exceptions visible rather than trying to infer them from the product name.
This is also the point to distinguish appearance from structure. A timber-look front might use a decorative surface over an engineered core. A natural veneer is a surface layer with a separately specified substrate. A painted framed door may contain more than one material. Describe the assembly that will be supplied instead of choosing a single label for every part.
Use the same approach when reviewing a value-engineered option. Ask which component changes and which ones stay within the original specification. A proposal can then be assessed against the relevant performance, appearance and maintenance requirements. The boards and emissions guide explains why the core, face, edge and documentation should be considered separately.
Match the specification to the location
Different cabinet locations expose different details. At a sink base, ask how plumbing penetrations, cut edges, the cabinet bottom and access for maintenance are resolved. Beside an appliance, coordinate the manufacturer's ventilation and clearance requirements. At a visible island end, identify the finish and front-to-panel junction that the room will actually show.
For a wall cabinet, review the hanging arrangement with the installer and the wall construction. For a long shelf, identify its intended contents, support arrangement and any intermediate support. The material name alone does not resolve the complete installation or loading condition. Ask the project team to establish the relevant design assumptions rather than copying a generic shelf dimension.
| Location | Information to make explicit |
|---|---|
| Sink base | Cut edges, plumbing access, cabinet bottom and water-management details |
| Appliance surround | Model reference, opening, ventilation, clearance and removable access |
| Wall cabinet | Hanging arrangement, wall fixing responsibility and backing information |
| Island seating side | Visible finish, joints, support and usable legroom |
| Tall pantry | Internal fittings, opening envelope, access and intended contents |
| Bathroom vanity | Basin and trap positions, drawer cut-outs, edges and splash interfaces |

Follow the edge as carefully as the face
Ask which edges are visible, which are banded and how the treatment changes at cut-outs or handle details. The front face is only part of a door sample. Look at the top, bottom, corners, back and opening edge. On a cabinet interior, examine the junctions around a shelf support, a fitting or a service opening as well as the largest visible surface.
Record the edge material and appearance where these are part of the agreed specification. If a supplier describes a particular bonding or edging process, ask which components it covers and how the result is accepted. A broad process name should not stand in for a finished sample or a clear description of the supplied assembly.
Do not convert moisture-resistant into waterproof in the schedule. Establish the intended application, the product information and the way vulnerable interfaces will be protected. Site plumbing and countertop joints also belong in the conversation. A cabinet component cannot compensate for an unresolved leak, service connection or installation detail elsewhere in the room.
Specify movement with the front and interior together
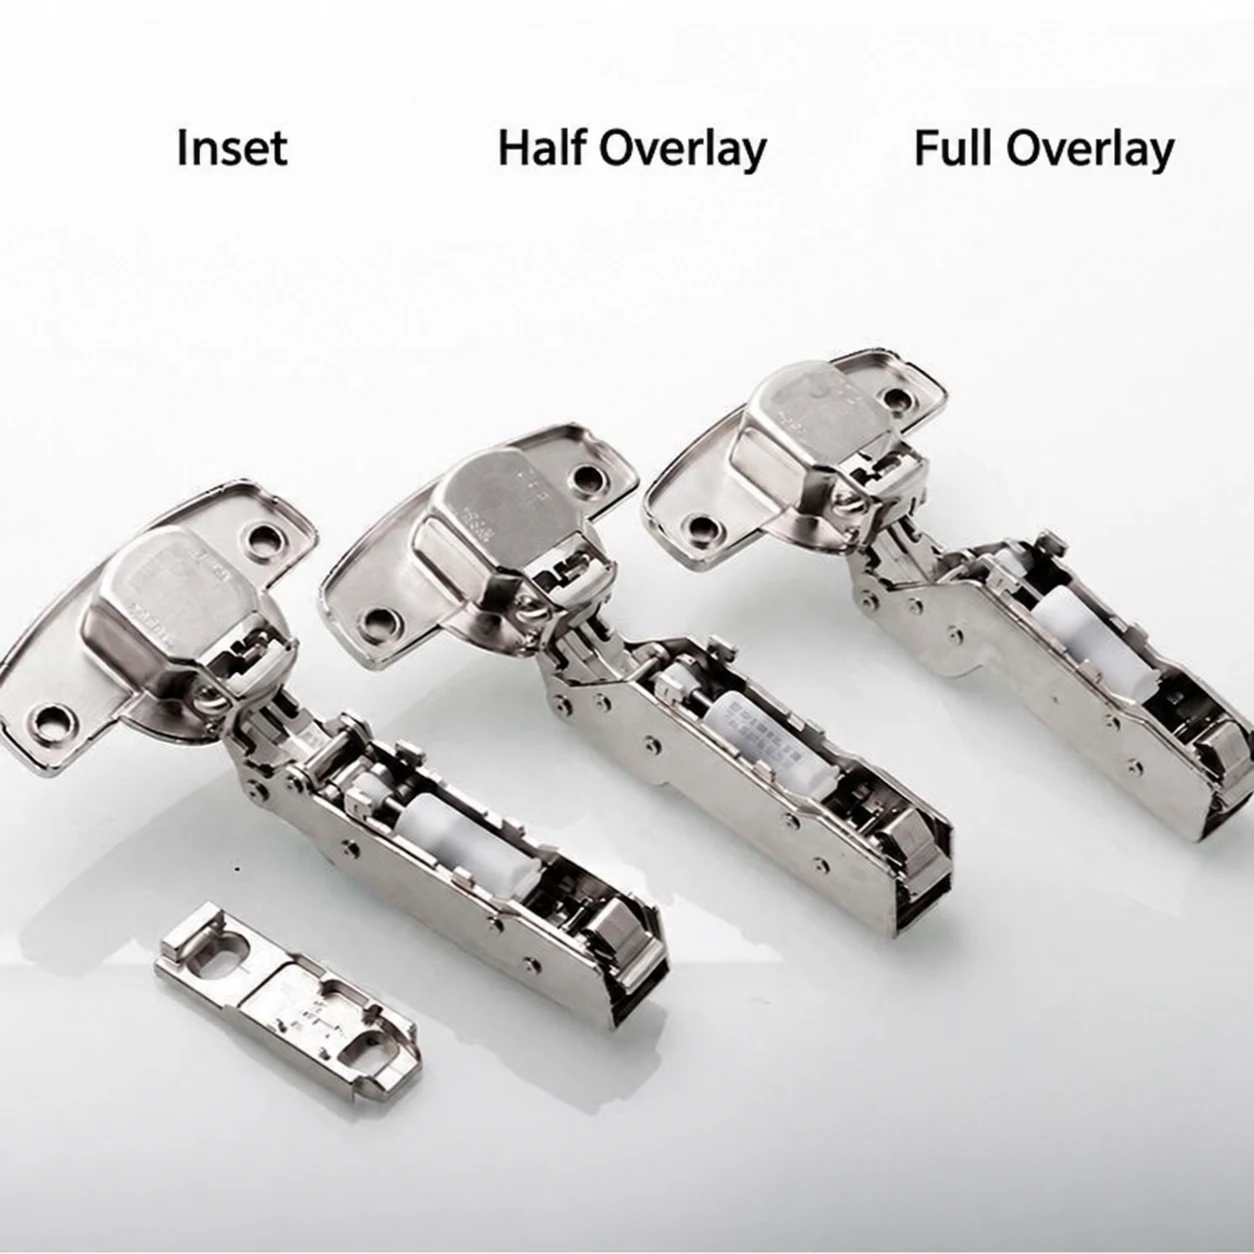
For each door or drawer, identify the opening method and fitting schedule. Record the brand and series where selected, the relevant product reference, the intended application and the included accessories. Soft-close, push opening, an integrated grip and a separate handle describe different parts of the opening experience. State which combination is intended for the actual cabinet.
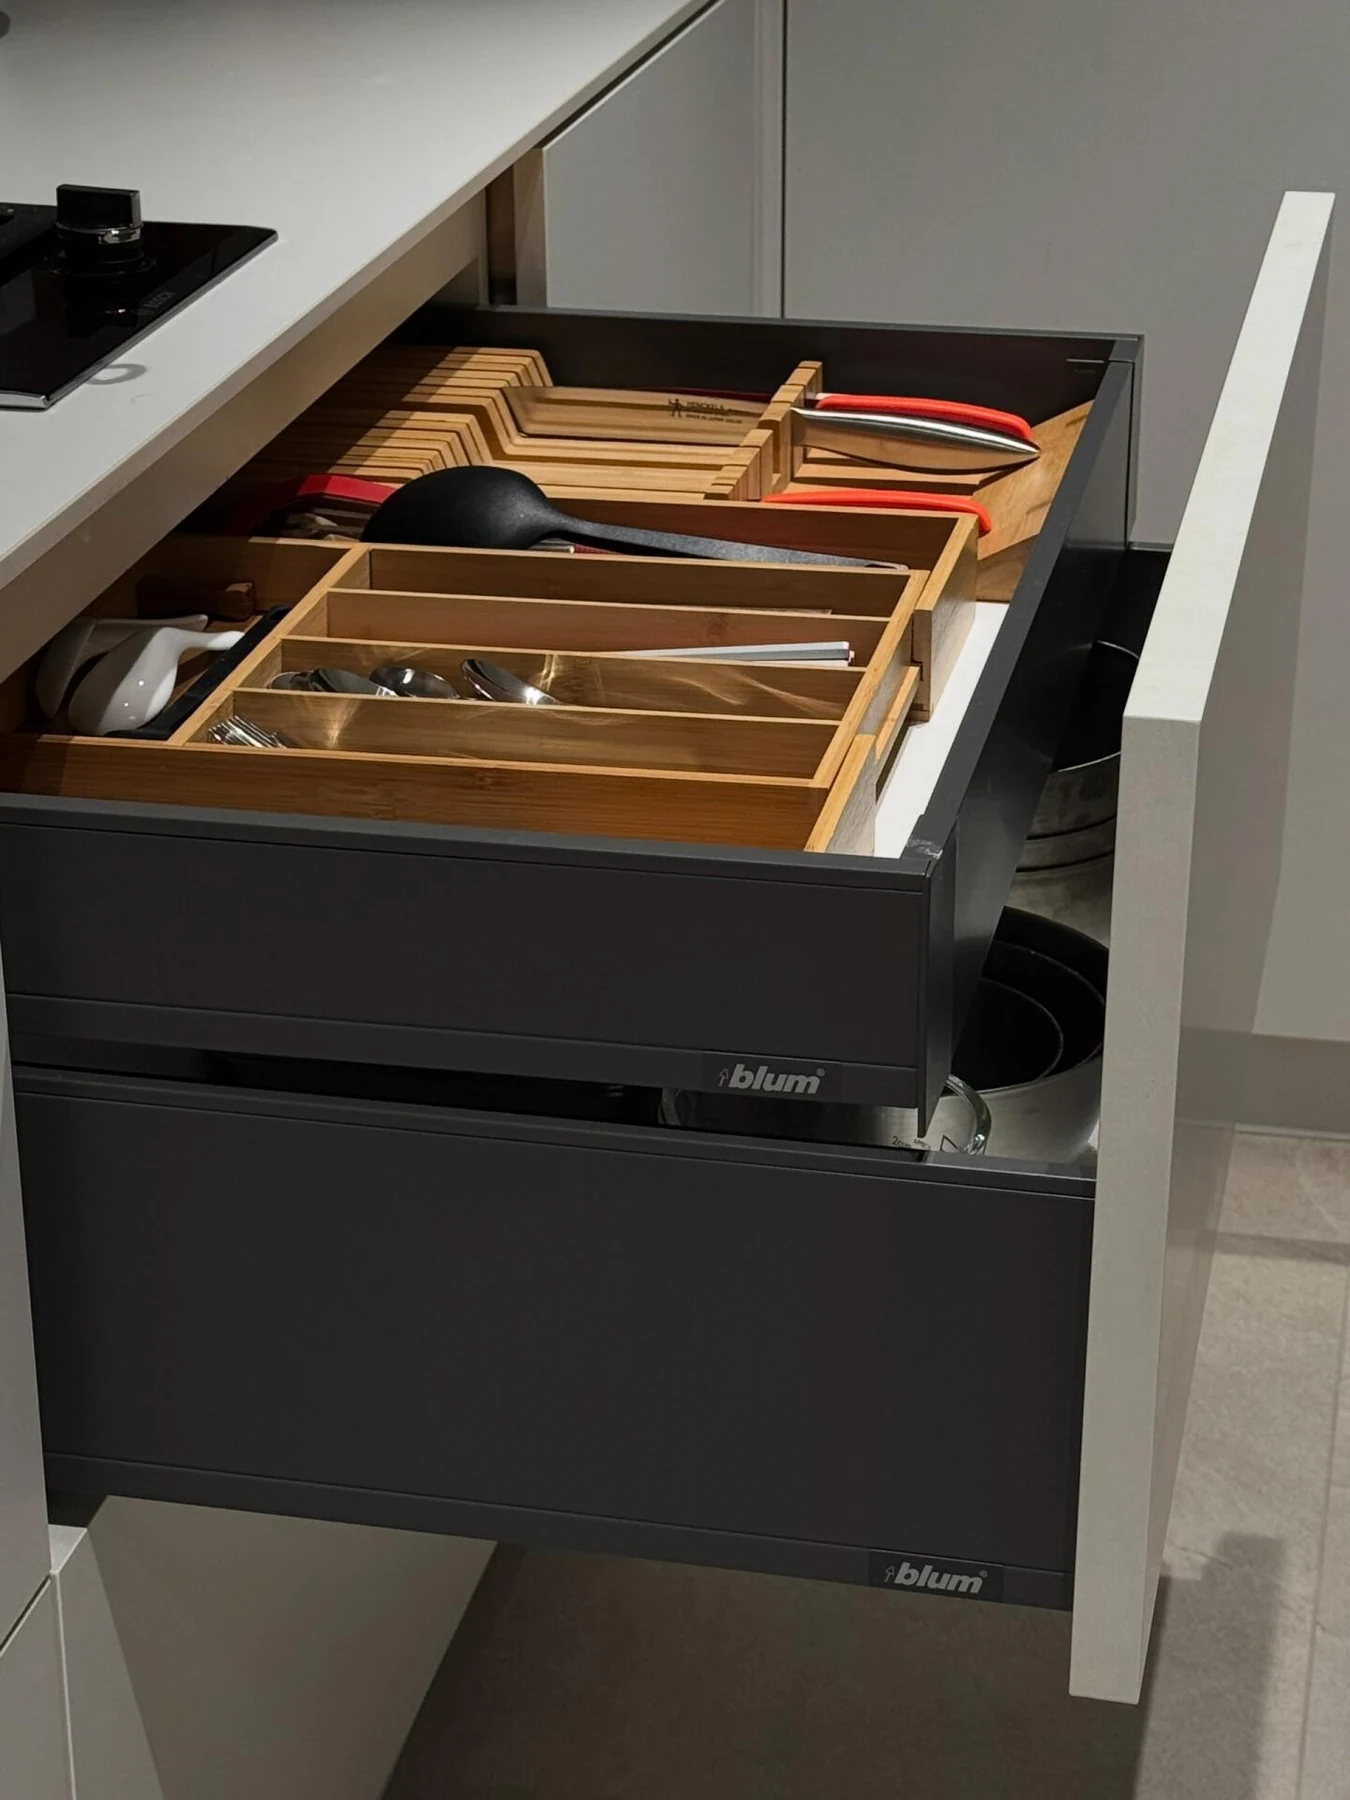
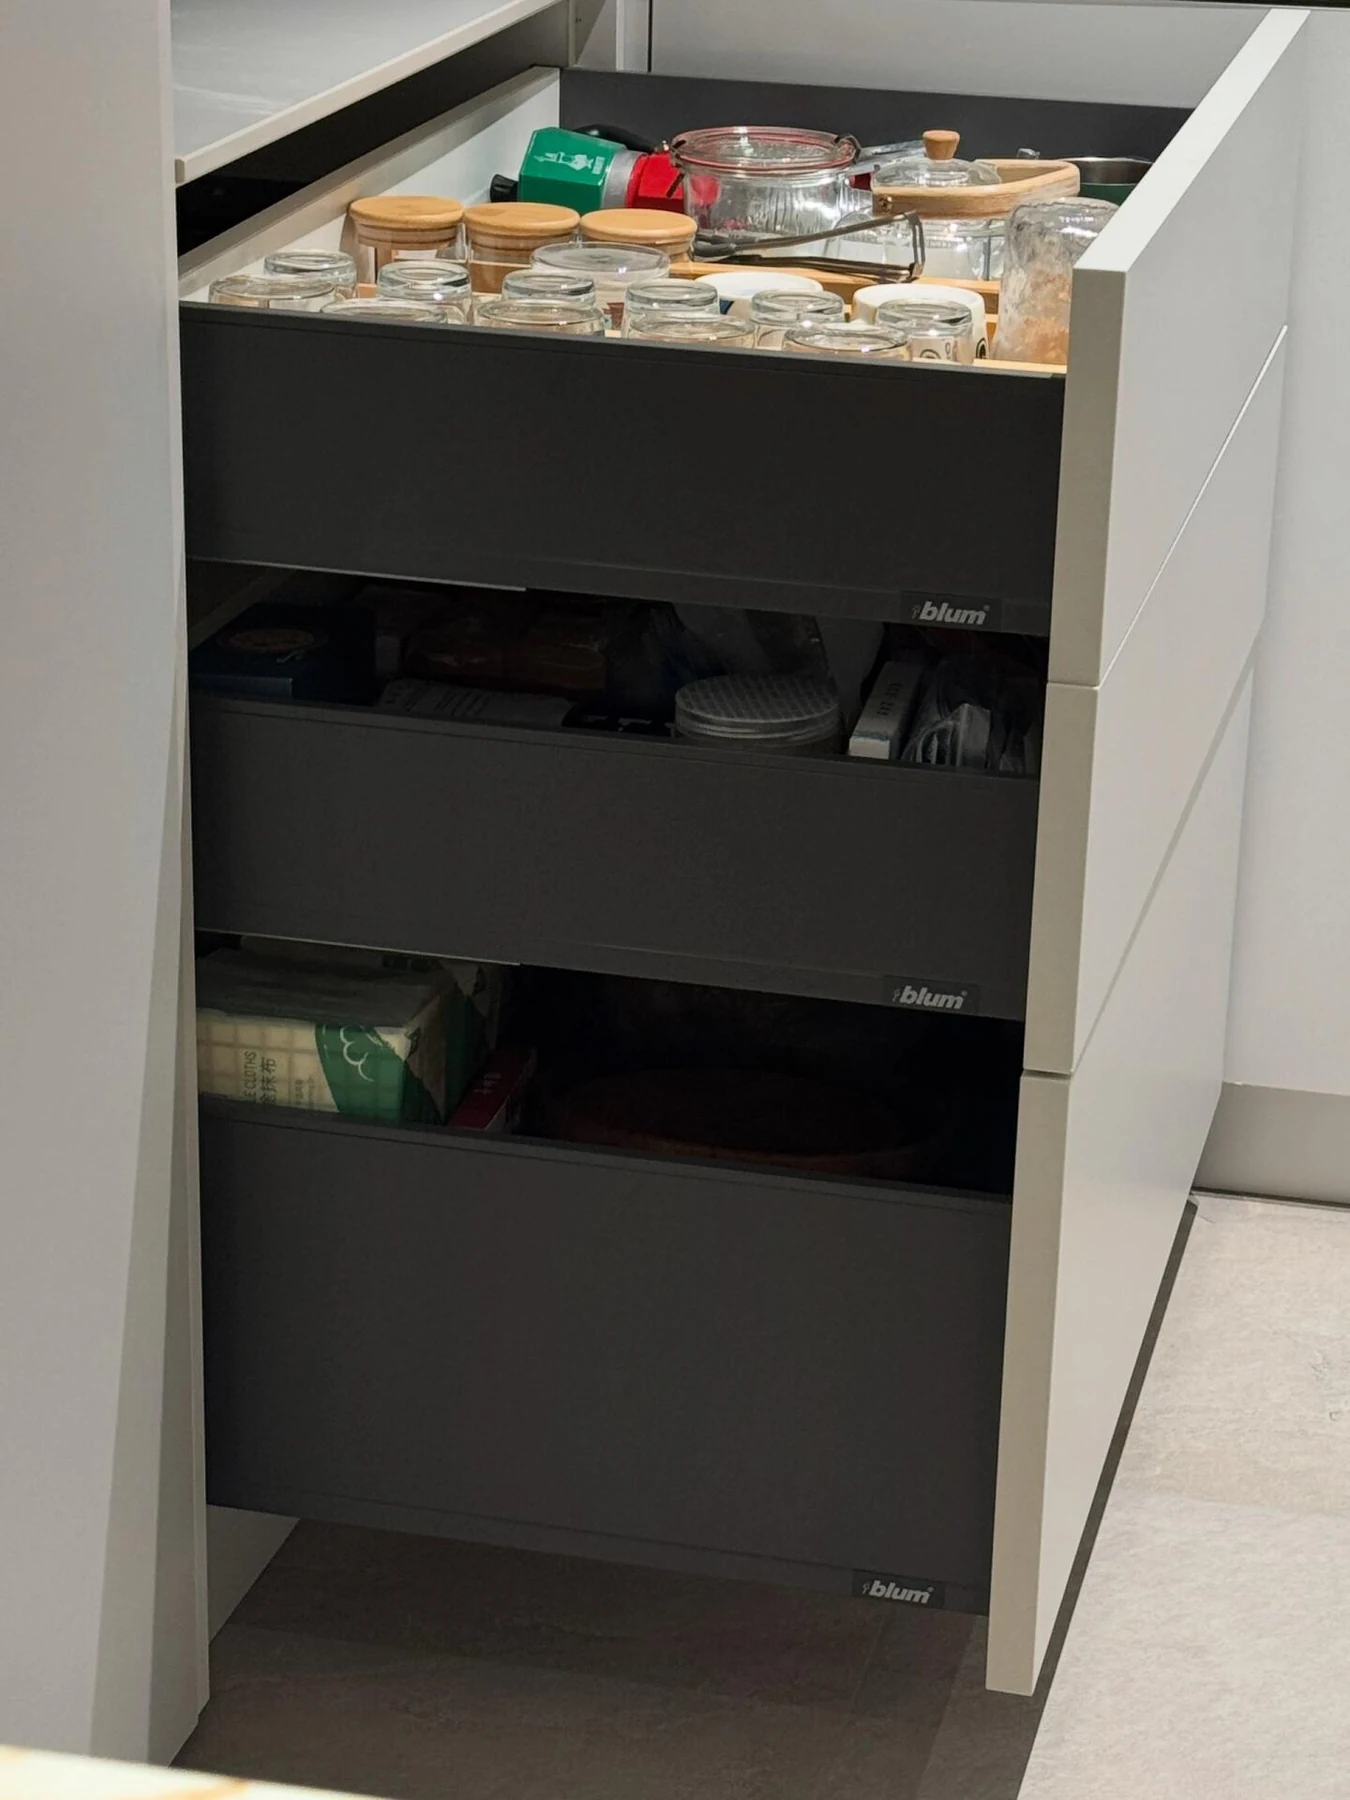
Check the interior with the front open. Internal drawers can conflict with hinges, a pull-out can meet an adjacent handle, and a corner fitting can occupy space that a closed elevation hides. Review these conditions on the drawings or through an appropriate sample. Decorative fronts and practical storage need to fit the same cabinet envelope.
Include drawer-box construction and internal organizers as separate entries. A slide description does not automatically include a cutlery tray, waste bin or specialized storage fitting. Ask whether an accessory is included, optional or excluded. The hardware guide gives a fuller schedule, and the visual detail library shows examples to discuss in a brief.
Define the finish beyond the color name
A finish entry should connect the substrate, door construction, face treatment, edge and reverse side. Add the color or material reference, sheen, grain direction where relevant and approved sample identification. For a framed front, review internal corners and the junction between the frame and center. For a plain front, review the opening edge and the way adjoining panels meet.
Keep material families distinct. A PET-faced board, a painted front, a veneer with a clear finish and a formed foil front are different assemblies even when a small photograph makes them look similar. Ask for the actual surface product or finishing system being offered, together with its application and care information. Read the finish-system article when the quotation uses a broad term such as lacquer.
Agree how samples will be used to judge the finished order. Note the viewing conditions, the reference sample and how natural timber variation or finish variation will be discussed. A screen image is useful for choosing a direction, but it is a weak reference for a final color or texture decision. Carry the approved physical sample reference into the schedule.
Ask for evidence that matches the claim
Separate emissions documentation, product performance evidence and any project-specific certification requirement. For the United States, EPA identifies hardwood plywood, MDF and particleboard as regulated composite wood categories and describes requirements for finished goods containing them. Check that the documents relate to the material and supply chain proposed for the order. EPA's guidance explains the scope.
A reference to KCMA A161.1 is a different matter: KCMA describes testing of cabinet construction, operation and finishes. If certification is required, ask for evidence of the applicable certified product; the words tested to a standard do not by themselves establish certification. Read KCMA's program overview.
Record who reviews each document and when it must be accepted. Do not leave the question until the goods are packed. Availability of a certificate for an Arcaya proposal is confirmed for the selected product and order; it is not established by this article or by a material photograph. Use the emissions article for the differences between commonly encountered labels.
Close the gaps before approving the order
Create a short exceptions register. For each open item, record its cabinet reference, the question, the person responsible and the decision needed. An unresolved finish, omitted end panel or unspecified fitting should remain visible. When a decision changes the order, update the quotation, material schedule and drawings together so that each document still describes the same package.
Before approval, check a few cabinets all the way through the documents. Follow one sink base, one drawer unit, one tall unit and one visible end. Confirm their identity, dimensions, construction, surface, hardware and inclusion in the price. This small cross-check often reveals whether the schedule is detailed enough to support the whole order.
Finish with a dated approval record and a clear rule for subsequent changes. Keep the approved samples and references available for inspection and handover. Download the cabinet schedule template if you need a starting format. Its purpose is to expose missing information and organize decisions; it does not replace coordinated shop drawings or the installer's site checks.
Questions before you approve
Does all-plywood identify every component?
Ask exactly which components are covered. The back, shelf, front, drawer box and exposed panel should each have an explicit description.
What should a hardware entry include?
The selected brand and series where agreed, product reference, opening method, application, included accessories and the cabinet to which the fitting belongs.
Can a surface name establish emissions compliance?
No. Check the relevant core, product and supply-chain documentation against the destination requirement. A face finish or appearance does not establish the supporting evidence.
Should unresolved dimensions be left blank?
Mark them as TO CONFIRM and identify the person responsible. Keep the provisional status visible until verified information is carried into the approved drawings.