
Compare matching veneer and plain door backs
A wood veneer kitchen can look consistent when closed and very different when its doors are open. The back of each door may have matching veneer, a contrasting decorative surface or another specified finish. That choice affects the view into the kitchen and the surfaces people touch while using it. Decide where matching matters before extending the same specification to every door.
Distinguish three separate surfaces on the drawing: the outward face, the inward face of the door, and the inside of the cabinet box. A veneered cabinet back or shelf does not establish what is supplied on the reverse of its door. Similarly, a description such as walnut kitchen usually leaves the reverse finish unresolved. Give each surface its own material and finish reference.
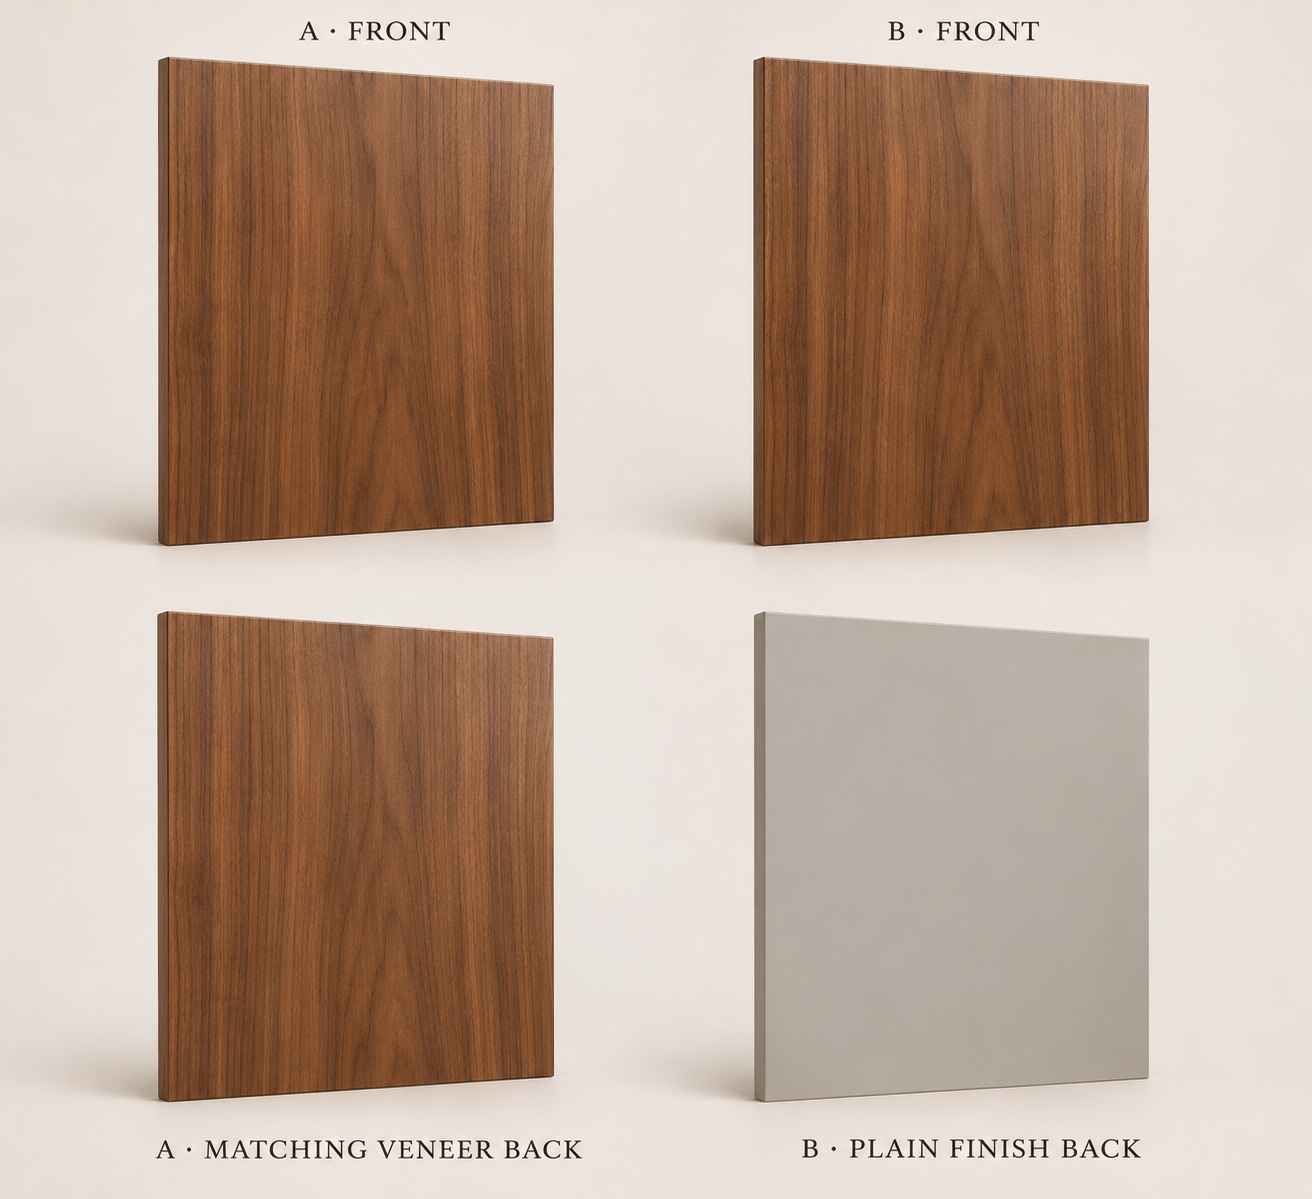
Use two complete door samples for the comparison. Option A has the chosen wood veneer appearance on both faces. Option B combines the same outward veneer with a named plain reverse finish. These are appearance briefs for the supplier to develop into suitable complete door constructions. Neither brief should be treated as permission to change a production panel without technical review.
Choose matching veneer for visible display doors
Start with tall display cabinets and cabinets deliberately left open during entertaining. Stand at the dining table and kitchen entrance while a sample door is held at its expected opening angle. If the reverse remains prominent beside shelves, a matching veneer finish can make the open arrangement feel more coherent. Record whether matching means the same species and colour family or a more demanding grain relationship.
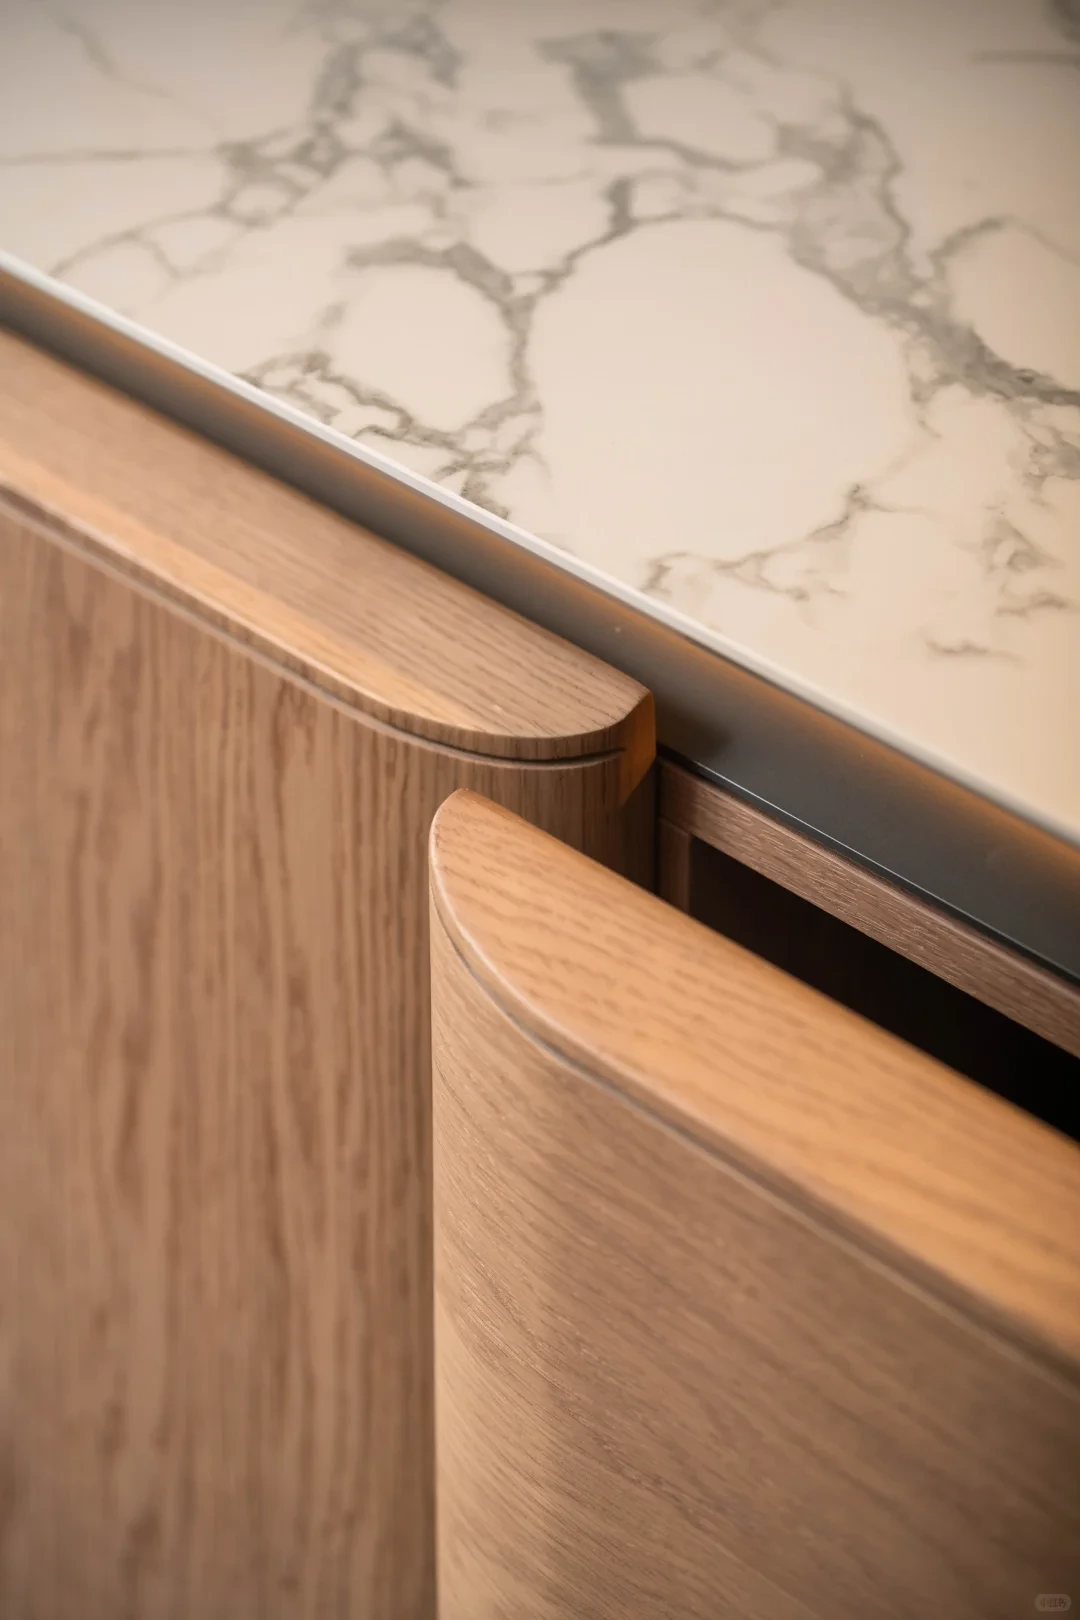
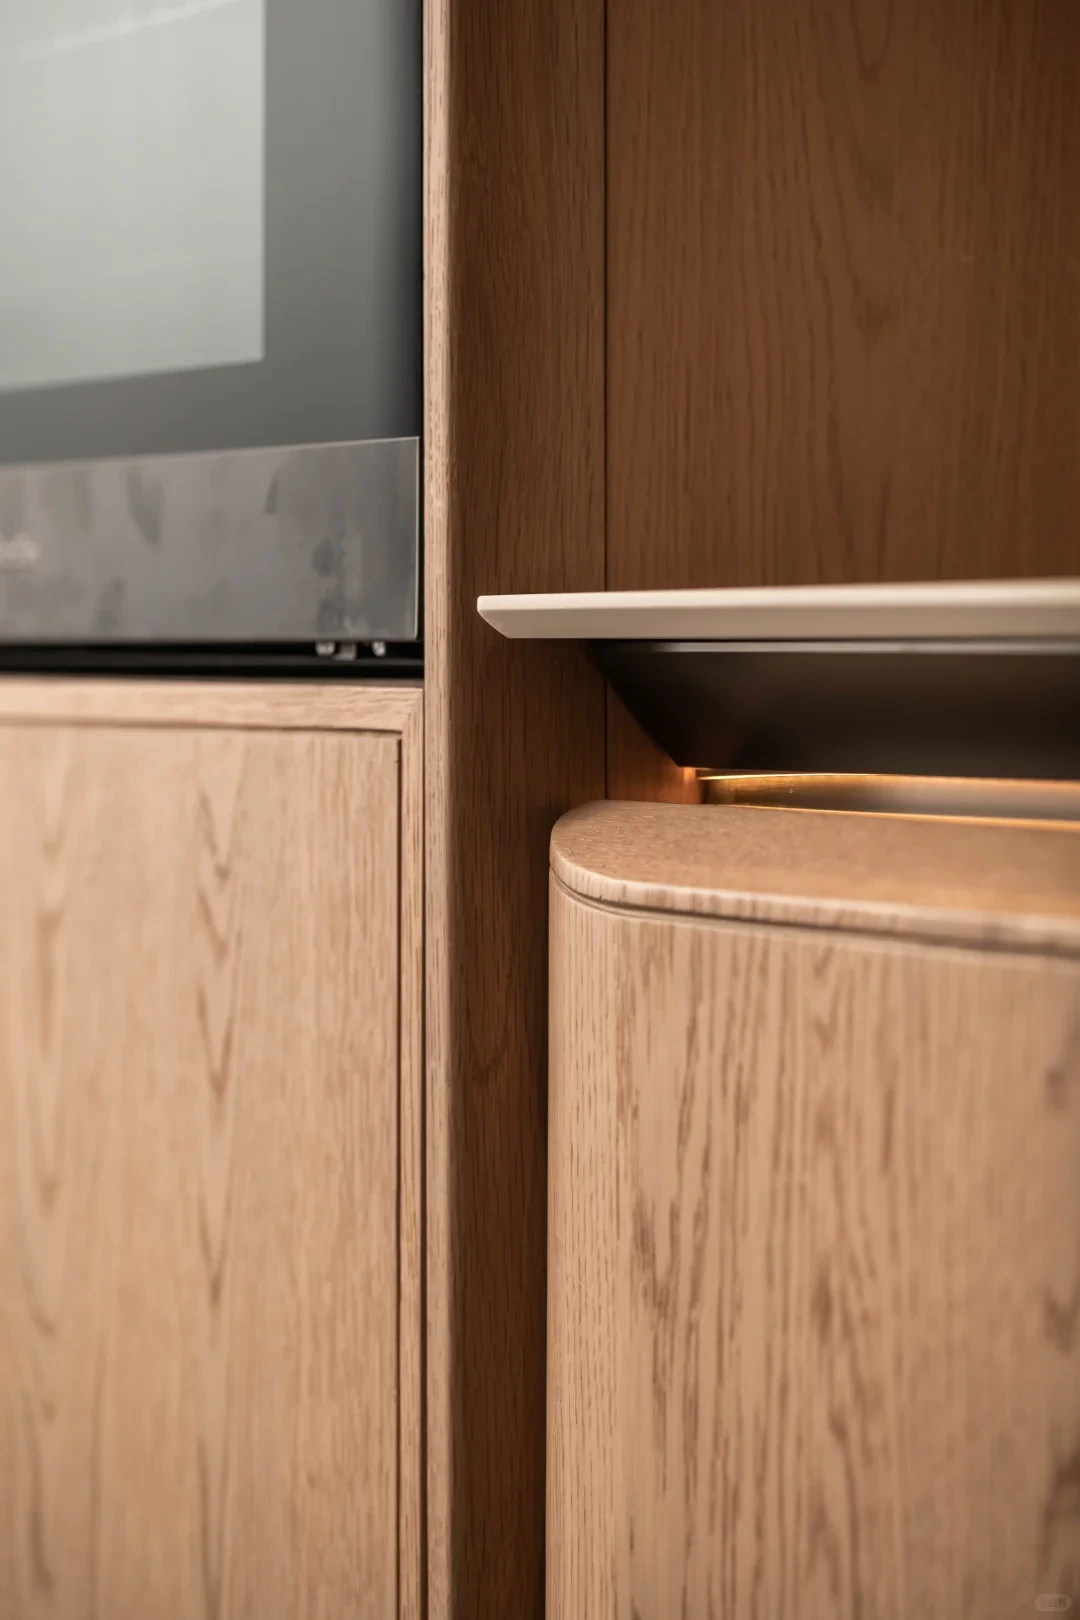
Inspect the edges and hardware at the same time. A reverse that matches in colour can still look different because of its sheen, grain direction or exposed edge. Handleless profiles and hinge recesses can reveal additional surfaces. Ask for an assembled sample showing these details rather than approving only a flat colour swatch.
Matching both door faces does not require every concealed cabinet surface to receive the same veneer. Specify the visible shelving and cabinet lining separately. A contrasting interior may be a deliberate design choice, especially in a display cabinet. Review it with the actual lighting and explain the intended contrast in the finish schedule.


Compare cleaning needs on pantry door backs
A pantry door may open repeatedly while food is prepared, so its reverse can be both visible and frequently touched. List what is likely to reach it: fingerprints near the edge, dry food dust or occasional splashes from containers. If baskets or racks attach to the door, include their mounting areas and the surfaces behind them in the cleaning review.
A plain reverse finish may suit this cabinet when the selected product is easy to wipe and the household accepts the contrast with the veneer front. Plain colour alone does not prove durability or stain resistance. Request the specific surface identity and its cleaning instructions, then compare it with the finished veneer sample using the same permitted cleaning method.
Keep the cleaning trial modest and repeatable. On spare samples, follow the supplier instructions for a representative household mark, observe whether it is removed, and check the dry surface in raking light for a change in sheen or colour. Avoid improvised abrasive or solvent tests. Record the product and method used so the result relates to the proposed finish rather than a general claim about all veneer or laminate.

Decide whether base cabinet doors need matching backs
For base doors that are only briefly open, a coordinated plain back can leave more budget for visible doors. Check sightlines first, especially from the dining area.
Beside the sink or dishwasher, confirm the edge, hinge recess and reverse finish, and follow the care instructions. A wipeable surface does not make the whole door waterproof.
Compare itemised quotes by cabinet and door count, including finishing and sample approval. A plain back is not always cheaper, and matching veneer does not automatically mean better quality.
Check both reverse finishes as complete door assemblies
Ask the manufacturer to confirm the substrate, both face materials, adhesive system, coating and edge treatment as one door assembly. If a different reverse material is proposed, request confirmation that the resulting construction is suitable for the door dimensions and use. A matching colour is an aesthetic decision; the technical suitability of the complete panel is a separate approval.
For the matching veneer option, confirm what is supplied on both faces, how the edges are finished and which coating is used. For the plain reverse option, identify the exact reverse material and ask the supplier to confirm its compatibility with the rest of the panel. Check the permitted door sizes and hardware requirements for each proposal. For a tall pantry door, include attached storage loads in that discussion.
Inspect the finished sample from both sides and along all edges. Check the transition at a handleless pull, hinge cups, corners and any exposed machining. Agree how natural grain and colour variation will be assessed against the accepted samples. Keep a labelled sample or an agreed photographic record that identifies which surface each approval covers.

Specify the chosen reverse finish for each cabinet
Prepare a short schedule with cabinet number, door quantity, front veneer, reverse finish, edge detail and sample reference. Add the reason for the selection. A display tall cabinet might use matching veneer because its open doors remain in view; a busy pantry might use a tested plain reverse for cleaning; an ordinary base cabinet might use the same plain finish because its reverse is rarely seen. These are starting options to verify in the actual room.
Before manufacture, open the proposed cabinets together and check the combination from the main viewing positions. Review the samples under the kitchen lighting, confirm the care instructions and reconcile the schedule with the quotation. If one cabinet changes category during design, update its door specification explicitly rather than relying on a general note that all fronts are walnut.
For an Arcaya custom kitchen cabinet enquiry, send the cabinet elevations, the intended veneer appearance and the doors that remain visible when open. Ask for a proposal identifying both faces and edges, together with the matching veneer alternative for the selected cabinet groups. Approve the complete samples and final schedule before the door materials are released for production.