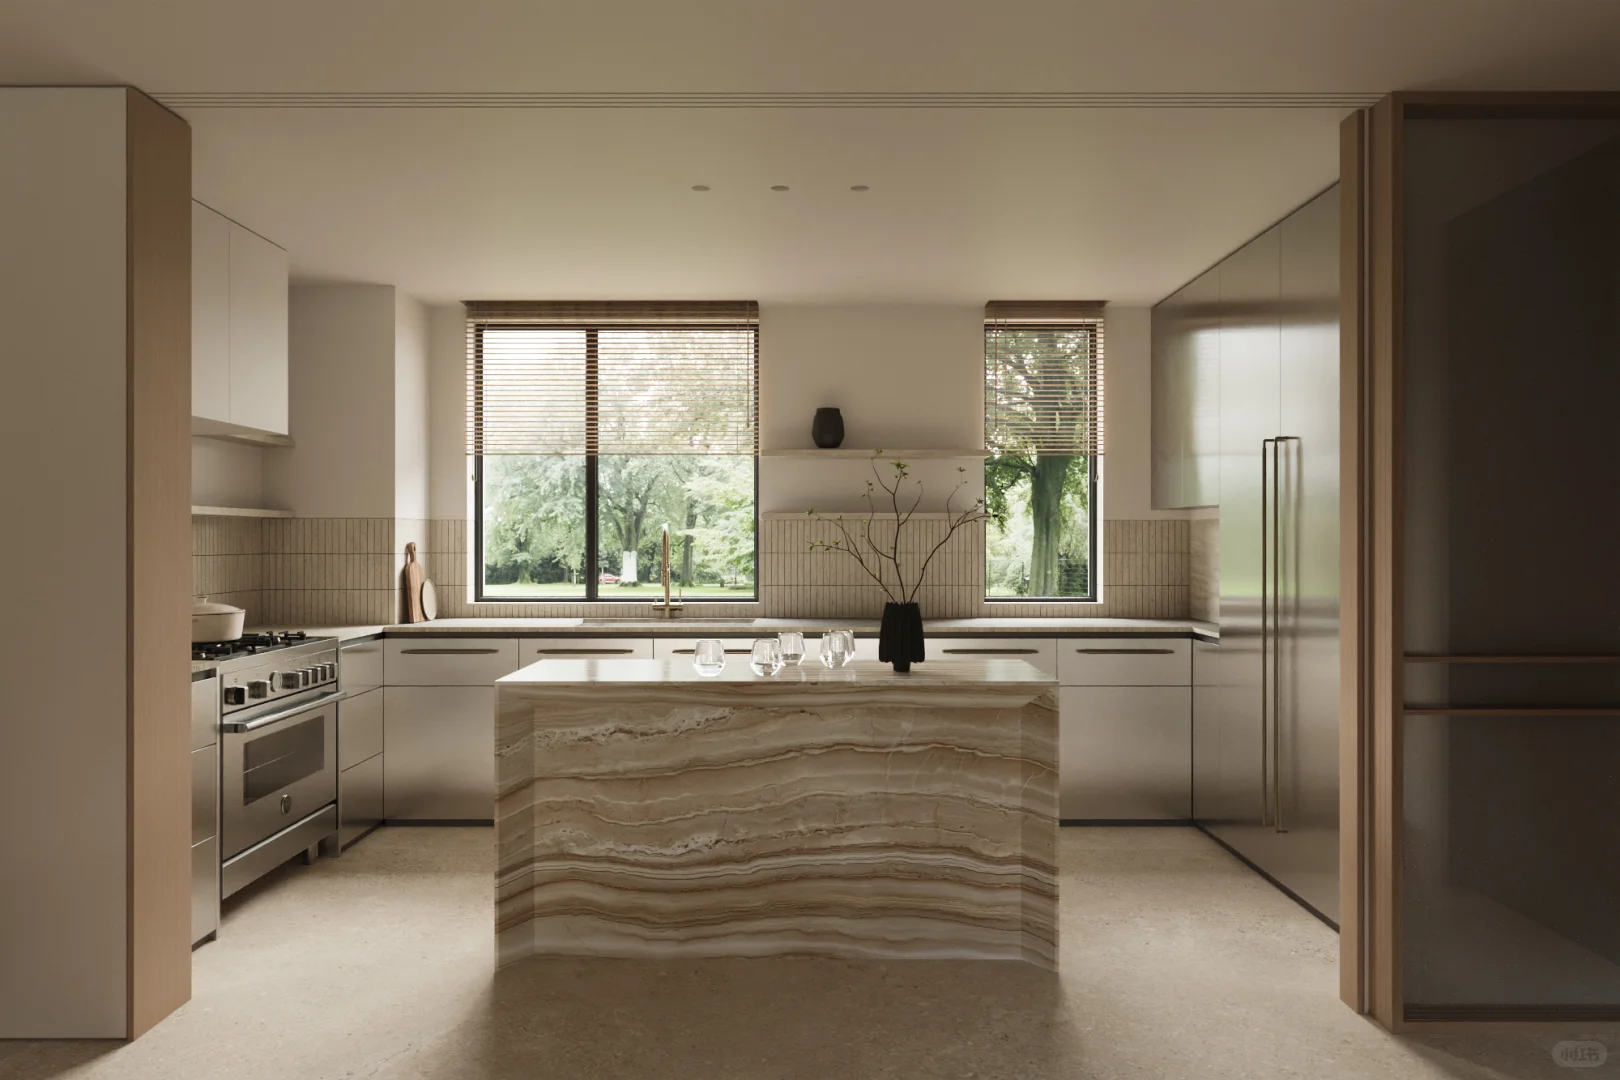
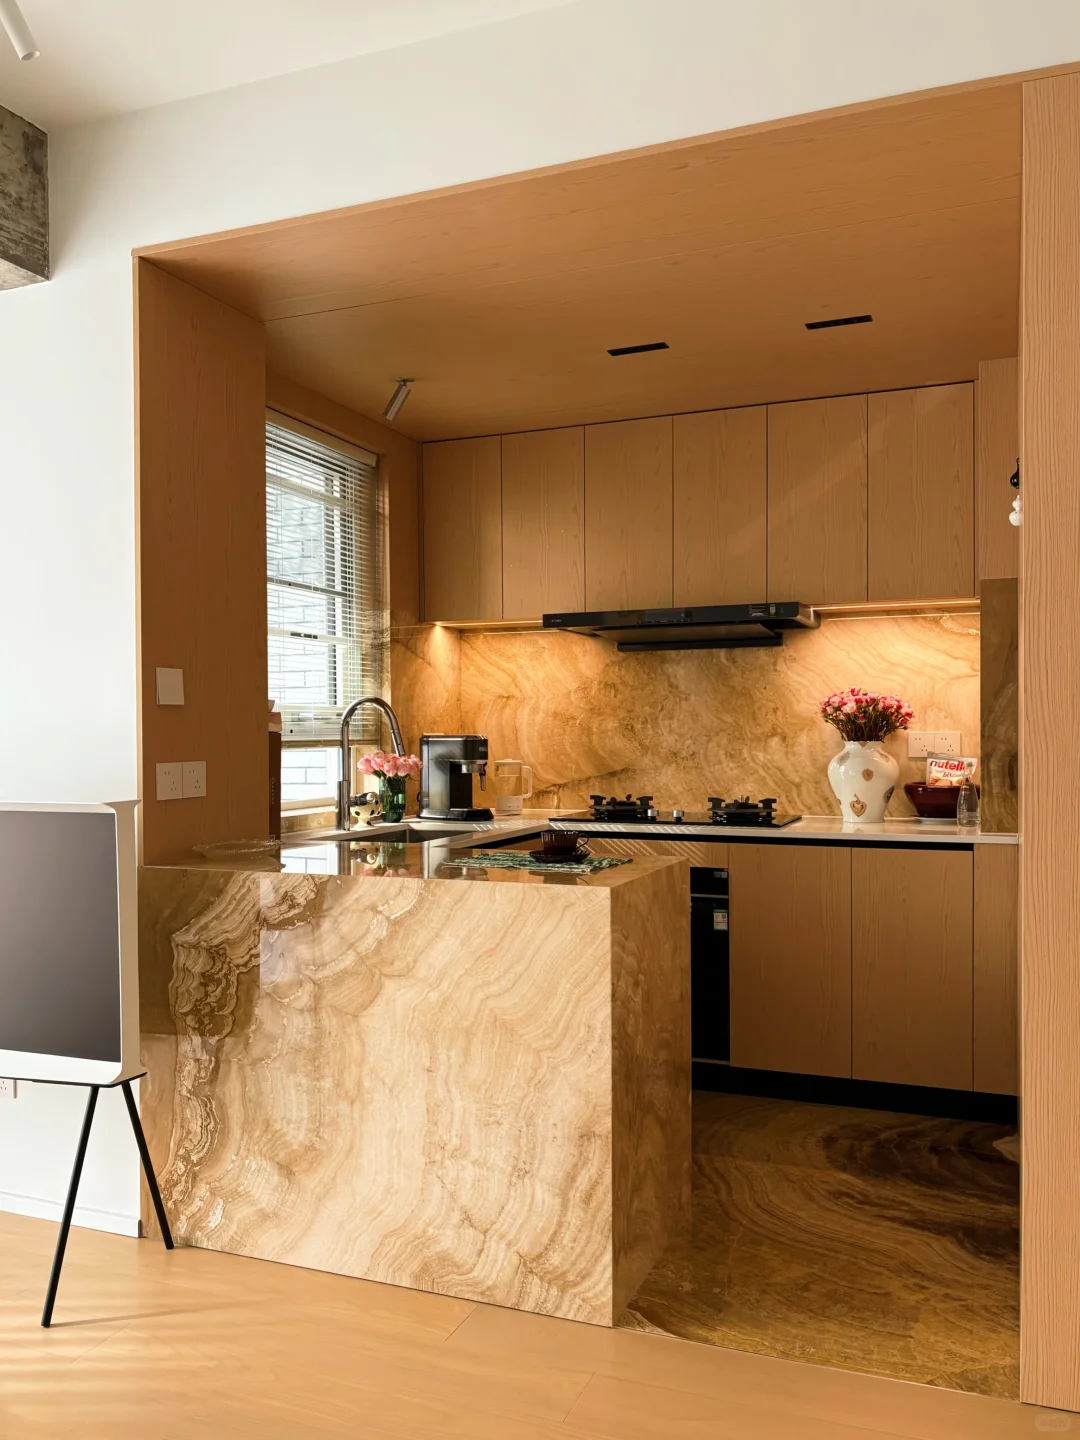
Compare the same kitchen before choosing a layout
An island and a peninsula can provide similar preparation space while producing very different routes through custom kitchen cabinets. An island stands free of the surrounding cabinetry. A peninsula connects to a wall or cabinet run at one end. That connection removes one route around the worktop, so its position matters as much as its size.
Start with how the household cooks. Mark where groceries arrive, where food is washed and prepared, and where clean dishes are put away. Then draw a second route for someone collecting a drink or walking to the dining area. A layout works well when these activities can happen without repeatedly asking the cook to move.
Keep the room, appliance models and perimeter cabinet positions unchanged for the first comparison. Give both options the same main task, such as preparation with everyday utensil storage. If one option adds seating or a longer cabinet run, record that difference so its extra capacity is not mistaken for a benefit of the layout alone.
Draw an island and a peninsula in one room
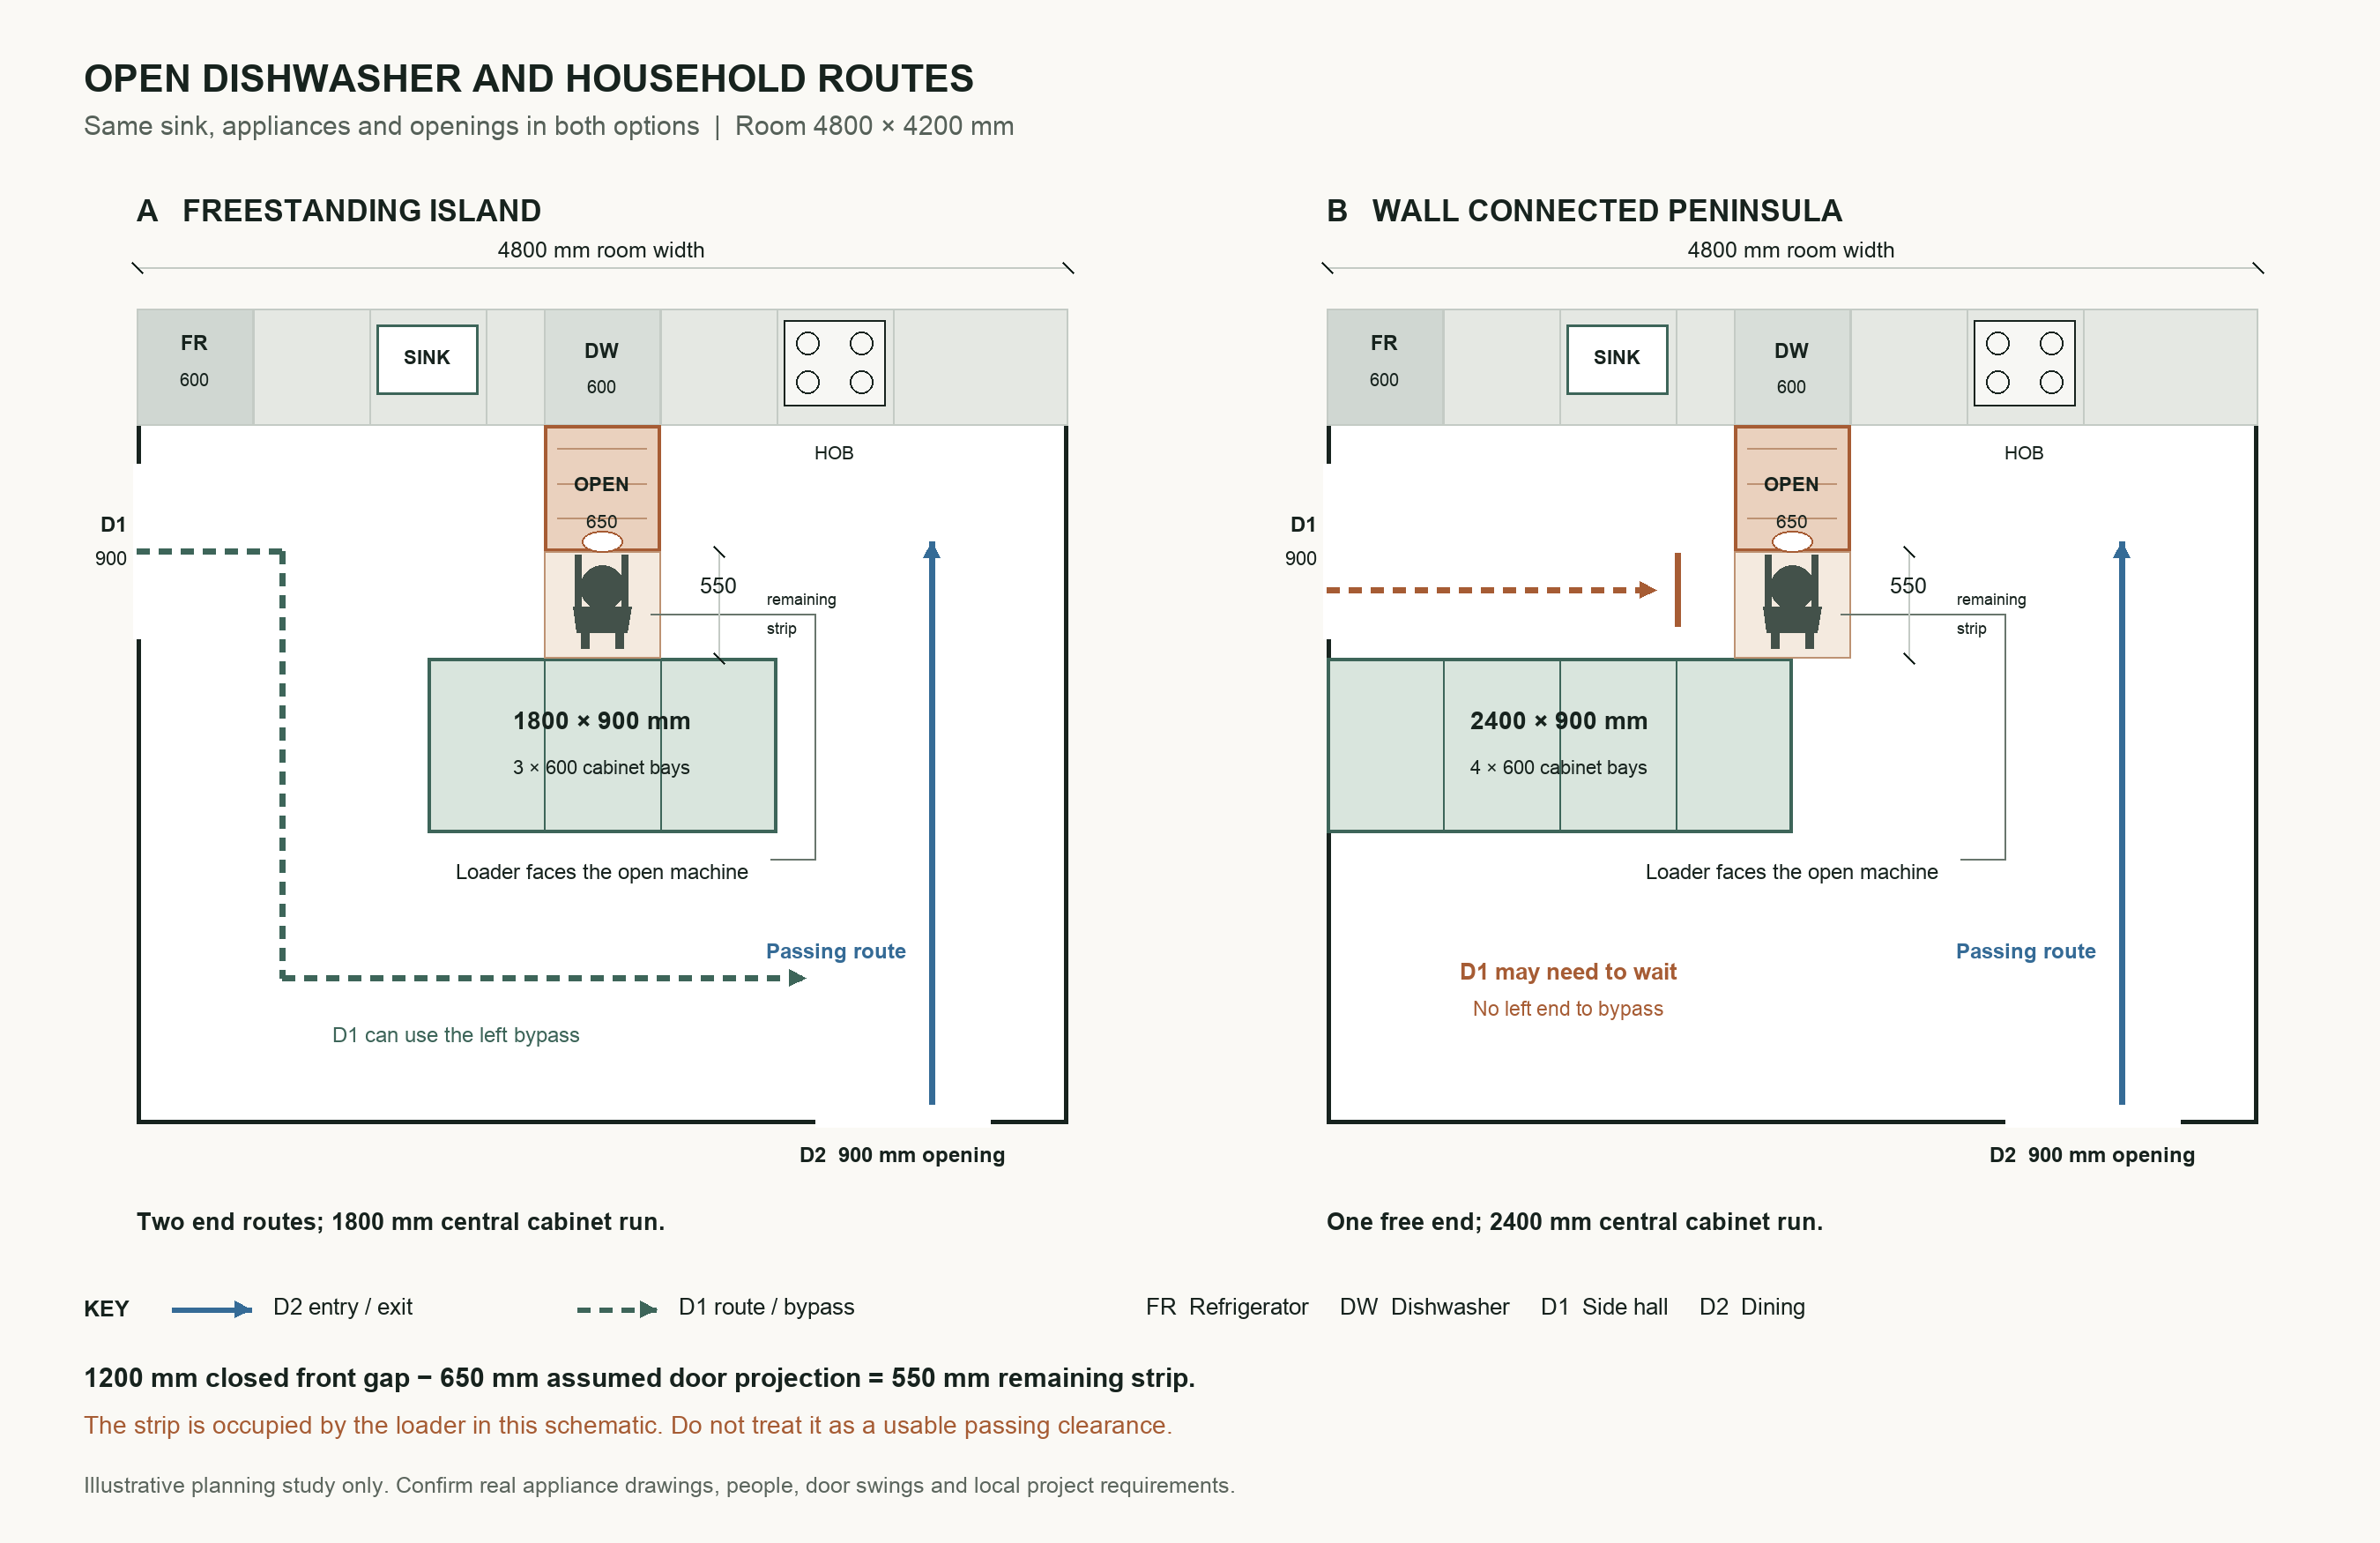
Compare both plans in the same 4800 × 4200 mm room, keeping the sink, appliances and openings fixed. A 600 mm rear worktop and a central run starting 1800 mm from the rear wall leave a 1200 mm gap. These are illustrative dimensions, not minimum clearances.
Option A has a centred 1800 × 900 mm island with 1500 mm at each end. Option B has a 2400 × 900 mm peninsula joined to the left wall, with a 2400 mm opening on the right. Both leave a 1500 mm dining-side band. The peninsula adds 600 mm of run length; usable storage depends on the cabinet interiors and wall connection.
The island offers access around either end. The peninsula channels access around its free end. Prefer the island when the left bypass supports daily movement; consider the peninsula when right-side access works and the extra storage is useful. Check actual destinations and door openings before deciding.

Test the dishwasher while it is open
Draw the dishwasher door at its fully open position on both plans. Start from the selected appliance drawing, including the effect of any furniture panel and handle. Add the person loading it, then open the drawer or cupboard that will receive the clean dishes. Locating the dishwasher beside the sink is only the beginning of this check.
For an arithmetic check, assume the open door projects 650 mm beyond the rear closed-front line. The example 1200 mm gap then leaves 550 mm between the door edge and the central worktop. This remaining strip does not establish that a person can load the machine or pass safely. It is a prompt to test the activity with the actual equipment and users. A drawer projecting into the same strip reduces it further wherever their widths overlap.
With the island, test whether a person can reach the dining side around the other end without entering the loading area. With the peninsula, test the route around its single free end, including the approach from the rest of the room. If loading blocks a route the family needs, first try moving the dishwasher along the sink run, relocating dish storage, or shortening the central cabinet run. Compare the revised drawings before ordering.
Check drawers and seats during everyday use
Open the drawers that will be used together. A preparation drawer, waste pull-out and dishwasher can each fit individually while competing for the same standing space. Assign each drawer a real task and test the sequence of washing, chopping, discarding scraps and putting utensils away. Custom cabinet widths are useful only when the resulting compartments can be reached and opened.
Add the dining furniture before approving a breakfast bar. Draw the stools occupied and pulled back, then trace the route behind them. The 1500 mm dining-side band in the example is an empty planning zone; it is not the clear passage remaining after people sit down. Seat height, knee space, worktop support and any required accessible route need their own checks.

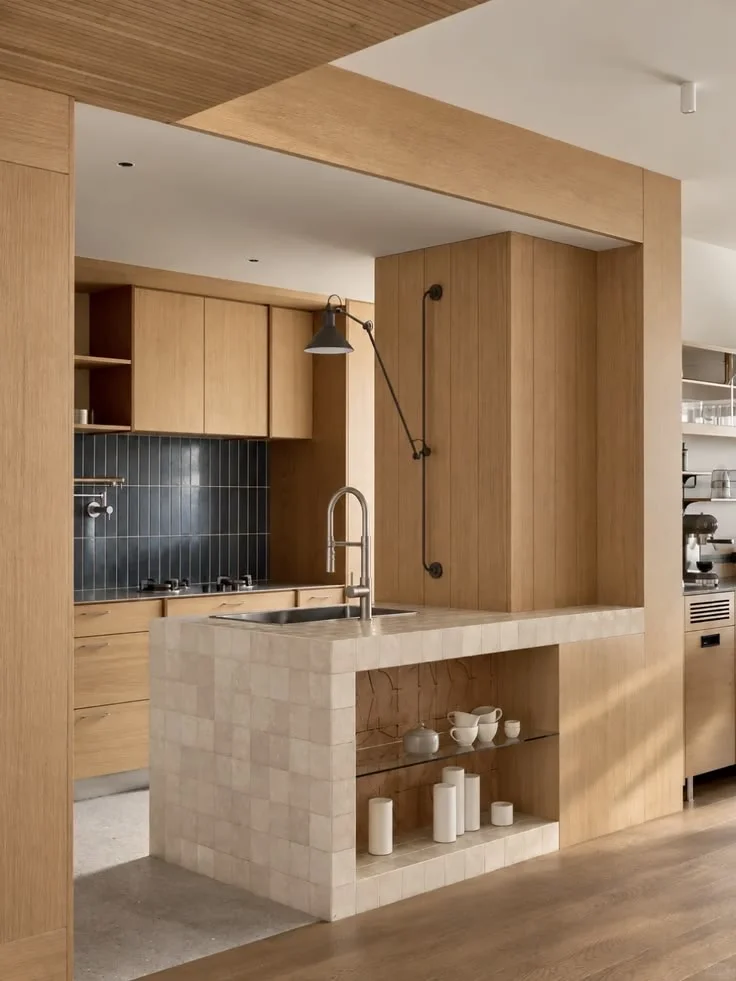
An open shelf can make frequently used items easy to reach without swinging a door into the aisle. It also exposes the contents and needs cleaning. Compare it with a drawer serving the same items, and specify which side of the island or peninsula is intended for access. A photograph showing open shelving cannot establish how much usable storage your kitchen will gain.
Translate the preferred plan into custom cabinet details
Prepare a cabinet schedule for both options. Show each cabinet number, external width, usable internal dimensions, opening direction and contents. On an island, include the exposed end and rear panels in the specification. On a peninsula, draw the wall or cabinet connection and any filler or corner condition. Count storage you can actually reach rather than comparing worktop length alone.
Choose whether the central run is a dry preparation area or contains a sink or appliance. A sink changes the space available for drawers and requires coordinated services; an appliance needs its own installation and removal space. Identify these items before pricing the cabinet interiors. Adding them after the layout is chosen can change the comparison.
Price the complete versions of the two plans. Include their different cabinet quantities, finished panels, hardware, worktop dimensions and supports, together with any site work for services. A peninsula is not automatically cheaper, and an island does not automatically provide better storage. The answer follows from the documented scope for this room.


Choose the layout that passes the household test
Choose the island when access around both ends provides a useful route and the cabinet openings remain workable. Choose the peninsula when its free-end route stays clear and its extra worktop or storage is useful. If neither works, shorten the run or compare a layout without it.
Before production, mark the worktop footprint and open fronts on the floor. Simulate someone preparing food, someone loading the dishwasher and another person passing. Revise any point where users must wait, step back or close a front.
Send both marked-up plans, room measurements, doorway positions and appliance models with your custom kitchen cabinet enquiry. Ask for the chosen layout with cabinet numbers, opening overlays and unresolved site details recorded before ordering.