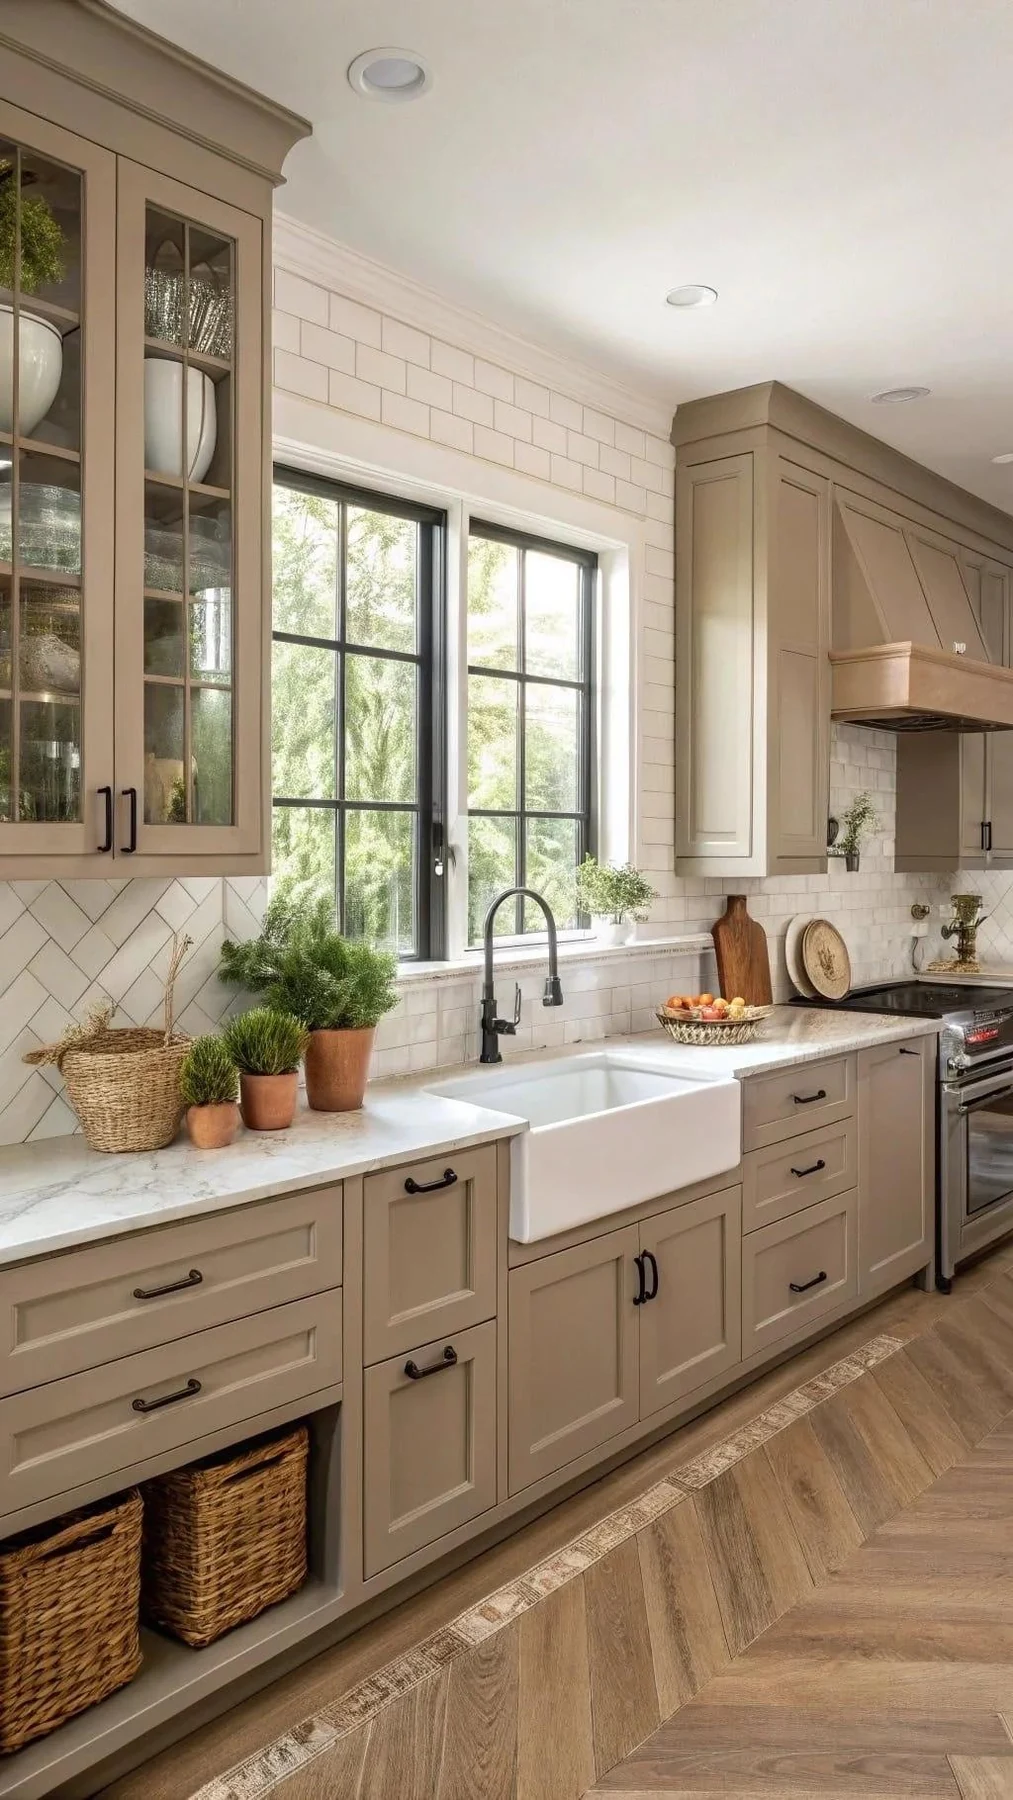
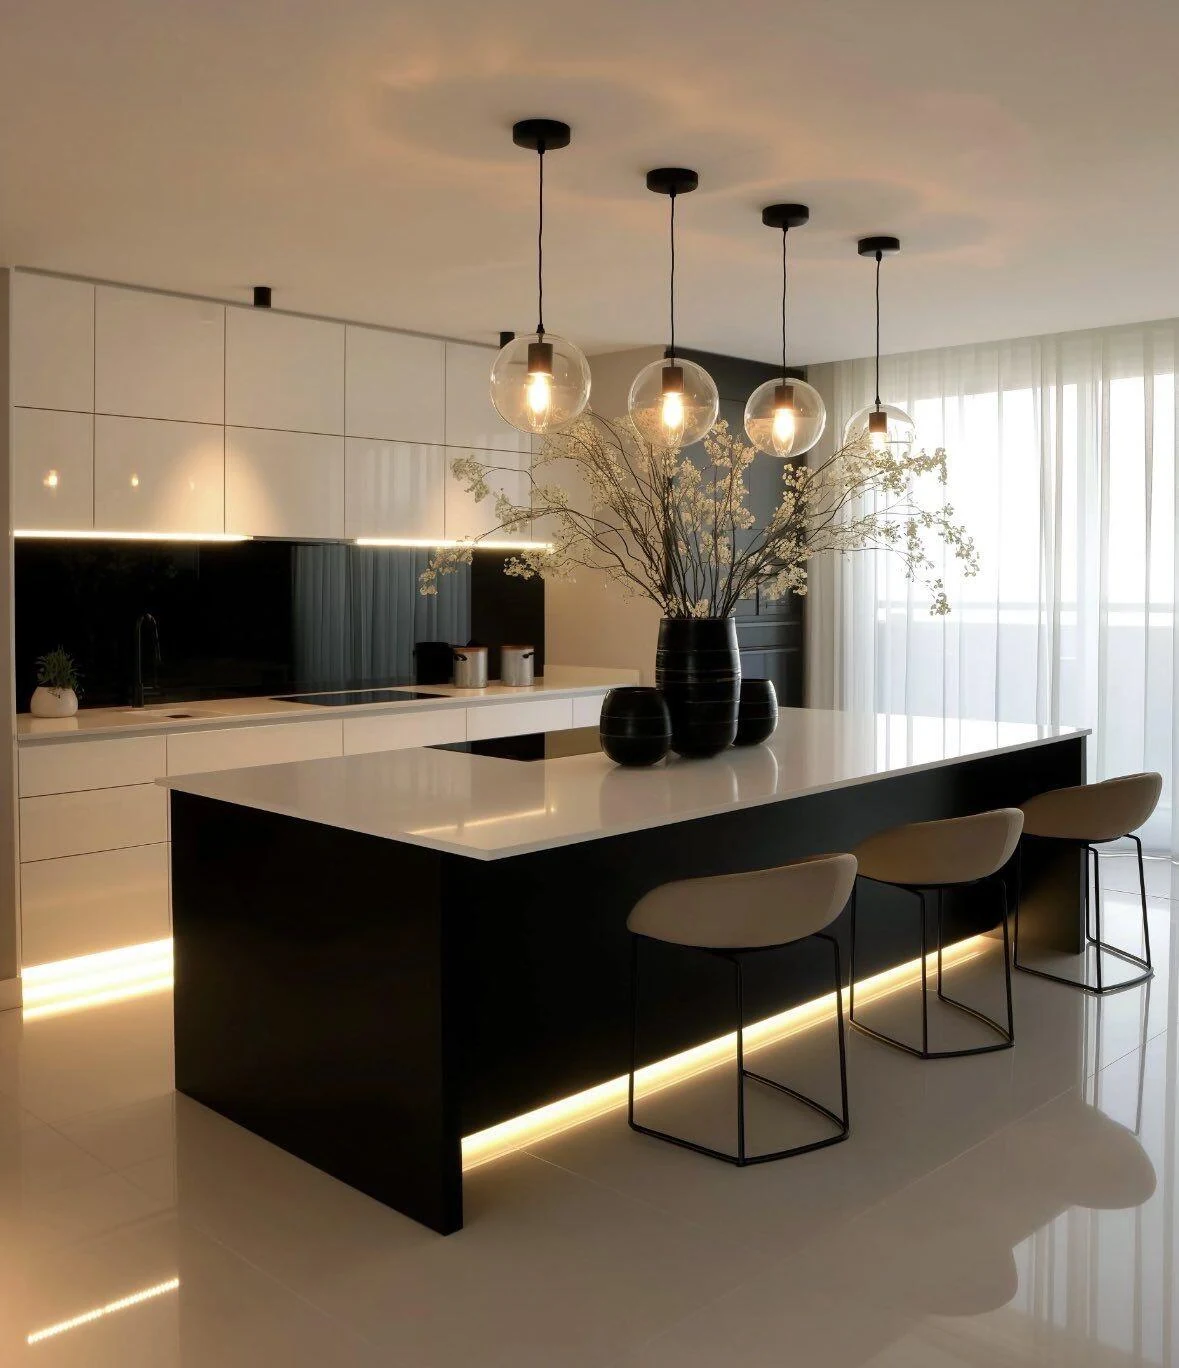
Read the complete height
Finished countertop height is the sum of the toe kick or legs, the cabinet box and the top. A quoted cabinet height can describe just one of these parts. Put all three on the same section drawing and identify the finished floor level.
For comparison, a common US configuration uses a 34½ in base cabinet with a 1½ in top, giving a 36 in finished counter. Metric systems vary: the IKEA METOD example has an 800 mm frame before legs and countertop. Neither example establishes a universal height for every market.
Choose one controlling unit on the approved drawings. Show conversions for reference and avoid rounding each individual component independently.

Compare systems, not country stereotypes
| Reference | Dimension | Check before ordering |
|---|---|---|
| US base cabinet example | 34½ in / 876.3 mm high; 24 in / 609.6 mm deep | Confirm face frame, door projection, top and finished floor. |
| US finished-counter example | 36 in / 914.4 mm with a 1½ in top | The actual top thickness changes the assembly. |
| Metric frame example | METOD: 800 mm frame height; nominal 600 mm frame depth | A named system example, not a UK or EU national rule. |
| Kitchen work aisle | NKBA recommendation: 42 in / 1067 mm for one cook; 48 in / 1219 mm for multiple cooks | Measure between projecting counter fronts, tall units or appliances; local accessibility rules can require more. |
| Appliance opening | Use the selected model’s installation drawing | Check width, height, depth, ventilation and door movement. |
For UK, EU, Australian and Chinese projects, the useful comparison is the proposed assembly. Ask for the actual frame, leg, countertop and service-space dimensions instead of accepting a generic “European size” or “Chinese size.”
Let appliances set the openings
Record the exact model of every refrigerator, oven, dishwasher, cooktop and extractor. Two appliances sold under the same nominal width can need different ventilation gaps, fixing positions or door clearances. The installation manual controls those interfaces.
- Include panel-ready appliance door weights and hinge requirements.
- Show water, drainage, power and ventilation in plan and elevation.
- Allow the installer to reach valves and service connections.
- Test opposing doors, drawer fronts and appliance handles together.
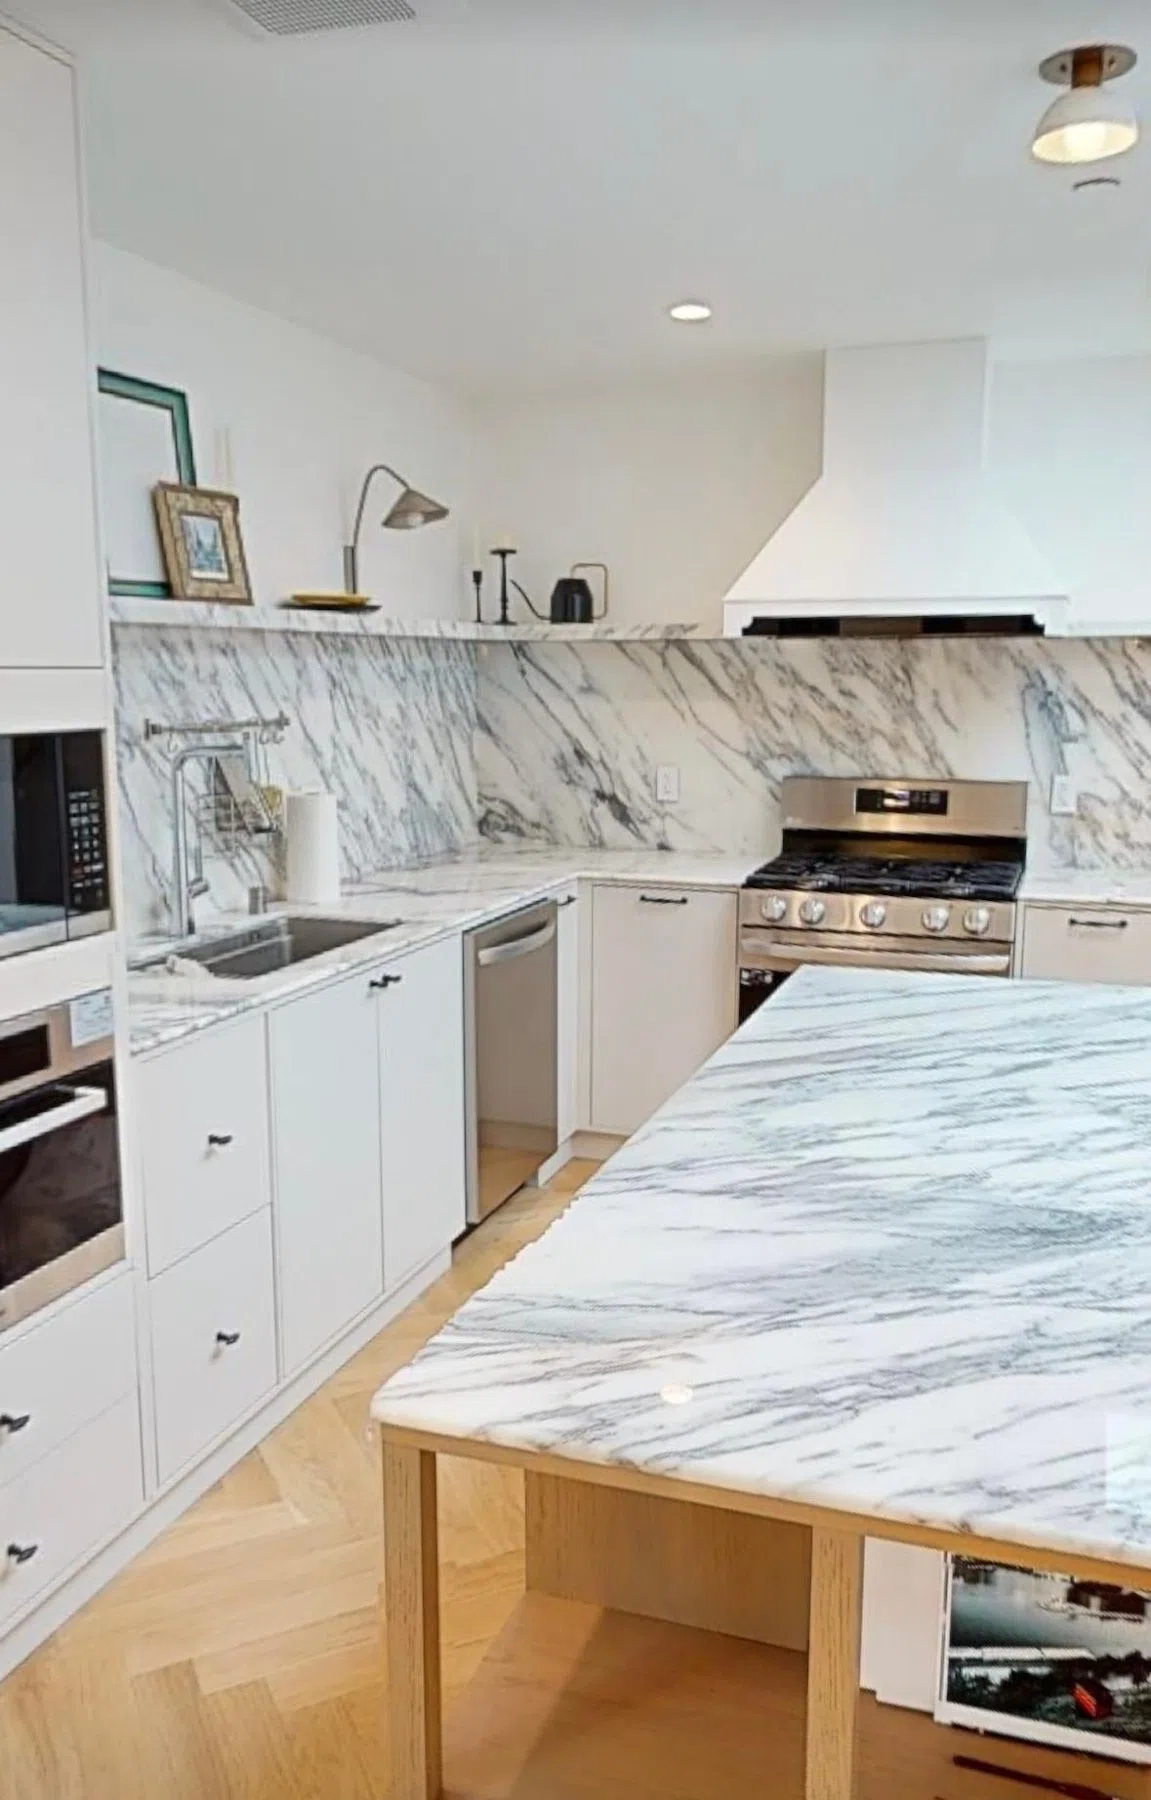
Plan wardrobes around the contents
Measure the longest garments and the hangers that will actually be used. Hanging depth must include the hanger, clothing, back panel, doors and any track. A sliding-door wardrobe and a hinged-door wardrobe do not have the same usable internal depth.
Set shelf spacing from folded stacks, drawer heights from the stored items and rail positions from reach. Make a simple belongings schedule before dividing the elevation into equal bays. See the wardrobe planning guide for the sequence.

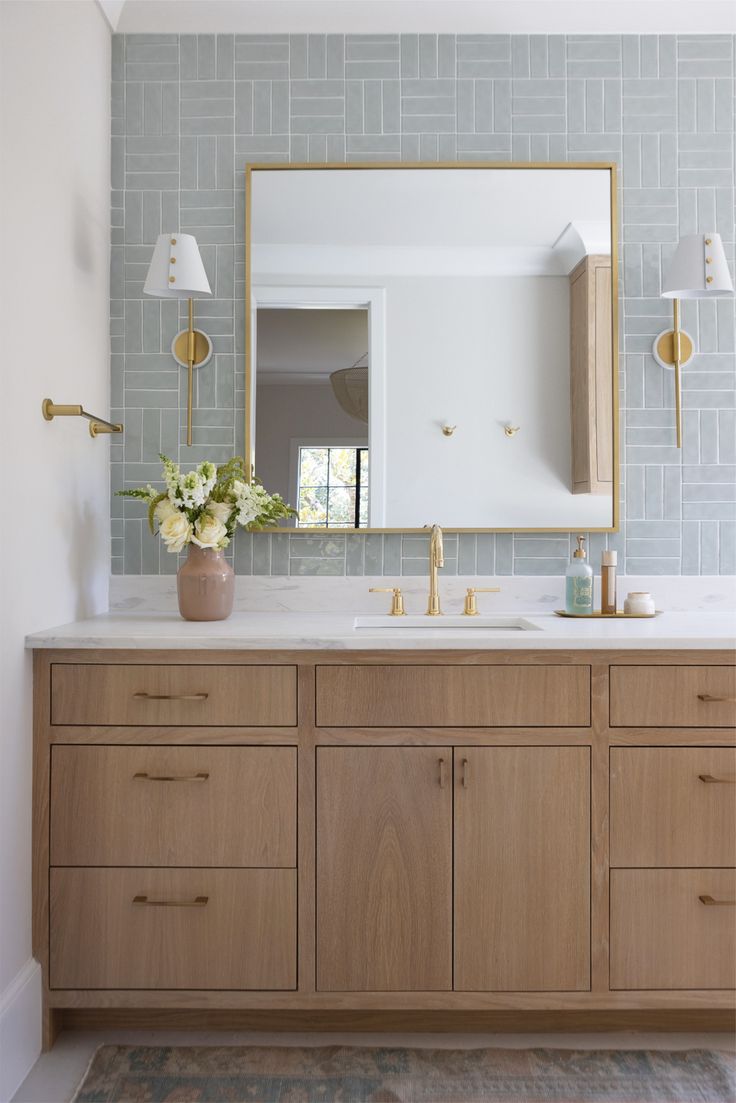
Resolve the bathroom as a section
Vanity height depends on the basin as well as the cabinet. A vessel basin changes the usable rim height; an undermount or integrated basin changes the space available inside the upper drawer. Draw the waste trap, valves and drawer cut-out together.
Confirm the finished floor, mounting wall, mirror position and the reach of the users. Accessible layouts need the relevant local requirements checked by the project designer. Do not substitute a height formula or a concept illustration for that review.
A dimension sign-off checklist
- Site dimensions taken against the finished wall and floor conditions.
- Cabinet box, finished front and overall countertop dimensions distinguished.
- All appliance manuals attached and model numbers frozen.
- Fillers, scribes, wall irregularities and installation tolerances shown.
- Clearances reviewed with doors and drawers open.
- Installer, designer and supplier working from the same revision.
Reference basis: KraftMaid cabinet-size guidance, IKEA METOD frame dimensions and NKBA Kitchen Planning Guideline 6. Reviewed October 24, 2026. These are planning references; the approved project drawings determine manufacture.