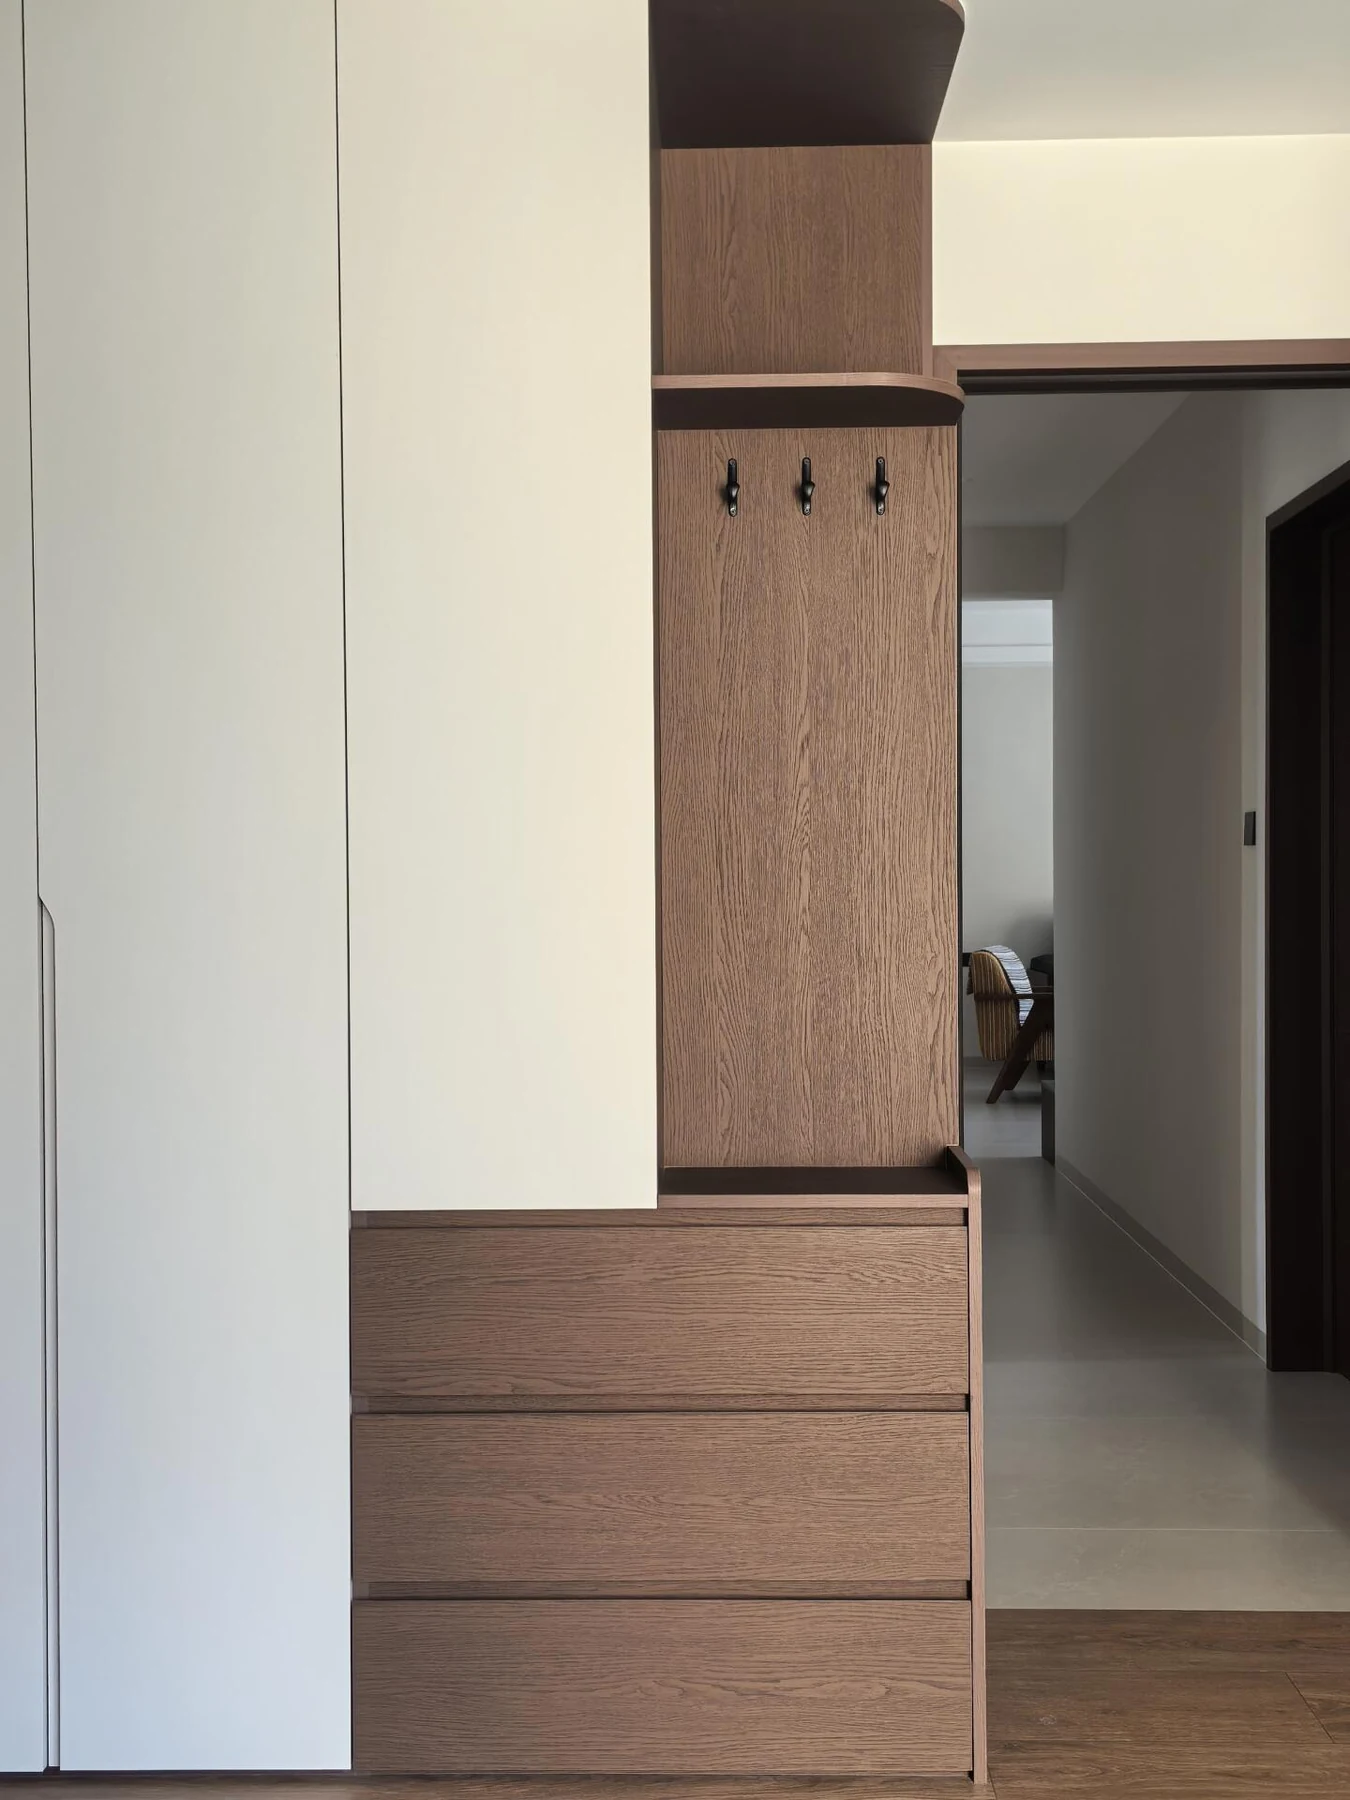
Count belongings by storage type
Separate long hanging, short hanging, folded items, shoes, bags, bedding and small accessories. Estimate the quantity in each group and identify what is used daily. A wardrobe filled with equal shelves can look orderly in a drawing while providing the wrong mix of storage for its owner.
Measure representative belongings where they govern the design: the actual hanger with clothing, the largest bag, the folded stack or the accessory tray. Consider future flexibility without making every compartment oversized. A short inventory is more useful than a generic rule about how much hanging space every bedroom should contain.

Closet and wardrobe dimensions at a glance
The numbers below cover the hanging, shelf and aisle sizes that most reach-in closets, walk-in closets and fitted wardrobes are planned around.
| Element | US | Metric |
|---|---|---|
| Reach-in closet or wardrobe depth | 24 in minimum; 26–28 in comfortable | 600 mm carcass; 650–700 mm with sliding doors |
| Single rod height | 66–72 in to the rod | 1700–1800 mm |
| Double hang (two rods) | About 40 in and 80 in | About 1000 mm and 2000 mm |
| Long hang (dresses, coats) | 60–66 in clear | 1500–1700 mm clear |
| Short hang (shirts, jackets) | 36–42 in clear | 900–1000 mm clear |
| Hanging width per item | Shirt 1 in; jacket 2 in; coat 3–4 in | 25 mm; 50 mm; 75–100 mm |
| Shelf depth | 12–16 in | 300–400 mm |
| Shoe shelves | 7–8 in apart, 12–14 in deep | 180–200 mm apart, 300–350 mm deep |
| Drawers | 4–6 in deep for accessories; 10–12 in for knitwear | 100–150 mm; 250–300 mm |
| Layout | Minimum width | Notes |
|---|---|---|
| One-sided walk-in | 5 ft (1.5 m) | One 24 in run of hanging and shelves and a 36 in aisle |
| Two-sided walk-in | 7 ft (2.1 m) | Two 24 in runs and a 36 in (914 mm) aisle |
| U-shaped walk-in | 7–8 ft (2.1–2.4 m) | Corner units need a clear plan for access |
| Walk-in with island | About 11–13 ft (3.4–4.0 m) | 36–42 in (914–1067 mm) around the island |
| Aisle with drawers opening | 42 in (1067 mm) | Lets a drawer open with a person standing at it |
Count what the person actually owns before fixing the interior: 30 shirts need about 30 in (760 mm) of short hang, 10 coats about 35 in (900 mm) of long hang. A closet that fits the inventory is better than one that fits a rule of thumb.
Distinguish outside dimensions from usable space
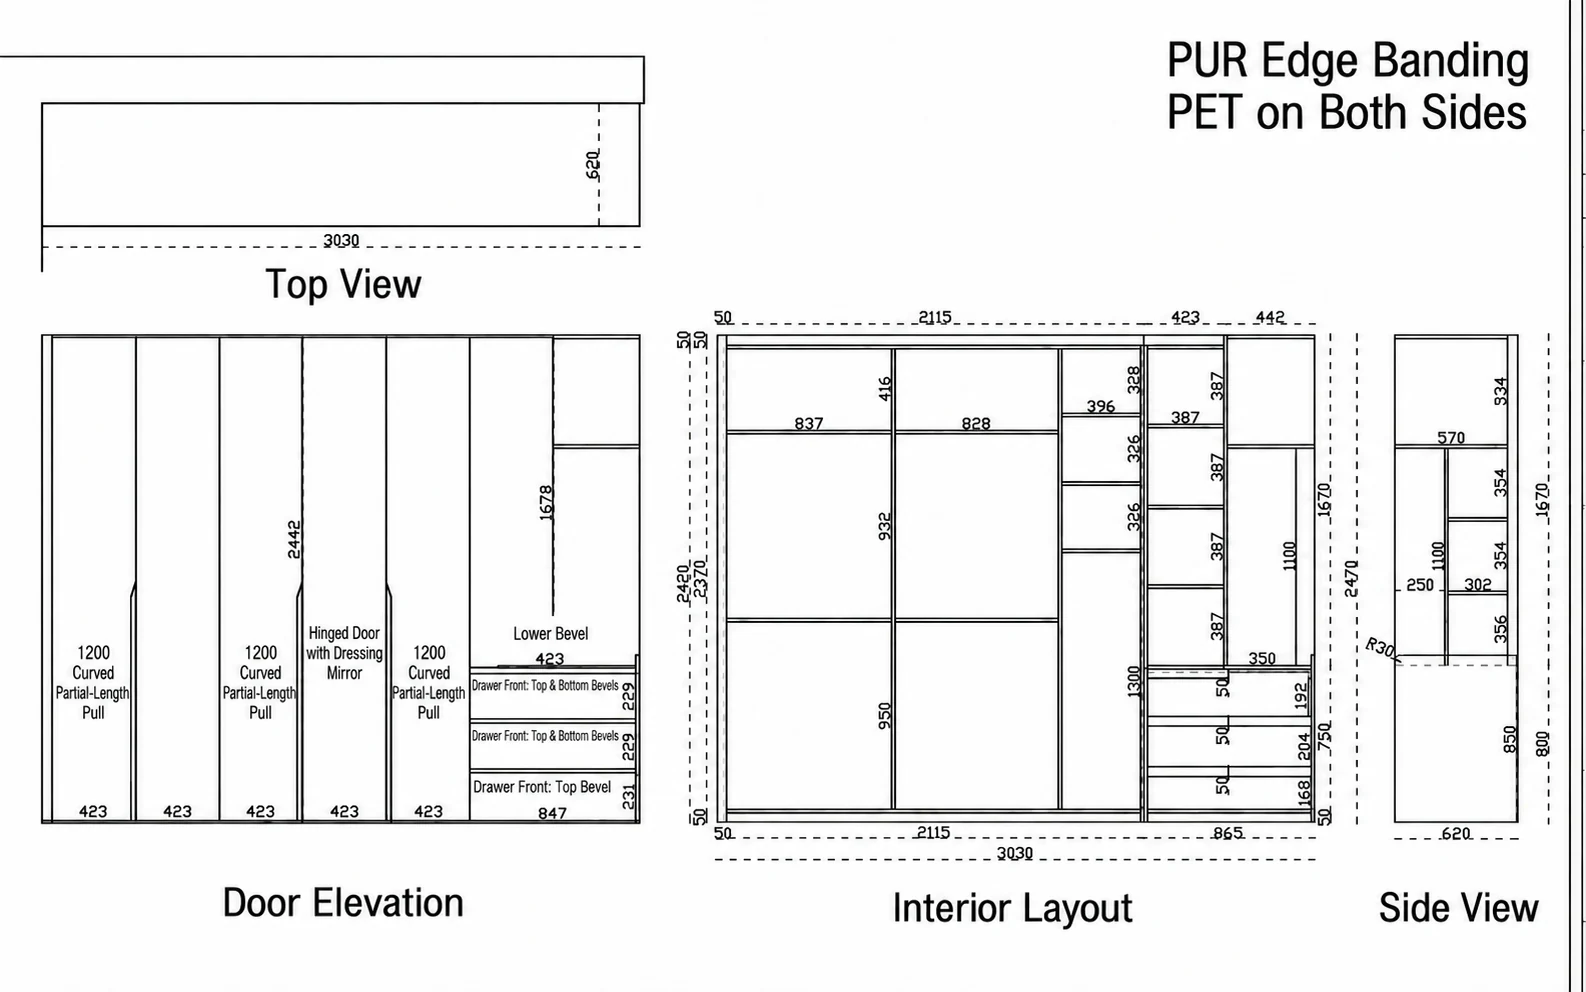
The external cabinet depth includes construction and the front system; it does not directly describe the space available to clothing. Backs, rails, doors, tracks and fittings affect the interior. Ask for sections through the proposed hanging bay and drawer rather than approving the external dimensions alone.
For a simple arithmetic illustration, a 1,000 mm external width with two 18 mm sides leaves 964 mm between those sides before other fittings or restrictions are considered. Those numbers illustrate the distinction; they are not a recommended cabinet size or material specification. Use the actual approved construction and hardware to establish the usable space.
Plan reach and everyday zones
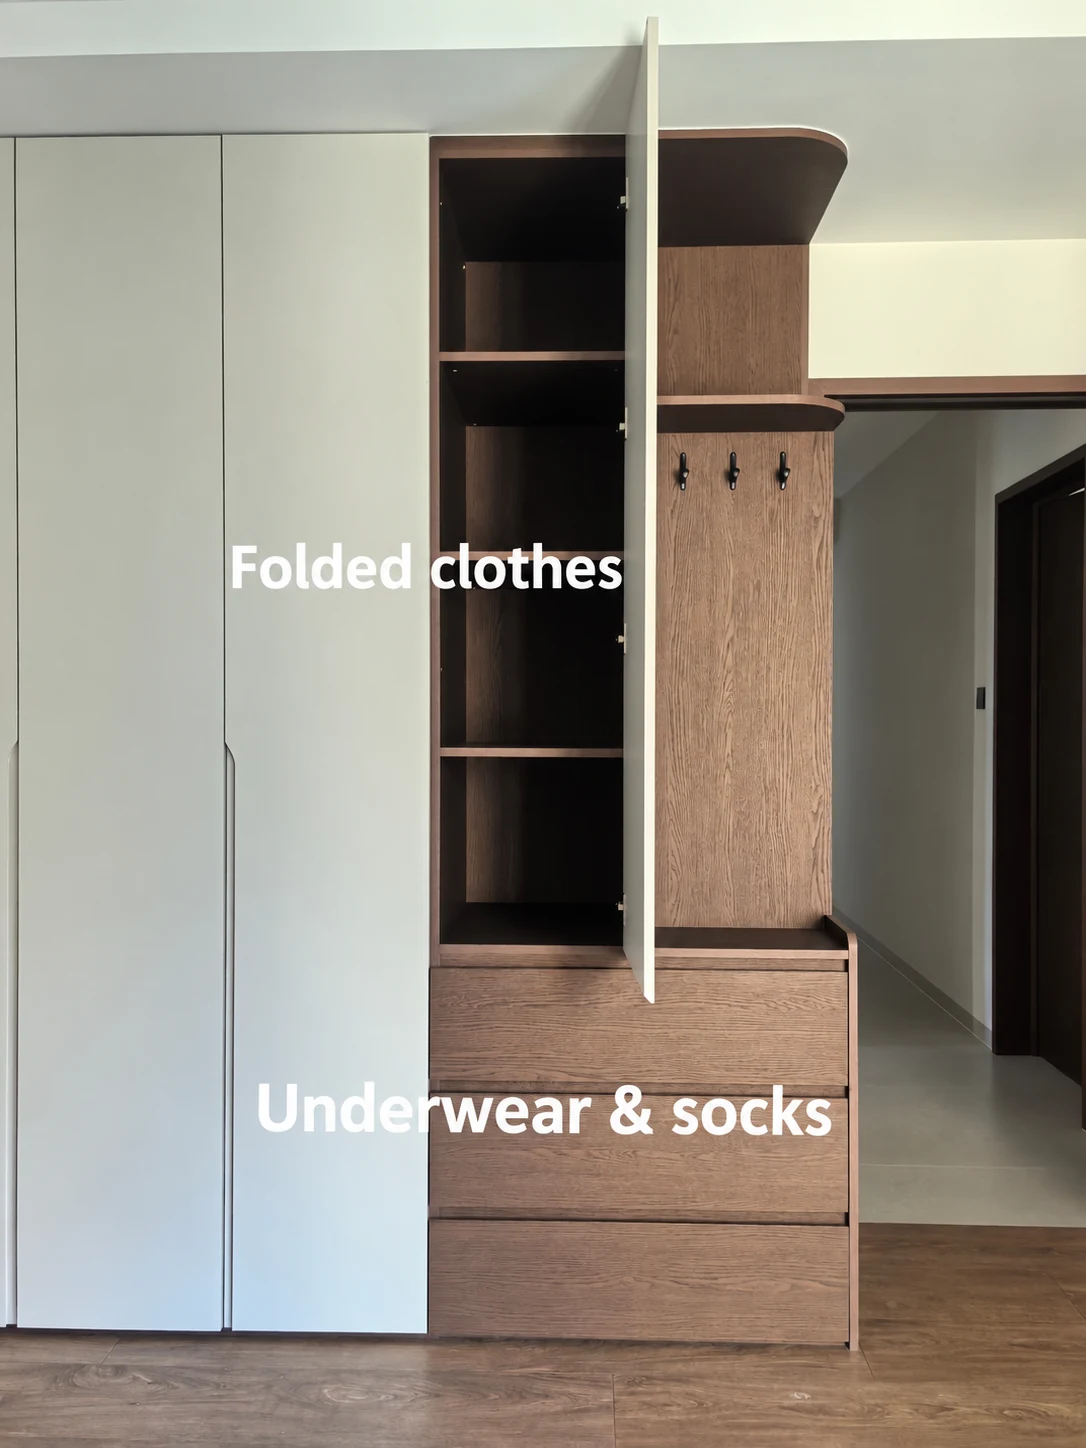
Give frequently used clothing and accessories comfortable access for the intended user. Separate occasional storage from the daily routine. Test the proposed hanging and shelf arrangement with the actual person where reach or accessibility is important, and have specialist needs addressed by the appropriate designer.
Draw drawer fronts open and check the door arrangement around them. A hinge, sliding-door overlap or adjacent island can restrict useful travel. Decide whether internal lighting or accessories are part of the order, then coordinate their product and service requirements. A photograph of a well-equipped interior does not establish that every accessory is included.
Make a walk-in layout work as a room
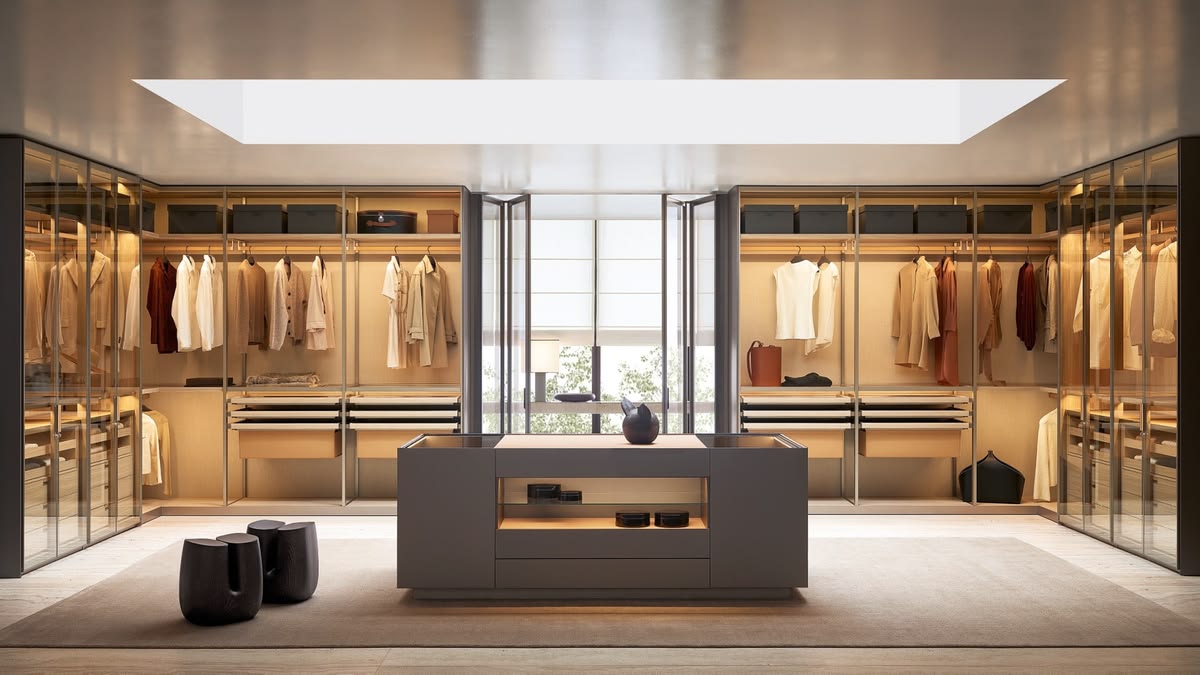
A walk-in closet needs an entry, a usable route and room to operate its storage. Place open drawers, doors and a person on the plan. Consider whether two people use the space together and where dressing, a mirror or a seat will occur. A central island is optional; it should earn its place through a real storage or dressing need.
Compare single-sided, opposing and corner arrangements against the measured room. Keep the entrance and any windows or services visible on the plan. The IKEA PAX planning guide offers a system-specific example of coordinating frames, doors and interiors; its product dimensions should not be treated as custom-wardrobe standards.
Resolve the door and the interior together
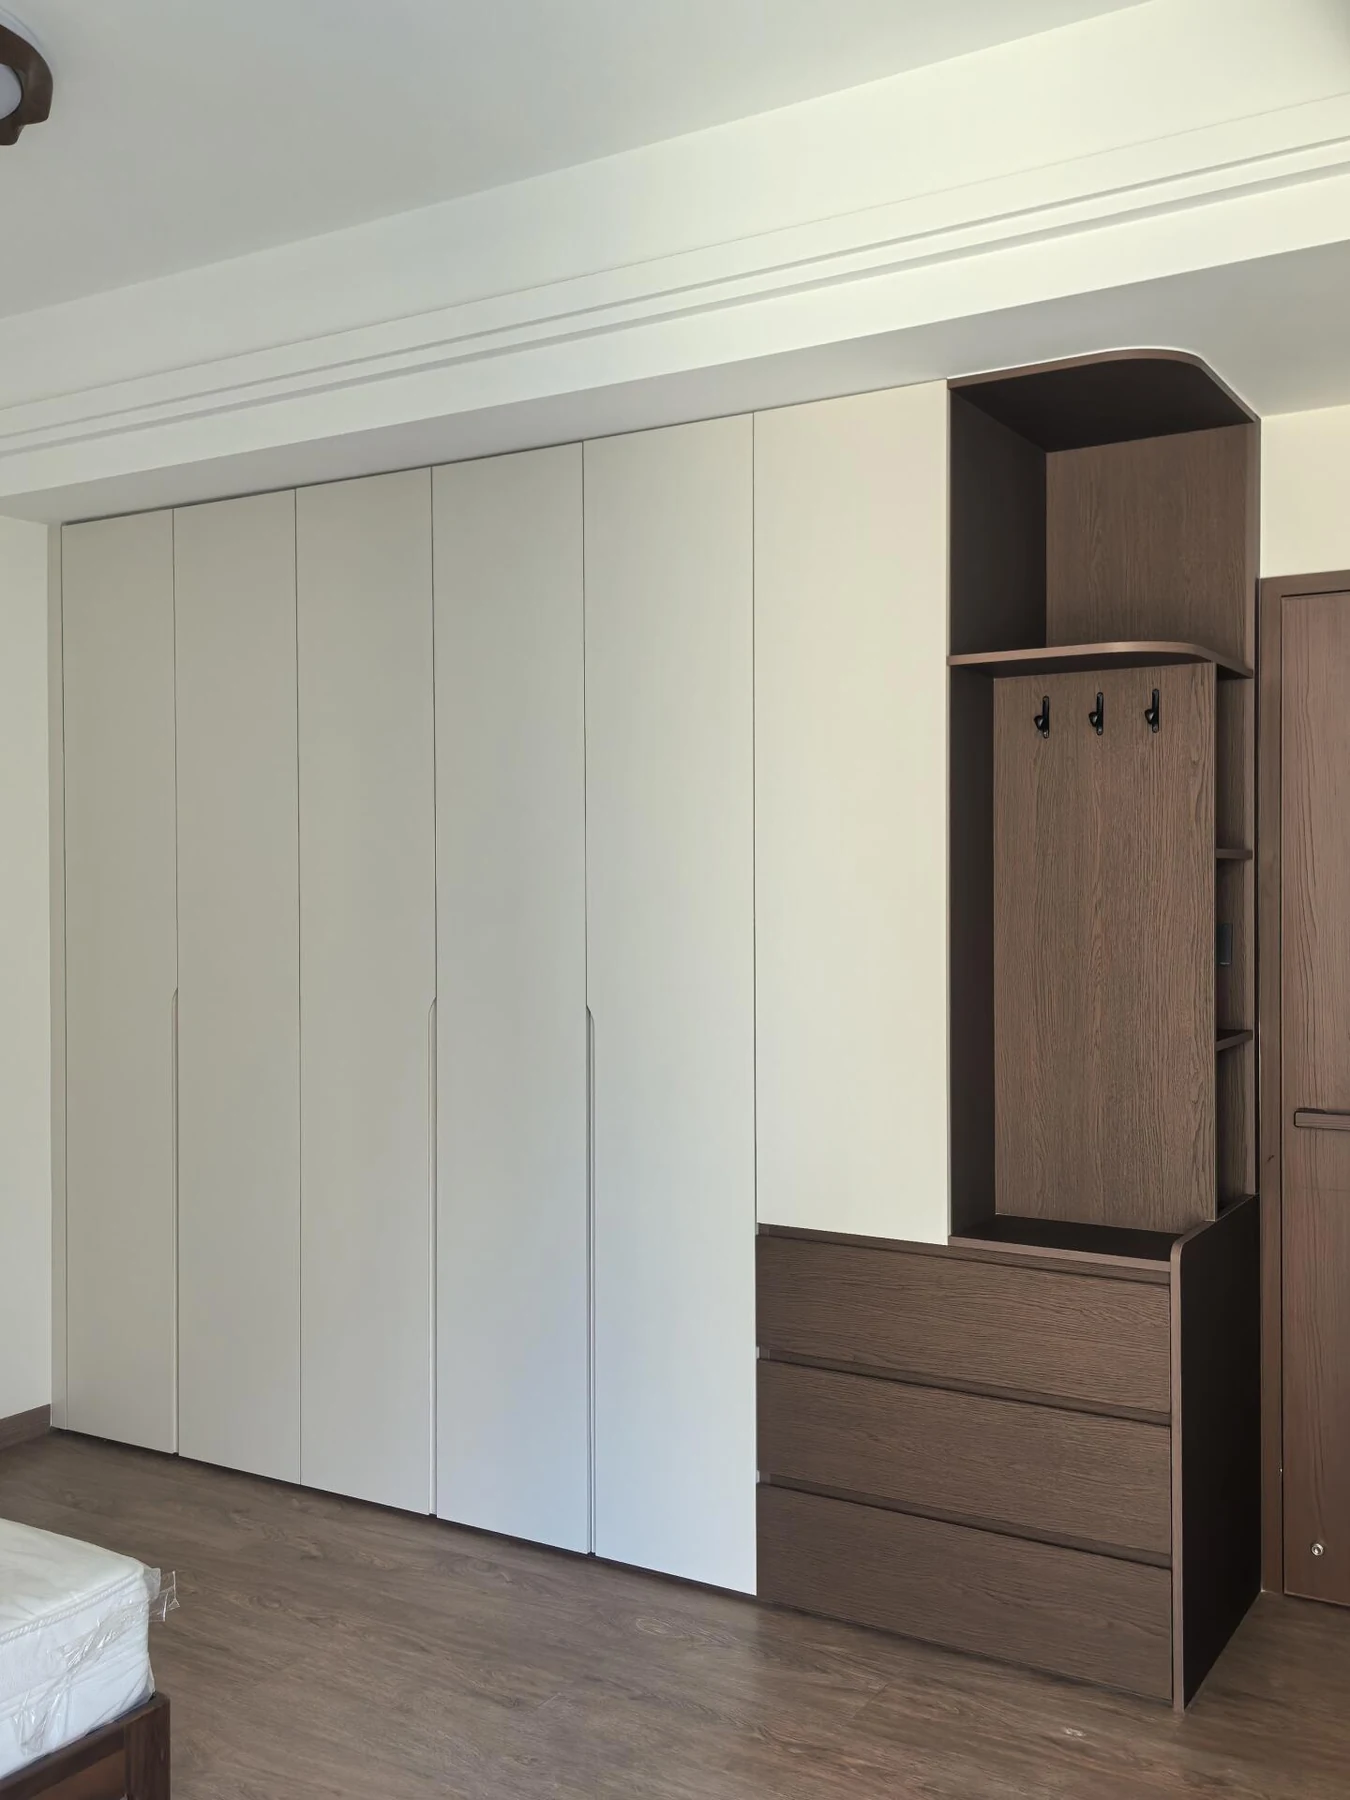
Hinged and sliding fronts create different access patterns. A hinged front needs a swing zone; a sliding arrangement can leave part of the interior behind another panel. Align drawer positions and internal divisions with the selected opening system, and check the junction with walls, handles and adjacent cabinets.
An open bay can support bags or clothing that is worn again, but it also changes the room's appearance and cleaning routine. Decide deliberately which items remain visible. See sliding versus hinged wardrobe doors for a closer comparison and wardrobe planning for the broader specification brief.
Check installation and handover information
Measure the ceiling and the route used to assemble or position tall units. Verify the selected installation method and supports with the qualified installer, including any required wall anchoring. Do not assume that a unit matching the finished ceiling height can be assembled or raised in that room.
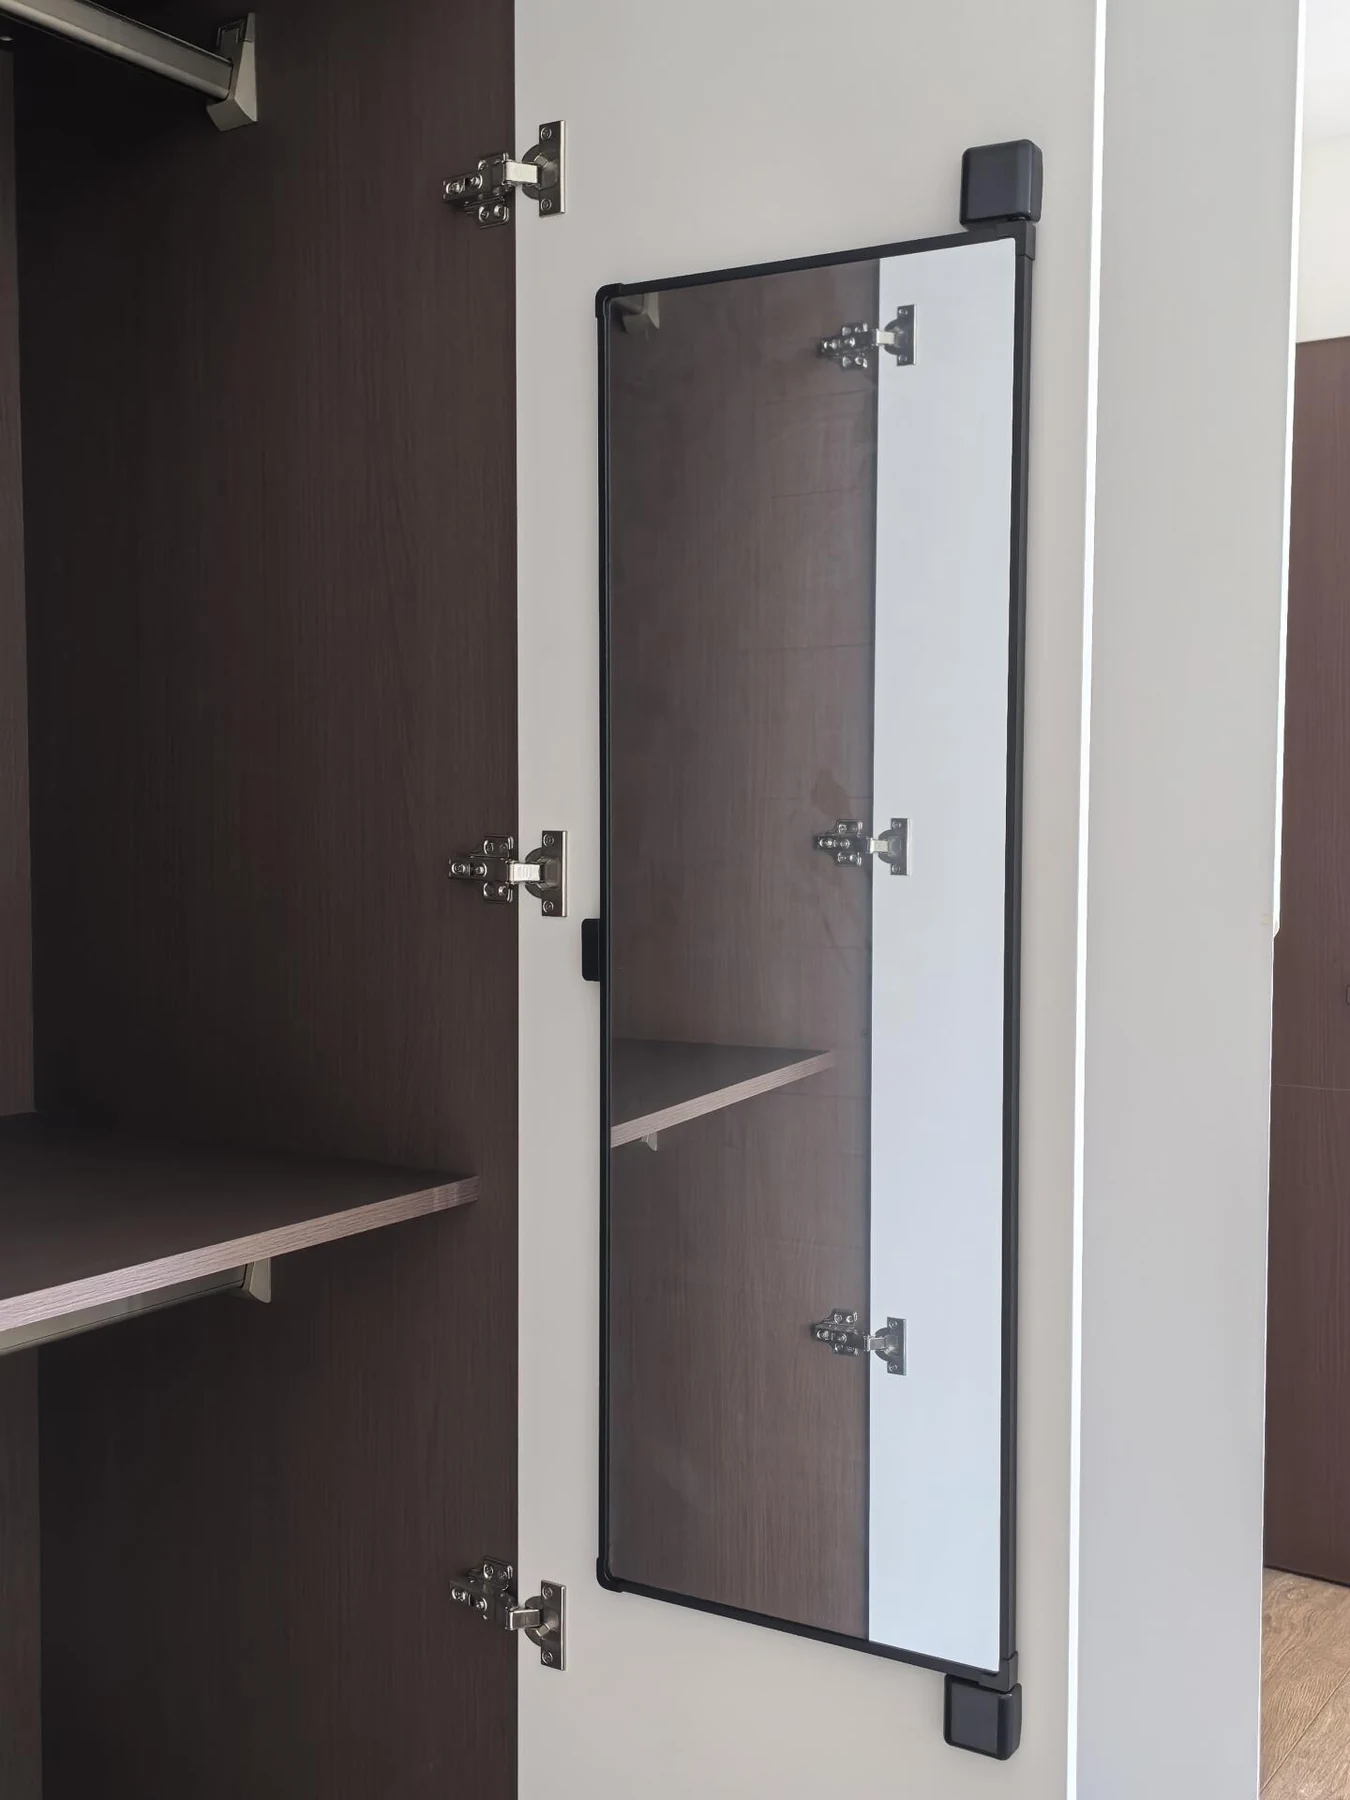
Keep the approved interior elevations, sections and accessory schedule with the order. At handover, check each door and drawer, mirror access and the agreed storage functions. Retain care instructions and replacement references for fittings. A successful interior is one that remains understandable when belongings move in and the installer has left.
Questions before approval
Is one wardrobe depth suitable for every room?
No single external depth settles the usable interior. Review the actual clothing, hanger, front system and construction in section before approving the dimensions.
Does a walk-in closet need an island?
Only if it serves the brief and leaves workable circulation and opening space. Wall storage and a clear dressing area may make better use of a smaller room.
Can the internal arrangement be changed later?
Some systems offer adjustment, but fixed divisions, door geometry and fittings can limit changes. Identify the desired flexibility and confirm it in the selected construction before ordering.