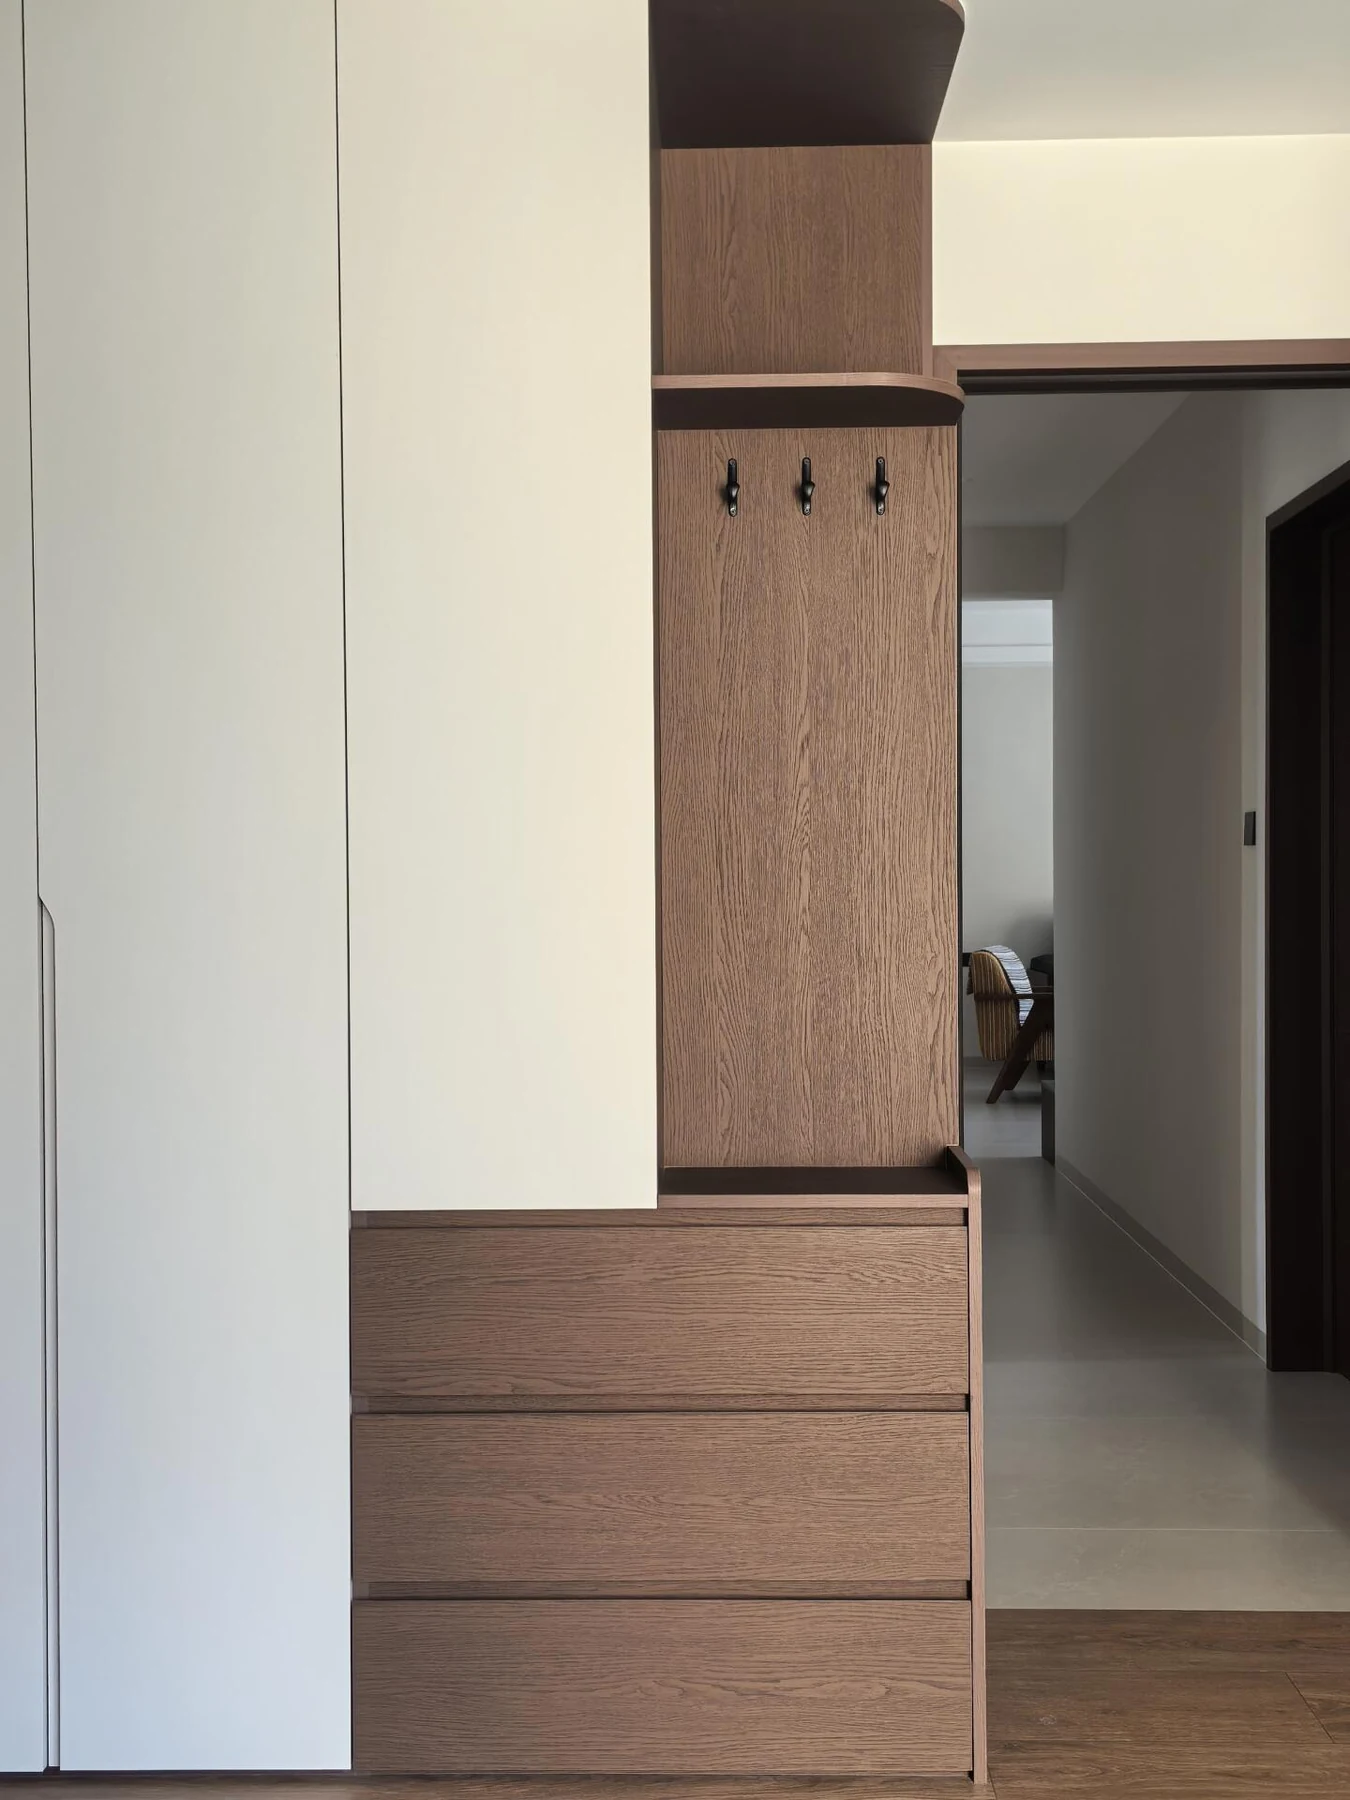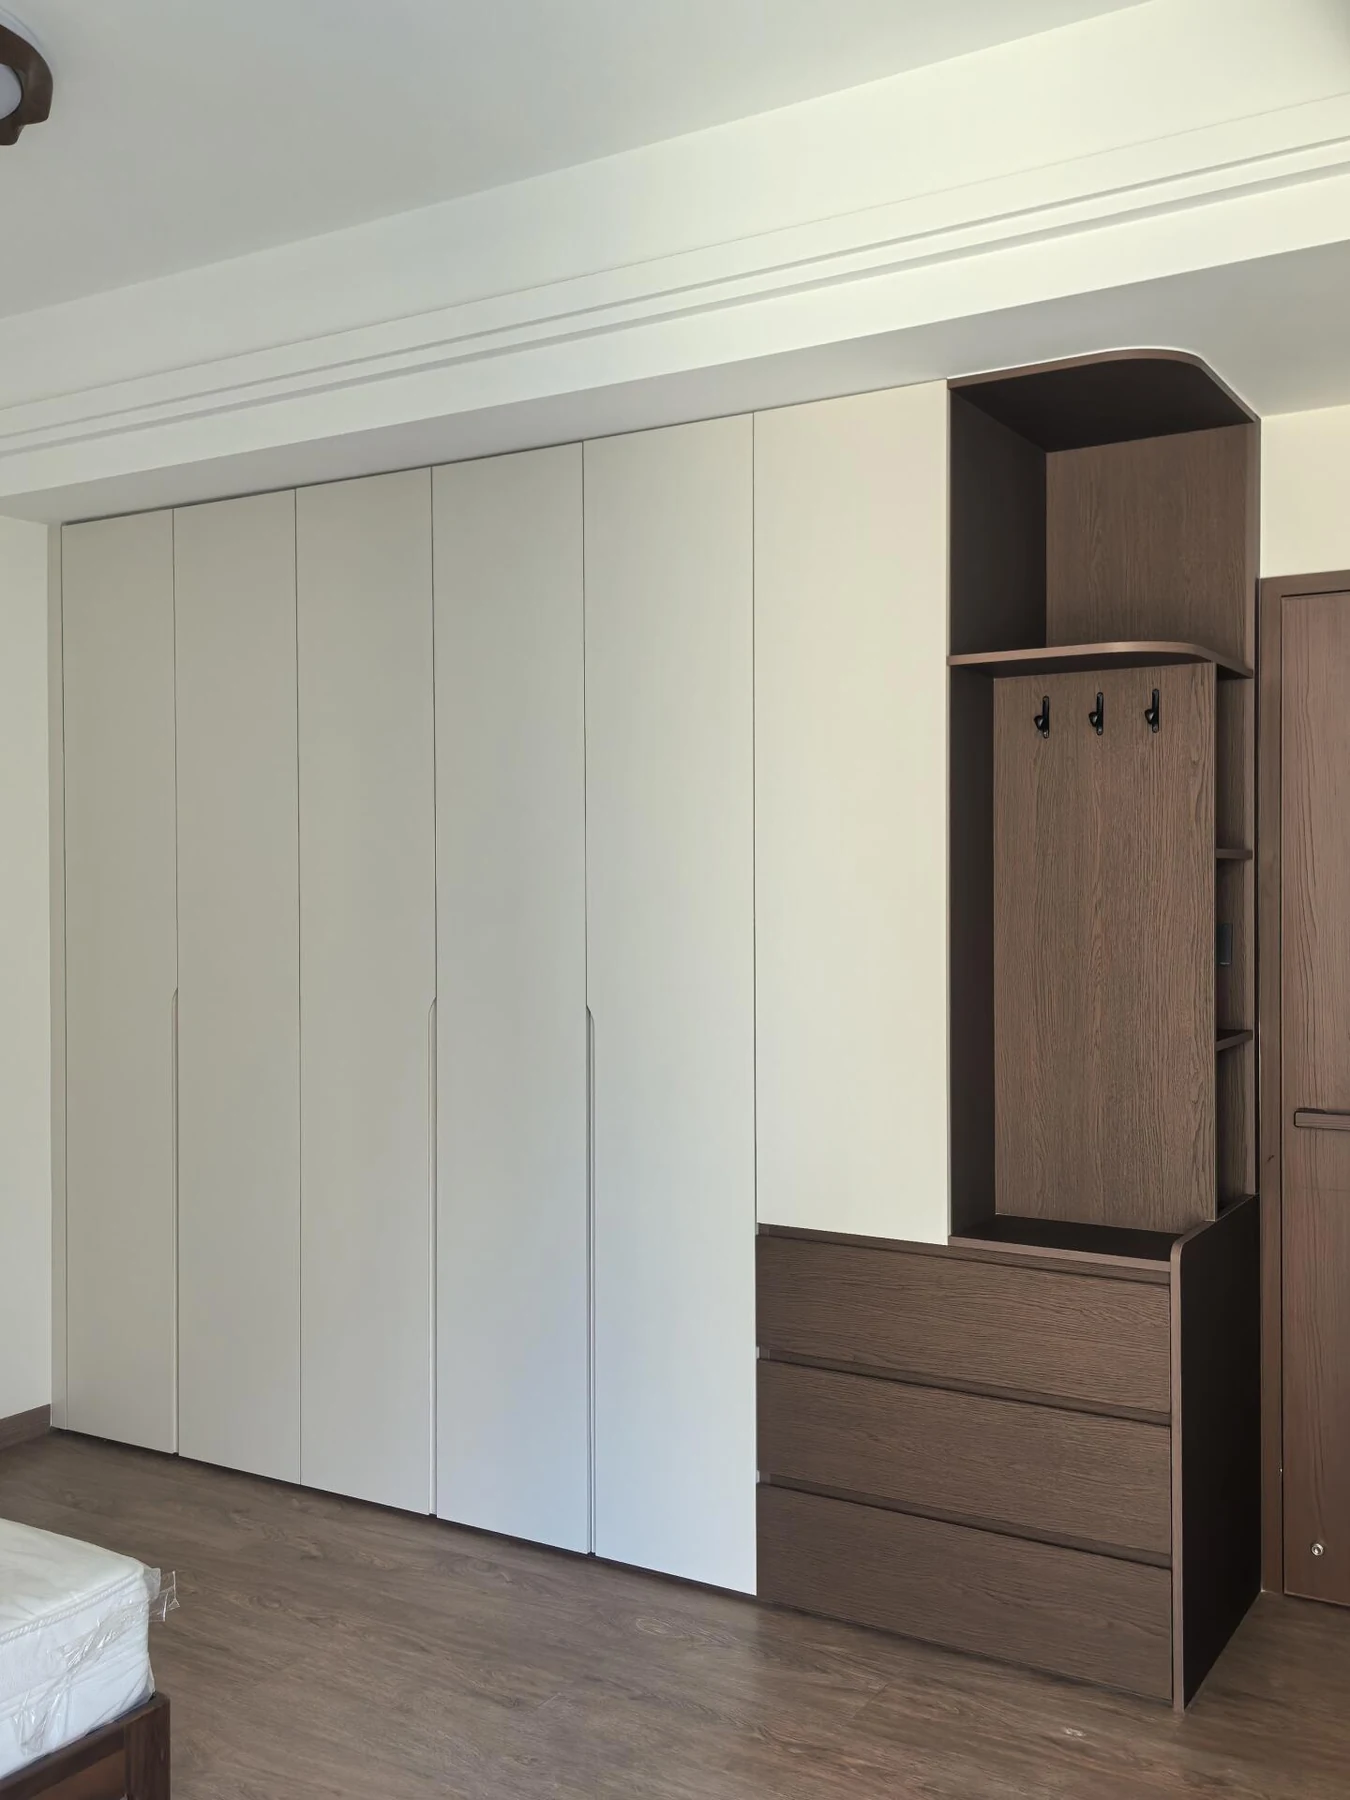
Begin with a belongings schedule
Separate long garments, short hanging, folded clothing, shoes, small accessories, bags and seasonal bedding. Count the items and measure a representative group. The contents should set the first divisions of the wardrobe.
Decide which items belong in a daily reach zone and which can be stored higher. For a shared wardrobe, make two personal inventories rather than assuming one symmetrical layout suits both users.
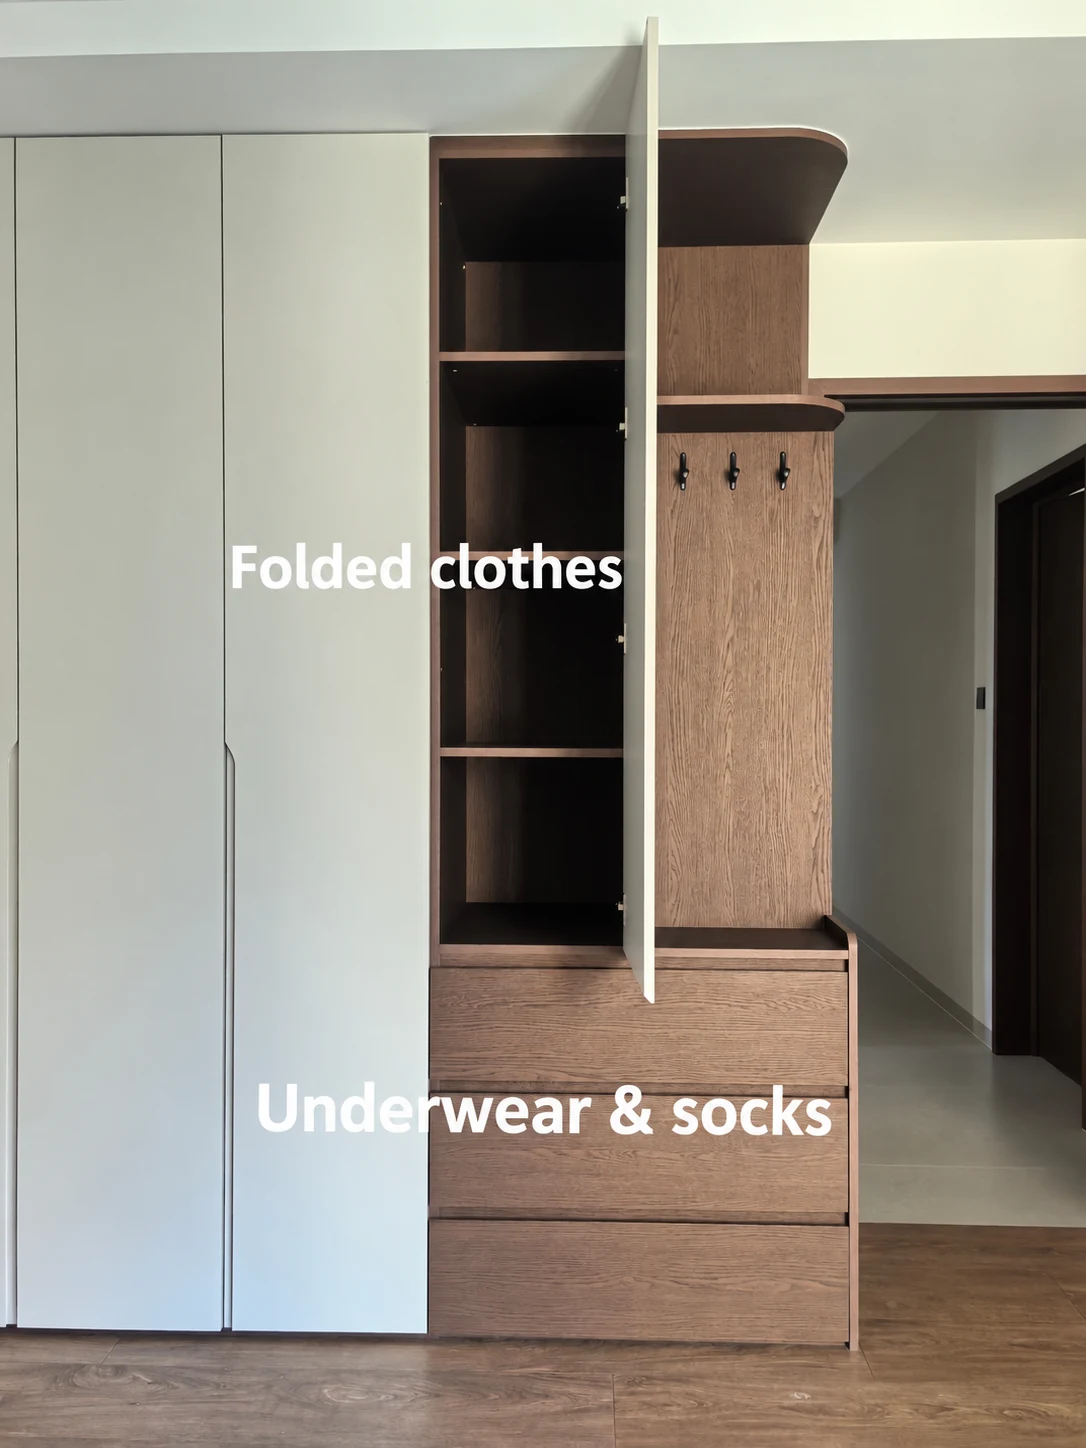

Give the depth a clear definition
Distinguish the overall wardrobe depth from the usable depth behind the doors. Back panels, hinges, sliding tracks and internal accessories all take space. Check actual hangers and the bulkiest garment before finalizing the section.
A hinged door needs room to swing; a sliding front keeps the swing out of the room but leaves part of the interior behind the other leaf. Draw each position together with drawers and pull-out fittings.
| Contents | Measure / record | Design consequence |
|---|---|---|
| Long hanging | Longest garment on its hanger | Clear hanging height and reachable rail position. |
| Short hanging | Shirts, jackets and trousers as actually stored | Single or double hanging zones. |
| Folded items | Stack height and depth | Shelf spacing and usable shelf depth. |
| Shoes / bags | Largest items and quantities | Shelf pitch, clear width and visibility. |
| Small accessories | Trays and dividers required | Drawer interior and suitable extension. |
Plan the interior with doors open
Check drawer travel behind every hinge and beside neighboring door handles. A pull-out mirror, trouser rack or hanging lift has its own operating envelope. Confirm that the accessory can be used without moving another object first.
For a walk-in room, draw the route between open fronts and around any island. Evaluate turning, dressing and shared use. The useful clear space is what remains after the doors and drawers are operating.


Balance open and enclosed storage
Open shelves help display bags and frequently used items, while enclosed fronts reduce visual clutter. Too many small open cubbies can make cleaning and organization harder. Let the contents justify each division.
Include a temporary place for clothing that has been worn once, and a practical route for laundry. These everyday functions often matter more than adding another display compartment.

Coordinate lighting and maintenance
Plan the light channel, sensor, driver and cable route before the panels are made. Keep the driver accessible for maintenance and keep cables away from moving fittings. Have the electrical work coordinated for the destination by the appropriate local professional.
Tall fronts need a fitting and construction review based on their actual weight and dimensions. A straightener can be one part of an engineered door; it is not a universal remedy for an unsuitable substrate or poor room conditions.
Approve one coordinated elevation
- Contents allocated to named bays.
- Usable internal dimensions distinguished from overall cabinet size.
- Door positions and accessory travel shown.
- Shelves, rails, drawers and lighting listed.
- Fixing wall, baseboard and site conditions checked.
- Hardware references and sample finishes agreed.
Continue with wardrobe organization, or explore the bed-end wardrobe study to see how these decisions can form one wall.
Planning details to confirm
Reach-in or walk-in: compare the usable room
A reach-in wardrobe is accessed from outside its front; a walk-in arrangement uses part of the room for internal access. Compare the storage that actually fits, the doors or circulation space required, and lighting and access in the same measured room.
What belongs in a wardrobe schedule?
List each bay with its overall dimensions, front type, interior shelves, drawers, hanging rails, accessories and finish. Show lighting and service access, note the drawing revision, and agree who confirms site measurements and installation before approving the schedule.