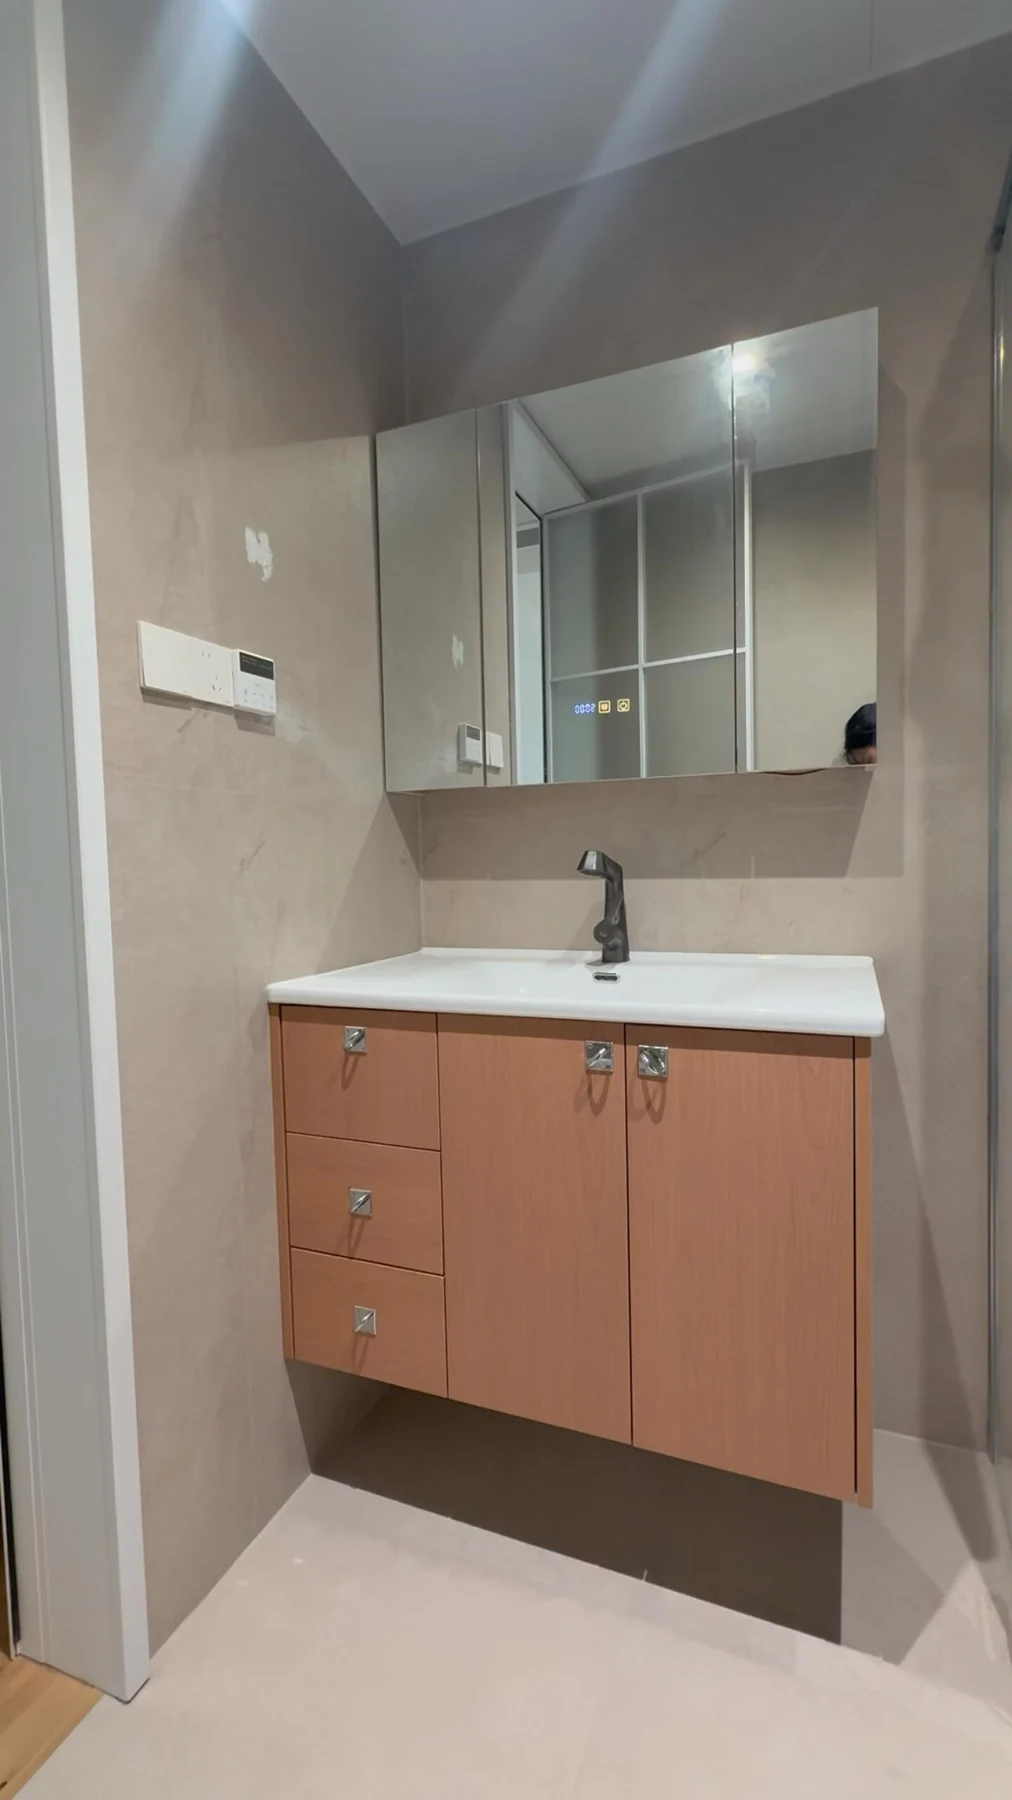
Size the vanity from the room and routine
Map the bathroom entrance, shower, toilet and the place where a person stands at the basin. Show drawers and doors open. Decide whether the vanity serves one person at a time, shared morning use or a guest bathroom with simpler storage needs. The same external cabinet can perform very differently in those situations.
Choose the basin arrangement with the room rather than fitting it into a finished cabinet design. Check the actual product dimensions and installation information, including the relationship to the faucet, splash and mirror. Have local requirements and accessibility needs reviewed by the appropriate project professional; a reference image does not establish compliant bathroom clearances.
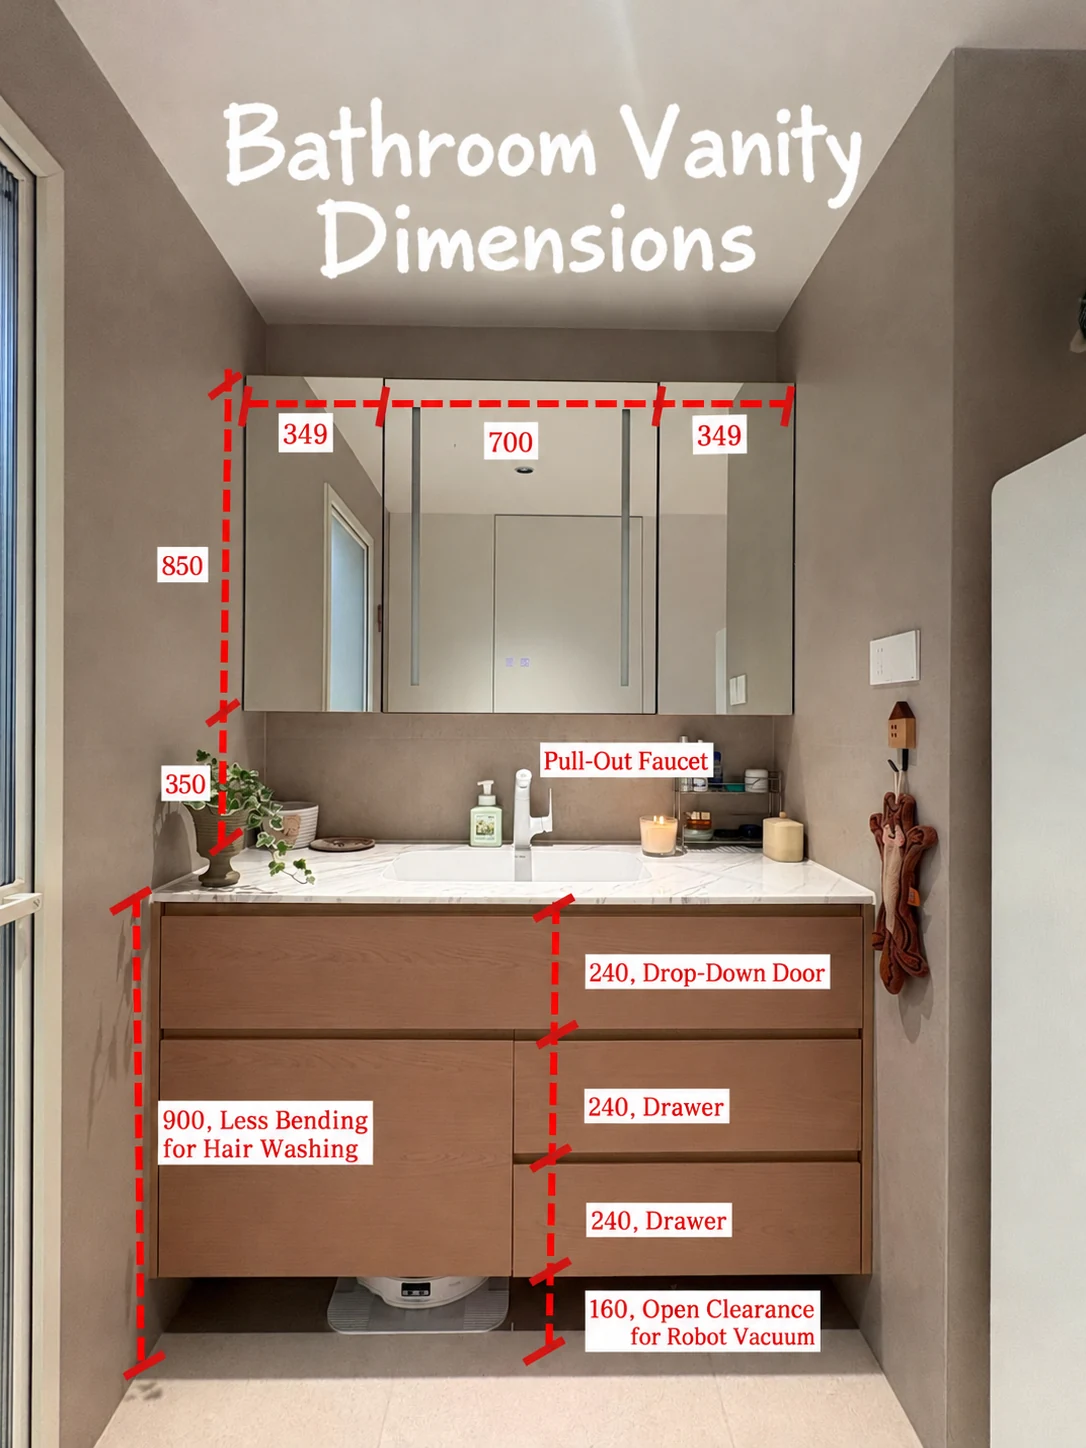
Bathroom vanity sizes at a glance
Vanities are sold and specified in a small set of standard widths. Start from the width the room can take, then check depth, height and the clearances around the basin.
| Width | Typical room | Basins |
|---|---|---|
| 18–24 in (457–610 mm) | Powder room or small bathroom | One |
| 30–36 in (762–914 mm) | Standard family bathroom | One |
| 42–48 in (1067–1219 mm) | Larger single, or a tight double | One, or two compact basins at 48 in |
| 60 in (1524 mm) | Primary bathroom | Two |
| 72 in (1829 mm) and wider | Primary bathroom with drawer storage | Two, with a center drawer bank |
| Dimension | Typical value |
|---|---|
| Standard depth | 21 in (533 mm); 18 in (457 mm) slim; 22–24 in (559–610 mm) for larger tops |
| Standard height | 30–32 in (762–813 mm) traditional; 34–36 in (864–914 mm) comfort height |
| Vessel basin | Lower the cabinet so the basin rim lands at about 34–36 in (864–914 mm) |
| European sizes | 450–550 mm deep; 850–900 mm to the basin rim |
| Basin centerline to side wall | 15 in (381 mm) minimum under US model codes; 20 in (508 mm) recommended |
| Between two basin centerlines | 30 in (762 mm) minimum; 36 in (914 mm) recommended |
| Clear floor space in front | 21 in (533 mm) code minimum; 30 in (762 mm) recommended |
| Outlet | US electrical code requires a GFCI receptacle within 36 in (914 mm) of each basin |
| Drain trap behind a top drawer | Allow 8–10 in (200–250 mm) of depth, or specify a U-shaped drawer |
For wet areas, ask for a moisture-resistant core (MR MDF, moisture-resistant particleboard or marine plywood), sealed edges at every cut-out and a toe kick that keeps the carcass off a wet floor. Wall-hung vanities need solid backing in the wall before the tiles go on.
Draw the plumbing before dividing the drawers
The trap, supply connections and service access can reshape the useful interior. Obtain coordinated information from the plumbing team and the selected basin or countertop system. Draw the service zone in section and show how drawers, shelves and removable parts relate to it.
Do not assume a standard drawer cut-out will suit every basin. An apparently generous front may conceal a smaller or divided storage area. Keep access to fittings that require inspection or maintenance, and have any proposed relocation reviewed by the qualified local trade. Establish the final service arrangement before the cabinet interior is released for manufacture.

Plan storage below and above the basin
List the items that need a place: bottles, spare supplies, grooming tools, towels or cleaning products. Include the mirror cabinet as well as the base storage. Measure the largest everyday item and compare it with the actual usable drawer or shelf. Keep frequently used items accessible without dismantling the interior or moving everything around a pipe.
Ask which organizers are included and whether they can be removed for cleaning or service. If electrical grooming appliances are part of the brief, coordinate appropriate storage and electrical requirements with the qualified local professional. A photographed socket or tool holder is not an installation instruction. Our drawer slide guide helps separate the drawer system from its accessories.

Specify the complete moisture detail
Describe the cabinet core, face, edges, joints and exposed ends separately. Ask how the selected assembly is intended to be used and maintained in the actual bathroom location. “Moisture resistant” is not a promise that any cabinet can tolerate standing water, leaks or direct shower exposure.
Review the countertop-to-wall junction, basin fixing, splash and vulnerable lower edges with the cabinet team and installer. The waterproofing and sealing arrangement belongs in the coordinated project details and relevant product instructions. Do not rely on a surface name, a hidden bead of sealant or the appearance of stone to establish the whole assembly's suitability.

Resolve support and installation access
A wall-mounted vanity needs a support and fixing arrangement appropriate to the actual wall and the complete assembly. Have the qualified installer verify the substrate and selected fixing system. The basin and countertop can affect the load and installation sequence; a generic screw count from an online article cannot establish the solution.
Check how the cabinet, countertop and basin reach the room and who verifies the final service positions. Keep removable parts accessible after installation. Where the countertop is locally fabricated, agree who provides templates, cut-out information and final checks. Refer to installing imported cabinets for the broader site coordination record.

Keep handover and care practical
At handover, operate the drawers and fronts, check service access and inspect the agreed joints and edges. Obtain product-specific care information for the cabinet finish and countertop. Record the route for reporting a leak or movement problem so water is not left to damage the cabinet while responsibility is debated.
Wipe routine splashes promptly using the guidance for the selected materials and keep the assembly dry after cleaning. Avoid assuming that a cleaner suitable for the basin is suitable for the adjacent front or fittings. Retain the approved material schedule and care instructions together. Continue with the vanity planning guide to build a complete room brief.

Questions before approval
Does a waterproof surface make the whole vanity waterproof?
The core, edges, joints, fixing and adjoining wet-area details still need review. Confirm the actual assembly's suitability and product-specific care requirements.
Can I choose the vanity before the basin?
You can explore the appearance, but the production interior and countertop interfaces need the actual basin, faucet and coordinated plumbing information.
Are the dimensions in a reference drawing safe to copy?
Use them only as an example of information to coordinate. The actual room, products, local requirements and approved drawings establish the final dimensions.
Buyer decision checklist
Choosing a vanity for a small bathroom
Measure the room with the bathroom door, vanity doors and drawers open. Locate the basin and existing water and waste connections before choosing a width and depth; leave the access and clearances required for the actual installation.
Floating or freestanding: what should be checked?
A floating vanity leaves floor space open but needs a wall and fixings verified for the complete loaded assembly by the installer. A freestanding unit transfers its weight through its base or legs; check the floor, cleaning access and any required wall restraint. Confirm the chosen installation with the installer before ordering.
Coordinating two basins with storage
Mark both basin and faucet positions on the countertop plan, then coordinate water supplies, traps, waste pipes and service access with the plumbing team. Check the usable drawer depth and any internal cutouts against those connections before approving drawings.
What should a custom vanity quotation identify?
Ask for the cabinet dimensions and construction, fronts and finish, hardware and internal fittings. Identify whether the countertop, basins, faucets, cutouts, delivery and installation are included or excluded, and agree the applicable scope in the written quote.
Specifying moisture protection
Describe the core, surfaces, exposed edges, joints and service openings rather than relying on the word waterproof. Ask how openings are sealed, provide bathroom ventilation, and follow the selected finish’s care instructions; the installer should coordinate sealing at the actual wall and countertop junctions.