
Start with the shopping and cooking routine
Separate food bought frequently from bulk supplies and occasional items. List the larger packages, bottles, appliances and serving pieces. Note what should be visible at a glance and what can sit in less frequently accessed storage. The pantry arrangement should reflect how the household buys and cooks.
Locate storage near the tasks it supports without creating congestion. A pantry beside the main preparation area can be useful, but its open door or pull-out should not block that same area. Draw the person putting shopping away and the person preparing a meal. Consider both activities before filling the elevation with matching tall fronts.

Pantry and appliance garage sizes
An appliance garage keeps the toaster, coffee machine and mixer on the countertop but out of sight. These are the sizes that make one easy to use every day.
| Type | Height | Depth | Width |
|---|---|---|---|
| Countertop appliance garage | 18–20 in (457–508 mm), up to the wall cabinets | 12–15 in (305–381 mm) inside | 24–36 in (610–914 mm) |
| Tall breakfast cabinet with pocket doors | Full height, 84–96 in (2134–2438 mm); counter inside at 36 in | 24 in (610 mm) | 30–36 in (762–914 mm) |
| Clearance above a coffee machine | Add 4–6 in (100–150 mm) for filling and steam | — | — |
| Type | Typical size |
|---|---|
| Pull-out pantry | 9, 12, 15 or 18 in wide (229–457 mm); 84–96 in tall; 24 in deep |
| Tall pantry with roll-out shelves | 18–36 in wide (457–914 mm), four or five roll-outs |
| Walk-in pantry | From 5 × 5 ft (1.5 × 1.5 m); 12–16 in shelves; 36 in (914 mm) aisle |
| Shelf spacing for cans and jars | 10–14 in (254–356 mm) |
| Shelf spacing for cereal and small appliances | 15–18 in (381–457 mm) |
Put a dedicated outlet inside the appliance garage and plan ventilation for heat-producing appliances. Doors that slide or lift away clear the counter; doors that swing need room to stay open.
Compare shelves, internal drawers and tall pull-outs
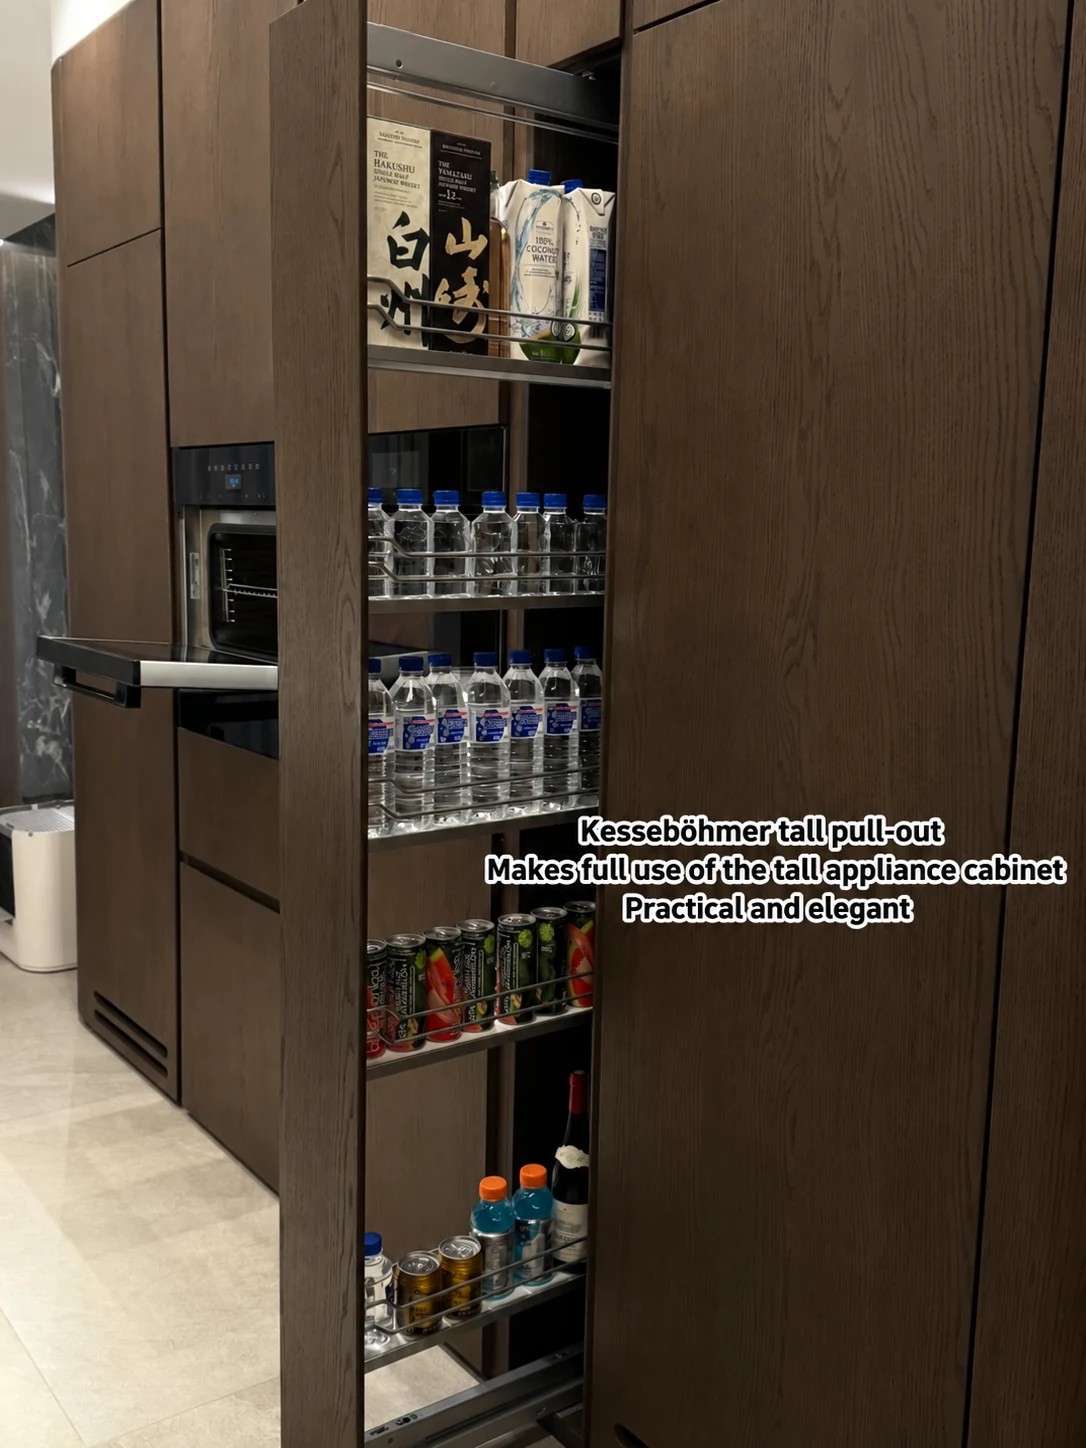
Fixed or adjustable shelves can provide a clear, simple arrangement when their depth and spacing suit the contents. Internal drawers bring items forward but need clearance through the front. A tall pull-out moves a larger assembly and needs a selected system that matches the cabinet and intended use.
Compare the actual usable spaces, not the external cabinet volume. Check bottle height, package depth and the largest appliance with its parts attached. Ask for the complete fitting reference and review the manufacturer's application limits. List baskets, rails and organizers separately so the quotation makes clear which photographed accessories are actually supplied.
Check access from the user's position
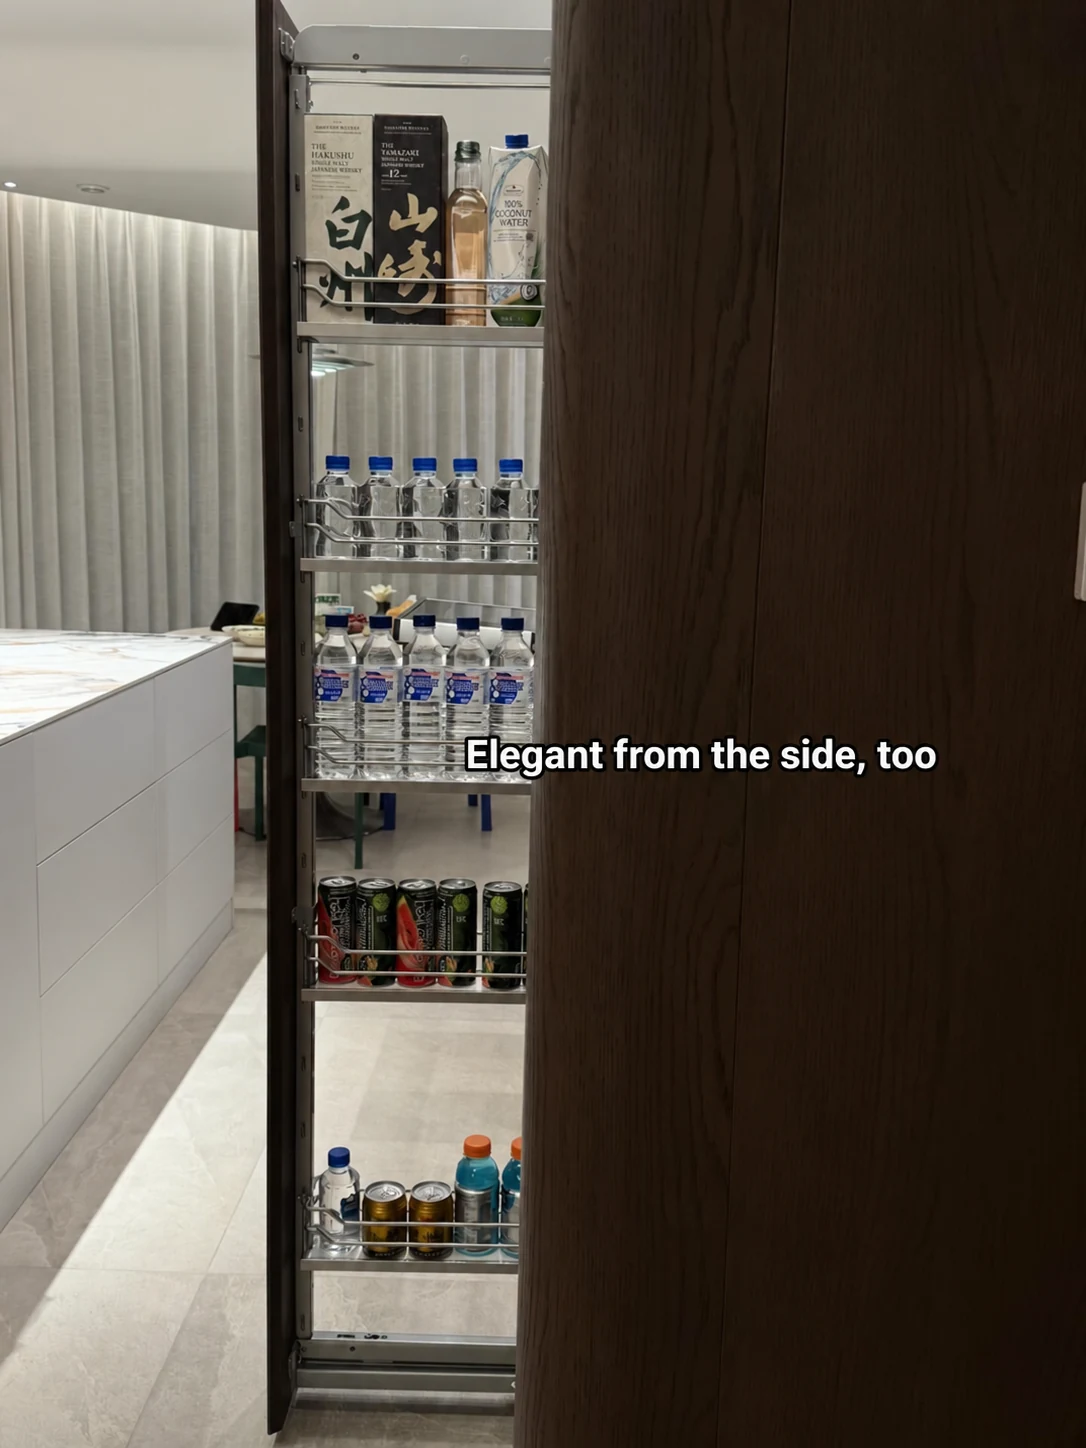
Open the proposed pantry on the plan and elevation. Consider what can be seen, reached and removed at each level. A deep shelf may leave rear items hard to identify; a side-access fitting changes the way a user stands. The right arrangement depends on the selected system and the people using it.
Keep heavy or awkward items within an appropriate handling arrangement for the intended user. Where reach or accessibility needs are significant, involve the appropriate designer and test representative contents. Do not turn a reference photograph into a universal shelf-height rule. The room and belongings should establish the useful zones.
Define what an appliance garage is for
Decide whether the cabinet stores appliances between uses or provides a place to operate them. Those are different briefs. Record the actual appliance models, their dimensions, the way they are moved and their manufacturer's ventilation and operating requirements. A door that hides an appliance does not establish that the appliance can run safely in an enclosed cabinet.
Coordinate power, heat, steam and service access with the appropriately qualified local trades and the product instructions. Do not assume that opening the cabinet door resolves every appliance requirement. If an appliance is intended to be moved onto a work surface, show the route, landing space and handling sequence in the design.

Resolve doors, countertops and cleaning
An appliance-garage door can occupy space above, beside or in front of the bay depending on its system. Draw its travel against nearby wall units and the person working there. A shelf or countertop inside the bay should be coordinated with the actual load, construction and appliance information.
Review crumbs, spills and access for cleaning. Identify removable trays or shelf parts if proposed, and confirm how they are removed without damaging the fittings. Keep the material and edge details suitable for their selected location and care routine. See handleless opening systems when a concealed line is part of the composition.
Approve a complete pantry schedule
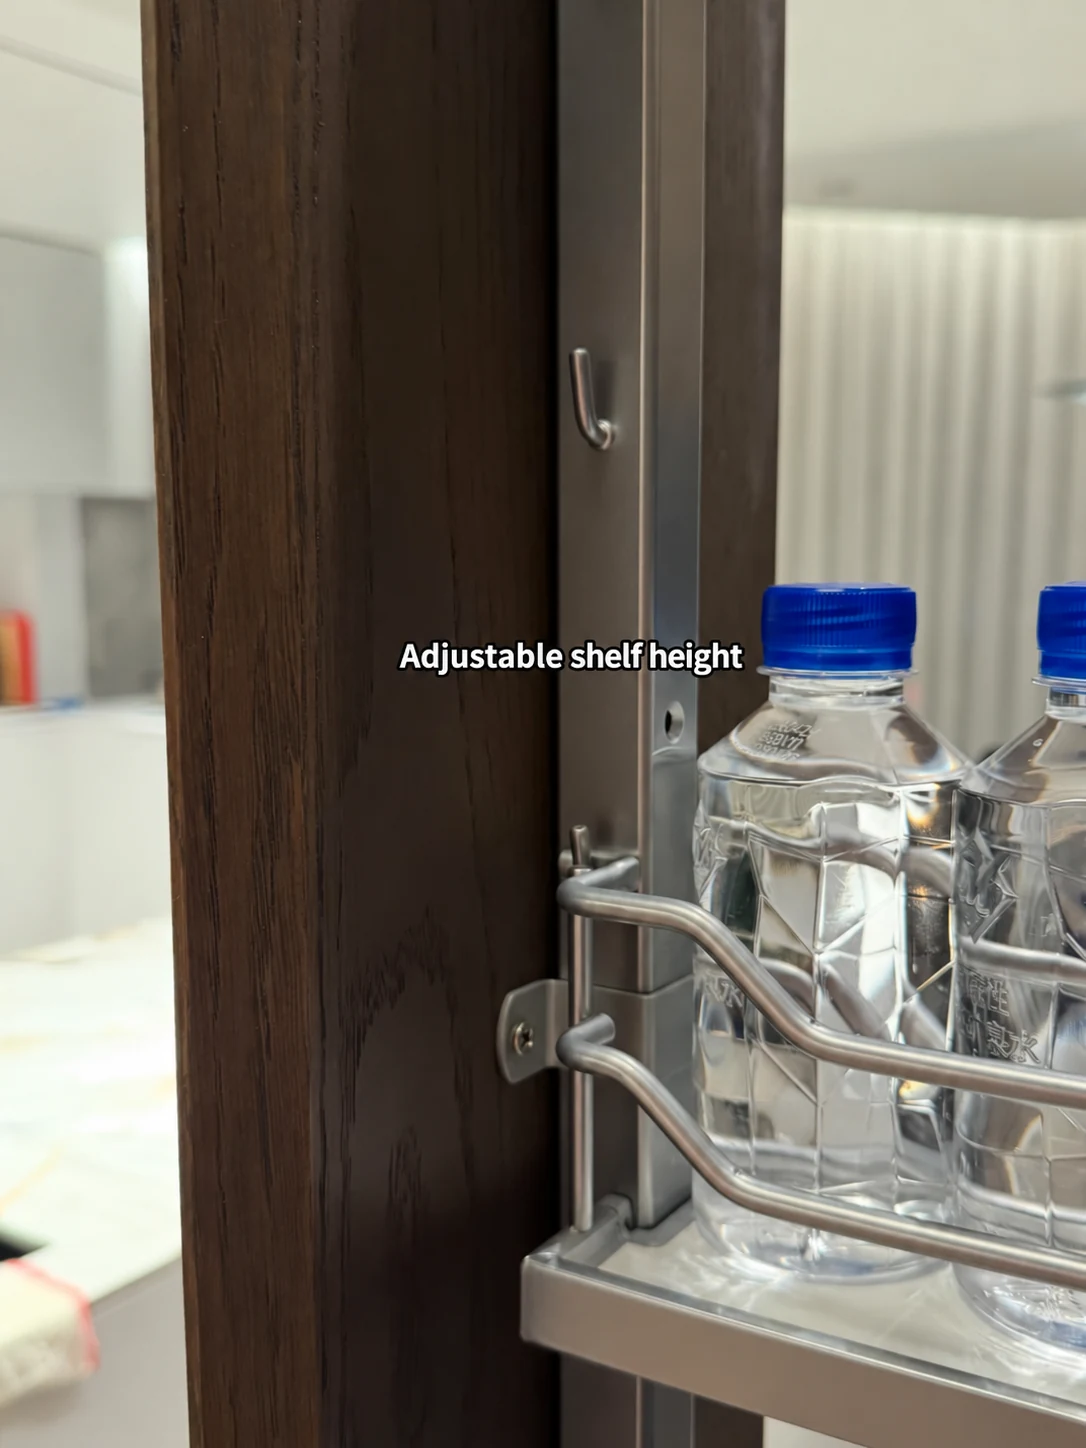
Give every important bay a contents description, interior arrangement and opening method. List the selected fitting system, accessories, finish and any coordinated service requirements. Separate a provisional appliance location from a confirmed model-based design, and identify who must close the remaining decisions.
At handover, arrange representative contents and operate the fronts and pull-outs. Check access, shelf adjustment and the agreed service route. Retain manufacturer instructions and fitting identities with the room drawings. A pantry should remain understandable as shopping habits change, with useful flexibility that the selected construction actually supports. Continue with drawer slides for internal drawer selection.

Questions before approval
Can any small appliance run behind a closed door?
Use the appliance manufacturer's instructions and a coordinated local service review. An enclosure or a door position alone does not establish an acceptable operating arrangement.
Is a tall pull-out more space-efficient?
Compare its usable baskets, access and movement with the alternative interior. The external cabinet size does not settle how useful the storage will be.
Are pantry accessories included in a cabinet price?
Only the written schedule establishes that. Name the fitting system and each included accessory, then connect them to the cabinet reference.